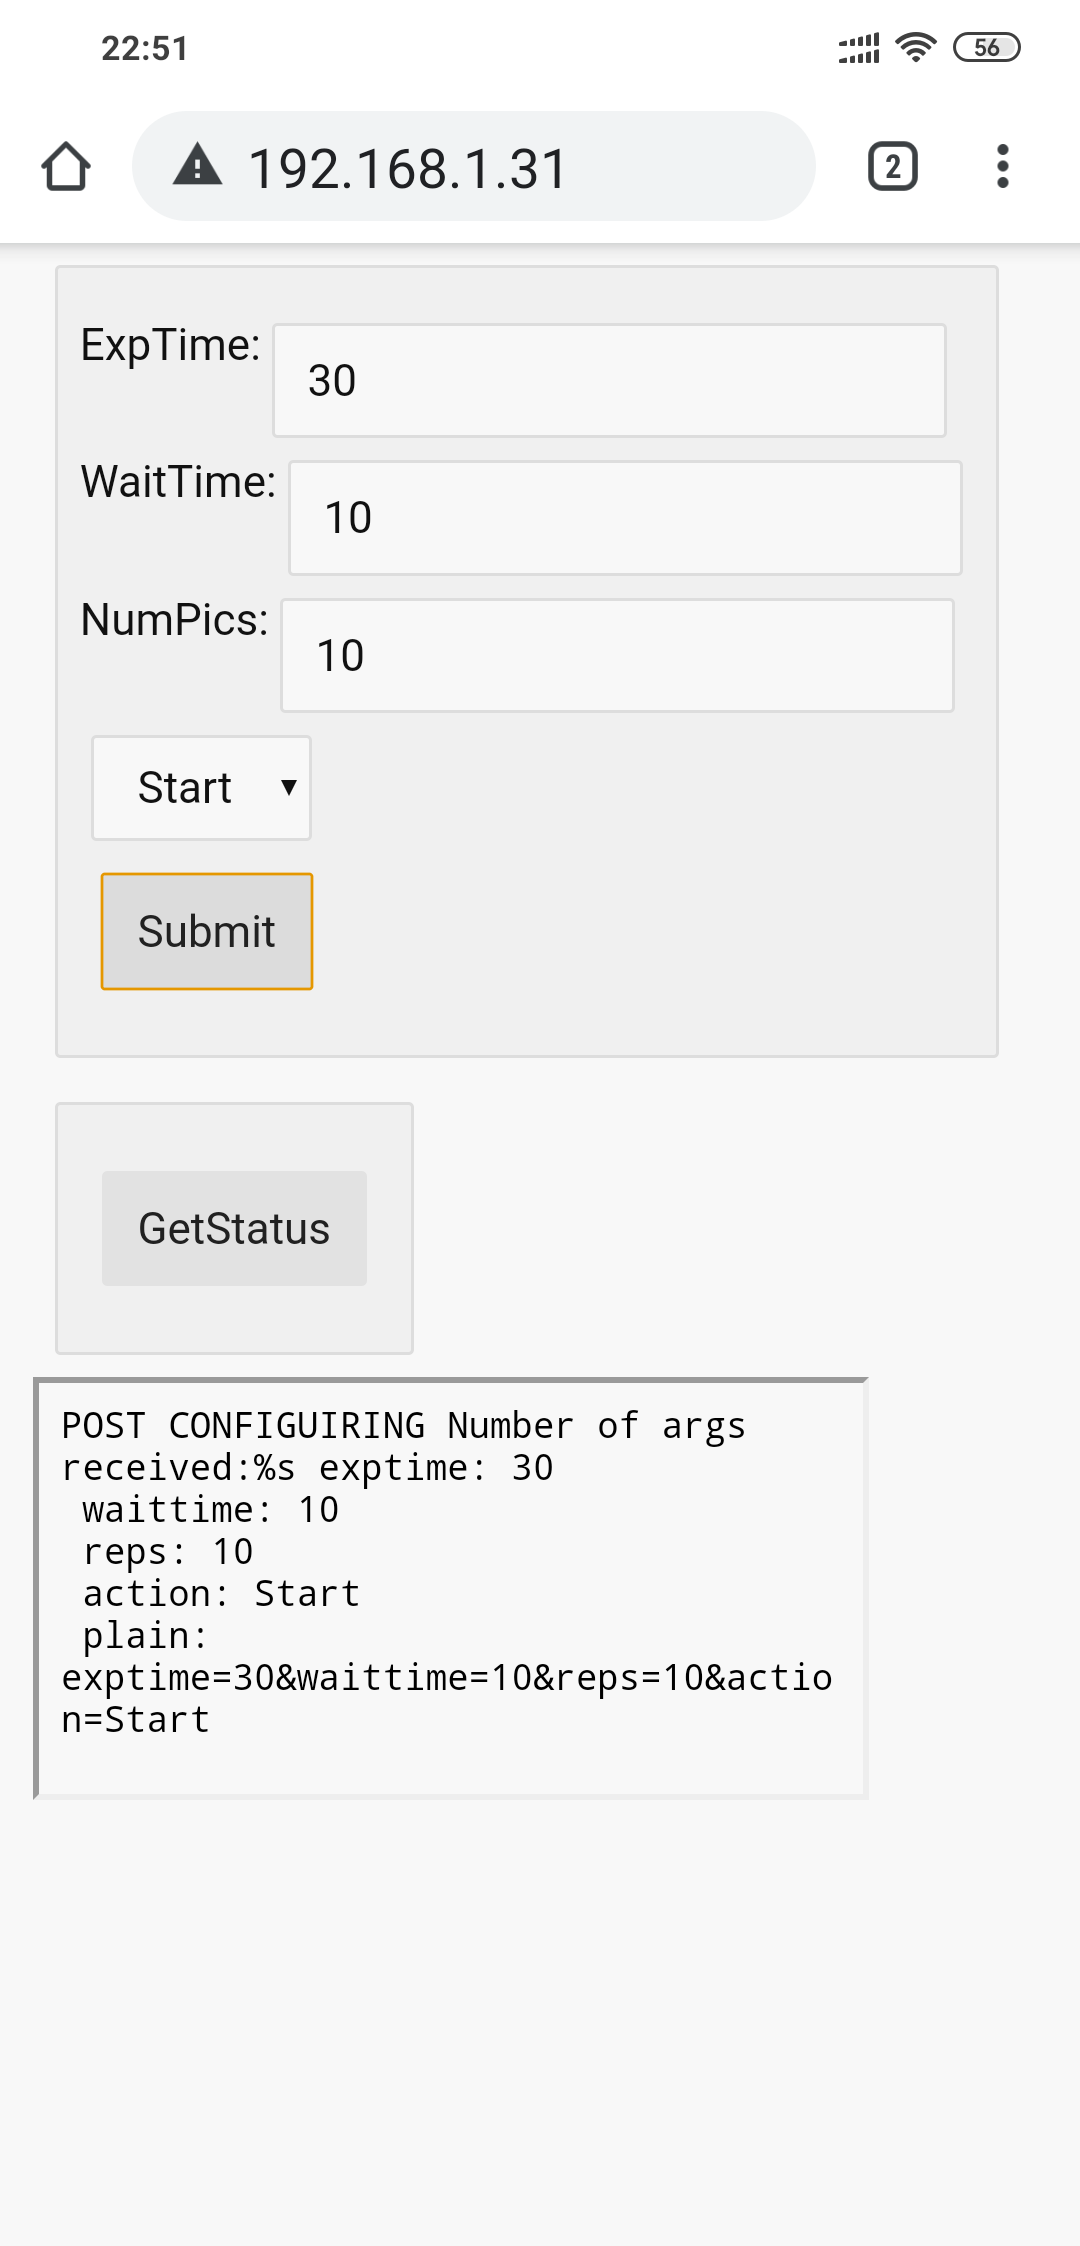
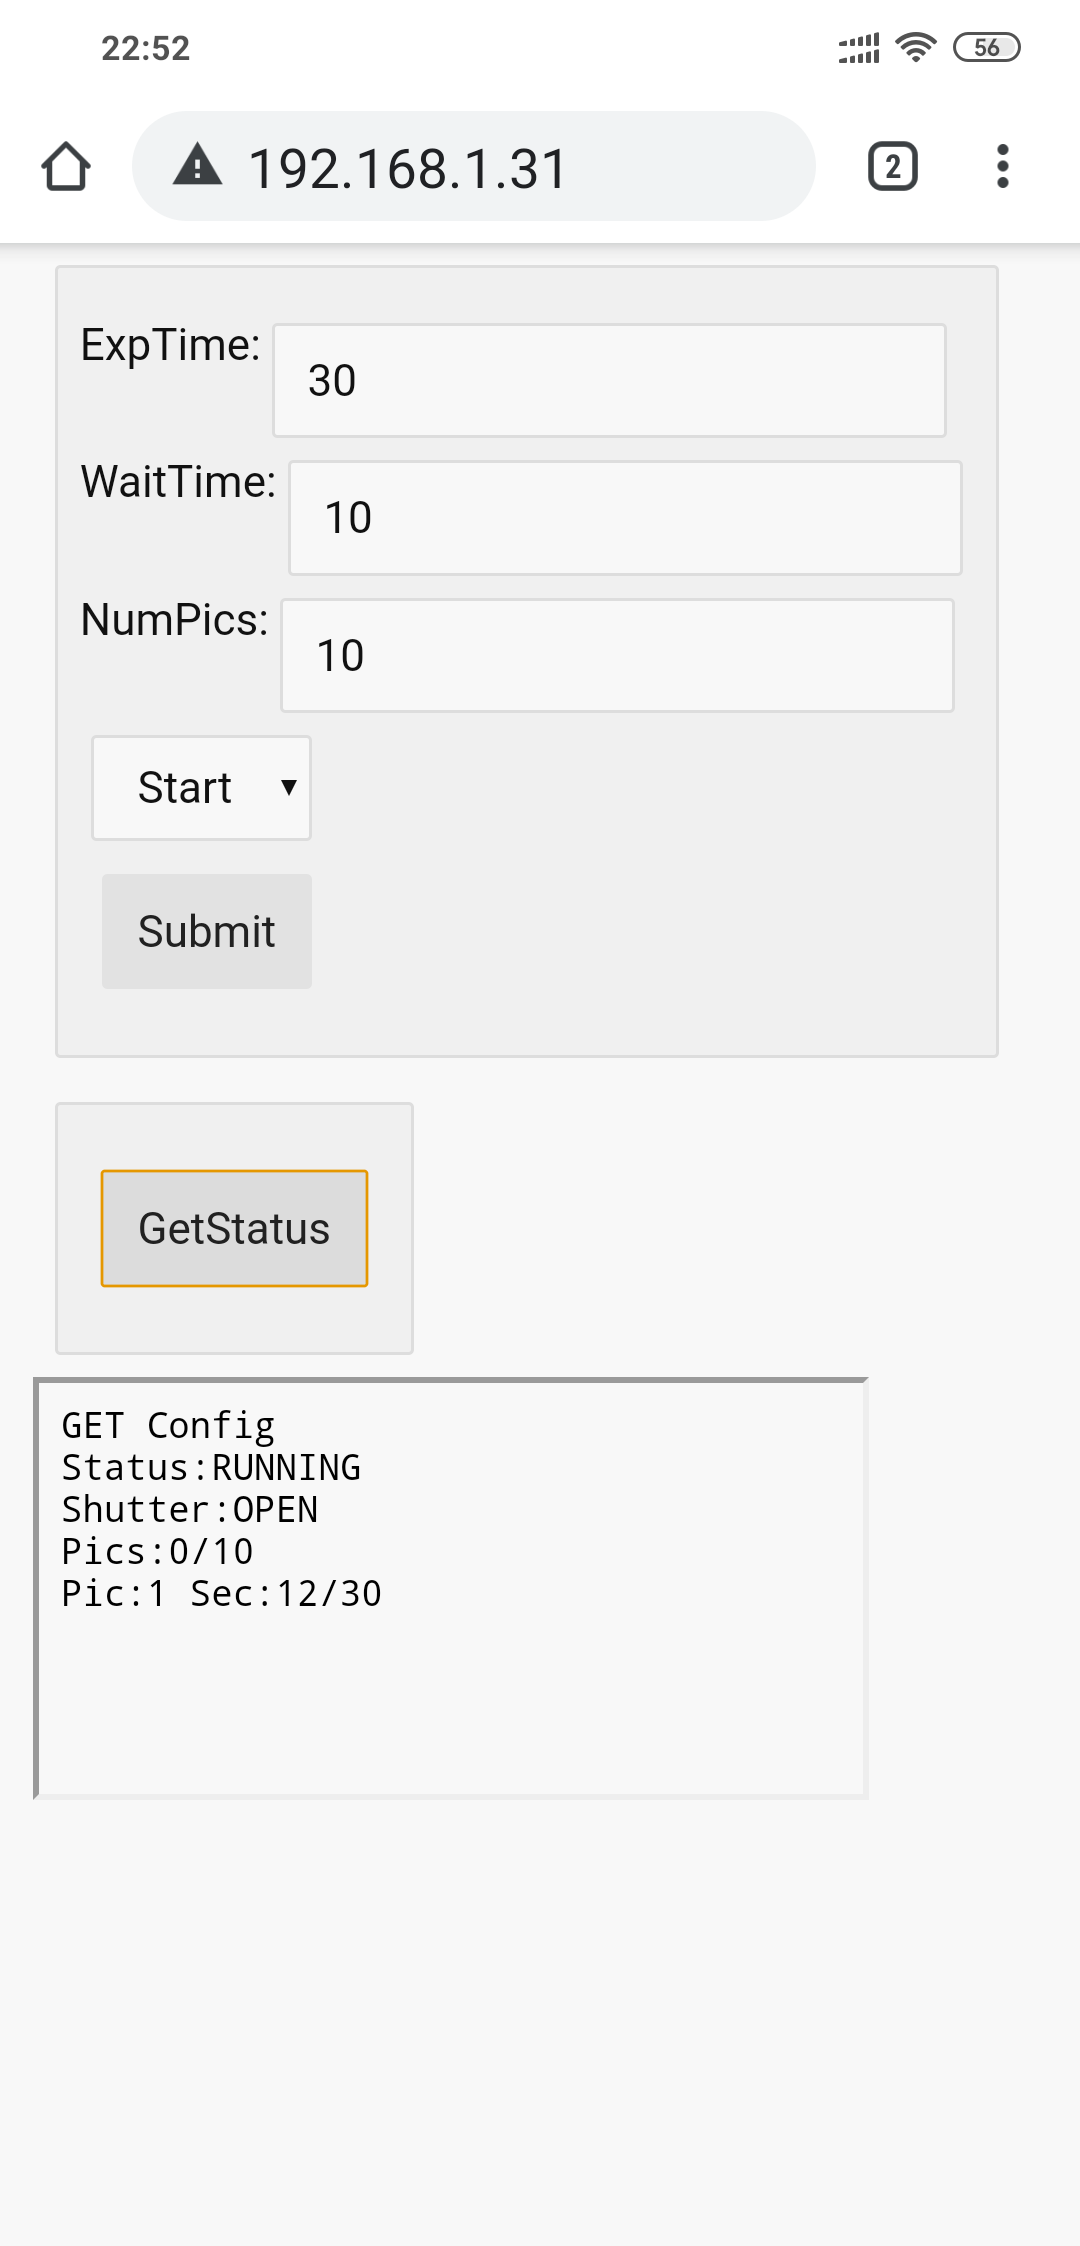
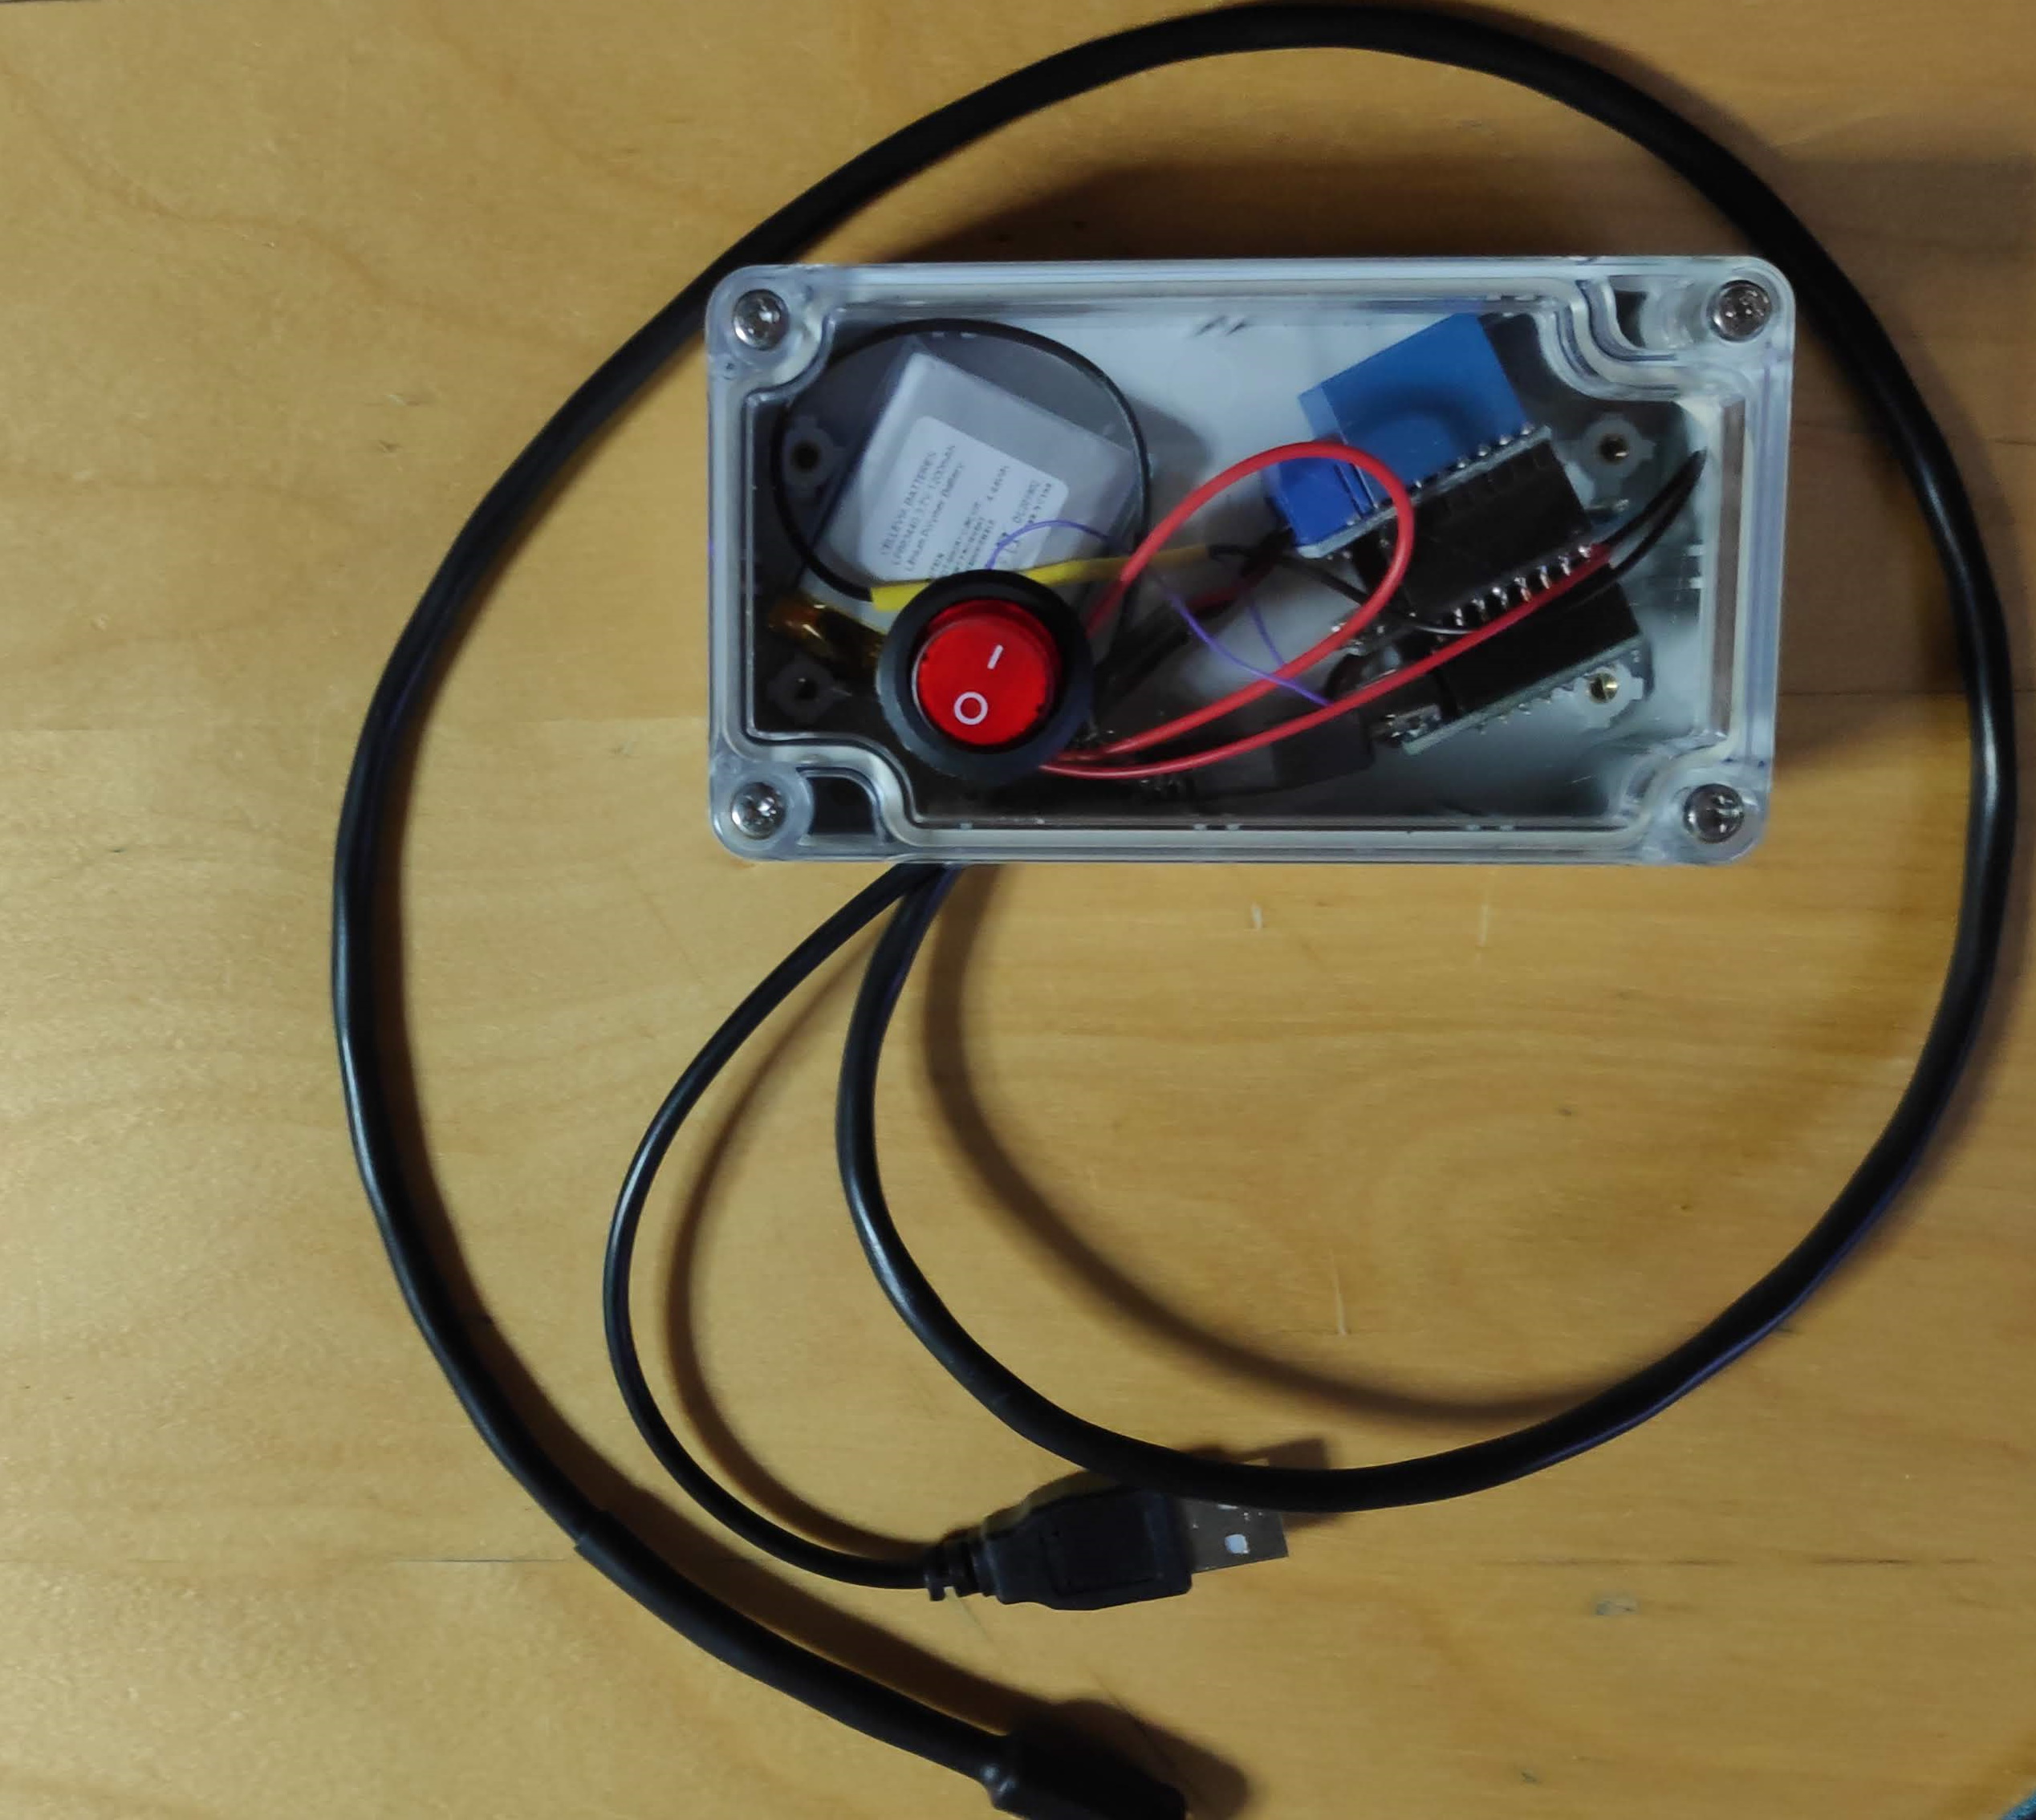
An Astrophotography Intervalometer you can control using WiFi. I made it using an ESP8266 and a relay and it is configured using a Web page. The code is in the ESP8266AstroIntevalometer folder and it's a single Arduino ide .ino file.
Here are instructions on programming the Wemos board https://www.instructables.com/id/Wemos-ESP8266-Getting-Started-Guide-Wemos-101/
You will need the following library installed:
https://github.com/mrdunk/esp8266_mdns
The reason I use a relay is to keep the camera electrically isolated from the controller, just in case...
PinOuts of the different camera manufacturers for the 2.5mm jack of the release http://www.doc-diy.net/photo/remote_pinout/
Wemos D1 Mini base Build Bill Of Materials
Controller - https://grobotronics.com/wemos-d1-mini-pro-esp8266-v1.0.html
Battery Shield - https://grobotronics.com/wemos-d1-mini-battery-shield.html
Relay Shield - https://grobotronics.com/wemos-d1-mini-relay-shield.html
Battery - https://grobotronics.com/polymer-lithium-ion-battery-3.7v-1200mah.html
Additionally you need a 2.5mm female jack and some wire.
Once you turn on the Wemos, it will try to connect to a network with:
SSID: wewewe
PASS: 1qazxsw2
If it cannot connect to the network within 10 seconds, then it will start an access point with:
SSID: ESP8266Astro
PASS: 1qazxsw2
Of course you can edit the code and change these things.
So either you connect your smartphone to the same wifi AP or connect to the initiated access point. In order to access the control page, type http://esp8266astro to a Bonjour enabled browser or download BonjourBrowers on your Android device (https://play.google.com/store/apps/details?id=de.wellenvogel.bonjourbrowser)

ESP-01S Relay Module that I used - broken out-of-the-box https://www.banggood.com/ESP8266-ESP01-WIFI-Transceiver-Wireless-Module-USB-To-ESP8266-Serial-Adapter-Wireless-WIFI-Develoment-Board-p-1408866.html?rmmds=search&cur_warehouse=CN
How to fix the cheap ESP-01S ESP8266 relay modules - https://www.youtube.com/watch?v=Uq7ZfutOSSg
Single cell BMS for power https://www.banggood.com/5-Pcs-TP4056-Micro-USB-5V-1A-Lithium-Battery-Charging-Module-Board-TE585-Lipo-Charger-p-1255762.html?rmmds=search&cur_warehouse=CN
you will need to edit the code to point to the correct GPIO in order for the relay to work with the base ESP8266 board.


