A music recommender system that aid users in searching for suitable music based on their current emotional state.
Explore the docs »
Table of Contents
Finding the perfect song to match an individual’s mood is time-consuming and frustrating. Individuals would find themselves rounding in circles due to limited music knowledge and lack of adventurousness in exploring songs in different genres. Addressing these challenges would significantly enhance the enjoyment of music and make it easier for individuals to find songs that truly evoke and express their emotions.
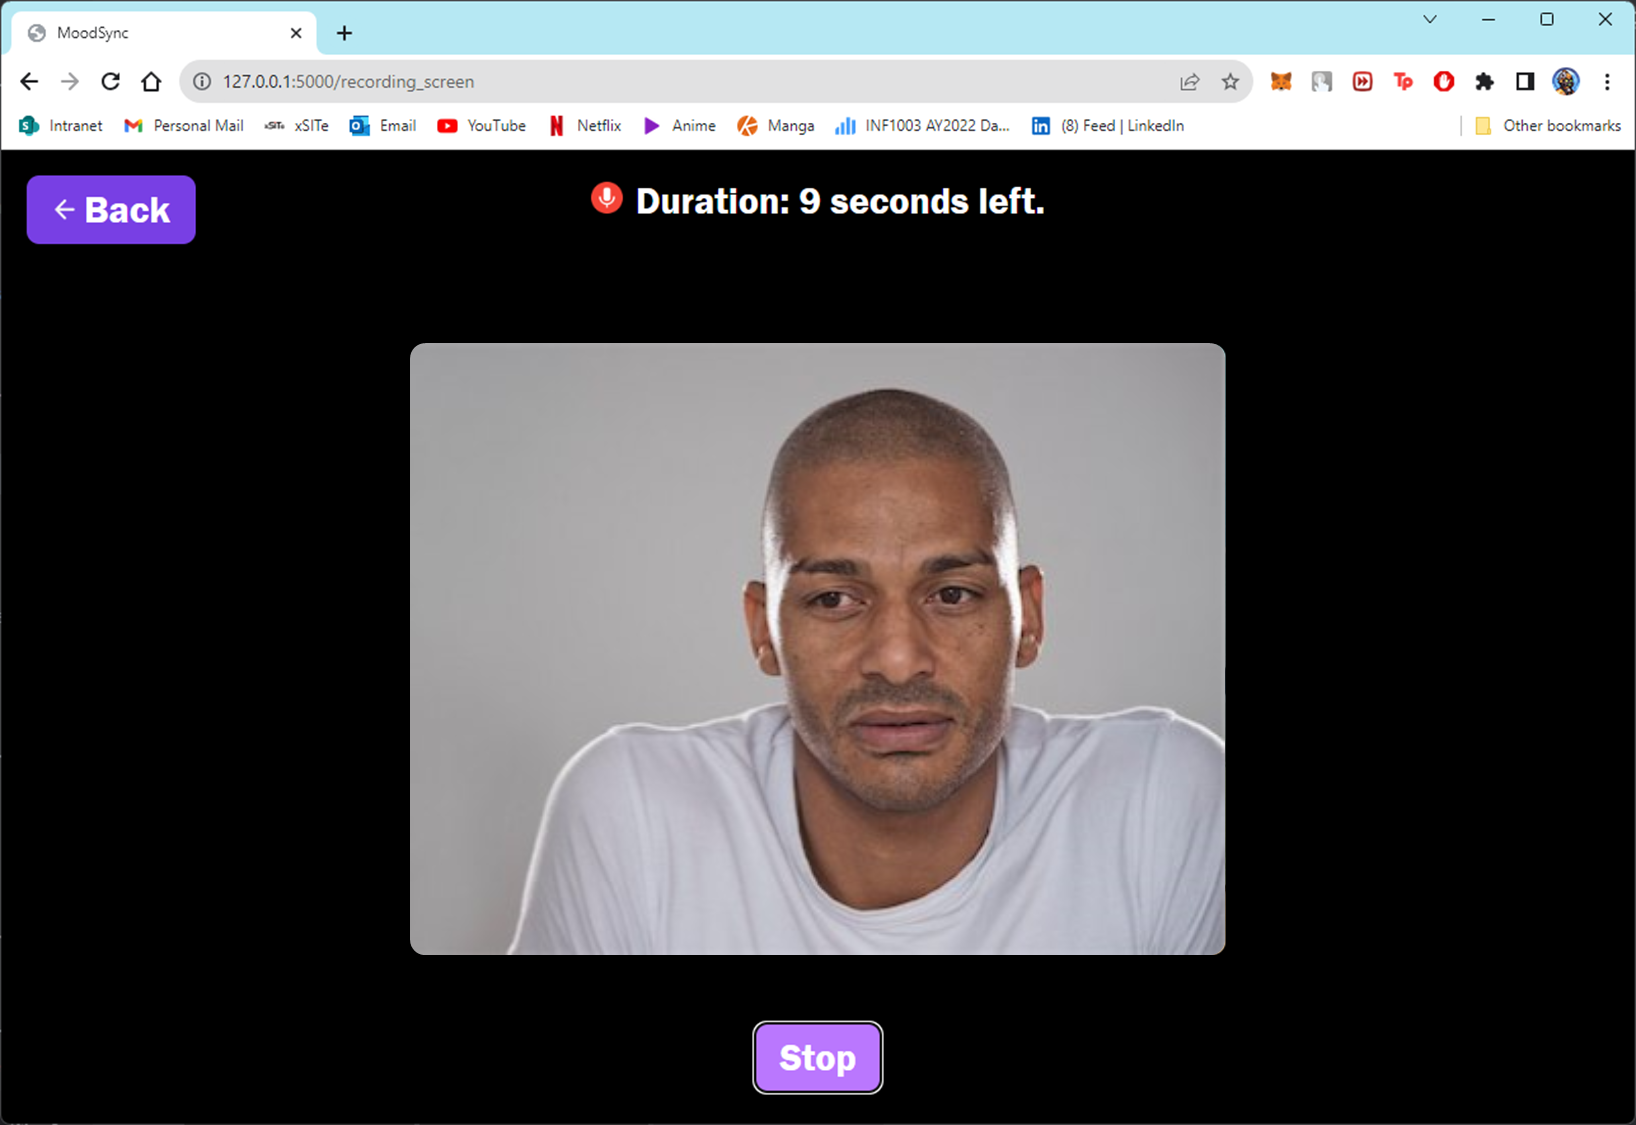
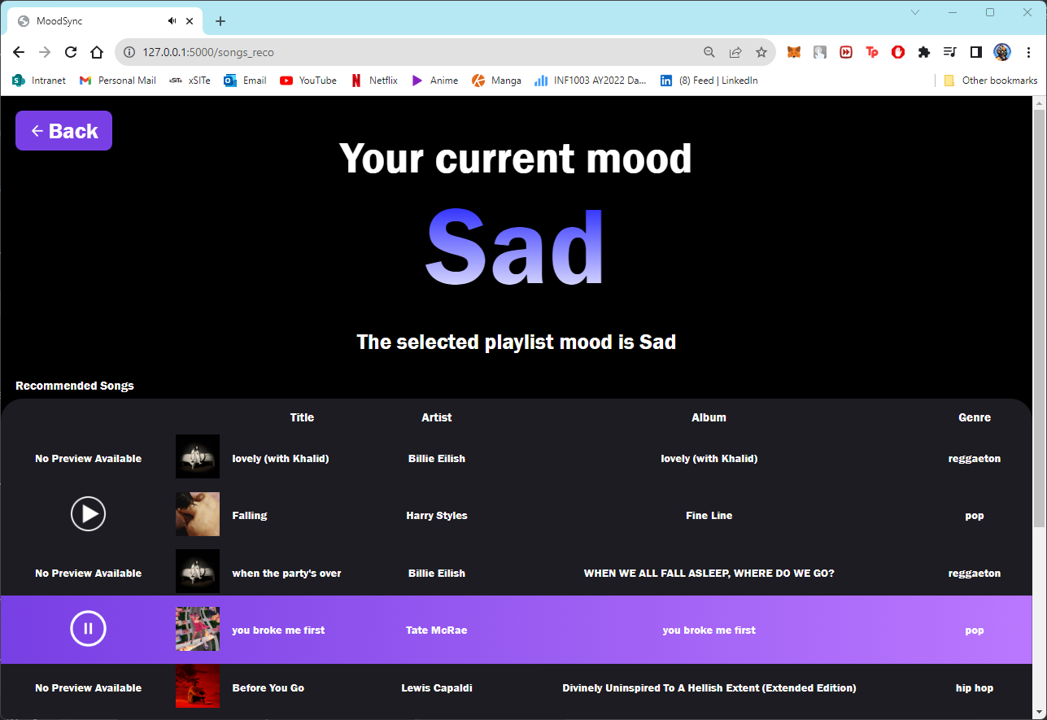
MoodSync uses OpenCV Library to allow users to record a video of their facial expression. This input will then be utilized by the ResNet50V2 Model for emotional analysis / prediction, providing the users with a curated playlist of songs that match their current emotion.
This is an example of how you may give instructions on setting up your project locally. To get a local copy up and running follow these simple example steps.
This is an example of how to list things you need to use the software and how to install them.
- Install packages with pip
pip install -r requirements.txt
-
Clone the repository:
git clone https://github.com/DerrickLJH/EmotionBasedMusicRecommender.git
-
Download and extract the ResNet50v2 Model folder and place in the repository.
-
Download and install MariaDB at https://mariadb.org/download, and set up a user.
-
Update the database credentials in source code obtained from the cloned repository.
conn_params = {
       'user' : 'root',
       'password': 'password',
       'host': 'localhost',
       'database': 'dataengproj'
}
-
Uncomment lines 244-245 and run the
backend.pyfile. (Remember to comment it back after executingbackend.py)# Run the code create_table(conn_params) insert_values(conn_params)
Open a terminal or command prompt, navigate to the directory containing the backend.py file, and execute the file using the Python interpreter.
(venv) PS C:\Users\isaac\PycharmProjects\pythonProject>python backend.py
Should output as:
Connecting to the database...
Table created successfully.
Database connection closed.
Connecting to the database...
Data inserted successfully into table.
Database connection closed.
Connecting to the database...
Database connection closed.
Number of tables in 'dataengproj': 1

Process finished with exit code 0
-
Enter your Spotify Developer Web API CLIENT_ID and CLIENT_SECRET into the
.envfile.CLIENT_ID = 'ENTER YOUR CLIENT_ID'; CLIENT_SECRET = 'ENTER YOUR CLIENT_SECRET';
-
Open a terminal or command prompt, navigate to the directory containing the
main.pyfile, and execute the file using the Python interpreter.(venv) PS C:\Users\isaac\PycharmProjects\pythonProject>python main.py
Should output as:
(venv) PS C:\Users\isaac\PycharmProjects\pythonProject>python main.py
File downloaded successfully.
 * Serving Flask app 'main'
 * Debug mode: on
WARNING: This is a development server. Do not use it in a production deployment. Use a production WSGI server instead.
 * Running on http://127.0.0.1:5000
Press CTRL+C to quit
 * Restarting with watchdog (windowsapi)
File downloaded successfully.


