Tutorial W03 - Settings things up
Getting started
Login to the cluster
$ ssh –Y USERNAME@euler.ethz.chSetup git
-
Generate ssh key
$ ssh-keygen -t ed25519
-
Print your public key
$ cat ./ssh/id_ed25519.pub
-
Copy the public key to Github as done in tutorial 0.
-
Login
$ ssh -T git@github.com
-
Clone repo:
$ git clone git@github.com:Digital-Humans-23/tutorial-w03-YOURACCOUNT.git
Installing conda (Linux / Cluster instructions):
-
Navigate to home folder
$ cd -
Download and run installer.
$ wget https://repo.anaconda.com/miniconda/Miniconda3-py39_23.1.0-1-Linux-x86_64.sh
$ chmod +x ./Miniconda3-py39_23.1.0-1-Linux-x86_64.sh
$ ./Miniconda3-py39_23.1.0-1-Linux-x86_64.sh
-
Accept License terms.

-
Press enter to accept default installation.

-
Allow installer to initialize Miniconda
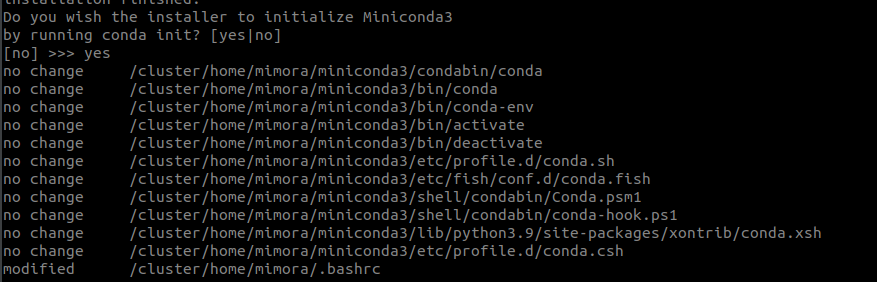
-
Disable activation of conda by default (Optional but recommended)
$ source .bashrc
$ conda config --set auto_activate_base false
-
We start with conda to set up an environment with the minimum dependencies.
$ conda create --name simpleEnv python=3.9.2
$ conda activate simpleEnv
-
Navigate to path of repo folder e.g.
$ cd <PATH TO repo folder>
-
Install requirements
$ pip install -r requirements.txt


Compile on server
- Build
pycrl.so(python wrapper of pycrl C++ libraries)$ mkdir build && cd build $ env2lmod $ module load gcc/8.2.0 python/3.9.9 cmake/3.25.0 freeglut/3.0.0 libxrandr/1.5.0 libxinerama/1.1.3 libxi/1.7.6 libxcursor/1.1.14 mesa/17.2.3 eth_proxy # IMPORTANT: If you use a conda environment, you should add # -DPython_EXECUTABLE=<PYTHON INTERPRETER PATH> (Use absolute paths) e.g.: # cmake -DPython_EXECUTABLE=/cluster/home/mimora/miniconda3/envs/simpleEnv/bin/python3 -DCMAKE_BUILD_TYPE=Release ../ $ cmake -DPython_EXECUTABLE=/cluster/home/<YOUR_USERNAME>/miniconda3/envs/simpleEnv/bin/python3 -DCMAKE_BUILD_TYPE=Release ../ $ make # Return to repo folder $ cd ..
Run jobs on server
- Run job
$ sbatch ./jobs/01_simple_job
- Monitor job
$ watch -n 1 squeue # Press Ctrl+C to stop monitoring the job - Check that job was run successfully (It should print
Done)$ cat ./jobs/simple_job.out