A concise skeleton for building single-page web apps with Angular 2, Flask, PostgreSQL, and Heroku.
- Quickstart
- Overview
- Dependencies
- File Structure
- Database
- Setting Up the Database
- Deployment
- Resources for Learning
- Additional Helpful Tools
- Frequently Asked Questions
- OpenSSH (required - for Windows users only)
- git (required)
- VirtualBox (required)
- Vagrant (required)
git clone https://github.com/maangulo12/starter-kit.gitcd starter-kitvagrant up This step may take some time. Please be patient.
vagrant ssh It may ask you to enter a passphrase and a password.
Passphrase for key: (just press Enter)
Password: vagrant
cd /vagrant/gulp8. Open http://localhost:3000:
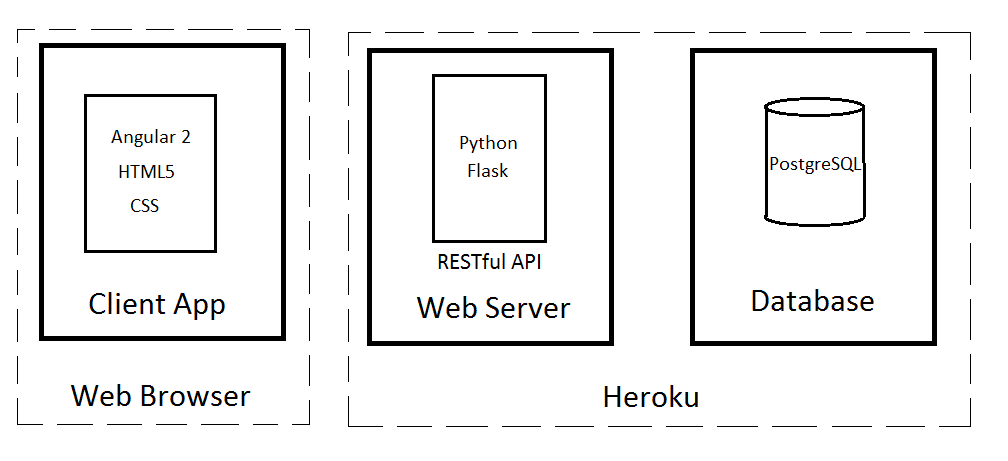
The Starter-Kit aims to provide a starting template with all the tools necessary for building single-page applications on the cloud. The project consists of the following stack:
- PostgreSQL as the database engine for storing the data.
- Python as the server-side language and Flask as the framework for building the RESTful API.
- Angular 2 as the client-side framework for creating the client application that runs in the web browser.
- Heroku as the platform/service for deploying the application to the cloud.
Before getting started with the Starter-Kit, a few dependencies need to be installed first. These dependencies include:
- OpenSSH (required - for Windows users only)
- git (required)
- VirtualBox (required)
- Vagrant (required)
Download these if you have not already download them.
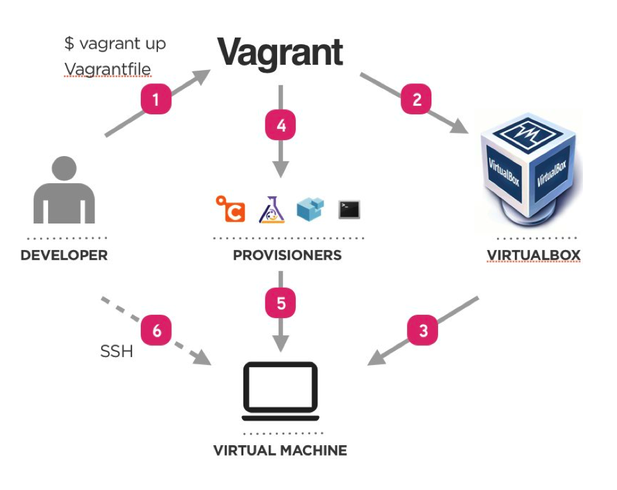
You will need to install these dependencies so that the Starter-Kit works accordingly. The Starter-Kit uses both Vagrant and VirtualBox to setup and configure a virtual machine that will allow you to run the application inside the virtual machine. This virtual machine is configured using a Vagrantfile that will install dependencies inside the virtual machine in order to run the application. Notice that the application will run inside the virtual machine, and not your local computer. Vagrant will also install PostgreSQL and will setup the database for your application. A picture of how Vagrant and VirtualBox work together is illustrated below.
For more information about Vagrant, go to this link.
starter-kit/
 ├──backend/                   * our backend (server-side) code folder
 |   ├──__init__.py            * our main module for this app
 |   ├──config.py              * our app config module
 |   ├──models.py              * our database models
 │   ├──view.py                * our app views
 │   │
 │   └──api/                   * our API folder
 │       └──v1/                * our API v1 folder
 |           ├──__init__.py    * our API v1 package module
 |           ├──auth.py        * implements the API v1 endpoint for authentication
 │           └──endpoints.py   * implements the API v1 endpoints
 │                               (this module can be broken into multiple modules or packages)
 |
 ├──docs/                      * contains documentation about the starter-kit
 |   └──all files                (this folder should be deleted after downloading the starter-kit)
 │
 ├──frontend/                  * our frontend (client-side) code folder
 |   ├──app/                   * our Angular 2 app folder (all the app components go in here)
 |   ├──assets/                * our assets folder (contains all CSS, images, and JavaScript files)
 |   ├──build/                 * our build folder (contains all the compiled files)
 |   ├──index.html             * our index (initial) page
 │   └──systemjs.config.js     * our SystemJS config file
 │
 ├──local/                     * our local config folder
 │   ├──pg_hba.conf            * config file used by Vagrant for authenticating to the local database
 │   └──pg_ident.conf          * config file used by Vagrant for authenticating to the local database
 |
 ├──.gitignore                 * specifies files that git should ignore
 ├──app.json                   * specifies information required to run the app on Heroku
 ├──gulpfile.js                * our build system file for automating tasks
 ├──manage.py                  * our Python script for performing commands
 ├──package.json               * specifies our Node dependencies
 ├──Procfile                   * what Heroku uses to deploy the app
 ├──README.md                  * README file
 ├──requirements.txt           * specifies our Python dependencies
 ├──runtime.txt                * specifies our Python runtime version
 ├──server.py                  * our Python script for running the app
 ├──tsconfig.json              * specifies options for the TypeScript compiler
 ├──typings.json               * specifies packages needed by the TypeScript compiler
 └──Vagrantfile                * what Vagrant uses to configure the virtual machine
We use PostgreSQL as the database engine/server for this Starter-Kit. PostgreSQL is an object-relational database that enables us to store data securely and retrieve data using the relational database model. For more information about PostgreSQL, go to this link.
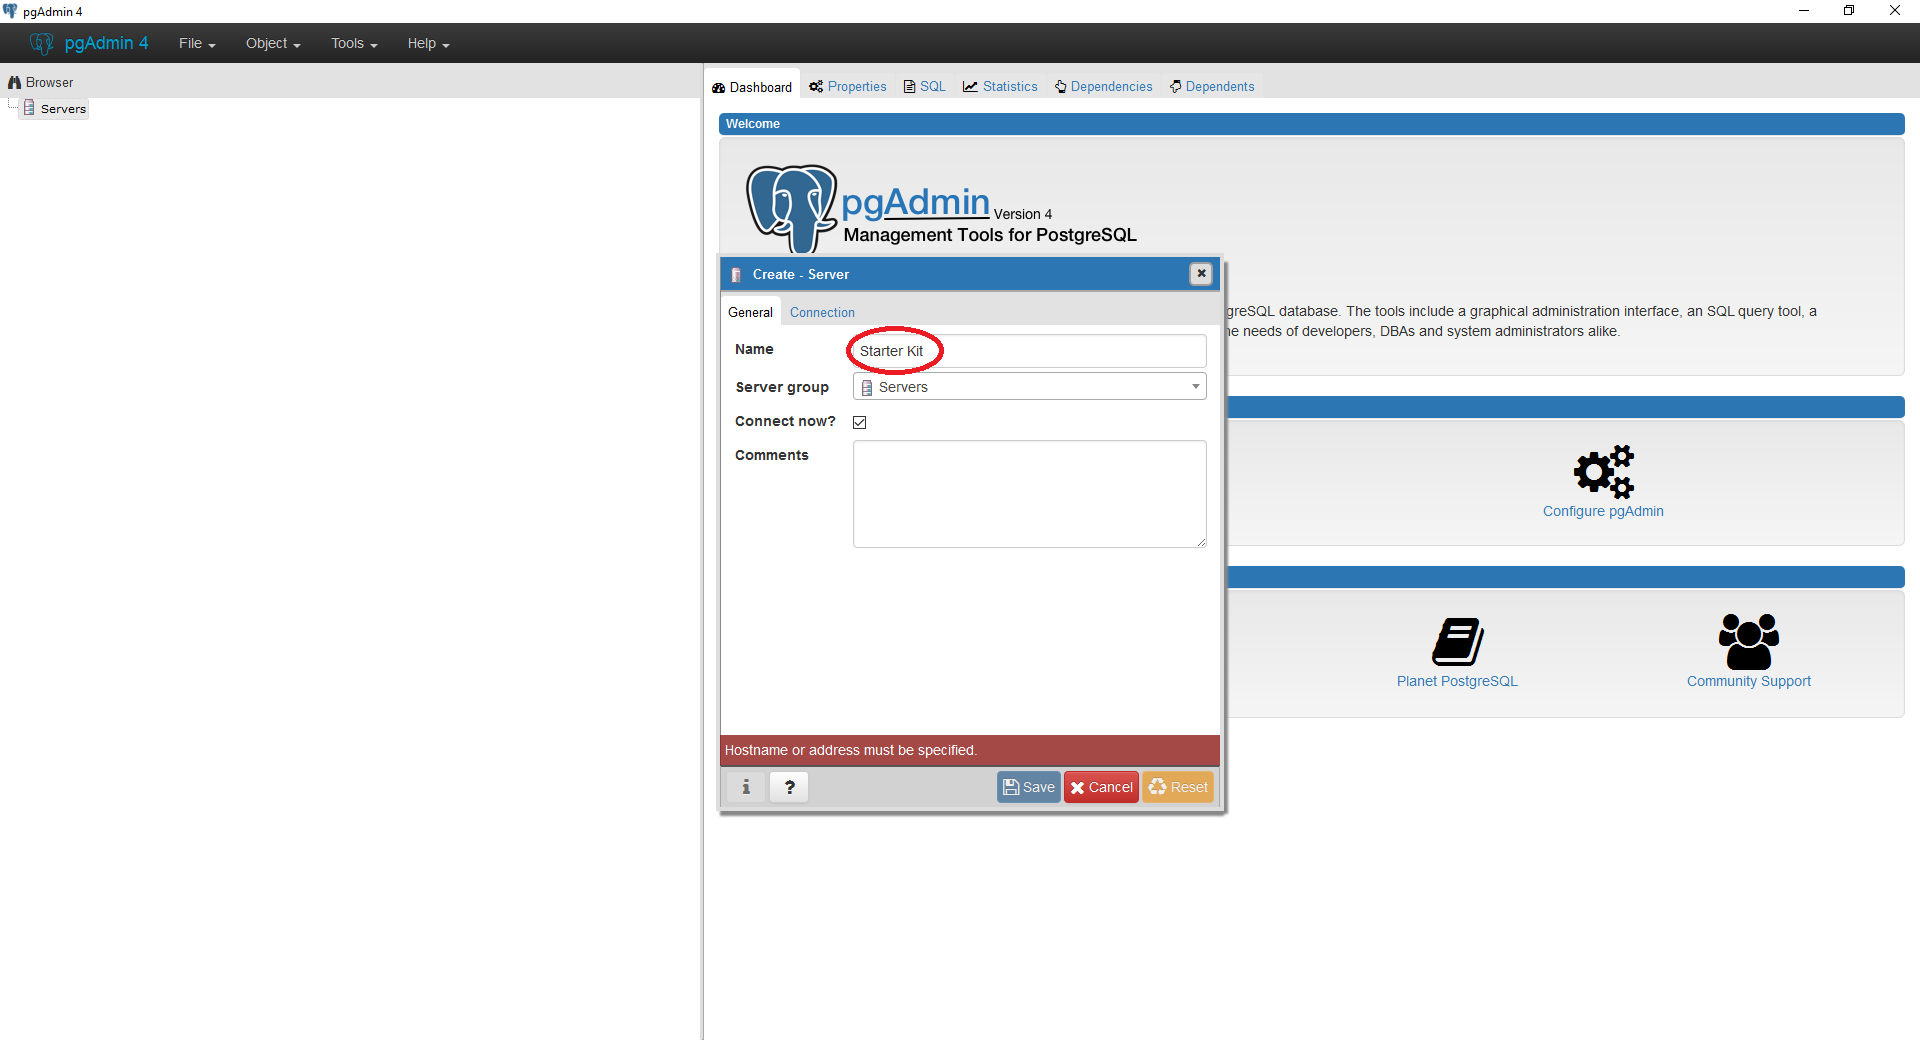
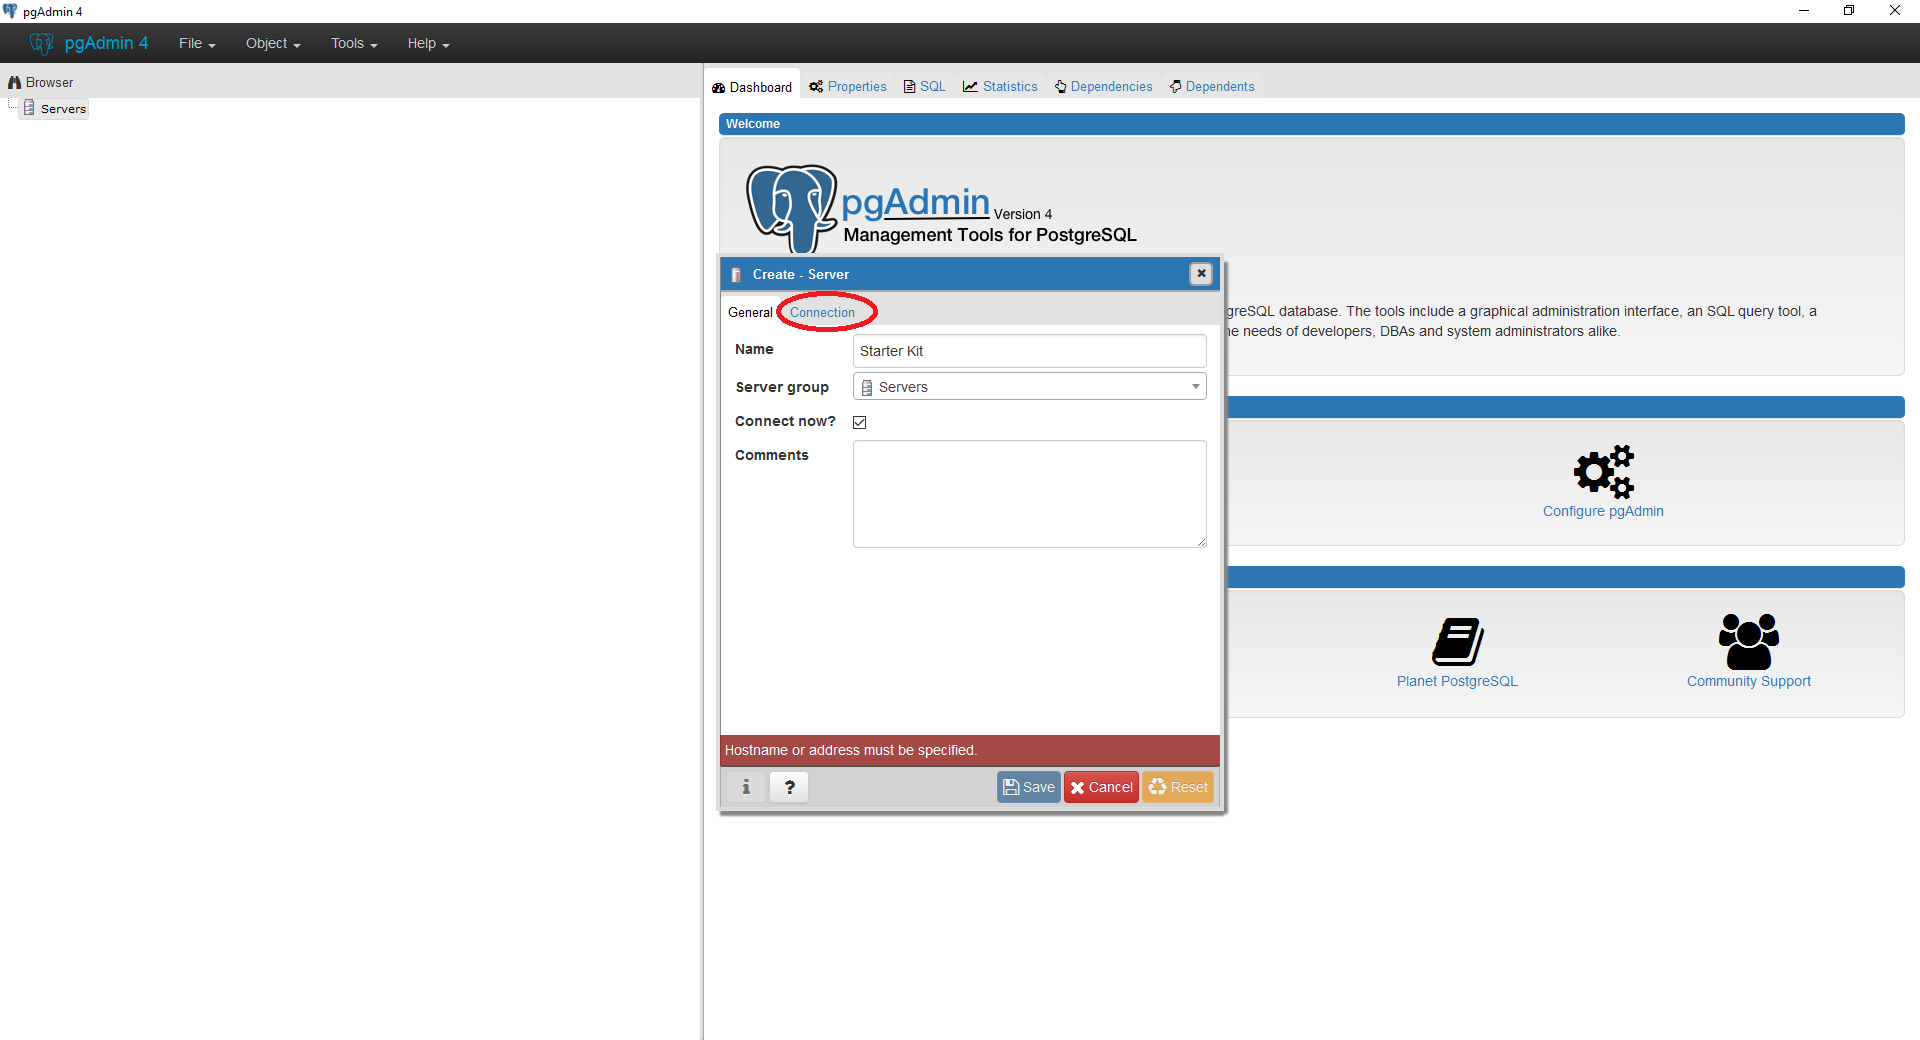
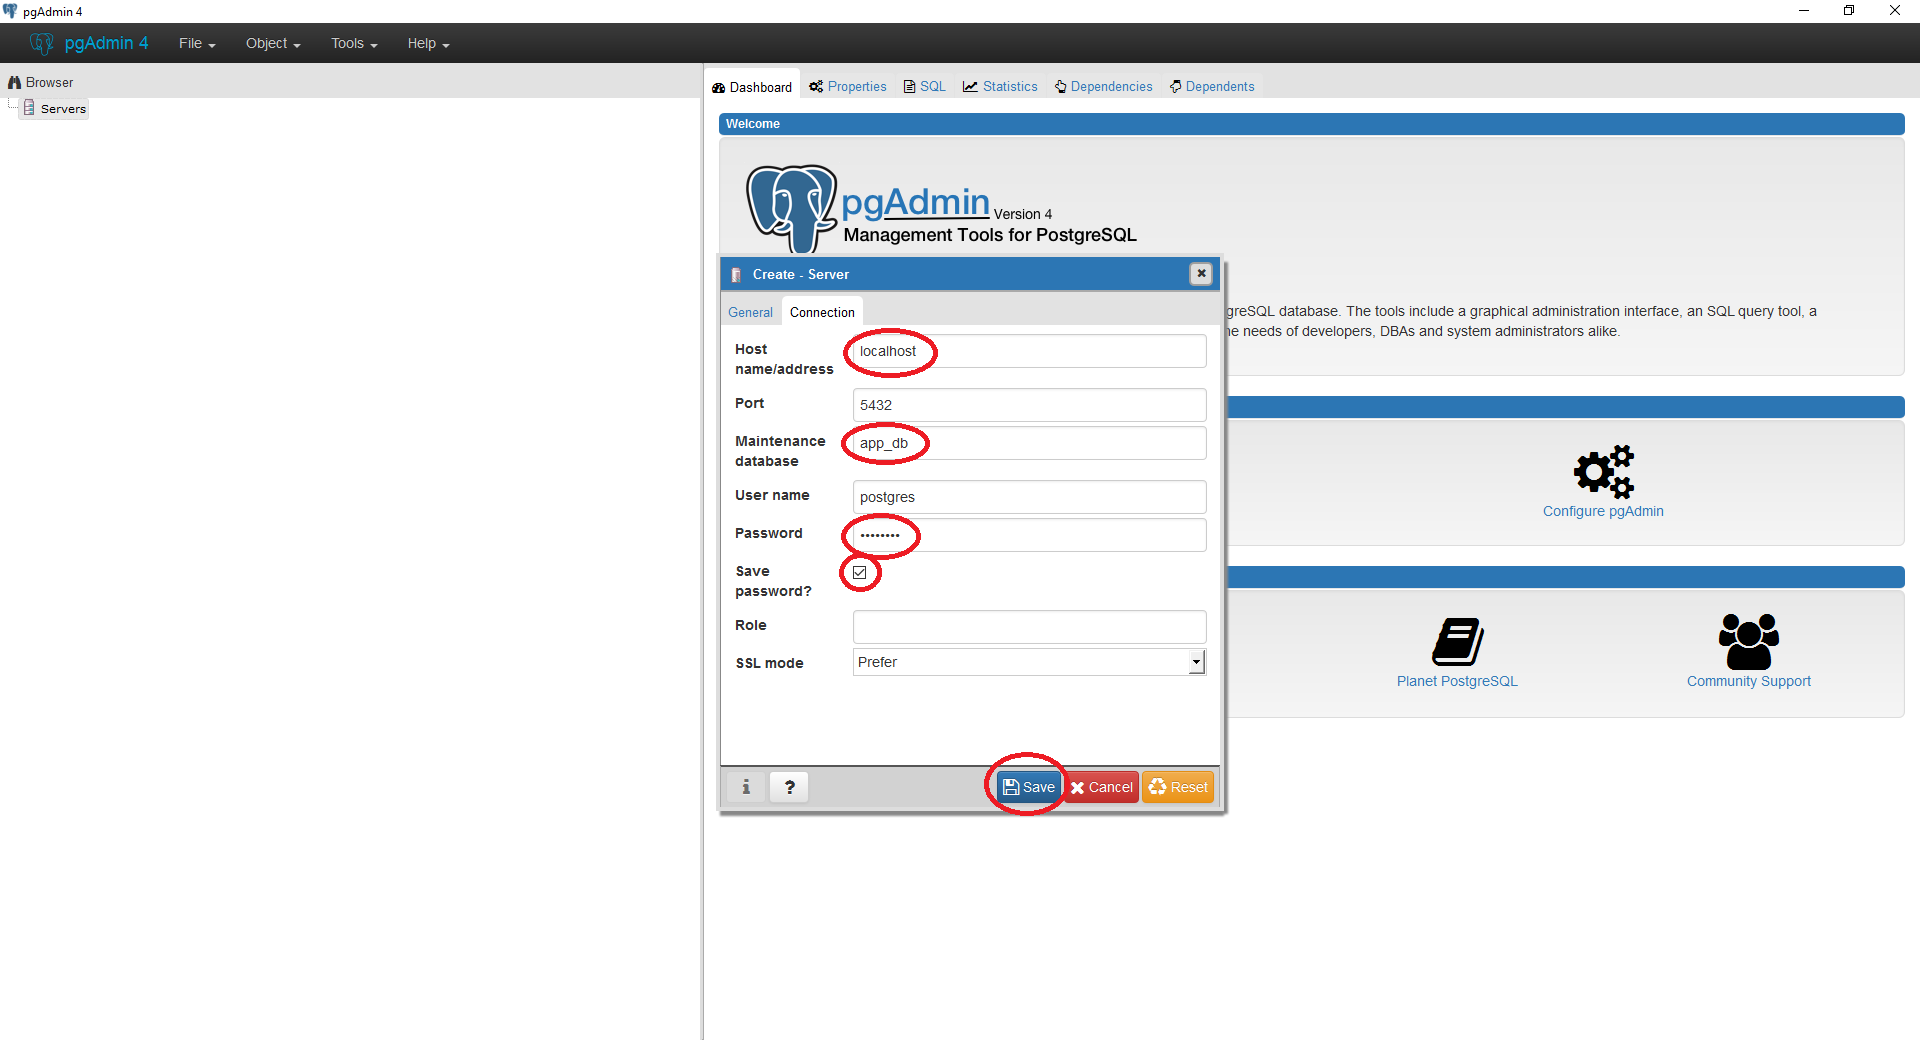
In this Starter-Kit, the PostgreSQL database is installed inside the virtual machine (thanks to Vagrant). The database can be viewed through a client application using the crendentials below.
Host:     localhost
Port:     5432
Database: app_db
Username: postgres
Password: password
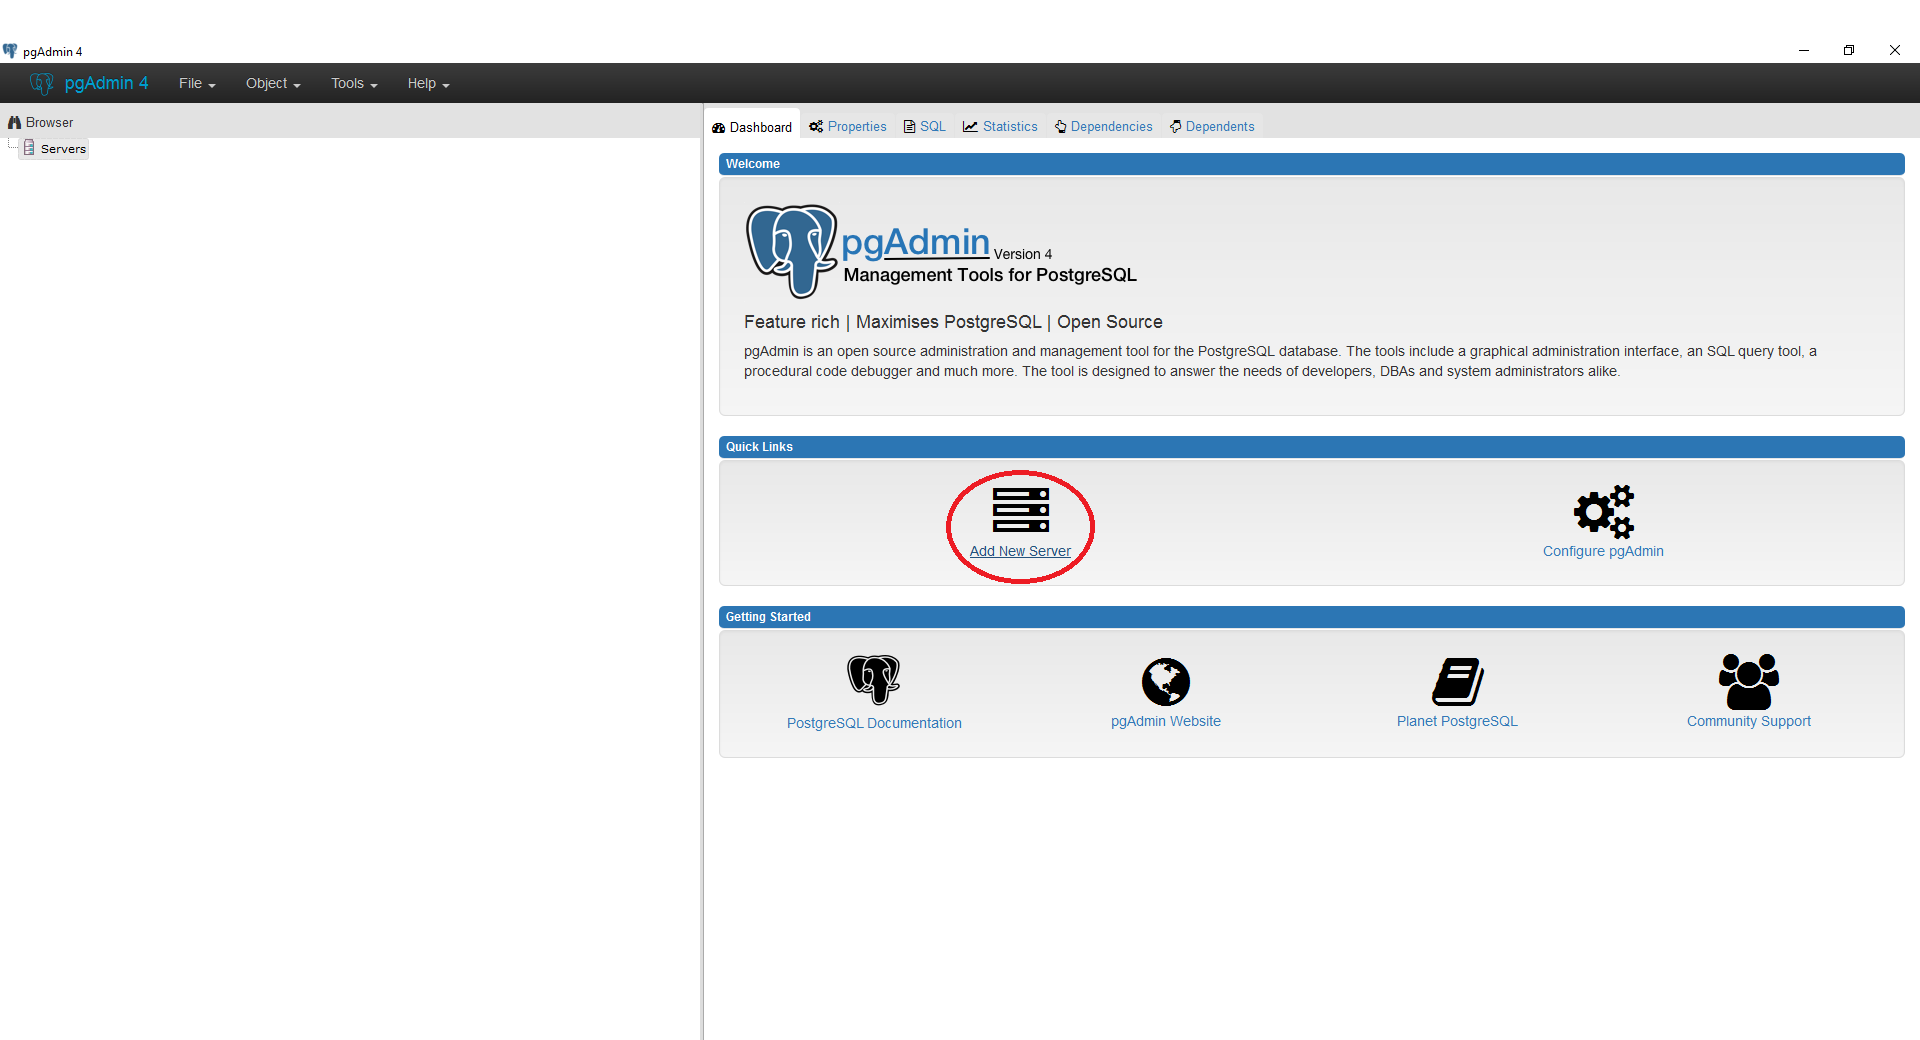
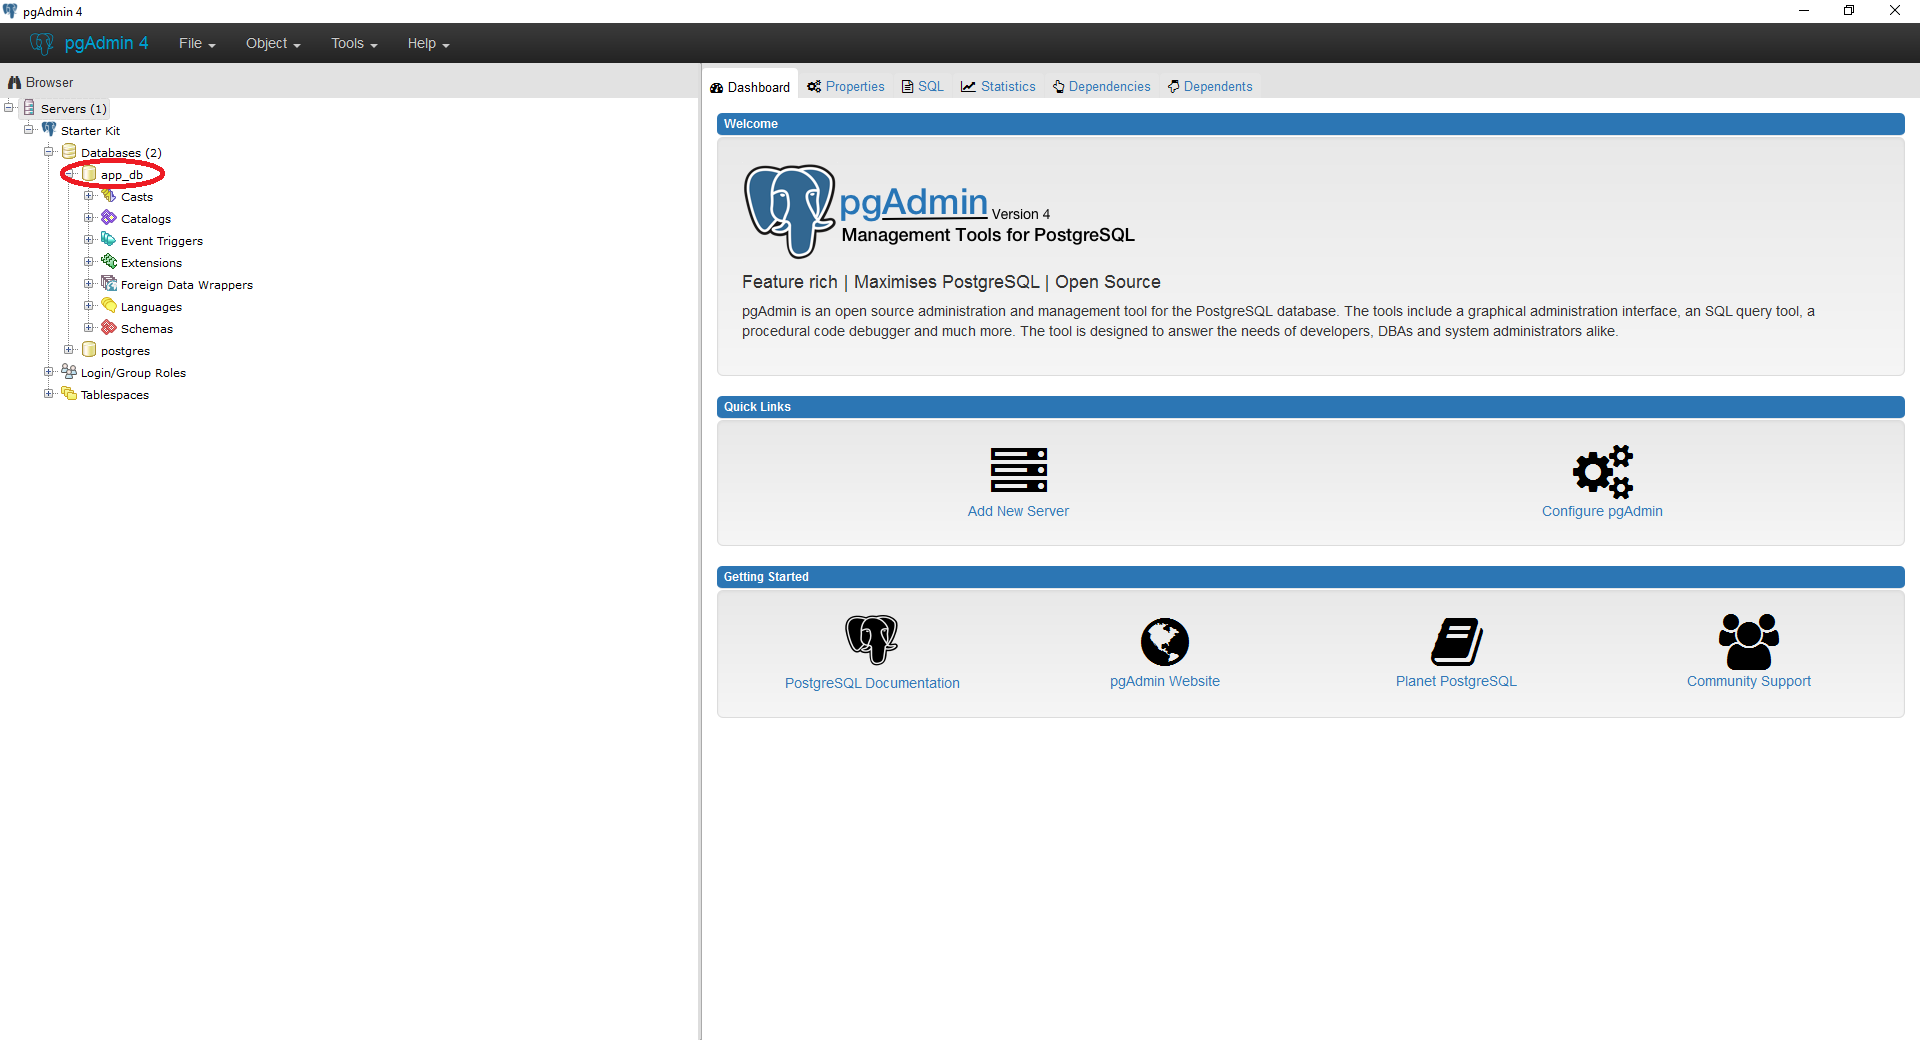
pgAdmin is a free to use, open-source management, and administration client for PostgreSQL. pgAdmin can be used to manage and view your database, tables, and data. To download pgAdmin, go to this link.
In this Starter-Kit, we use a script called manage.py to automate the process of setting up the database. This script is used to automatically create the tables in the database from the Python models. Here is how you can use it.
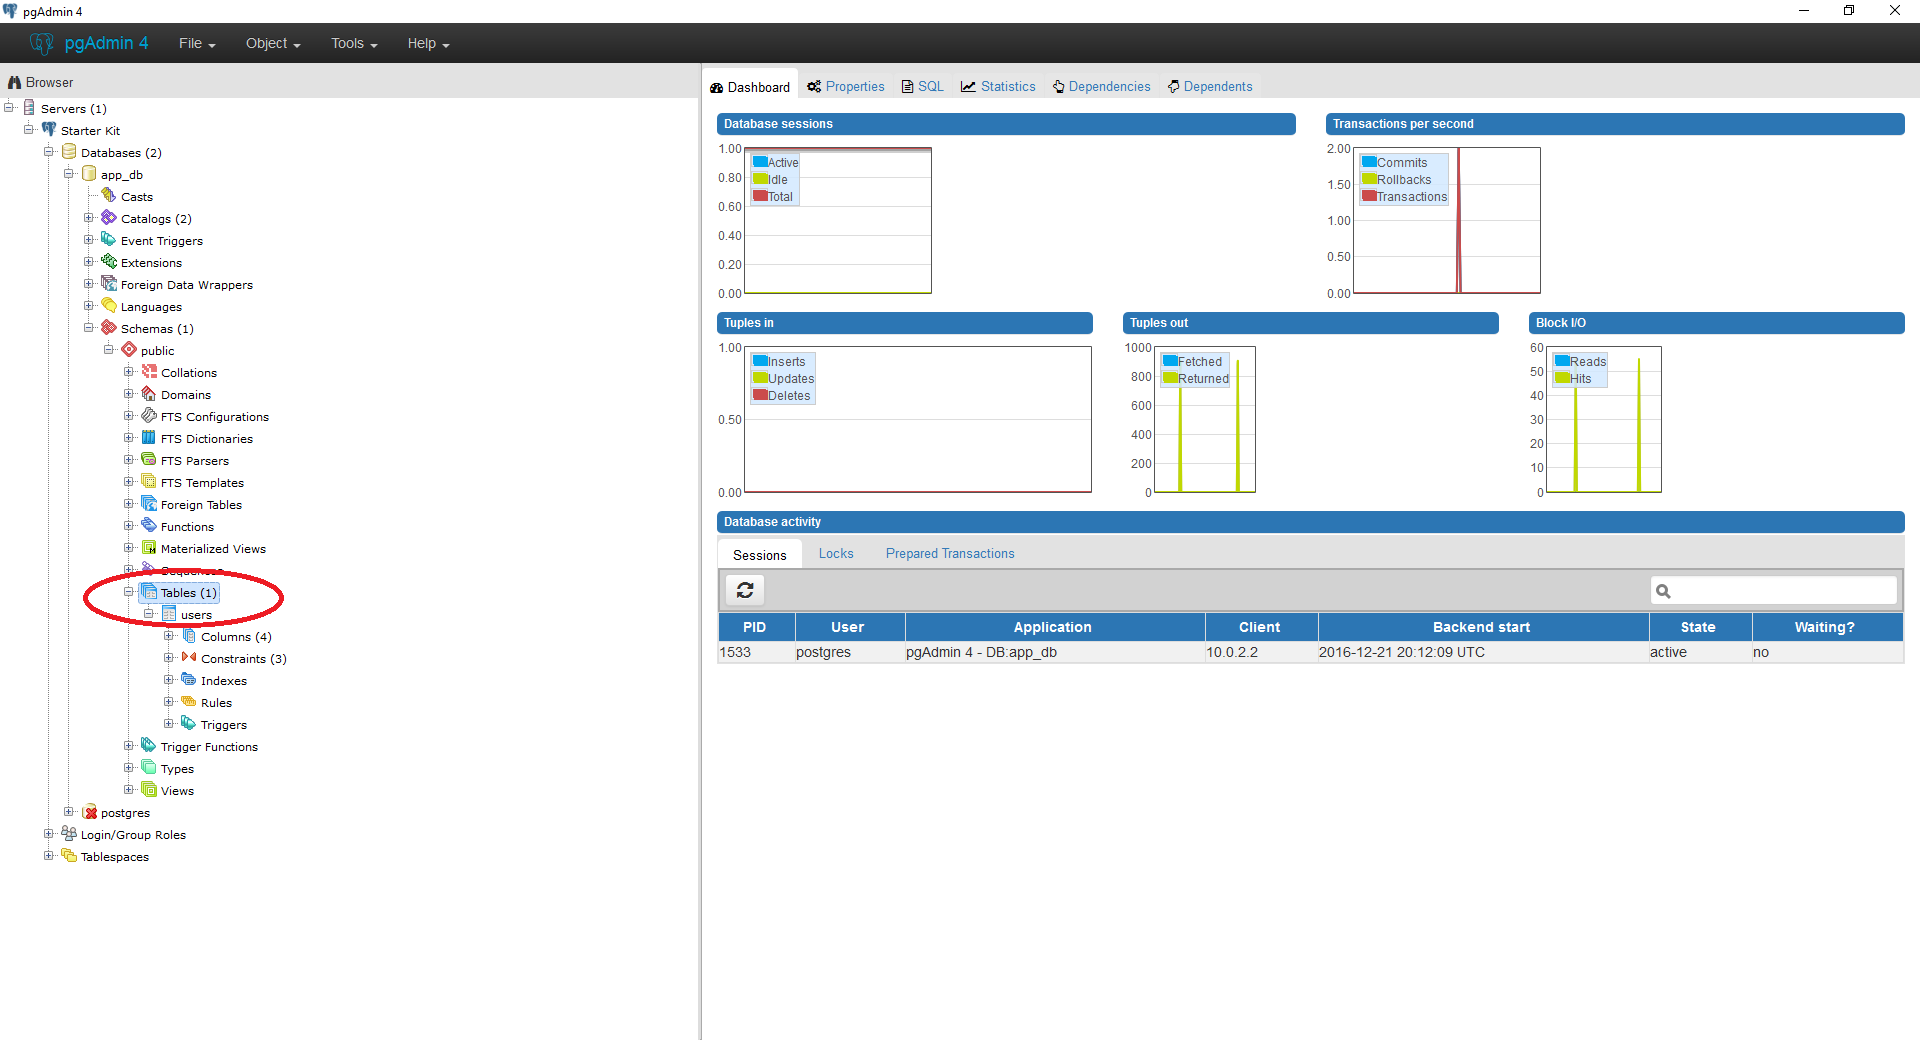
After implementing all the Python models, use this command to create the tables in the database. Make sure you are inside the vagrant folder in the virtual machine.
python3 manage.py create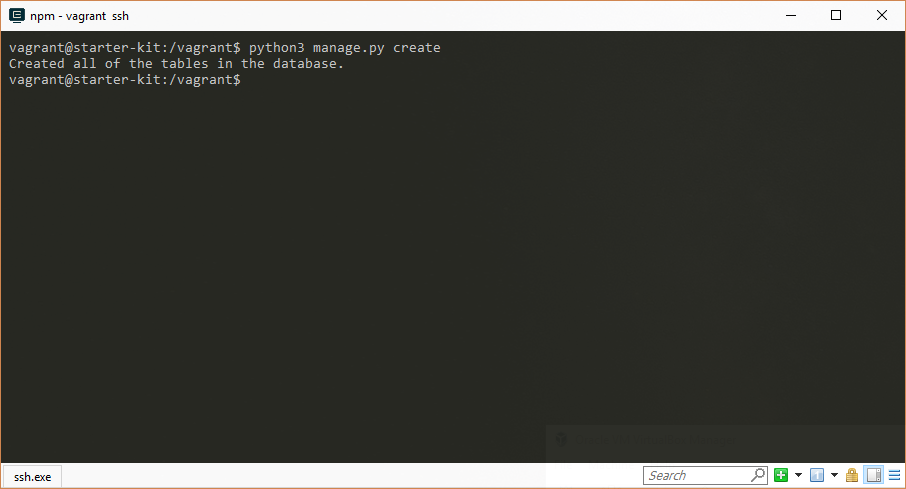 You can view the new tables created in pgAdmin.
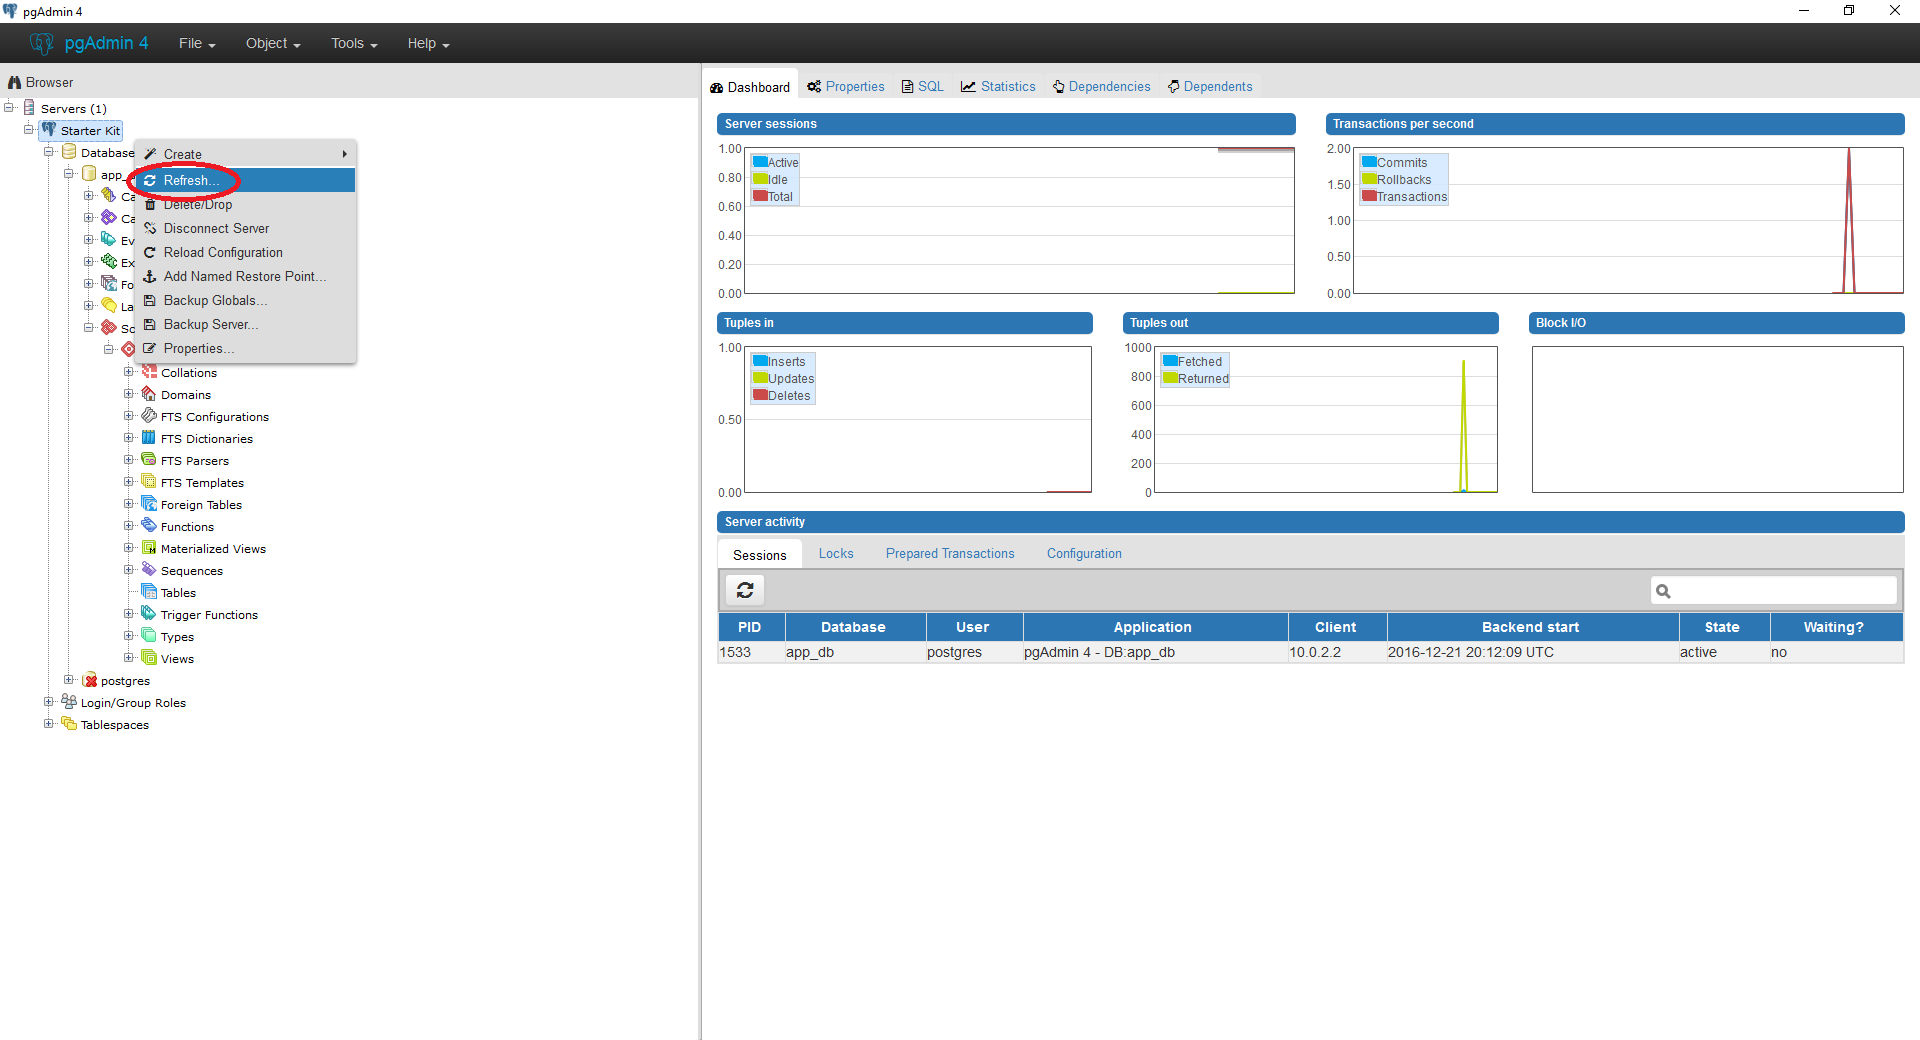
Use this command to drop all the tables from the database. Make sure you are inside the vagrant folder in the virtual machine.
python3 manage.py drop You can check if the tables were dropped in pgAdmin.
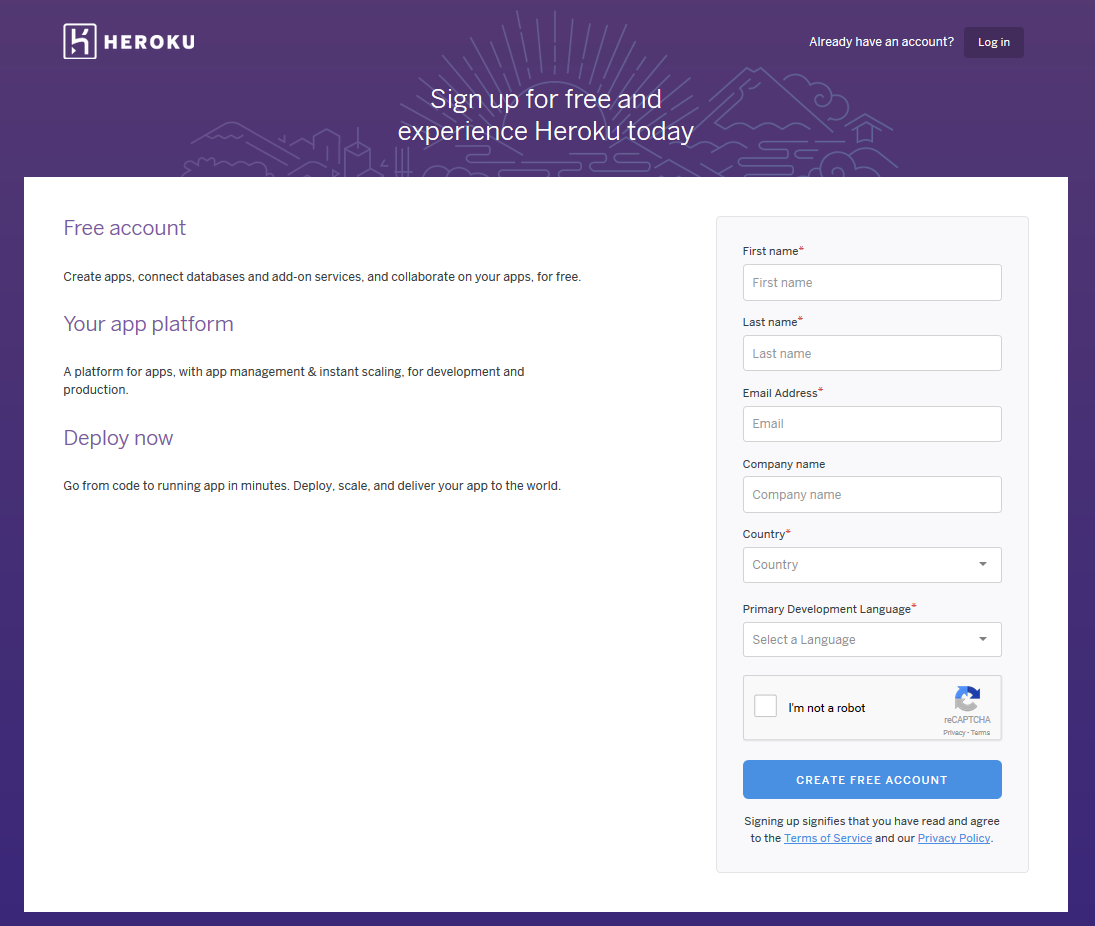
To deploy the app on Heroku, first create an account on Heroku.
After creating the account, open the command-line and type the following and make sure you are inside the virtual machine.
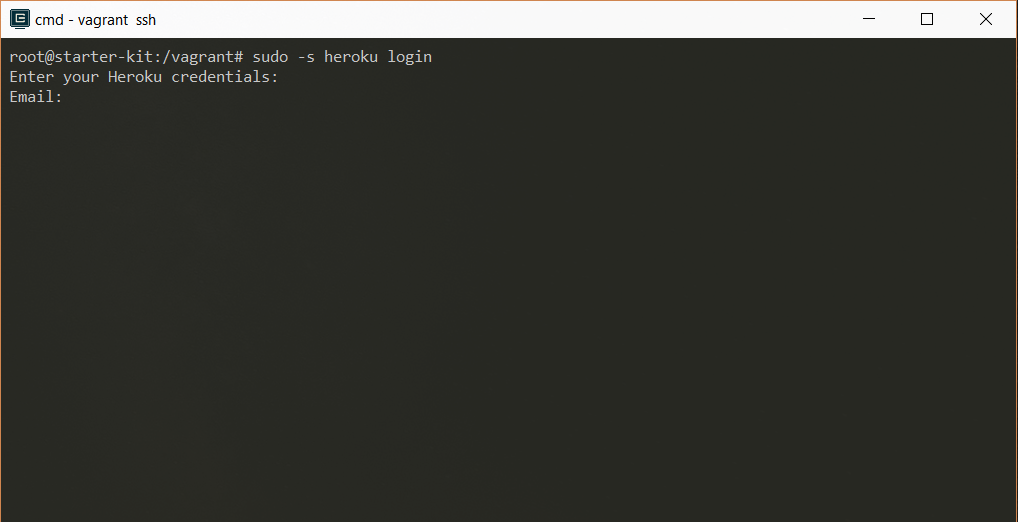
heroku loginAfter login into Heroku via the command line, type the following command.
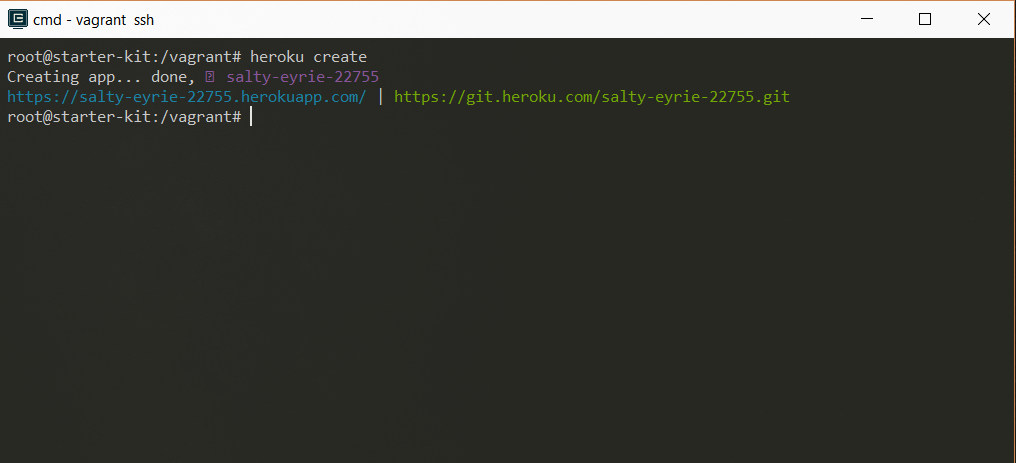
heroku createAfter creating the app, type the following command.
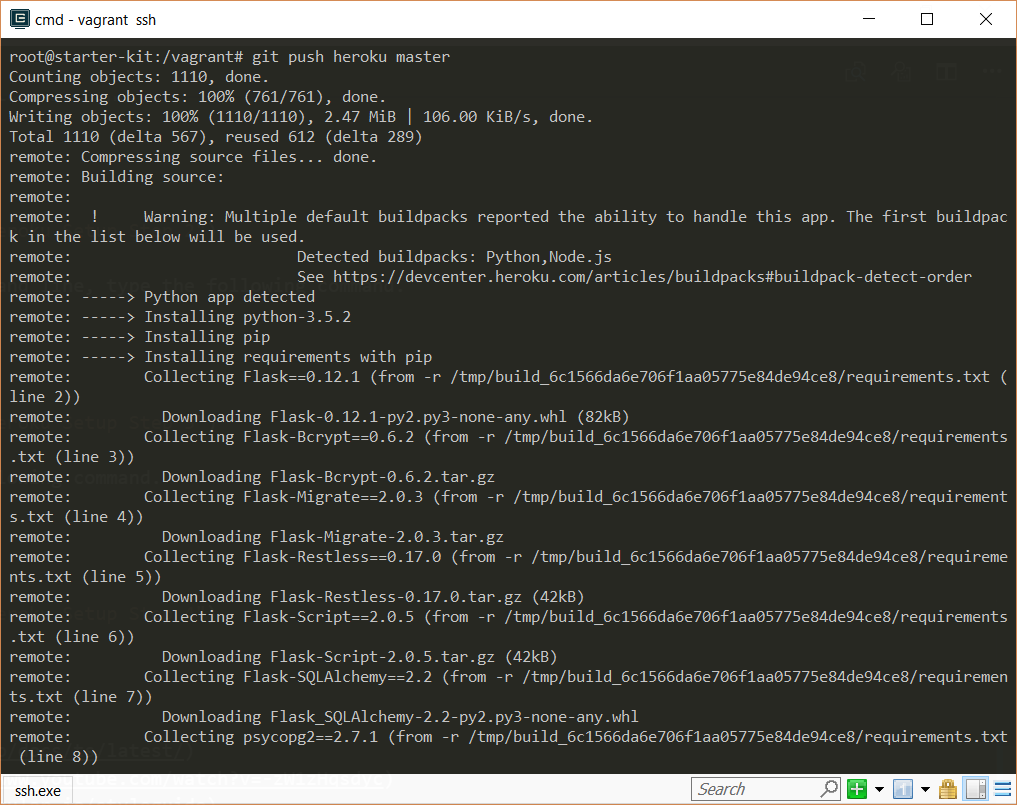
git push heroku master Now your app should be deployed on Heroku!
This Starter-Kit uses the following versions:
- Ubuntu Server 14.04 LTS 32-bit (Trusty Tahr)
- PostgreSQL 9.6 for the database
- Python 3.6.1 for the backend code
- Angular 2.0.0 for the frontend code
- Flask Website
- Flask-SQLAlchemy Docs
- SQLAlchemy Docs
- Flask-Restless Docs
- Flask-Script Docs
- Flask-Migrate Docs
- Flask-Bcrypt Docs
Follow steps 3 through 8 from above.
Close the browser. Restart the application. Cancel the gulp command (press CTRL-C) and run the gulp command once again. Open the browser again and go to http://localhost:3000. If that does not fix the issue, delete all the browser history and refresh the page again.


