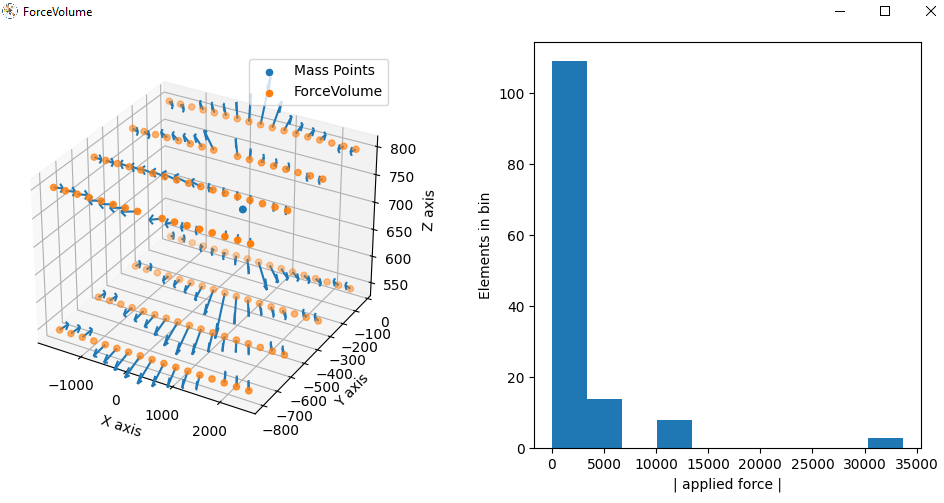
Rocket League modding tool, which assists in creating realistic gravity situations in custom maps
| Youtube Tutorial | Integrated plotting tool |
|---|---|
 |
 |
- Install Pyhton 3 if you havent already. Be sure to add Pyhton to the path and check the install box for tcl/tk and pip.
- Download this repository (either use git clone or download a zip file and extract it)
- Run InstallDependencies.bat once. This will download some python packages.
- Execute the mod with executeTool.bat
The following components in UDK will be used:
- Trigger: Represents a mass point.
- TAG: Defines the mass in kilograms
- Collision Height: Min distance (no effect within this range)
- Collision Radius: Max distance (no effect afterwards)
- PathNode: Is used to store the force direction for every ForceVolume. They must be placed and linked manually!
- ForceVolume: Used to apply Force on game objects. Place them, where the the custom gravity should take effect.
- ForceMode: Allows different application modes for the constant force. This will be explained in the tool can be configured in step 8.
- Custom Force Dir.: Requires manual attachment. Each ForceVolume must have its own attached PathNode
- Create the rough shape of your map with mass points in mind.
- Place a single ForceVolume and PathNode.
- Reference the PathNode from the ForceVolume; Group both components. (grouping is useful, not required)
- Copy the group to wherever you need custom gravity CAUTION: UDK will only handle about ~750 items at once during some steps. Make sure, that your groupings are not bigger.
- Place and configure your Trigger objects (your mass points)
- Scelect all Triggers (i.e. Ctrl+A in the Scenes tab) and copy them to your clipboard
- Start the script and press enter, indicating that you have copied the Triggers.
- Copy a batch or all ForceVolumes with their PathNodes to your clipboard.
- Press enter in the mod tool.
- Delete your previously scelected items in UDK and paste your clipboard.
- Press I then enter and jump to step 8 if you want to process further ForceVolumes
- Press V if you want so see a visualization
- PROFIT. Your ForceVolumes are now completely configured.
- Q: Does this tool change anything else that I have in my clipboard?
A: No. It doesn't change anything else. Copy as many things as you want. - Q: How do I reduce the amount of ForceVolumes I need to process?
A: Tricky one. The problem of course is, that depending on your mass point configuration, you will need a volume of little volumes. And this scales in n^3 along the edgelength.
The best option is to be smart about your ForceCube alignment and thus use larger ForceCubes. You could also use The Brush tool to generate the shape you need. - Q: Where do these questions even come from?
A: Off the top of my mind. But AMA on Discord (DoktorBotti#3406) or Telegram at @RL_GravityMod :)
