cmd run as administrator
V:

cd V:\DEEP_MOSAIC

git clone git@github.com:EKI-INDRADI/DeepMosaics_tested_20231105.git
cd DeepMosaics

cd  V:\DEEP_MOSAIC\DeepMosaics

conda create -n deep_mosaic_20231105 python=3.6
conda activate deep_mosaic_20231105

conda install pytorch torchvision torchaudio pytorch-cuda=11.8 -c pytorch -c nvidia
conda install torch opencv_pyth numpy matplotlib tensorboardX scikit-image cv2
pip install -r requirements.txt
run (ex : image removing blur)
python deepmosaic.py --media_path "input_file/mosaicimg.jpg" --model_path "pretrained_models/mosaic/clean_face_HD.pth" --gpu_id 0
run (ex : image removing mosaic youknow)
python deepmosaic.py --media_path "input_file/she.jpg" --model_path "pretrained_models/mosaic/clean_youknow_resnet_9blocks.pth" --gpu_id 0
run (ex : video removing mosaic youknow)
python deepmosaic.py --media_path "input_file/v_mosaic.mp4" --model_path "pretrained_models/mosaic/clean_youknow_video.pth" --fps 24 --gpu_id 0 -ss 00:00:00 -t 00:00:50 --result_dir "result" --mask_threshold 64
English | 中文
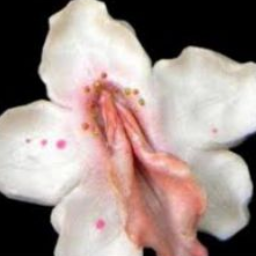
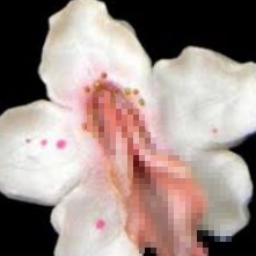
You can use it to automatically remove the mosaics in images and videos, or add mosaics to them.
This project is based on "semantic segmentation" and "Image-to-Image Translation".
Try it at this website!
| origin | auto add mosaic | auto clean mosaic |
|---|---|---|
 |
 |
 |
 |
 |
 |
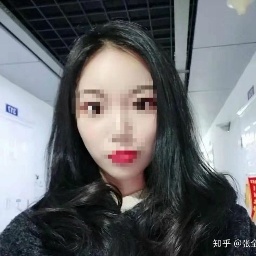
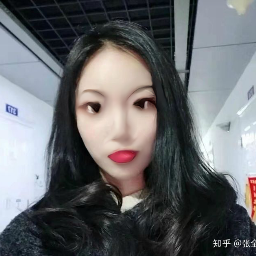
- Compared with DeepCreamPy
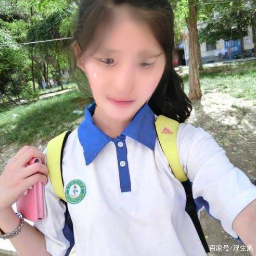
| mosaic image | DeepCreamPy | ours |
|---|---|---|
 |
 |
 |
 |
 |
 |
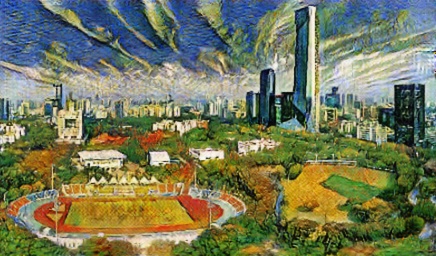
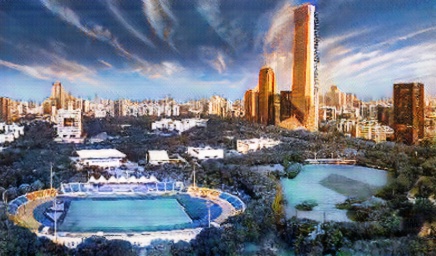
- Style Transfer
| origin | to Van Gogh | to winter |
|---|---|---|
 |
 |
 |
An interesting example:Ricardo Milos to cat
You can either run DeepMosaics via a pre-built binary package, or from source.
You can simply try to remove the mosaic on the face at this website.
For Windows, we bulid a GUI version for easy testing.
Download this version, and a pre-trained model via [Google Drive] [百度云,提取码1x0a]
- [Help document]
- Video tutorial => [youtube] [bilibili]
- Requires Windows_x86_64, Windows10 is better.
- Different pre-trained models are suitable for different effects.[Introduction to pre-trained models]
- Run time depends on computers performance (GPU version has better performance but requires CUDA to be installed).
- If output video cannot be played, you can try with potplayer.
- GUI version updates slower than source.
- Linux, Mac OS, Windows
- Python 3.6+
- ffmpeg 3.4.6
- Pytorch 1.0+
- CPU or NVIDIA GPU + CUDA CuDNN
This code depends on opencv-python, torchvision available via pip install.
git clone https://github.com/HypoX64/DeepMosaics.git
cd DeepMosaicsYou can download pre_trained models and put them into './pretrained_models'.
[Google Drive] [百度云,提取码1x0a]
[Introduction to pre-trained models]
In order to add/remove mosaic, there must be a model file mosaic_position.pth at ./pretrained_models/mosaic/mosaic_position.pth
(Optional) Create a virtual environment
virtualenv mosaic
source mosaic/bin/activate
Then install the dependencies
pip install -r requirements.txtIf you can not build scikit-image, running export CFLAGS='-Wno-implicit-function-declaration then try to rebuild.
- Add Mosaic (output media will be saved in './result')
python deepmosaic.py --media_path ./imgs/ruoruo.jpg --model_path ./pretrained_models/mosaic/add_face.pth --gpu_id 0- Clean Mosaic (output media will save in './result')
python deepmosaic.py --media_path ./result/ruoruo_add.jpg --model_path ./pretrained_models/mosaic/clean_face_HD.pth --gpu_id 0If you see the error Please check mosaic_position_model_path!, check if there is a model file named mosaic_position.pth at ./pretrained_models/mosaic/mosaic_position.pth
If you want to test other images or videos, please refer to this file.
[options_introduction.md]
If you want to train with your own dataset, please refer to training_with_your_own_dataset.md
This code borrows heavily from [pytorch-CycleGAN-and-pix2pix] [Pytorch-UNet] [pix2pixHD] [BiSeNet] [DFDNet] [GFRNet_pytorch_new].


