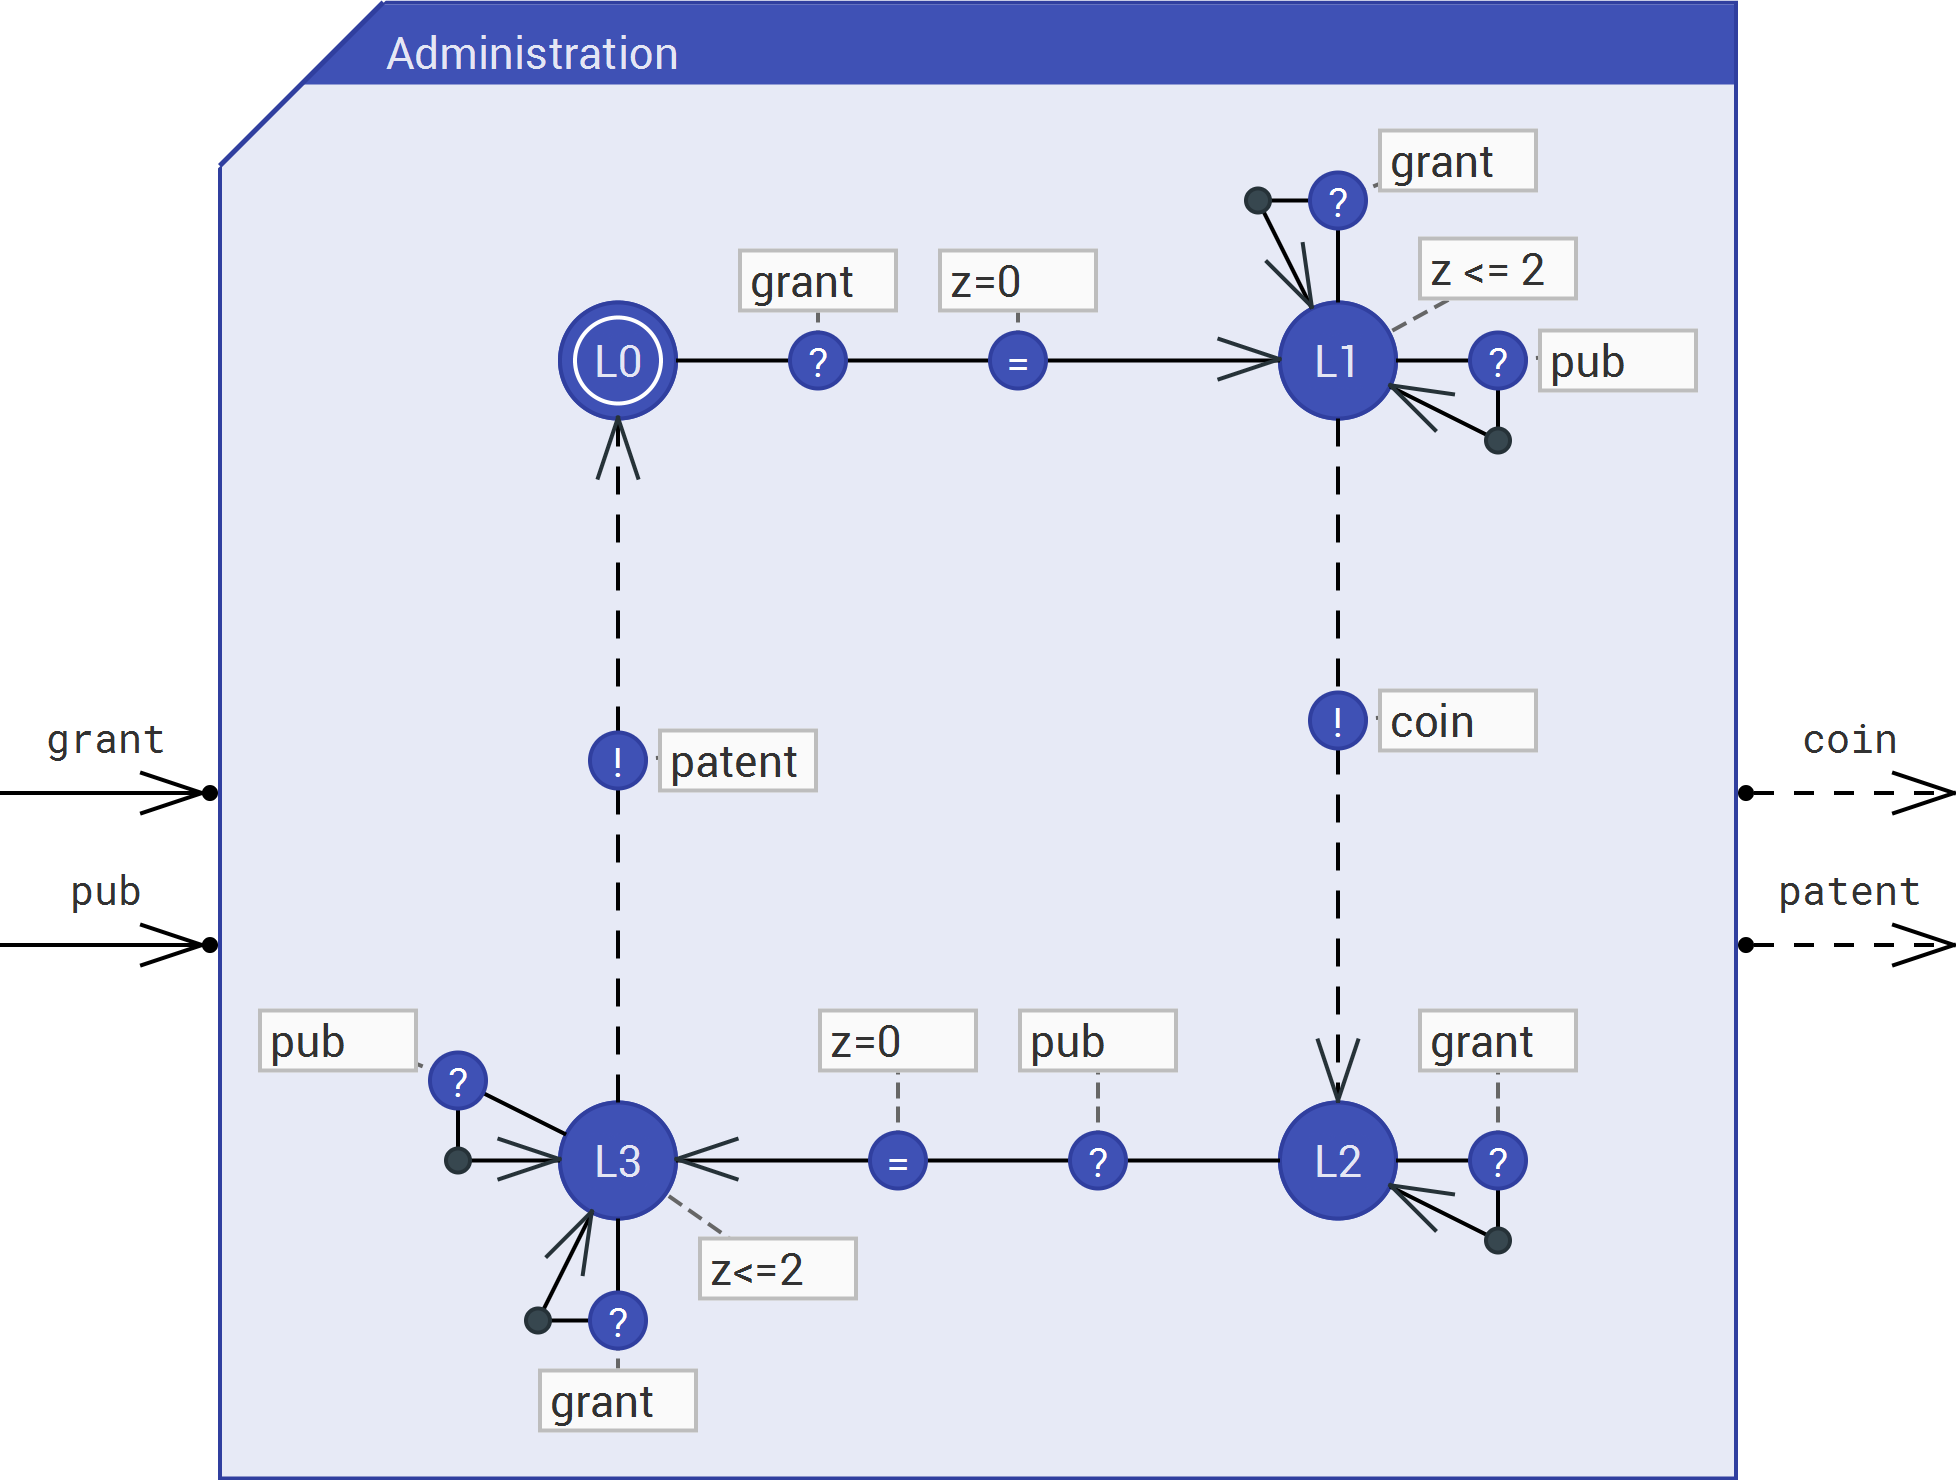
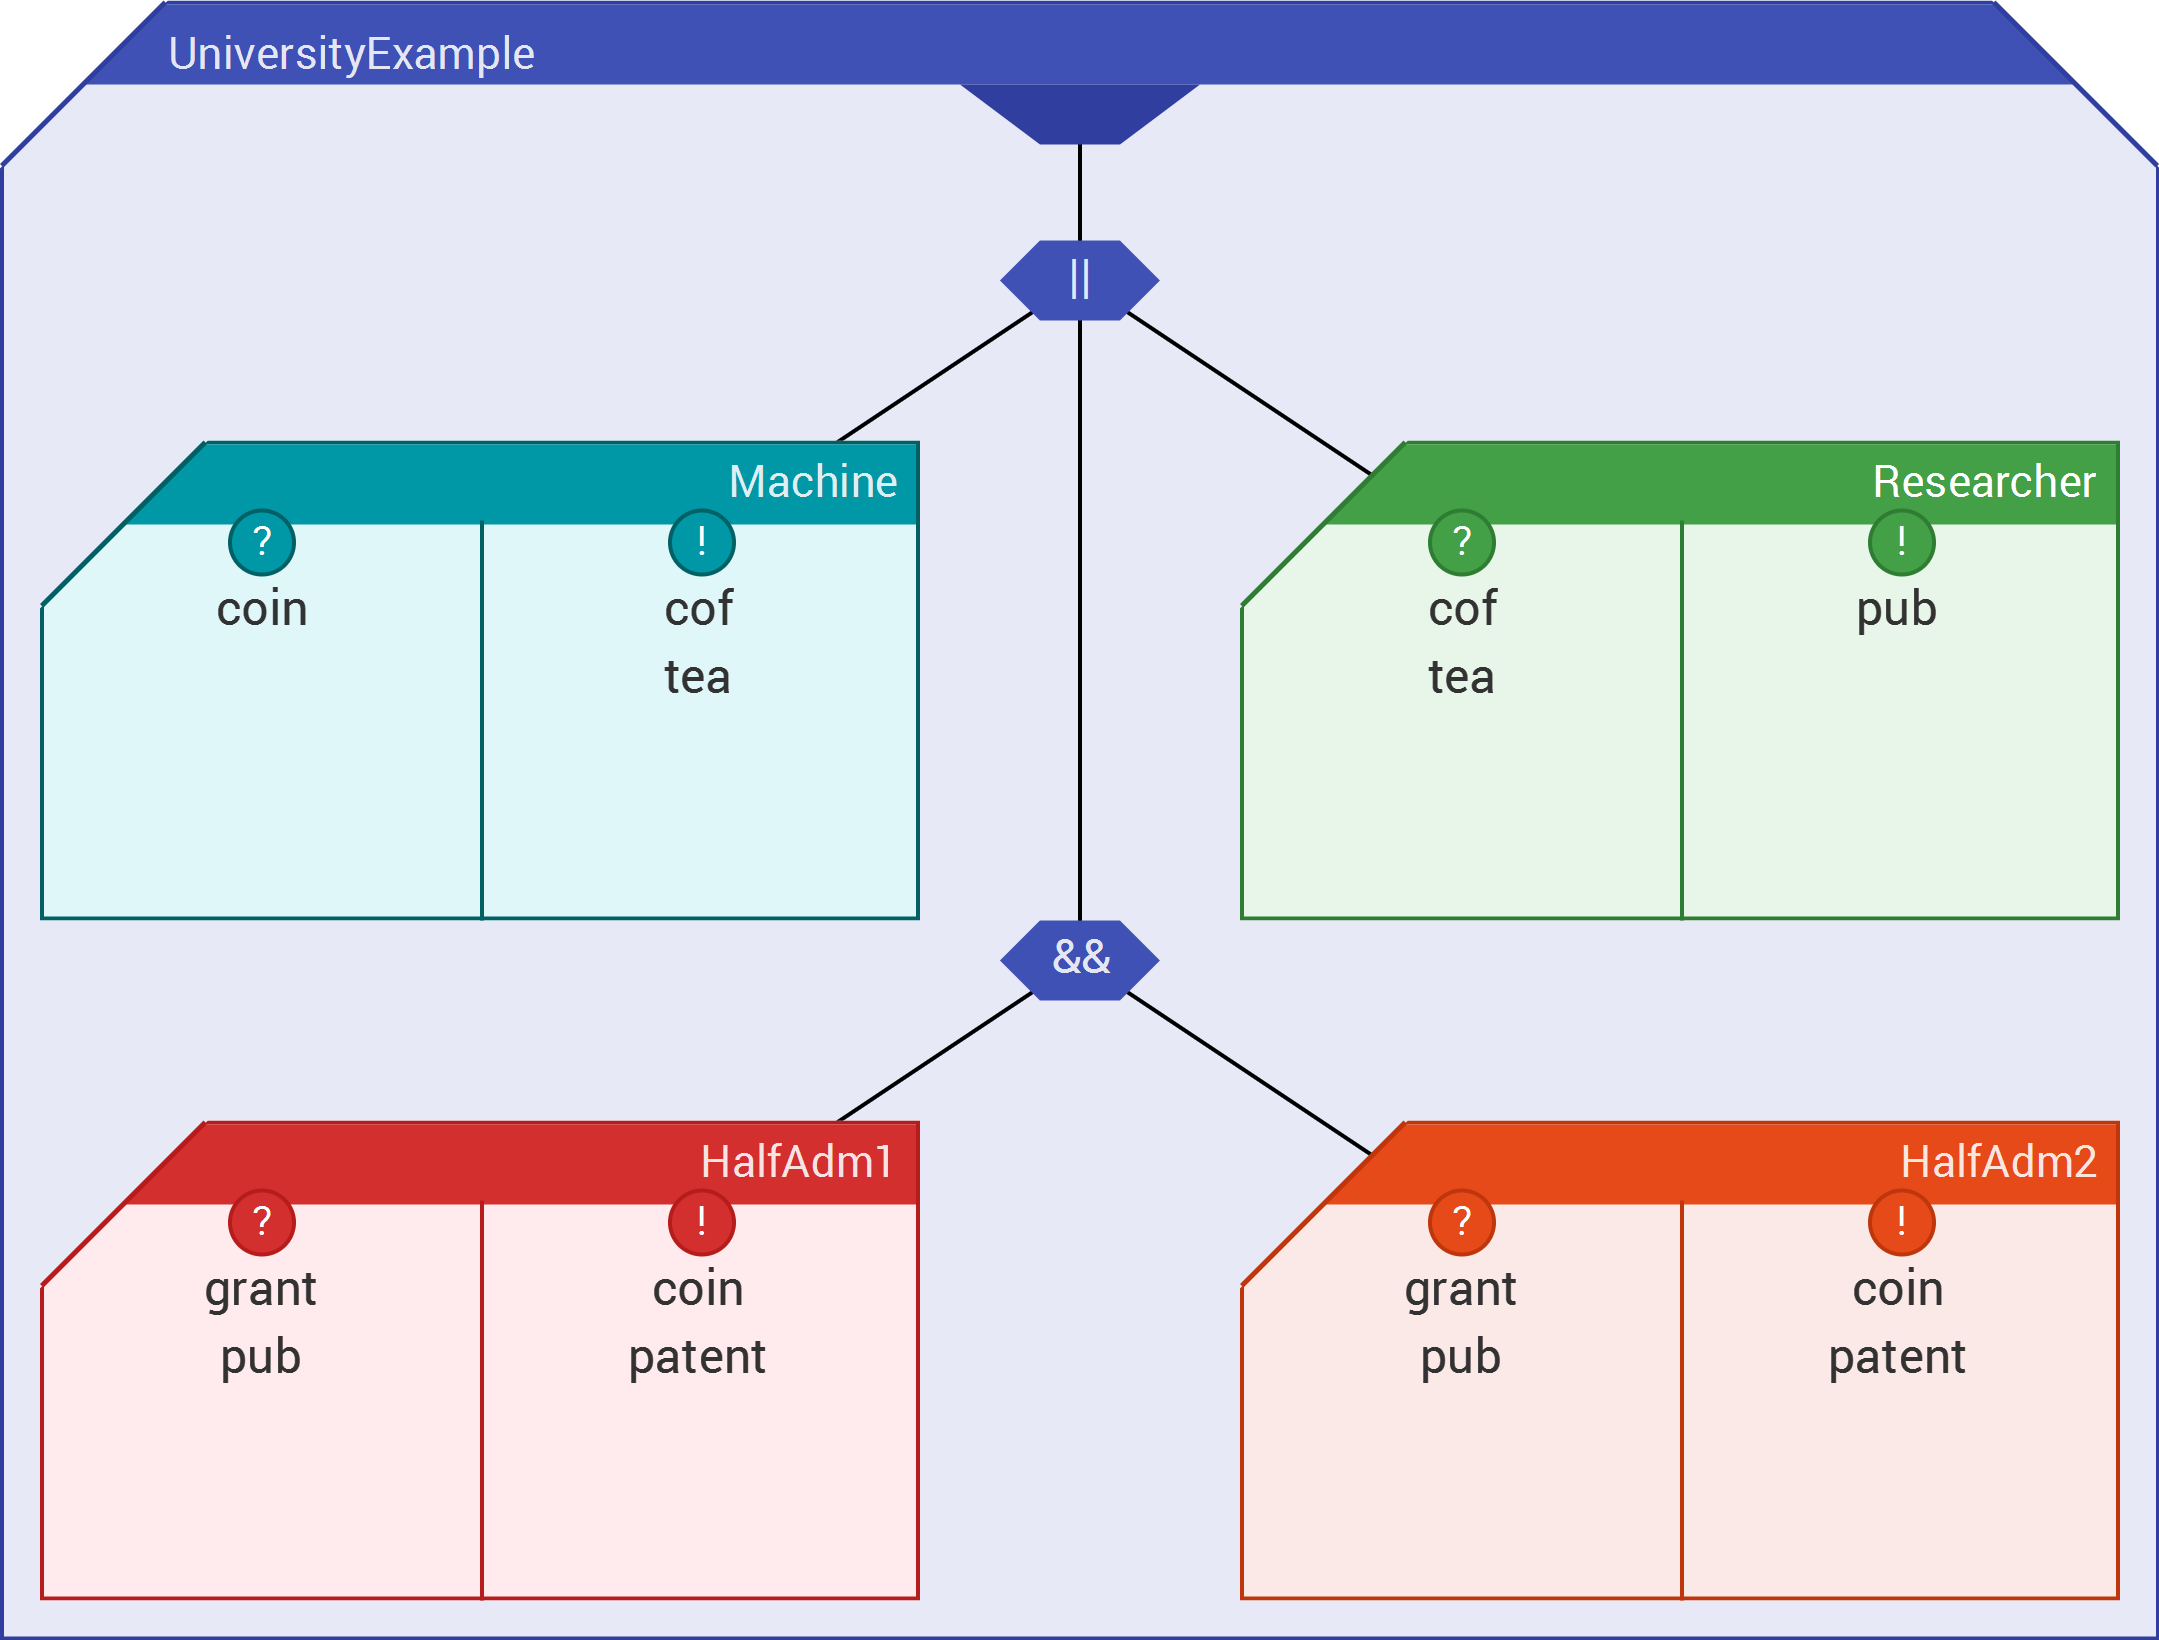
Ecdar is an abbreviation of Environment for Compositional Design and Analysis of Real Time Systems. This repo contains the source code for the graphical user interface. In order to run queries you will need this interface and revaal executables.
ℹ️ If the goal is to use ECDAR, please goto the main ECDAR repository, which contains releases for all supported platforms. These releases contain all dependencies, including the engines.
  |
 |
|---|
This section covers what dependencies are currently needed by the GUI.
As with all JavaScript applications, a runtime is required to build the project.
This project is primarily a NodeJS project, but alternative engines such as Deno or Bun should also work with minor adjustments.
All packages are managed with yarn. Yarn can be installed with npm:
npm install --global yarnPackages can then be installed with yarn:
yarn installThe E2E tests need to install custom browsers on your system. To make them work, run:
yarn test:installIn order to use the model-checking capabilities of the system, it is necessary to bundle or connect to at least one engine for the used operating system.
ℹ️ The latest version of each engine can be downloaded from:
The engines can then be configured in the GUI as described in Engine Configuration.
After having retrieved the code and acquired all the dependencies mentioned in Dependencies, the GUI can be started using the following command:
yarn dev --open--open automatically opens the site in your default browser.
A production-ready version of the GUI can be build with the following command:
yarn buildIn order to utilize the model-checking capabilities of the system, at least one engine must be configured.
The distributions available at ECDAR will automatically load the default engines on startup.
For the same reason, the Reset Engines button will clear the engines but will not be able to load the packaged once.
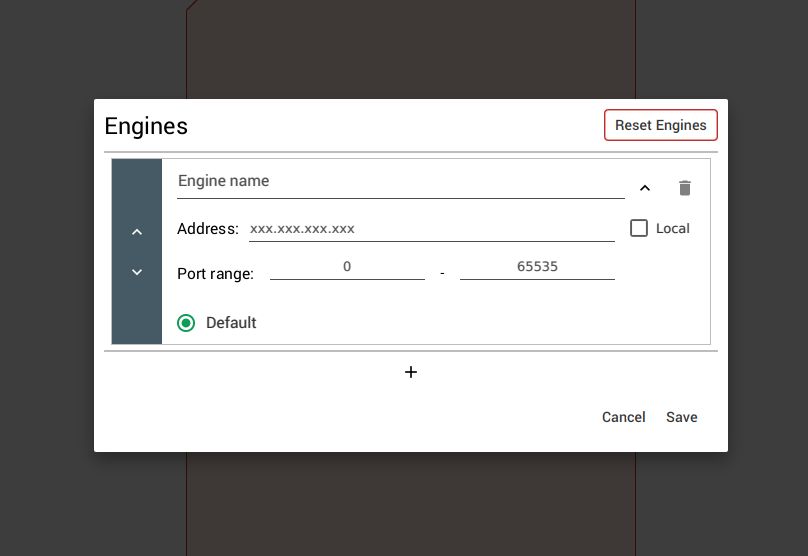
An engine can be added through the configurator found under Options > Engines Options in the menubar, which opens the pop-up shown below.
ℹ️ If you accidentally removed or changed an engine, these changes can be reverted be pressing
Cancelor by clicking outside the pop-up. Consequently, if any changes should be saved, MAKE SURE TO PRESSSave
The Address is either the address of a server running the engine (for remote execution) or a path to a local engine binary (for this, the Local checkbox must be checked).
The GUI uses gRPC for the communication with the engines and will therefore need at least one free port. This range directly limits the number of instances of the engine that will be started.
⚠️ Make sure AT LEAST one port is free within the specified range. For instance, the default port range for Reveaal is 5032 - 5040.
If an engine is marked with Default, all added queries will be assigned that engine.
To get started and get an idea of what the system can be used for, multiple examples can be found in the examples directory.
These projects include preconfigured models and queries to execute against them.
For the theoretical background and what the tool can be used for, please check out the latest research links at here.
If you are interested in contributing to the project, please read the contributing file. Here you will find guides on how to create issues and commit changes to the repository.
