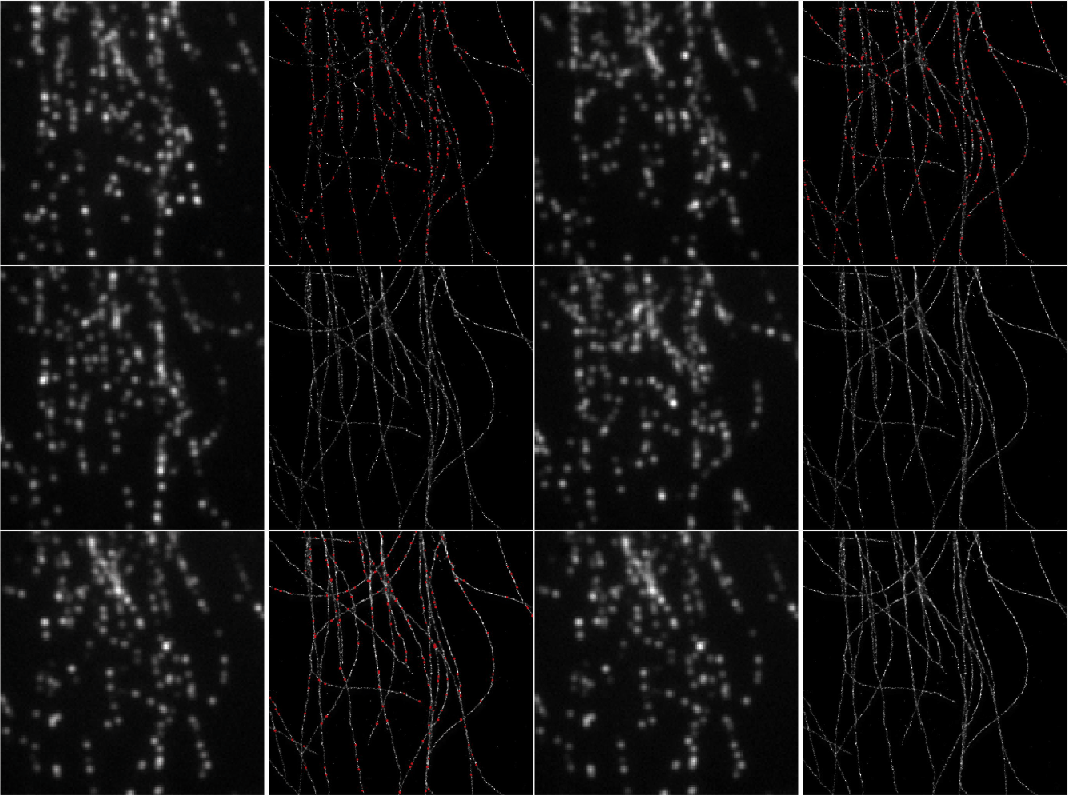
This code accompanies the paper: Deep-STORM: Super resolution single molecule microscopy by deep learning
- Update (06/2020): In case you do not have a workstation equipped with a GPU and/or want to skip the installation of the software needed for this code, you can use the Colab notebook implementation of Deep-STORM. The notebook is part of the ZeroCostDL4Mic platform featuring a self-explanatory easy-to-use graphical user interface. Besides being user-friendly, the notebook is strongly recommended as it features additional advantages like outputting a localizations list.
- Overview
- System requirements
- Installation instructions
- Usage and demo examples
- Colab notebook
- Citation
- License
- Contact
Deep-STORM is a single molecule localization microscopy code for training a custom fully convolutional neural network estimator and recovering super-resolution images from dense blinking movies:
- The software was tested on a Linux system with Ubuntu version 16.04, and a Windows system with Windows 10 Home.
- Training and evaluation were run on a standard workstation equipped with 32 GB of memory, an Intel(R) Core(TM) i7 − 8700, 3.20 GHz CPU, and a NVidia GeForce Titan Xp GPU with 12 GB of video memory.
- Prerequisites
- ImageJ >= 1.51u with ThunderSTORM plugin >= 1.3 installed.
- Matlab >= R2017b with image-processing toolbox.
- Python >= 3.5 environment with Tensorflow >= 1.4.0, and Keras >= 1.0.0 installed.
-
ImageJ and ThunderSTORM
- Download and install ImageJ 1.51u - The software is freely available at https://imagej.nih.gov/ij/download.html
- Download ThunderSTORM plugin
<*.jar>file from https://zitmen.github.io/thunderstorm/ - Place the downloaded
<*.jar>file into ImageJ plugins directory
- To verify ThunderSTORM is setup correctly, open ImageJ and navigate to the Plugins directory. The ThunderSTORM plugin should appear in the list.
-
Matlab can be downloaded at https://www.mathworks.com/products/matlab.html
-
Python environment
- The conda environment for this project is given in
environment.yml. To replicate the environment on your system use the command:conda env create -f environment.ymlfrom within the downloaded directory. This should take a couple of minutes. - After activation of the environment using:
conda activate deep-storm, you're set to go!
- The conda environment for this project is given in
-
To train a network, the user needs to perform the following steps:
- Simulate a tiff stack of data frames, with known ground truth positions in an accompanying csv file, using ImageJ ThunderSTORM plugin. The simulated images and positions are saved for handling in Matlab.
- Generate the training examples matfile in matlab using the script
GenerateTrainingExamples.m. - Open up the anaconda command prompt, and activate the previously created
deepstormenvironment by using the command:activate deepstorm. - Train a convolutional neural network for the created examples using the command:
python Training.py --filename <path_of_the_generated_training_examples_mfile> --weights_name <path_for_saving_the_trained_weights_hdf5_file> --meanstd_name <path_for_saving_the_normalization_factors_mfile>
-
To use the trained network on data for image reconstruction from a blinking movie, run the command:
python Testing.py --datafile <path_to_tiff_stack_for_reconstruction> --weights_name <path_to_the_trained_model_weights_as_hdf5_file> --meanstd_name <path_to_the_saved_normalization_factors_as_mfile> --savename <path_for_saving_the_Superresolution_reconstruction_matfile> --upsampling_factor <desired_upsampling_factor> --debug <boolean (0/1) for saving individual predictions>- Note: The inputs
upsampling_factoranddebugare optional. By default, theupsampling_factoris set to 8, anddebugis set to 0.
- Note: The inputs
-
There are 2 different demo examples that demonstrate the use of this code:
demo1 - Simulated Microtubules- learning a CNN for localizing simulated microtubules structures obtained from the EPFL 2013 Challenge (Fig. 4 main text). It takes approximately 2 hours to train a model from scratch on a Titan Xp. See the [pdf instructions](https://github.com/EliasNehme/Deep-STORM/blob/master/demo1 - Simulated Microtubules/demo1.pdf) inside this folder for a detailed step by step application of the software, with snapshots and intermediate outputs.demo2 - Real Microtubules- pre-trained CNN on simulations for localizing experimental microtubules (Fig. 6 main text).
-
We have recently (June 2020) collaborated with the Jacquemet and the Henriques labs to incorporate Deep-STORM into the ZeroCostDL4Mic platform as a Colab notebook. Users are encouraged to work with the notebook version of the software as it allows 3 significant advantages over this implementation:
- The user does not need to have access to a GPU-acccelerated workstation as the computation is performed freely on Google cloud.
- No prior installation of Matlab/Python is required as the needed functions and packages are installed automatically in the notebook.
- Deep-STORM is extended to output localizations instead of directly outputting the super-resolved image. This feature is valuable for users intending to use the localizations afterwards for down stream analysis (e.g. single-particle-tracking).
If you use this code for your research, please cite our paper:
@article{nehme2018deep,
  title={Deep-STORM: super-resolution single-molecule microscopy by deep learning},
  author={Nehme, Elias and Weiss, Lucien E and Michaeli, Tomer and Shechtman, Yoav},
  journal={Optica},
  volume={5},
  number={4},
  pages={458--464},
  year={2018},
  publisher={Optical Society of America}
}
Important Disclaimer: When using the notebook implementation of Deep-STORM please also cite the ZeroCostDL4Mic paper.
This project is covered under the MIT License.
To report any bugs, suggest improvements, or ask questions, please contact me at "seliasne@campus.technion.ac.il"

