Copyrights 2020-2024 Embedded AMS B.V. Hoorn, www.EmbeddedAMS.nl, info@EmbeddedAMS.nl
Looking for a more elaborate description of this example? Please visit: https://embeddedproto.com/a-simple-uart-example-with-embedded-proto/
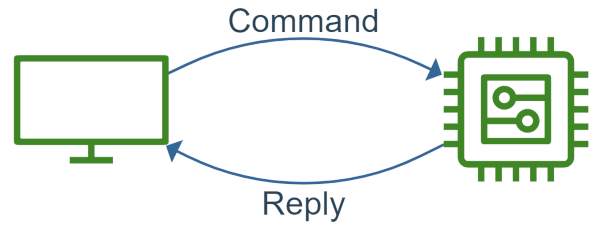
This repository hosts example code for Embedded Proto, the embedded implementation of Google Protocol Buffers. It is a simple example showing how a micro controller and desktop pc can communicate over UART. Command messages are send from a desktop script over an UART comport to the MCU.
This example mimics a fun fair game. Move the claw around and see if you can catch the price!
This example makes use of a NUCLEO-F446RE board made by ST Microelectronics. This board holds an ARM Cortex-M4. To build the source code and program the hardware STM32CubeIDE has been used.
The desktop program is a simple terminal python script. You can use the keys as stated when you start the application to move around and grab your price.
- Install STM32CubeIDE if you have not already.
- Install the dependencies required by Embedded Proto. They are listed here.
- Checkout this example repository including the submodule of Embedded Proto:
git clone --recursive https://github.com/Embedded-AMS/EmbeddedProto_Example_STM32_UART.git. - Setup the environment required for Embedded Proto and the desktop script by running the setup script:
python setup.py.
The setup script already does it for you but you can regenerate the source code using the python setup.py --generate parameter. This is required when you have changed the *.proto file.
Connect the NUCLEO via the usb programmer and use STM32CubeIDE to build and program the micro controller on it. Next find out which comport has been allocated for the NUCLEO. In the example code below it was ttyACM0. Next go to the desktop folder, activate the virtual environment and run the script.
On Linux:
cd desktop
source venv/bin/activate
python3 main.py --com /dev/ttyACM0
On Windows PowerShell:
cd desktop
.\venv\Script\Activate.ps1
python main.py --com COM1
Have fun!


