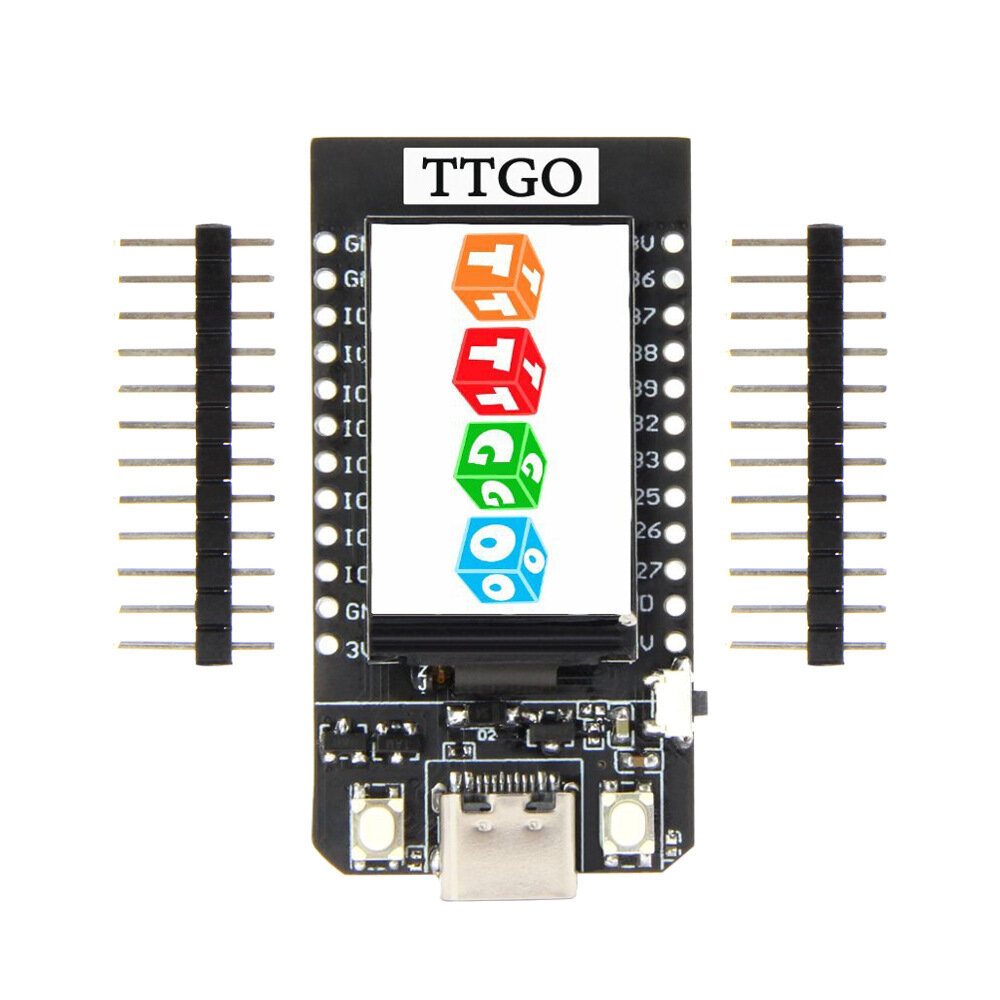
This is a workshop for using micropython on a ttgo ESP32 with integrated 240 x 135 pixel lcd color display
To run the latest version of the pycopy micropython fork with driver for the display follow the steps below:
Download the repository and build the Docker image:
cd micropython
docker build -t pycopy-builder .
This will take a while, but the image should be built after some time. After that, extract the firmware using
./get_firmware.sh pycopy-builderand you should get a firmware.bin file in the micropython directory.
On your local python (or in a dedicated venv) a few tools are needed to manage the firmware and python files on the esp32:
pip install adafruit-ampy rshell esptoolTo flash the firmware, follow these steps after the device is plugged in.
esptool.py --chip esp32 write_flash -z 0x1000 firmware.binThere are two tools:
- ampy to copy files to/from the esp32
- rshell to open an interactive python shell on the esp32
To prevent cluttering the command history, you can define aliases aliases with a few default parameters. Not sure what the port param should be on windows
alias amp='ampy --port /dev/ttyS5 --baud 115200'
alias rsh='rshell --port /dev/ttyS5 --baud 115200 --buffer-size 2048 repl'
On the ESP32 first the boot.py is run, and the main.py. Best to put custom code in main.py.
To put the snake program on the ESP32, copy main.py and display.py to the ESP32:
amp put snake/main.py main.py
amp put snake/display.py display.py
Now reboot (powercycle, press reset butto on right, or hit ctrl+D in rshell python interpreter) and the snake game starts
