A contactless jukebox for the Raspberry Pi, playing audio files, playlists, podcasts, web streams and spotify triggered by RFID cards. All plug and play via USB, no soldering iron needed. Update: if you must, it now also features a howto for adding GPIO buttons controls.
MUST READ for users of Phoniebox +Spotify Edition
Important update news
- Phoniebox 1.1.8 released (2018-12-10)
- Two types of one-line-install scripts are now available.
- Phoniebox Classic supports local audio, web radio, podcasts, YouTube (download and convert), GPIO and/or RFID
- Phoniebox +Spotify supports everything Classic does PLUS Spotify. However: the local audio management has changed for the +Spotify edition. More about the changes in the +Spotify edition here. One-line install script adding Spotify to your Phoniebox, a much simpler install procedure: copy and paste one line into your terminal and hit enter. See the next bulletpoint for information on how you can help to improve the new Spotify version. (2018-11-09)
- Spotify integration needs you I invite everybody to use our spotify thread to post improvements regarding this feature. You might also want to improve the documentation on Spotify integration - which will soon move to the wiki, getting us to the next bulletpoint.
- Documentation moved to the wiki The GitHub wiki for Phoniebox is active. And in the making. Not sure if this is the best way to go, but please try to add content in the wiki regarding special hardware, software tweaks and the like.
- Upgrade if you are looking for how to upgrade please check out UPGRADE.md - and if you found out something that should go there, please create a pull request. (2018-10-18)
- One Line Install Script As of version 1.x there is . Find out more about the one-line Phoniebox install script. (2018-08-18)
- Podcasts! More for myself than anybody else, I guess, I added the podcast feature for Phoniebox (2018-05-09)
- Bleeding edge:
developbranch The maintenance with a growing contributor team (kudos!) got complicated. I introduced the branchdevelopwhich is where all new stuff is happening before merged tomaster. Read the CONTRIBUTING.md file for more infos on how to contribute code. (2018-08-30)
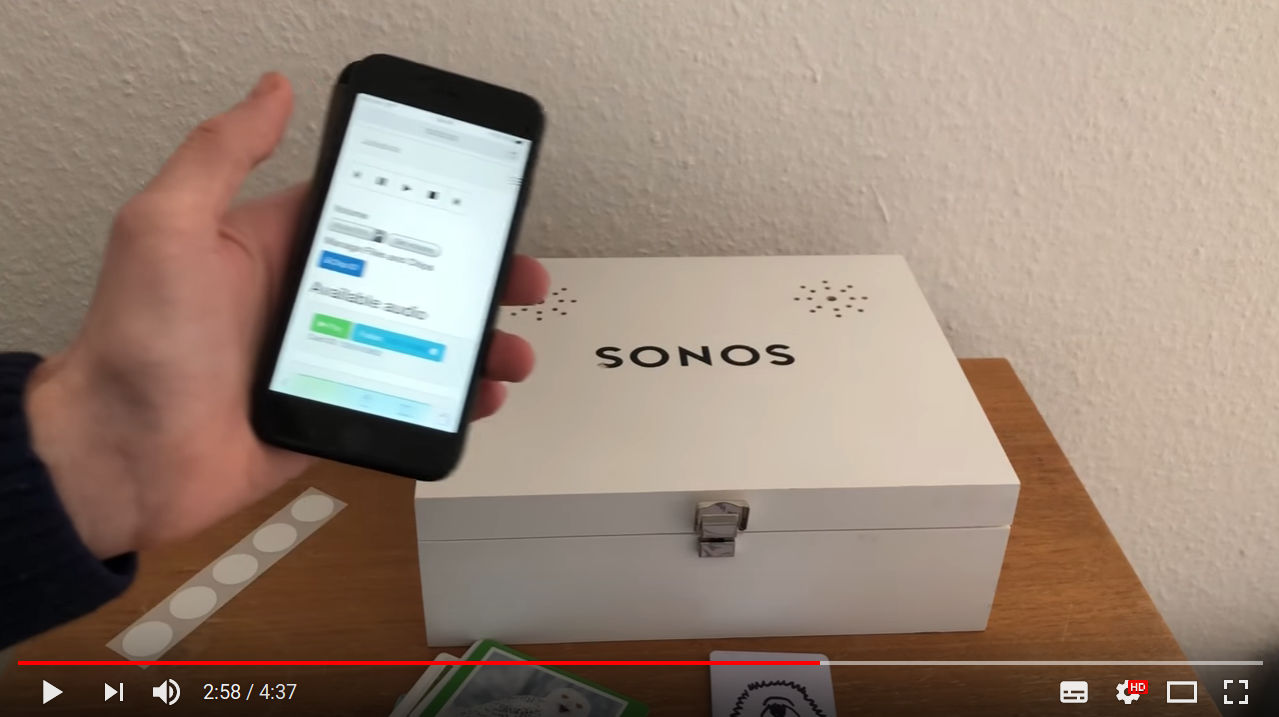
See the Phoniebox code in action, watch this video and read the blog post from iphone-ticker.de
What makes this Phoniebox easy to install and use:
- Runs on all Raspberry Pi models (1, 2 and 3) and Raspberry Zero. (jump to the install instructions)
- Just plug and play using USB, no soldering iron needed.
- Once the Phoniebox is up and running, add music from any computer on your home network.
- Register new RFID cards easily without having to connect to the RPi.
- Play single or multiple files, podcasts or web streams.
- Volume control is also done with RFID cards or key fobs.
- Connect to your Phoniebox via your wifi network or run the Phoniebox like an access point and connect directly without a router.
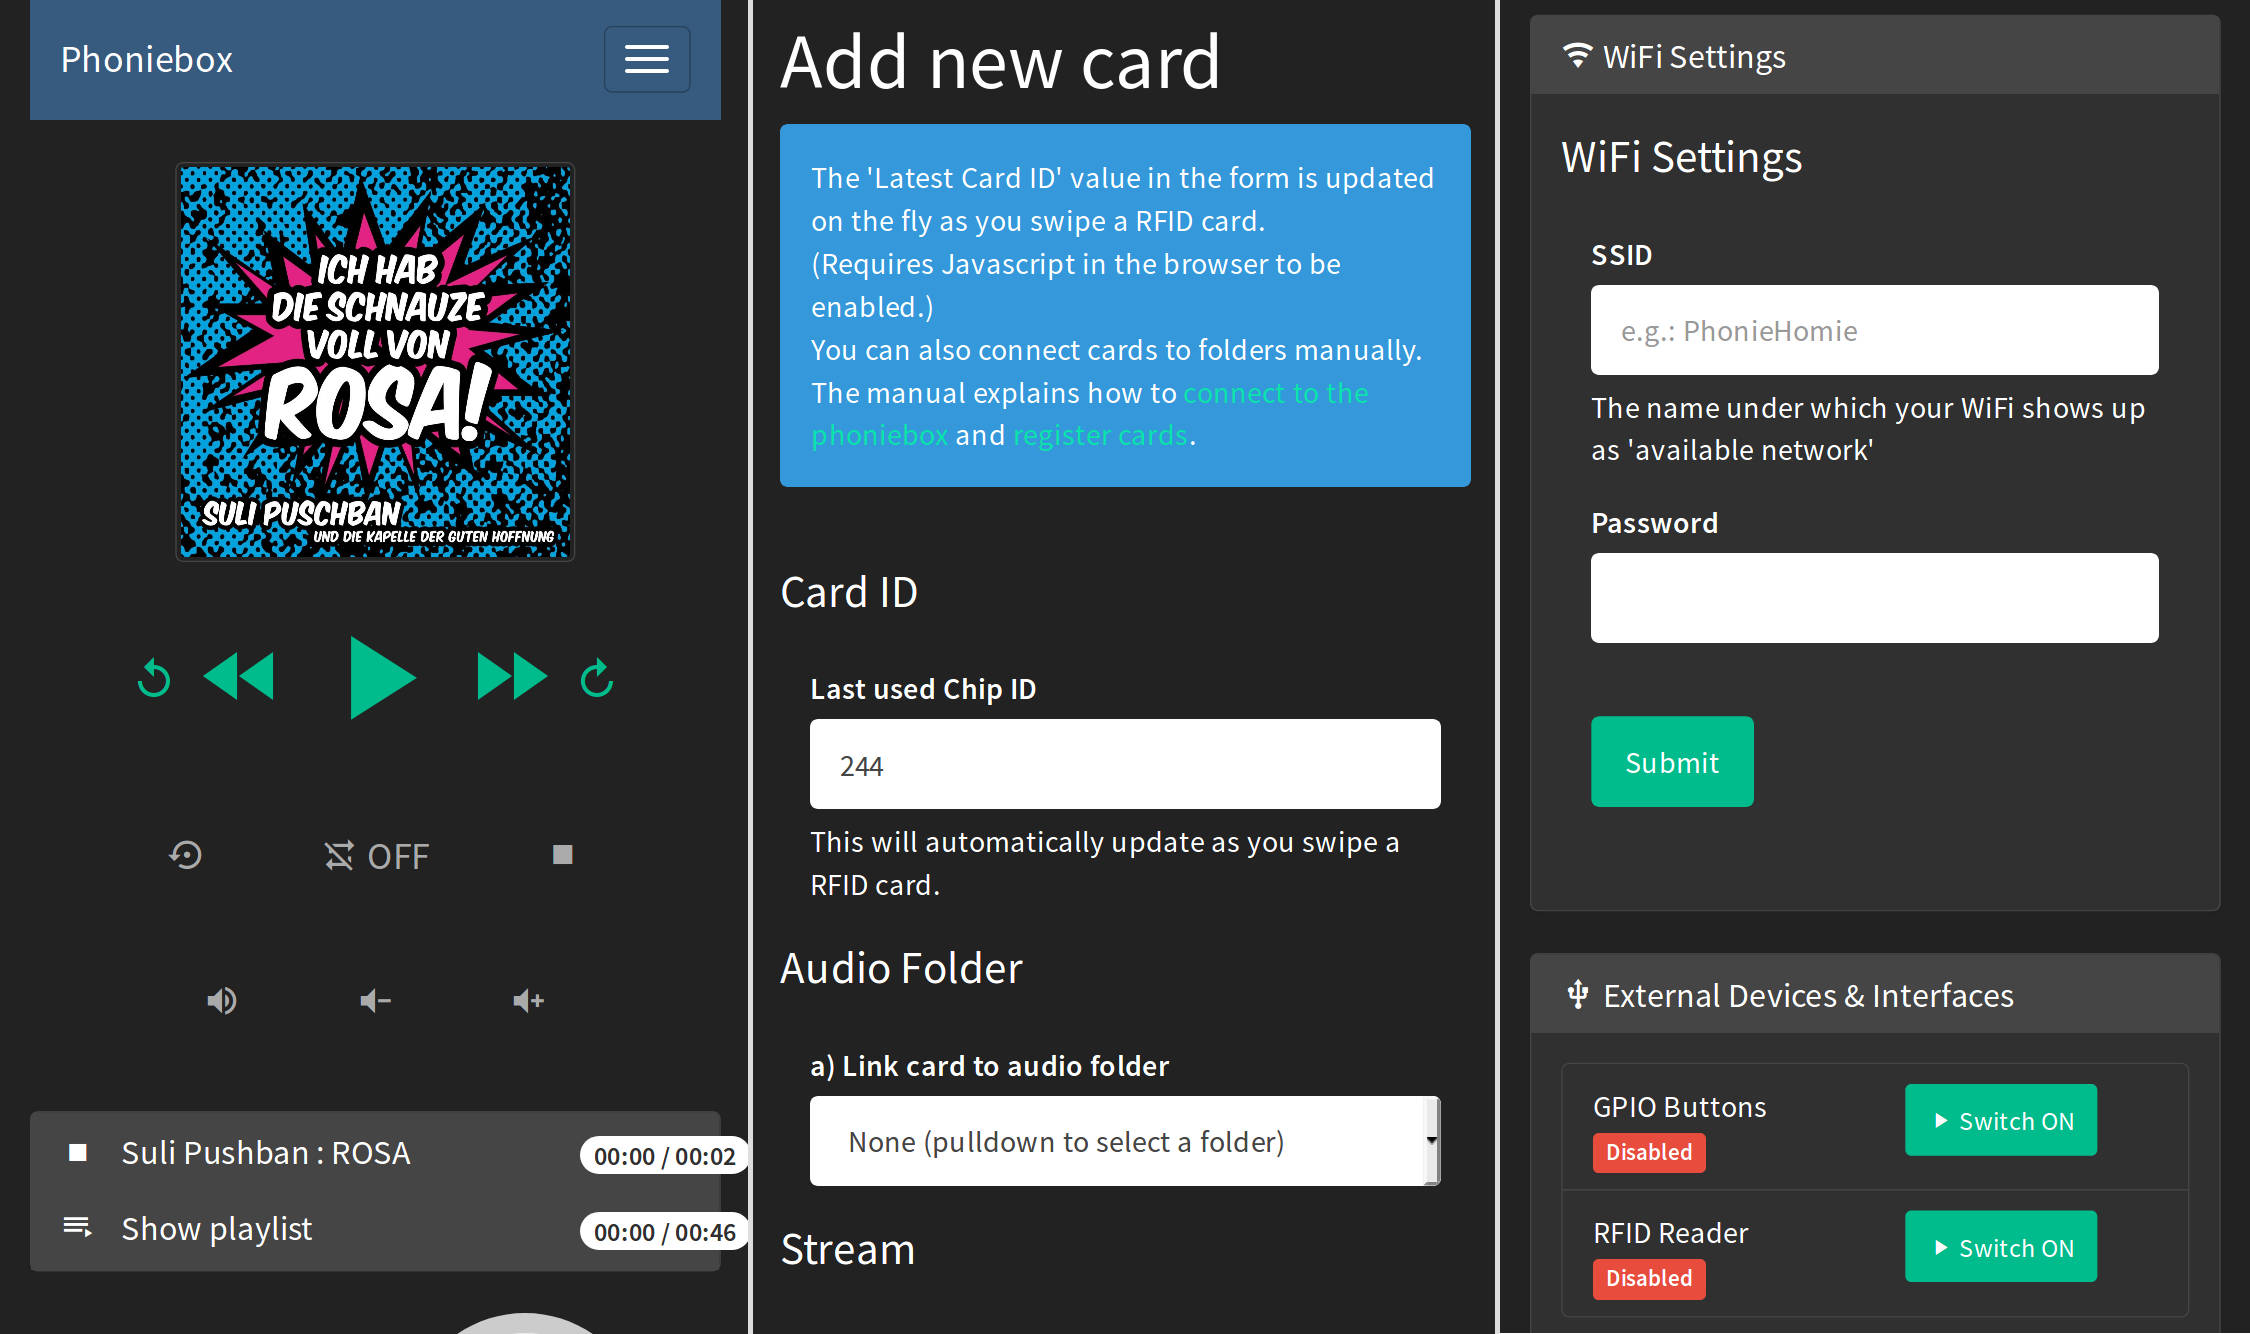
- Bonus: control the Phoniebox from your phone or computer via a web app.
The web app runs on any device and is mobile optimised. It provides:
- An audio player to pause, resume, shuffle, loop, stop and skip to previous and next track.
- Sub folder support: manage your collection in sub folders. Phoniebox has two play buttons: only this folder and eeeeverything in this folder.
- Manage files and folders via the web app.
- Register new RFID cards, manage Phoniebox settings, display system info and edit the wifi connection.
- Covers displayed in the web app (files called
cover.jpg).
 |
 |
 |
 |
 |
 |
See more innovation, upcycling and creativity in the Phoniebox Gallery or visit and share the project's homepage at phoniebox.de. There is also an english Phoniebox page.
- Installation instructions for Raspbian Stretch are available in the
docsfolder. - You can also use the headless installation over ssh straight from a fresh SD card.
- For a quick install procedure, take a look at the bash install script for Stretch. This should get you started quickly.
- If you choose the step by step installation, you need to walk through the configuration steps for Stretch.
- Once everything has been installed and configured, read the manual to change settings, register RFID cards, add audio.
Adding push buttons to control volume, skipping tracks, pause, play: read the GPIO buttons installation guide.
In the Manual you will learn:
- How to connect to the Phoniebox from any computer to add and edit audio files.
- How to register new RFID cards, assign them a human readable shortcut and add audio files for each card.
- How to add webradio stations and other streams to the playout files - and even mix web based and local files.
- Adding Podcasts the your Phoniebox
- How to control the Phoniebox through the web app.
- How to assign cards specific tasks such as changing the volume level or shutting down the Phoniebox.
Read the CONTRIBUTING.md file for more infos on how to contribute code.
To make maintenance easier for everyone, please run the following script and post the results when reporting a bug. (Note: the results contain some personal information like IP or SSID. You might want to erase some of it before sharing with the bug report.)
/home/pi/RPi-Jukebox-RFID/scripts/helperscripts/Analytics_AfterInstallScript.sh
Just copy this line and paste it into your terminal on the pi.
If you find something that doesn't work. And you tried and tried again, but it still doesn't work, please report your issue in the "issues" section. Make sure to include information about the system and hardware you are using, like:
Raspberry ZERO, OS Jessie, Card reader lists as (insert here) when running scripts/RegisterDevice.py, installed Phoniebox version 0.9.3 (or: using latest master branch).
There is a growing section of troubleshooting including:
- I want to improve the onboard audio quality
- I am moving, how do I get the Phoniebox into my new WiFi network?
- The RFID Reader doesn't seem to work.
- Changing the volume does not work, but the playout works.
- Script
daemon_rfid_reader.pyonly works via SSH not by RFID cards. - Script daemon is closing down unexpectedly.
- Everything seems to work, but I hear nothing when swiping a card.
- I would like to use two cards / IDs to do the same thing.
There are many, many, many inspiring suggestions and solutions on the web to bring together the idea of a jukebox with RFID cards. I want to mention a few of these that have inspired me.
- Thanks to all the contributors. Not only for the good code review and feature suggestions, but also for the good spirit I get each time a new Phoniebox comes to this world :)
- Thanks to Andreas aka hailogugo for writing and testing the script for the GPIO buttons as controllers for the jukebox.
- Francisco Sahli's Music Cards: RFID cards + Spotify + Raspberry Pi written in python, playing songs from Spotify. The code music-cards is on GitHub.
- Jeremy Lightsmith's rpi-jukebox written in Python, using the mpg123 player
- Marco Wiedemeyer's Raspberry Pi Jukebox für Kinder (German) written in mono, using the MPD player
- Marcus Nasarek's Kindgerechter Audioplayer mit dem Raspberry Pi (German) triggered by QR codes via a camera instead of RFID cards, written in bash and using the xmms2 media player
- Huy Do's jukebox4kids / Jukebox für Kinder written in Python, the code is on github
- Willem van der Jagt's How I built an audio book reader for my nearly blind grandfather written in python and using the MDP player.
For my rendition of the RFID jukebox, I have forked two files from Francisco Sahli to register the RFID reader and read the ID from the cards with the python scripts Reader.py and RegisterDevice.py.
I also want to link to two proprietary and commercial projects, because they also inspired me. And they challenged me, because of their shortcomings in terms of openness and in the case of tonies, the lack of "ownership" of the audiobooks and plays you actually bought. However, both products are very well made.
- tonies® - das neue Audiosystem für mehr Hör-Spiel-Spaß im Kinderzimmer. (German) You buy a plastic figure which then triggers the audiofile - which is served over the web.
- Hörbert - a MP3 player controlled by buttons In Germany this has already become a classic. They also started selling a DIY kit.
Here is a list of equipment needed. Chances are that you will find most of it in the back of your drawers or at the bottom of some shoe box. Well, most of it, possibly not the RFID reader itself.
- Raspberry Pi 3 Model B | You might be surprised how easy and affordable you can get an RPi second hand. Think about the planet before you buy a new one.
- RFID Card Reader (USB): Neuftech USB RFID Reader ID using 125 kHz - make sure to buy compatible cards, RFID stickers or key fobs working with the same frequency as the reader. Important notice: the hardware of the reader that I had linked here for a long times seems to have changed and suddenly created problems with the Phoniebox installation. The reader listed now has worked and was recommended by two Phoniebox makers (2018 Oct 4). I can not guarantee that this will not change and invite you to give RFID Reader feedback in this thread.
- USB Stereo Speaker Set (6 Watt, 3,5mm jack, USB-powered) black | This USB powered speaker set sounds good for its size, is good value for money and keeps this RPi project clean and without the need of a soldering iron :)
- USB A Male to Female Extenstion Cable with Switch On/Off | I placed this USB extension between the USB power adapter and the Phoniebox. This will allow you to switch the Phoniebox on and off easily.
- USB 2.0 Hub 4-port bus powered USB Adapter | Depending on your setup, you will need none, one or two of these. If you are using the external USB powered speakers, you need one to make sure the speakers get enough power. If you want to use the additional USB soundcard and have an older RPi, you might need a second one to make sure you can connect enough devices with the RPi.
These are links to additional items which are not needed, but might be what you want to make your dream of a Phoniebox come true:
- Ground Loop Isolator / Entstörfilter Audio this seems to get rid off crackles in the audio out (a typical RPi problem)
- Drehregler / Rotary Encoder / Dial for volume control. Read here for more information on how to integrate the rotary dial
- HiFiBerry DAC+ Soundcard Read here for more information on how to HifiBerry Soundcard integration

