Software bots are everywhere. You probably interact with them every day without realizing it. Bots, especially chat and messenger bots, are changing the way we interact with businesses, communities, and even each other. Thanks to light-speed advances in artificial intelligence (AI) and the ready availability of AI services, bots are not only becoming more advanced and personalized, but also more accessible to developers.
Regardless of the target language or platform, developers building bots face the same challenges. Bots must be able process input and output intelligently. Bots need to be responsive, scalable, and extensible. They need to work cross-platform, and they need to interact with users in a conversational manner and in the language the user chooses.
The Microsoft Bot Framework, combined with Microsoft QnA Maker, provides the tools developers need to build and publish intelligent bots that interact naturally with users using a range of services. In this lab, you will create a bot using Visual Studio Code and the Microsoft Bot Framework, and connect it to a knowledge base built with QnA Maker. Then you will interact with the bot using Skype — one of many popular services with which bots built with the Microsoft Bot Framework can integrate.
In this hands-on lab, you will learn how to:
- Create an Azure Bot Service to host a bot
- Create a Microsoft QnA knowledge base, populate it with data, and connect it to a bot
- Implement bots in code and debug the bots that you build
- Publish bots and use continuous integration to keep them up to date
- Plug a bot into Skype and interact with it there
The following are required to complete this hands-on lab:
- An active Microsoft Azure subscription. If you don't have one, sign up for a free trial.
- Visual Studio Code
- Git Client
- Node.js
- Microsoft Bot Framework Emulator
- Skype
This hands-on lab includes the following exercises:
- Exercise 1: Create an Azure Bot Service
- Exercise 2: Get started with Microsoft QnA Maker
- Exercise 3: Expand the QnA Maker knowledge base
- Exercise 4 : Deploy the bot
- Exercise 5: Test the bot with Skype
Estimated time to complete this lab: 30 minutes.
The first step in creating a bot is to provide a location for the bot to be hosted, as well as configuring the services that the bot will use. Azure Web Apps are perfect for hosting bot applications, and the Azure Bot Service is designed to provision and connect these services for you. In this exercise, you will create and configure an Azure Bot Service.
-
Open the Azure Portal in your browser. If you are asked to sign in, do so using your Microsoft account.
-
Click + New, followed by Intelligence + analytics and then Bot Service (preview).
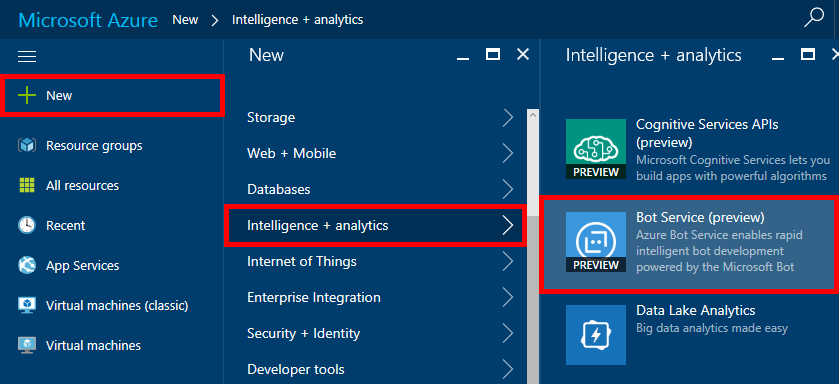
Creating a new Azure Bot Service
-
Enter a name such as "qnafactbot" (without quotation marks) into the App name box. This name must be unique within Azure, so make sure a green check mark appears next to it. Make sure Create new is selected under Resource Group and enter the resource-group name "BotsResourceGroup" (again, without quotation marks). Then select the location nearest you and click Create.
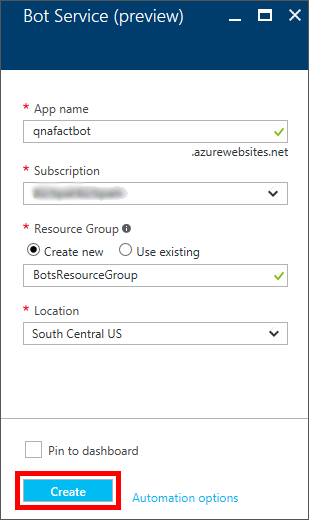
Configuring a new Azure Bot Service
-
Click Resource Groups in the
-
on the left, followed by BotsResourceGroup to open the resource group created for the Bot Service.

Opening the resource group
-
Wait until "Deploying" changes to "Succeeded" indicating that the Bot Service was successfully deployed. You can click the Refresh button at the top of the blade to refresh the deployment status.
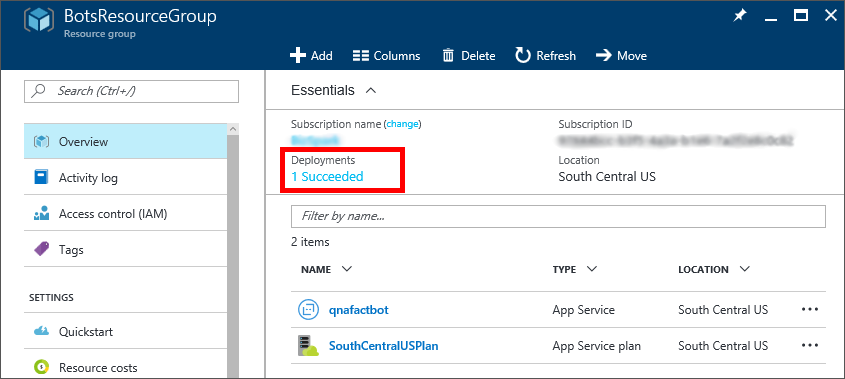
Successful deployment
-
Click qnafactbot (or the name you entered in Step 3) to open the App Service created for your bot.
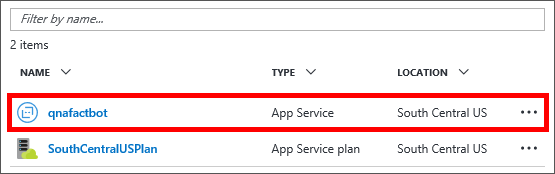
Opening the Bot Service
-
Click Create Microsoft App ID and password. If you are asked to sign in again, do so using your Microsoft account.
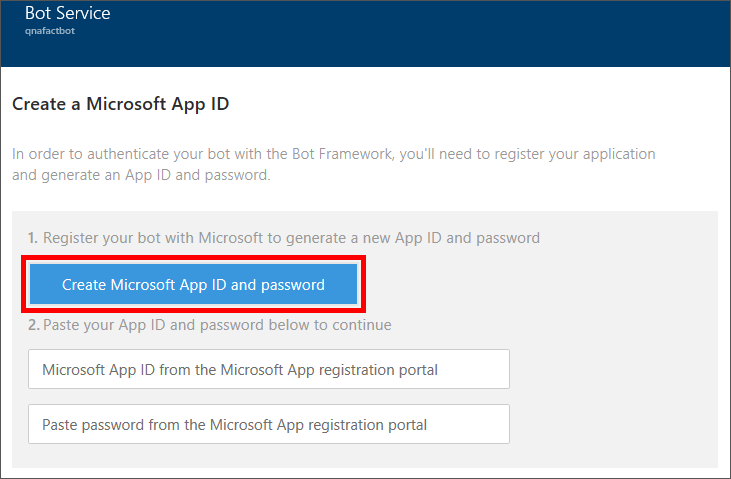
Creating an app ID and password
-
Click Generate an app password to continue.
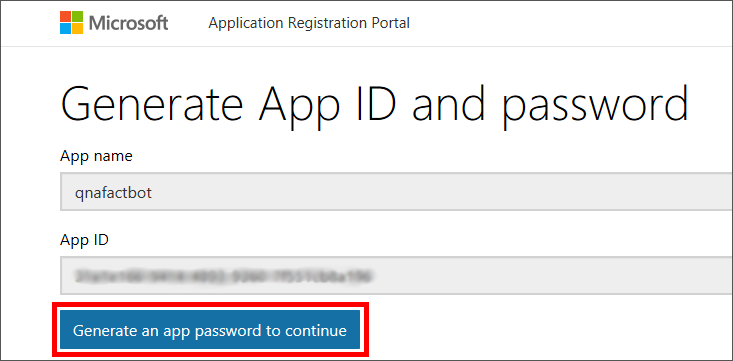
Generating an app password
-
Copy the password to the clipboard. You will not be able to retrieve this password after this step, but will be required to use it in a later exercise. Once the password is saved, click Ok to dismiss the dialog.
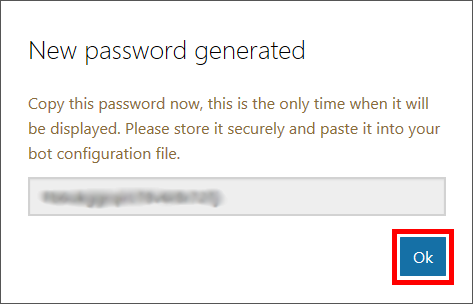
Copying the app password
-
Review the application registration information, and then click Finish and go back to Bot Framework.
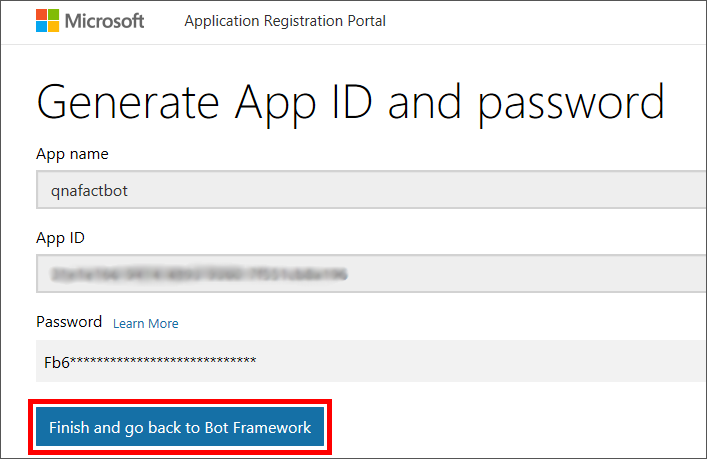
Finalizing the app registration
-
Paste the password copied to the clipboard in Step 9 into the password box.
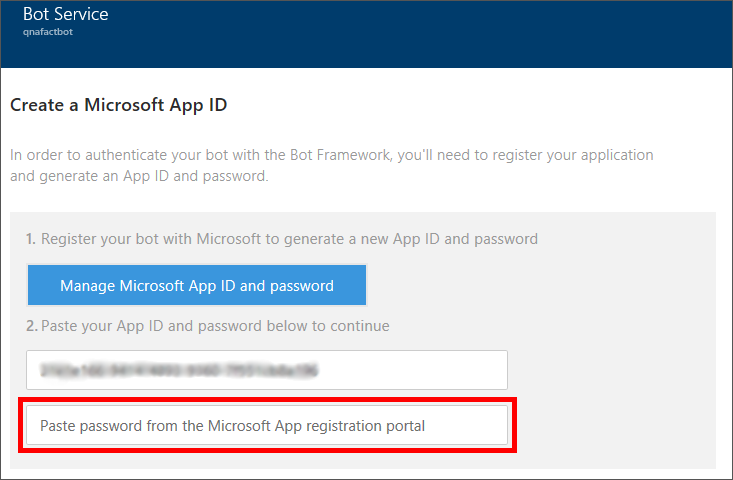
Pasting the app password
-
Click NodeJS. Then click Question and Answer and click Create bot. If you are asked to sign in again, do so using your Microsoft account. Also, if you are asked for permission for QnA Maker to access your info, click Yes.
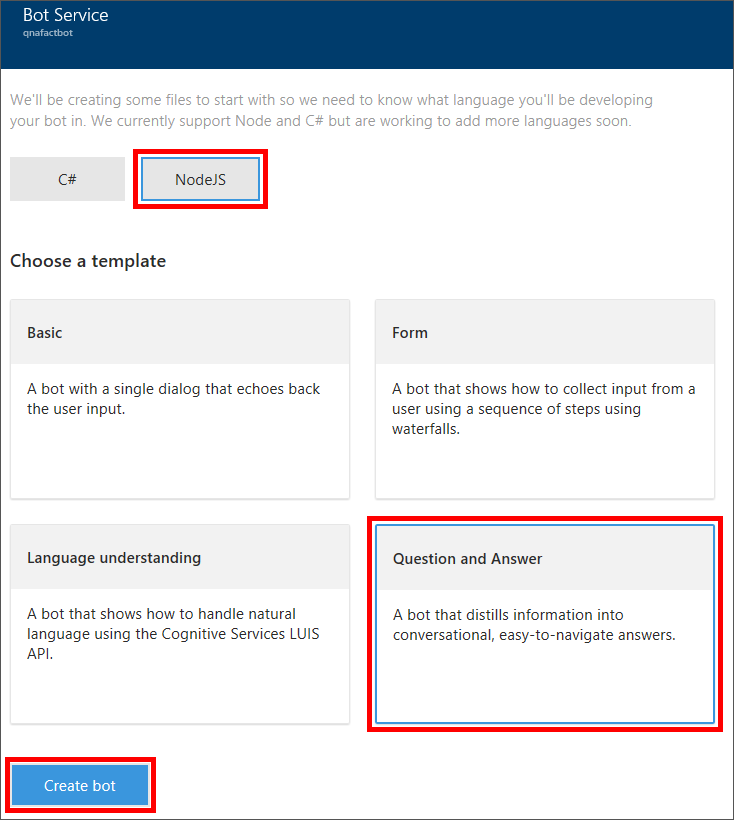
Selecting a language and template
-
Check the I agree box, and then click OK. (If you are presented with the option of connecting to an existing knowledge base or creating a new one, choose the latter.)
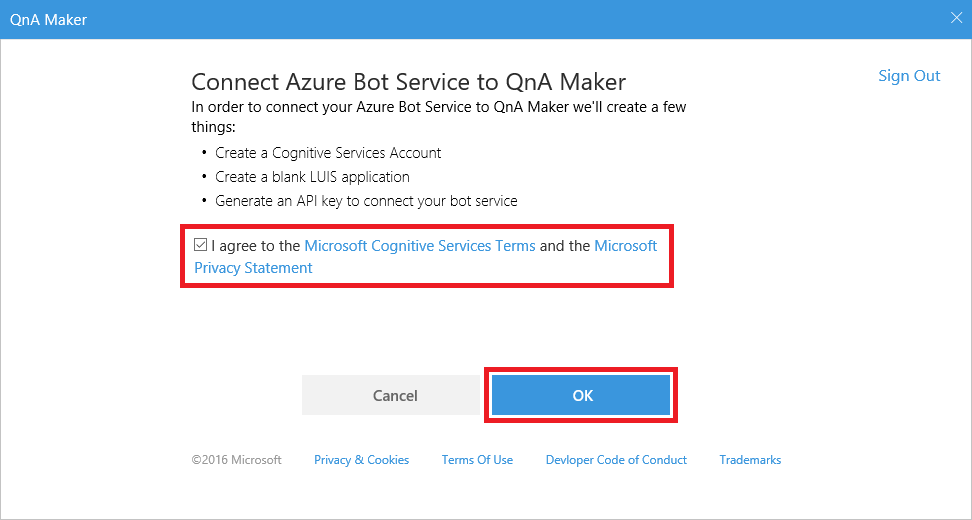
Connecting to QnA Maker
-
After a brief pause, the Bot Service will open in the portal and display the Bot Service editor, as pictured below. Behind the scenes, the bot has been registered, an Azure Web App has been created to host it, and the bot has been connected to Microsoft QnA Maker.

The Bot Service editor
-
To make sure these services can communicate with each other, you can test bot communication in the Azure Bot Service editor. To test, type the word "hi" (without quotation marks) into the chat window on the right side of the page. Then press Enter or click the paper-airplane icon.
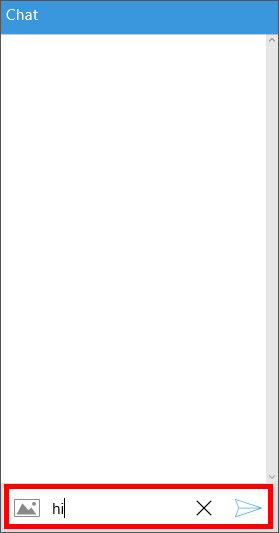
Testing bot communication
-
Wait for the bot to respond with the word "hello," indicating your bot is configured and ready to go.
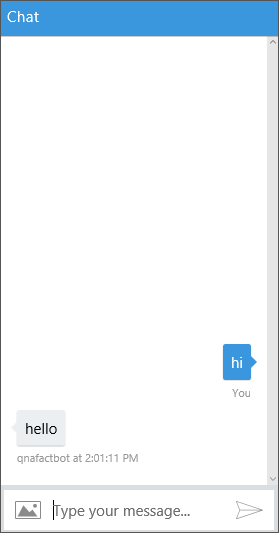
Chatting with your bot


With the Bot Service deployed and configured, the next step is to update the Microsoft QnA Maker service that the bot is connected to.
Microsoft QnA Maker is part of Microsoft Cognitive Services, which is a suite of APIs for building intelligent apps. Rather than infuse a bot with intelligence by writing code that tries to anticipate every question a user might ask and provide a response, you can connect it to a knowledge base of questions and answers created with QnA Maker. A common usage scenario is to create a knowledge base from a FAQ so the bot can answer domain-specific questions such as "How do I find my Windows product key" or "Where can I download Visual Studio Code?"
In this exercise, you will use the QnA Maker portal to edit the knowledge base that was created when you connected the bot to QnA Maker. That knowledge base currently contains a single question and answer: "hi" and "hello." You will edit the response and then, in Exercise 3, populate the knowledge base with additional questions and answers.
-
Open the Microsoft QnA Maker portal in your browser. If you are not signed in, click Sign in in the upper-right corner and sign in with your Microsoft account. If you are presented with a terms agreement, check the I agree box and continue.

Signing in to QnA Maker
-
Ensure that My services is selected at the top. Then click the pencil icon.
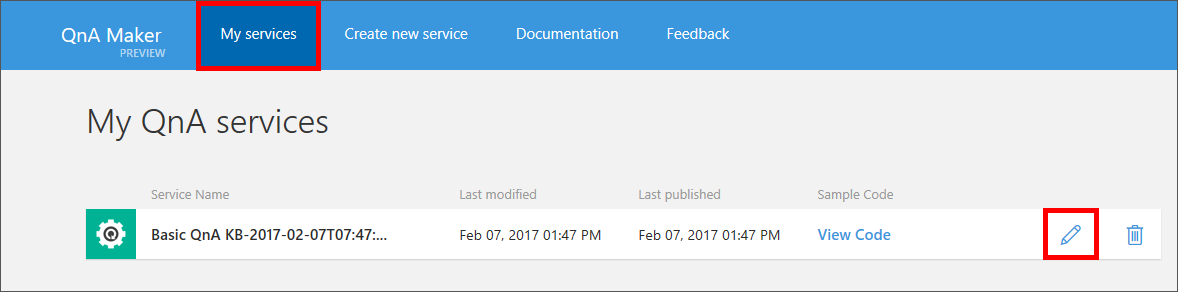
Editing a QnA service
-
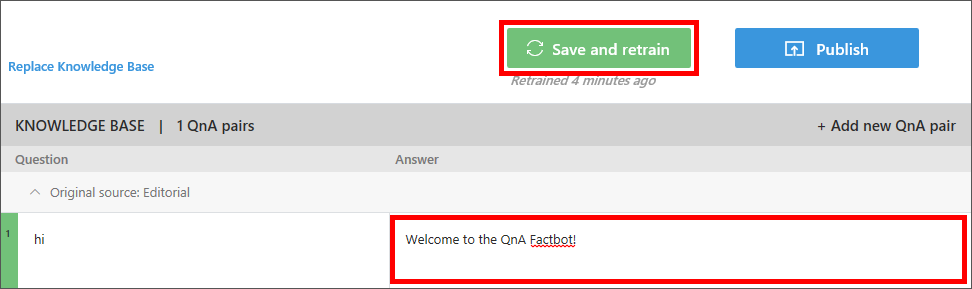
Click Settings. Replace the value in the Service name box with "QnA Factbot" (without quotation marks). Then click Save and retrain to save the change.
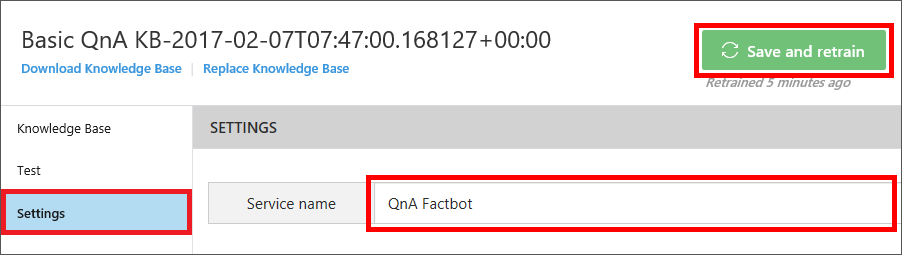
Updating the service name
-
Click Knowledge Base.
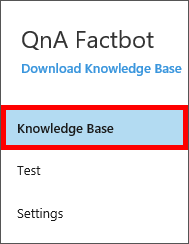
Opening the Knowledge Base page
-
Replace "hello" in the Answer column with "Welcome to the QnA Factbot!" Then click Save and retrain to save the change.
Updating a response
-
Click Test.
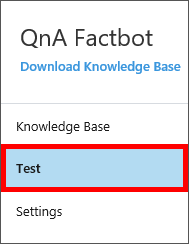
Opening the Test page
-
Type "hi" into the box at the bottom of the chat window and press Enter. Confirm that the bot responds with "Welcome to the QnA Factbot!"
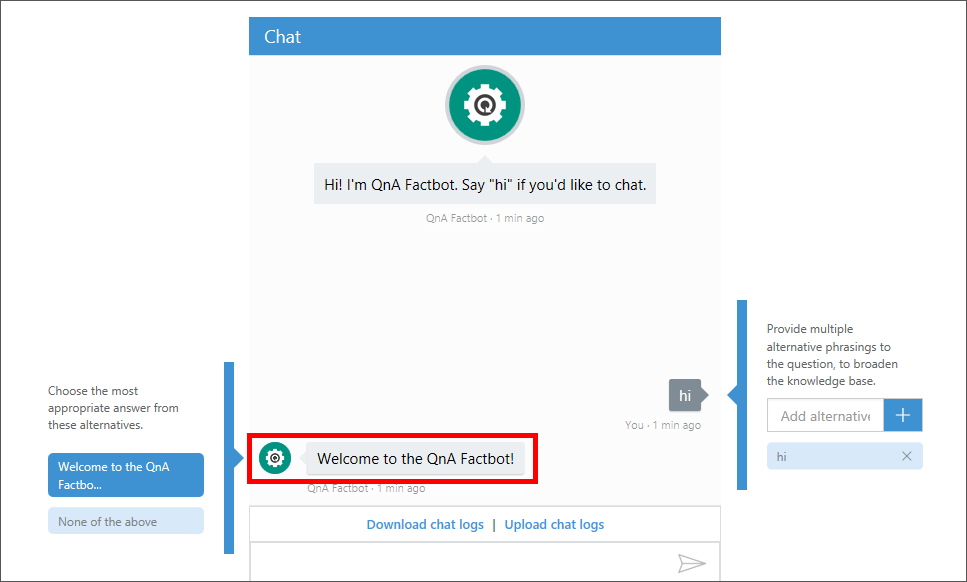
Chatting with the bot


This is a great start, but a simple reply to the greeting "hi" doesn't demonstrate a lot of value. To give your bot some meaningful content to work with, the next step is to populate the knowledge base with additional questions and answers.
You can enter questions and answers into a QnA Maker knowledge base manually, or you can import them from a variety of sources, including Web sites and local text files. In this exercise, you will use both of these techniques to populate the knowledge base with questions and answers and then publish the updated knowledge base for your bot to use.
-
Click Settings to the return to the Settings page in the Microsoft QnA Maker portal.
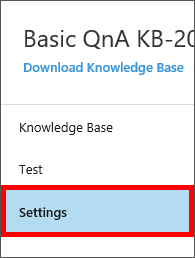
Opening the Settings page
-
Paste the your favorite FAQ URLs into the URLs box:
https://traininglabservices.azurewebsites.net/help/faqs.html https://giraffeconservation.org/faqs/ http://www.asc-csa.gc.ca/eng/astronauts/faq.asp -
Click Save and retrain to populate the knowledge base with questions and answers from the Web site whose URL you provided.

Importing questions and answers from a URL
-
Click Knowledge Base and confirm that six new questions and answers were added. Then click Save and retrain to save the changes.
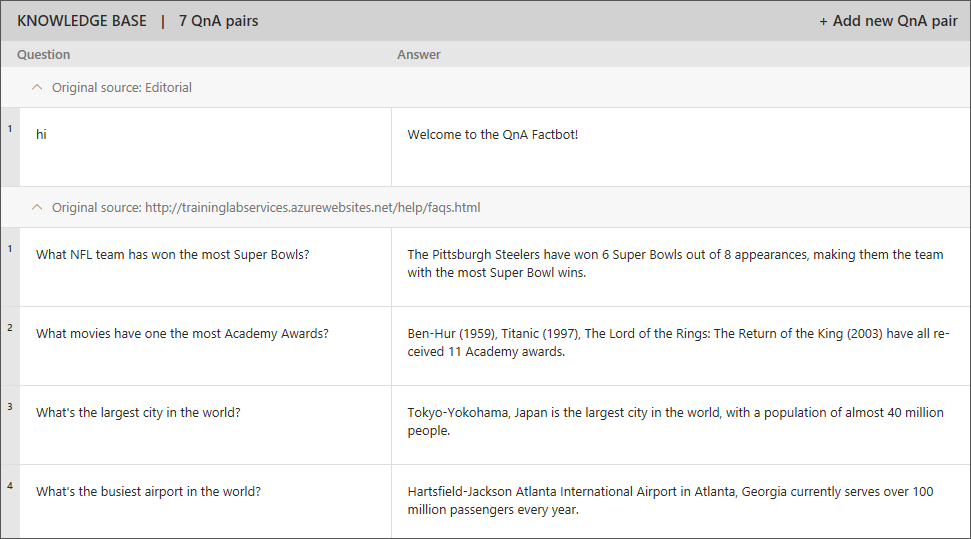
The updated knowledge base
-
Click Test to return to the Test page. Type "What's the largest city in the world?" into the box at the bottom of the chat window and press Enter. Confirm that the bot responds as shown below.
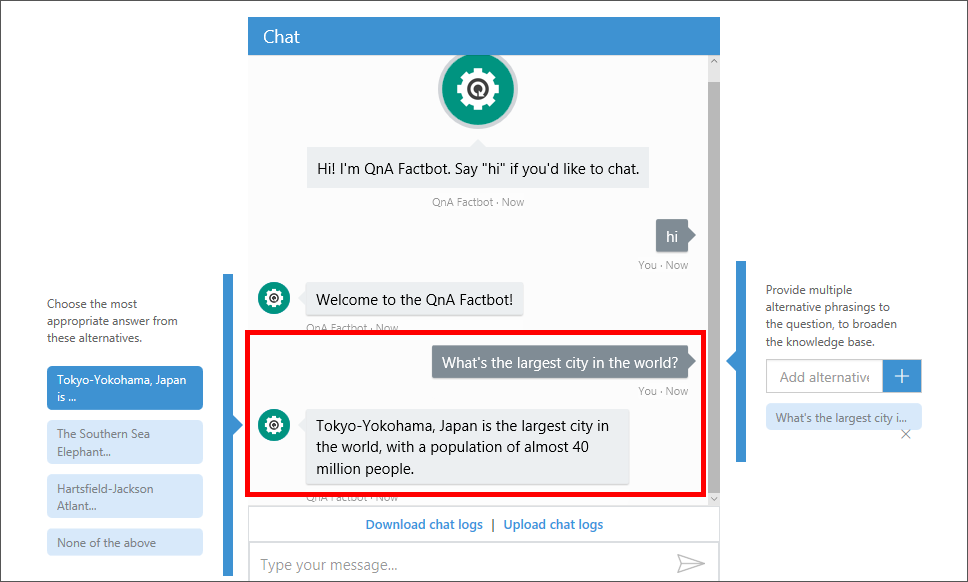
Testing the updated knowledge base
-
The knowledge base only contains a few questions and answers, but can easily be updated to include more. You can even import questions and answers stored in text files on your computer. To demonstrate, click Replace Knowledge Base in the upper-left corner of the portal.
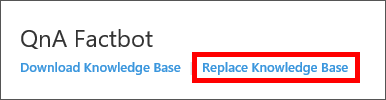
Replacing the knowledge base
-
Browse to the "Resources" folder included with this lab and select the text file named Final QnA.txt. Click OK when prompted to confirm that importing this file will overwrite existing questions and answers.
-
Click Knowledge Base and confirm that 14 new questions and answers appear in the knowledge base. (The six you imported from the URL are still there, despite the fact that you were warned that they would be overwritten.) Then click Save and retrain to save the changes.

The updated knowledge base
-
Click Test to return to the Test page. Type "What book has sold the most copies?" into the box at the bottom of the chat window and press Enter. Confirm that the bot responds as shown below.
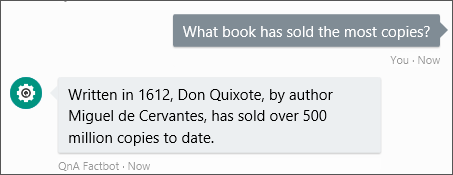
Chatting with the bot
-
Click Publish to publish the changes to the knowledge base.

Publishing the knowledge base


With our knowledge base deployed, it is now time to lend attention to the bot itself.
When you deployed a Bot Service in Exercise 1, an Azure Web App was created to host the bot. But the bot still needs to be written and deployed to the Azure Web app. In this exercise, you will code the bot using source code generated for you by QnA Maker.
-
In Azure, create a new Web App
-
Navigate to the App Service Editor within your web app & GO into editing
-
Create a new file called
index.html- this will be our website homepage -
Paste the following code into
index.html<!DOCTYPE html> <html> <body> <iframe src='https://webchat.botframework.com/embed/SERVICE-NAME?s=SECRET-KEY-REDACTED'width="50%" height="400px" margin-top="-200px"</iframe> </body> </html>LEAVE THIS TAB OPEN
-
IN A NEW TAB go to the Azure Portal and open the Bot Service you created in Exercise 1 if it isn't already open.
Opening the Bot Service
-
Click CHANNELs, and then click Edit on your WebApp.
-
Here we can get our iframe embed code for
index.html -
Copy your embed code & Secret key - INTO
index.htmlin your other tab -
Browse to your new web app and start chatting


Once deployed, bots can be connected to channels such as Skype, Slack, Microsoft Teams, and Facebook Messenger, where you can interact with them the way you would interact with any other user. In this exercise, you will test your bot with Skype.
-
If Skype isn't already installed on your computer, please install it now. You can download Skype for Windows, macOS, and Linux from https://www.skype.com/en/download-skype/skype-for-computer/.
-
Return to your Bot Service in the Azure Portal and click Channels.

Opening the Channels page
-
Click Edit in the "Skype" row.
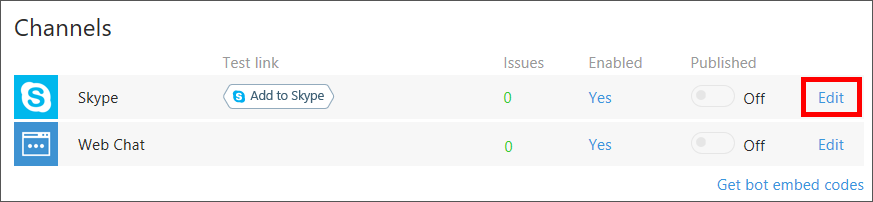
Editing the Skype channel
-
Ensure that the bot is enabled on Skype and click I'm done configuring at the bottom of the page. Your bot is now ready to test in a Skype conversation.
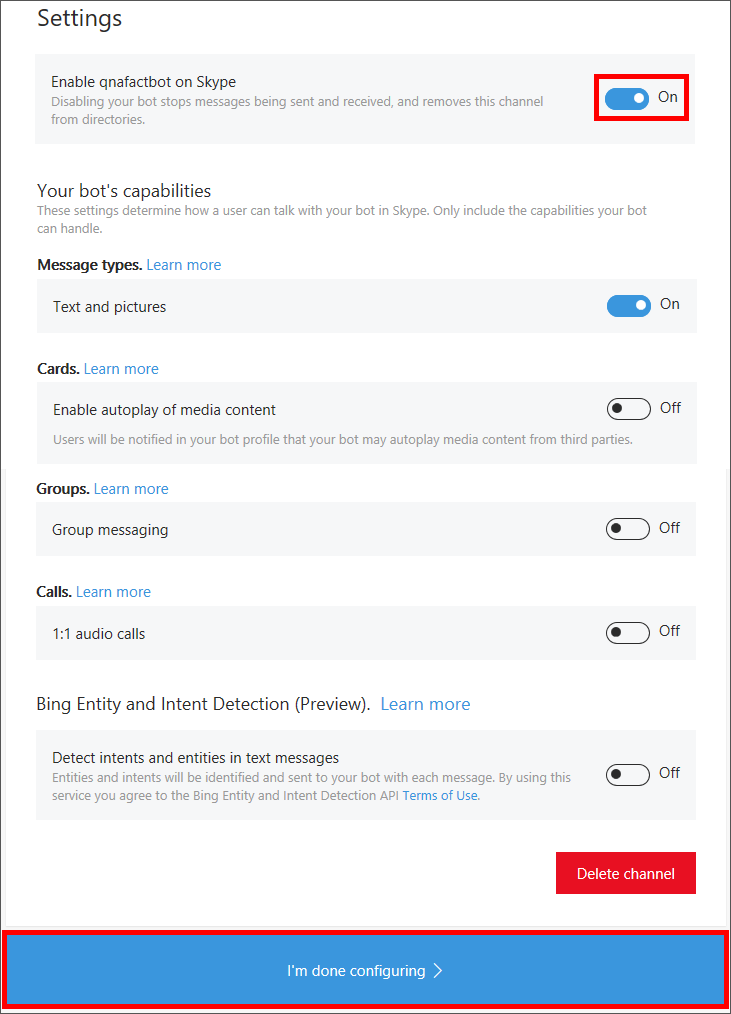
Enabling Skype integration
-
Click the Add to Skype button.

Adding the bot to Skype
-
Click Add to Contacts to add the bot as a Skype contact. Skype will launch and display a new conversation thread between you and the bot.
If Skype does not automatically initiate a conversation with the bot, select the bot from the "Recent" list in Skype to initiate a conversation manually.

Adding the bot as a Skype contact
-
Start a conversation with the bot by typing "hi" into the Skype window.The bot will display a welcome message and you can start a question-and-answer process using the information available in your QnA knowledge base!
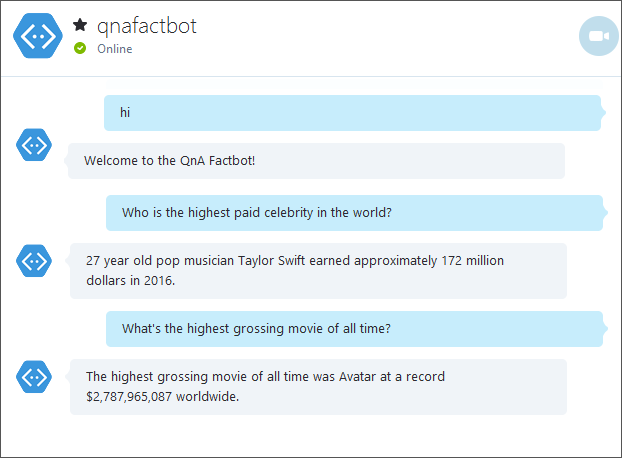
Chatting with the bot in Skype


You now have a fully functional bot created with the Microsoft Bot Framework, infused with intellgience with Microsoft QnA Maker, and available for anyone in the world to interact with. Feel free to plug your bot into other channels and test it in different scenarios. And if you would like to make the bot smarter, consider expanding the QnA knowledge base with additional questions and answers. For example, you could use the online FAQ for the Bot Framework to train the bot to answer questions about the framework itself.
In this hands-on lab you learned how to:
- Create an Azure Bot Service to host a bot
- Create a Microsoft QnA knowledge base, populate it with data, and connect it to a bot
- Implement bots in code and debug the bots that you build
- Plug a bot into Skype and interact with it there
There is much more that you can do to leverage the power of the Microsoft Bot Framework by incorporating dialogs, FormFlow, and Microsoft Language Understanding and Intelligence Services (LUIS). With these and other features, you can build sophisticated bots that respond to users' queries and commands and interact in a fluid, conversational, and non-linear manner. For more information, see https://blogs.msdn.microsoft.com/uk_faculty_connection/2016/04/05/what-is-microsoft-bot-framework-overview/.
Copyright 2016 Microsoft Corporation. All rights reserved. Except where otherwise noted, these materials are licensed under the terms of the MIT License. You may use them according to the license as is most appropriate for your project. The terms of this license can be found at https://opensource.org/licenses/MIT.