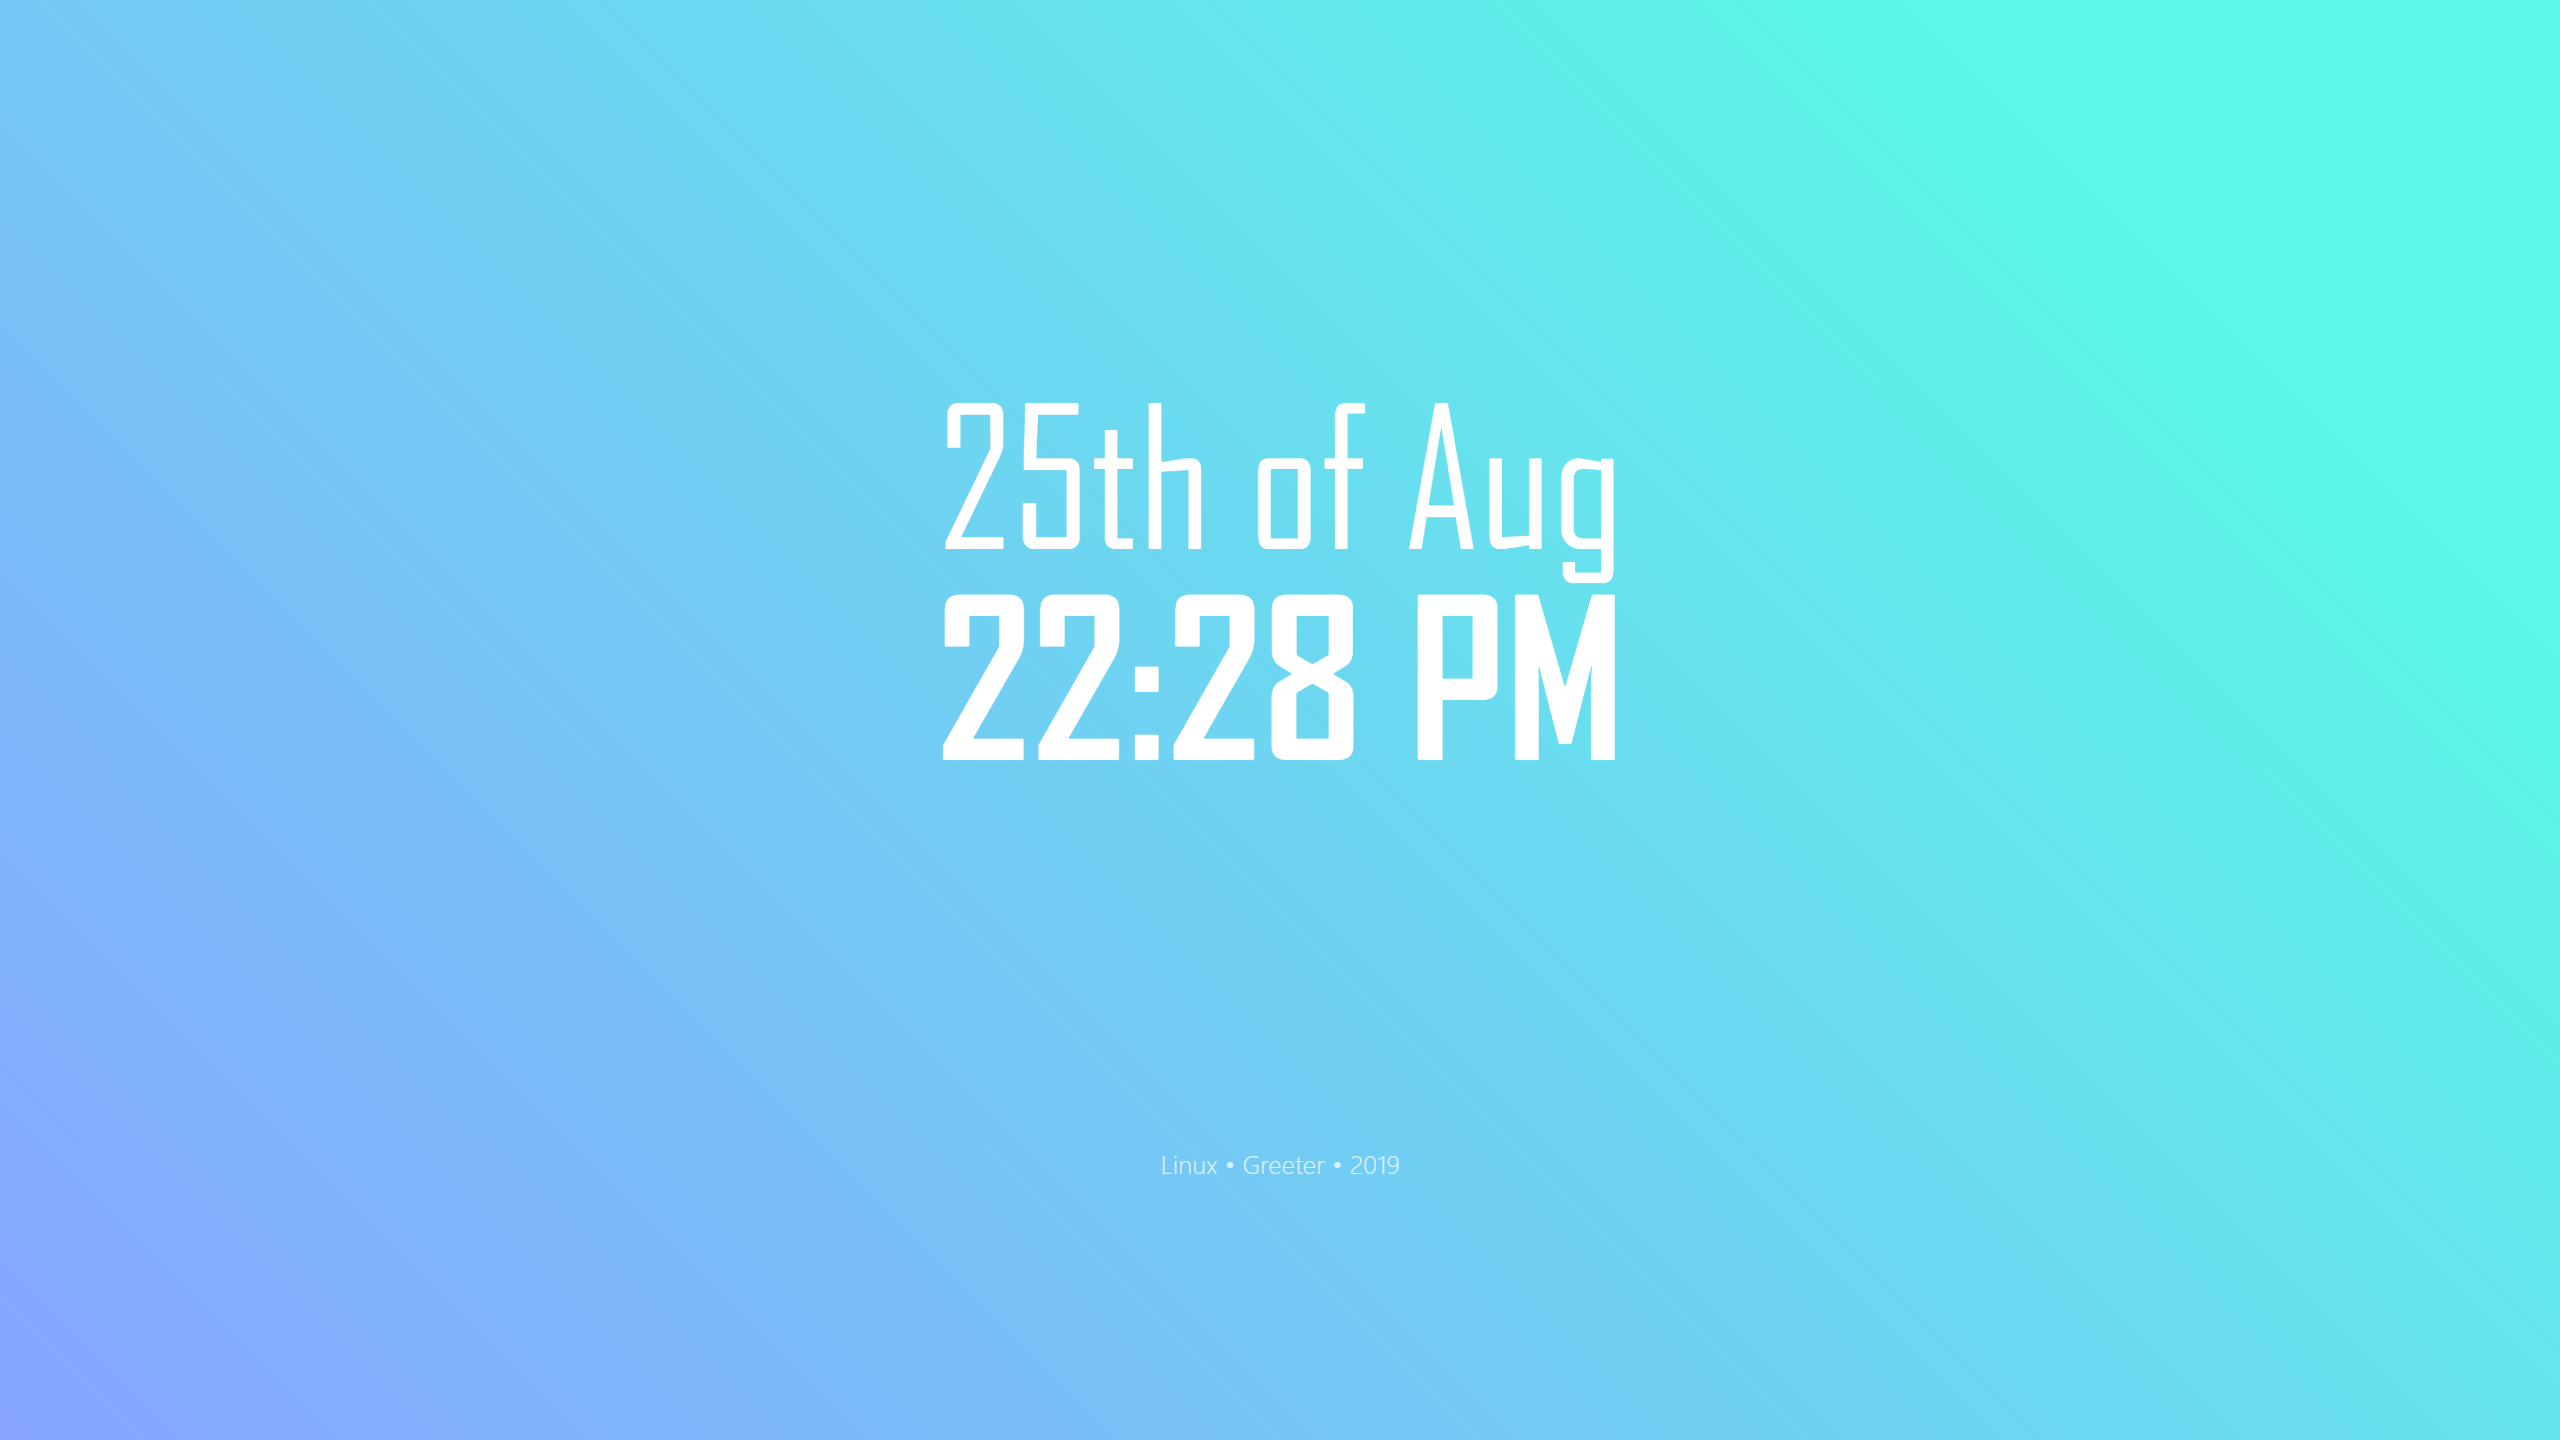
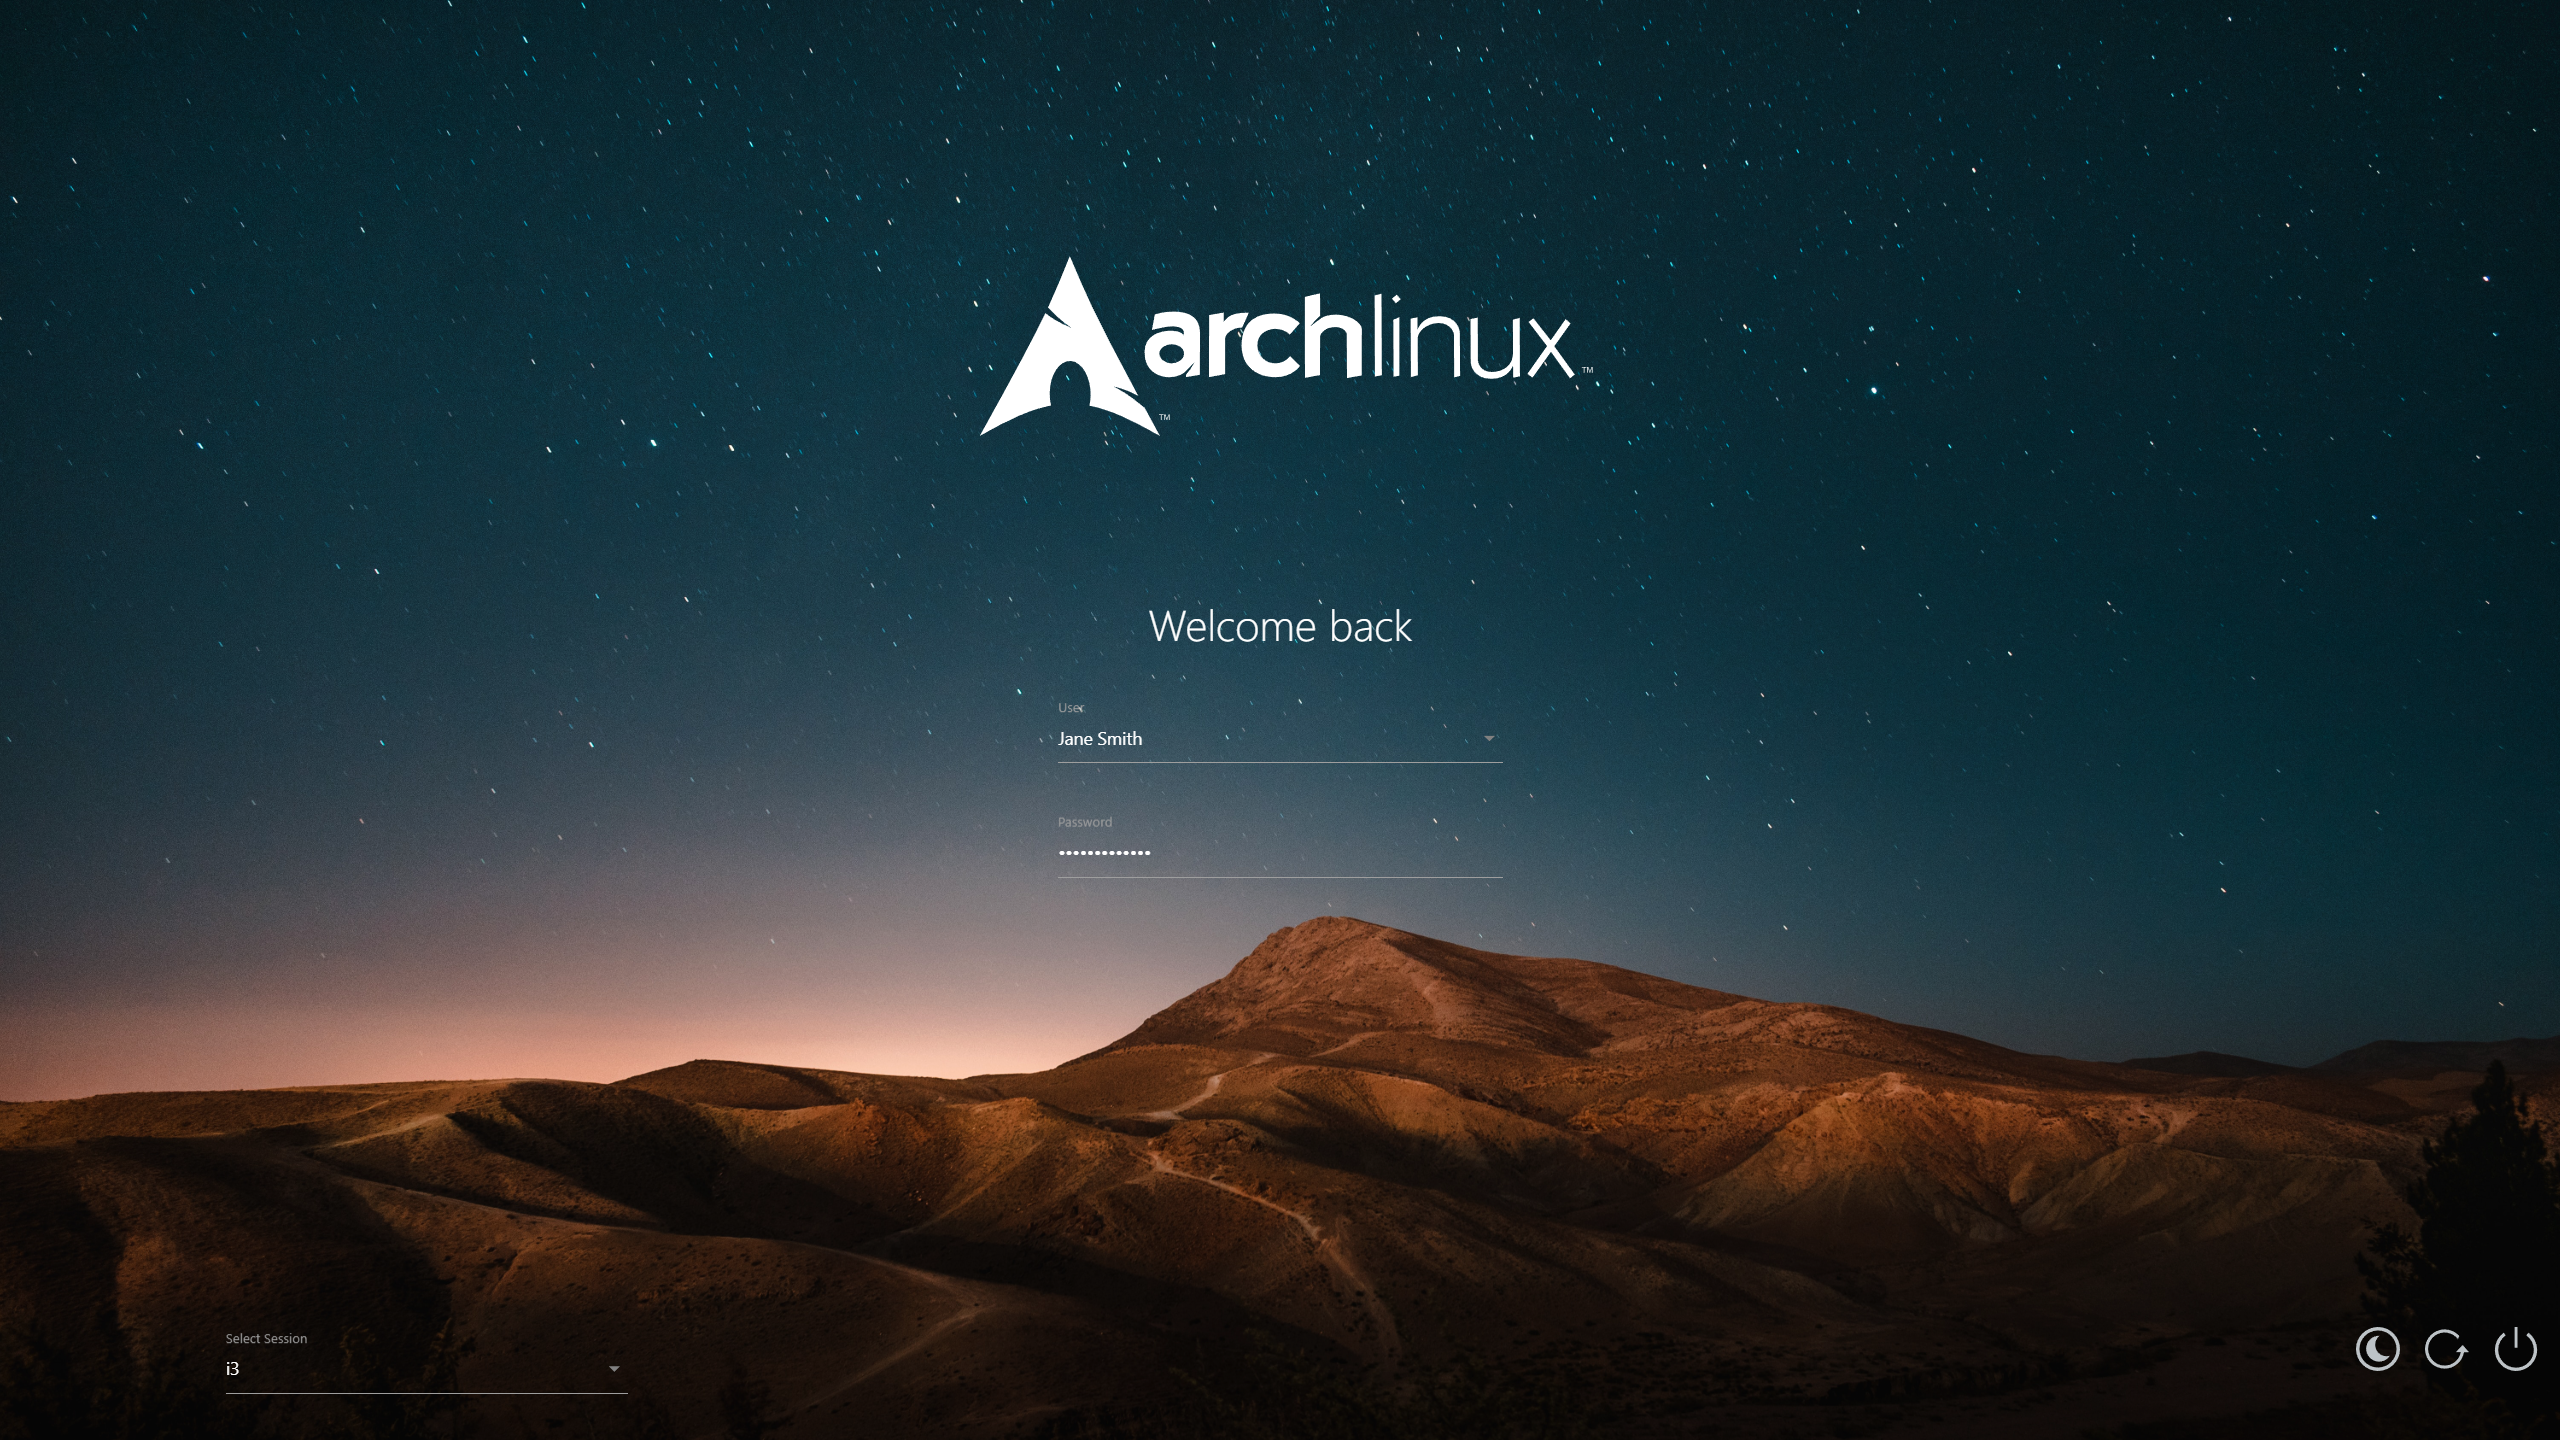
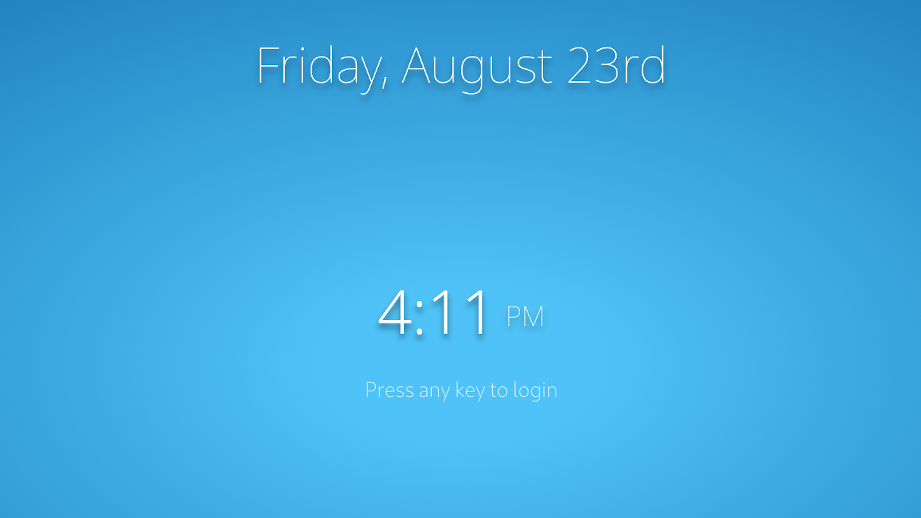
This project will no longer be supported as the dependencies have been abandoned.
An event based interface for creating fully customizable Linux login themes using Lightdm's Webkit2 Greeter.
Install the lightdm and its webkit greeter, make sure that no other version of lightdm is installed on your system.
If your are not already using lightdm, install lightdm and lightdm-webkit2-greeter.
# pacman -S lightdm lightdm-webkit2-greeter
# apt-get install lightdm lightdm-webkit2-greeter
Now edit the lightdm config, in /etc/lightdm/lightdm.conf and set it to use the webkit2 greeter instead.
[Seat:*]
...
greeter-session=lightdm-webkit2-greeter
...
Next clone the this repo and copy it to the webkit2 themes folder. (You will need root permission for the copy)
$ git clone https://github.com/jelenis/login-manager.git
# cp -r lightdm-theme /usr/share/lightdm-webkit/themes/
Lastly, set the value of theme in /etc/lightdm/lightdm-webkit2-greeter.conf to lightdm-theme
(or a custom name of your choice set in index.theme)
[greeter]
...
webkit_theme=lightdm-theme
See theme.js and theme.css for basic usage.
The LoginManager provides the basic faclities for authenticating and starting the user session through an asynchronous event based API. This adds layer of abstraction between UI code and the lightdm interface.
Defined in js/LoginManager.js as must be included after all Plugins and other dependencies.
Example: Creating a LoginManager.
// define a singleton LoginManager
let greeter = new LoginManager();
Any code that uses the LoginManager should only be performed after it has
finished initializing itself and all of its plugins. The ready event can be
used to so.
Example: Using LoginManager ready event.
// called after greeter and lightdm are initialized
$(greeter).on("ready", function(e) {
  // authentication code goes here
});
A user must be authenticated prior to attempting to login.
auth(username="", password="", callback) will asynchronously authenticate,
triggering the appropriate grant or deny event and passing the resulting
boolean to the callback function.
Example: Authentcating a user when the enter key is pressed in a password field.
/* Attempt authentication, 'grant' event will be emitted on sucecss
and 'deny' will be emitted on failure */
if (e.keyCode == 13) { // Enter key
  let username = $user.children("option:selected").val();
  let pass = $password.val();
  greeter.auth(username, pass); // no callback specified
}
Once authentication has been performed you can start a user session with
login(session_key)
Example: listenting for authentication and starting a user session
// when the user is authenticated, do a transition and login
$(greeter).on("grant", () => {
  let session_key = $session.children("option:selected").val();
  greeter.login(session_key);
})
.on("deny", () => {
  // inform the user that the credentials are invalid
  $password.removeClass("valid").addClass("invalid");
  $password.val("").prop("placeholder", "Incorrect Password");
});
Properties | Definition | Description --- | |--- auth | auth(username="", password="", callback) | Authenticates a user login | login(session_key) | Starts a user session shutdown | shutdown() | Poweroff the pc hibernate | hibernate() | Hibernate the pc restart | restart() | Restart the pc users | get users() | Returns array of user objects sessions | get sessions() | Returns array of sessions objects fillUserSelect | fillUserSelect($el) | Populates jQuery select element with users fillSessionSelect | fillSessionSelect($el) | Populates jQuery select element with sessions
| Event | Description |
|---|---|
| deny | Triggered after an unsucessful attempt to authenticate using auth |
| grant | Triggered after successfuly authenticating using auth |
| init | Triggered by LoginManager after the 'load' event has been fired by a plugin |
| load | Triggered by Plugins after they have finished loading their config files |
| ready | Triggered by Plugins and LoginManager after they have finished initailizing |
| active | Triggered once by SplashScreen Plugin after the user interacts with the SplashScreen |
| inactive | Triggered by the SplashScreen Plugin after a period of inactivity |
Plugins are stored in the LoginManager's plugin property and are
dynamically generated by the plugins array in
LoginManager.json.
Example: The SplashScreen plugin in LoginManager's config
"plugins": [
  "SplashScreen"
]
The SplashScreen plugin provides facilities to easily add content to a splash screen without having to worry about the details of implementation. Splash screen content can be changed in its config file SplashScreen.json.
The general settings for this plugin are specified in the root of the .json
config file. The code will generate the content on this splash
"img": "",             // path to background image (can be left blank for none)
"fit": false,          // fits the background image to screen size, if there is one
"filter": false,       // applies blur to background image
"vignette": true,      // applies dark vignette to background image
"active-timeout": 15,  // specifies the timeout for active/inactive events
"transition": "fade",  // "fade" or "slide" to transition SplashScreen
The date in the sample image above is created and automatically
updated with the following clock object. You can use custom CSS to style and
position your clock. The parent-css property will allow you to add CSS to the
clocks outer div.
"content": {
  "clock": [{
    "format": "dddd, MMMM Do",
    "css": {
      "color": "white"
    },
    "parent-css": {
      "margin-top": "calc(20vh - 70pt)",
      "text-align": "center",
      "font-size": "70pt",
      "font-family": "Noto Sans",
      "font-weight": "lighter",
      "text-shadow": "rgba(0, 0, 0, 0.5) 0px 7px 10px",
    }
    ...
To add the sytlized time to our splash screen we need to add another clock. This one will consist of two parts one for the actual time and another for the sylized AM/PM. This means formats, and thus two css objects.
"content": {
  "clock": [{
    ...
},{
  "format": ["h:mm", "A"], // two formats for two clocks on the same line
  "css": [
    {"font-size": "65pt", "font-weight": 200 },
    {"font-size": "30pt", "font-weight": "lighter", "margin-left": "10pt"}
  ],
  "parent-css": {
    "margin-top": "20vh",
    "color": "white",
    "font-family": "Noto Sans",
    "text-align": "center",
    "text-shadow": "rgba(0, 0, 0, 0.5) 0px 7px 10px",
  }
}],
Provides an interface to add any custom content to the SplashScreen.
Example: adding welcome text to SplashScreen, see default theme for an image.
content: {
  "html": [{
    "html":"<text style='display: none' class='active-appear'>Press any key to login</text>",
    "css": {
      "margin-top": "5vh",
      "font-weight": "200",
      "font-size": "23pt",
      "text-align": "center",
      "color": "rgba(255, 255, 255, 0.8)"
    }
  }]
}


