Eaton 3S Mini UPS Made Smart
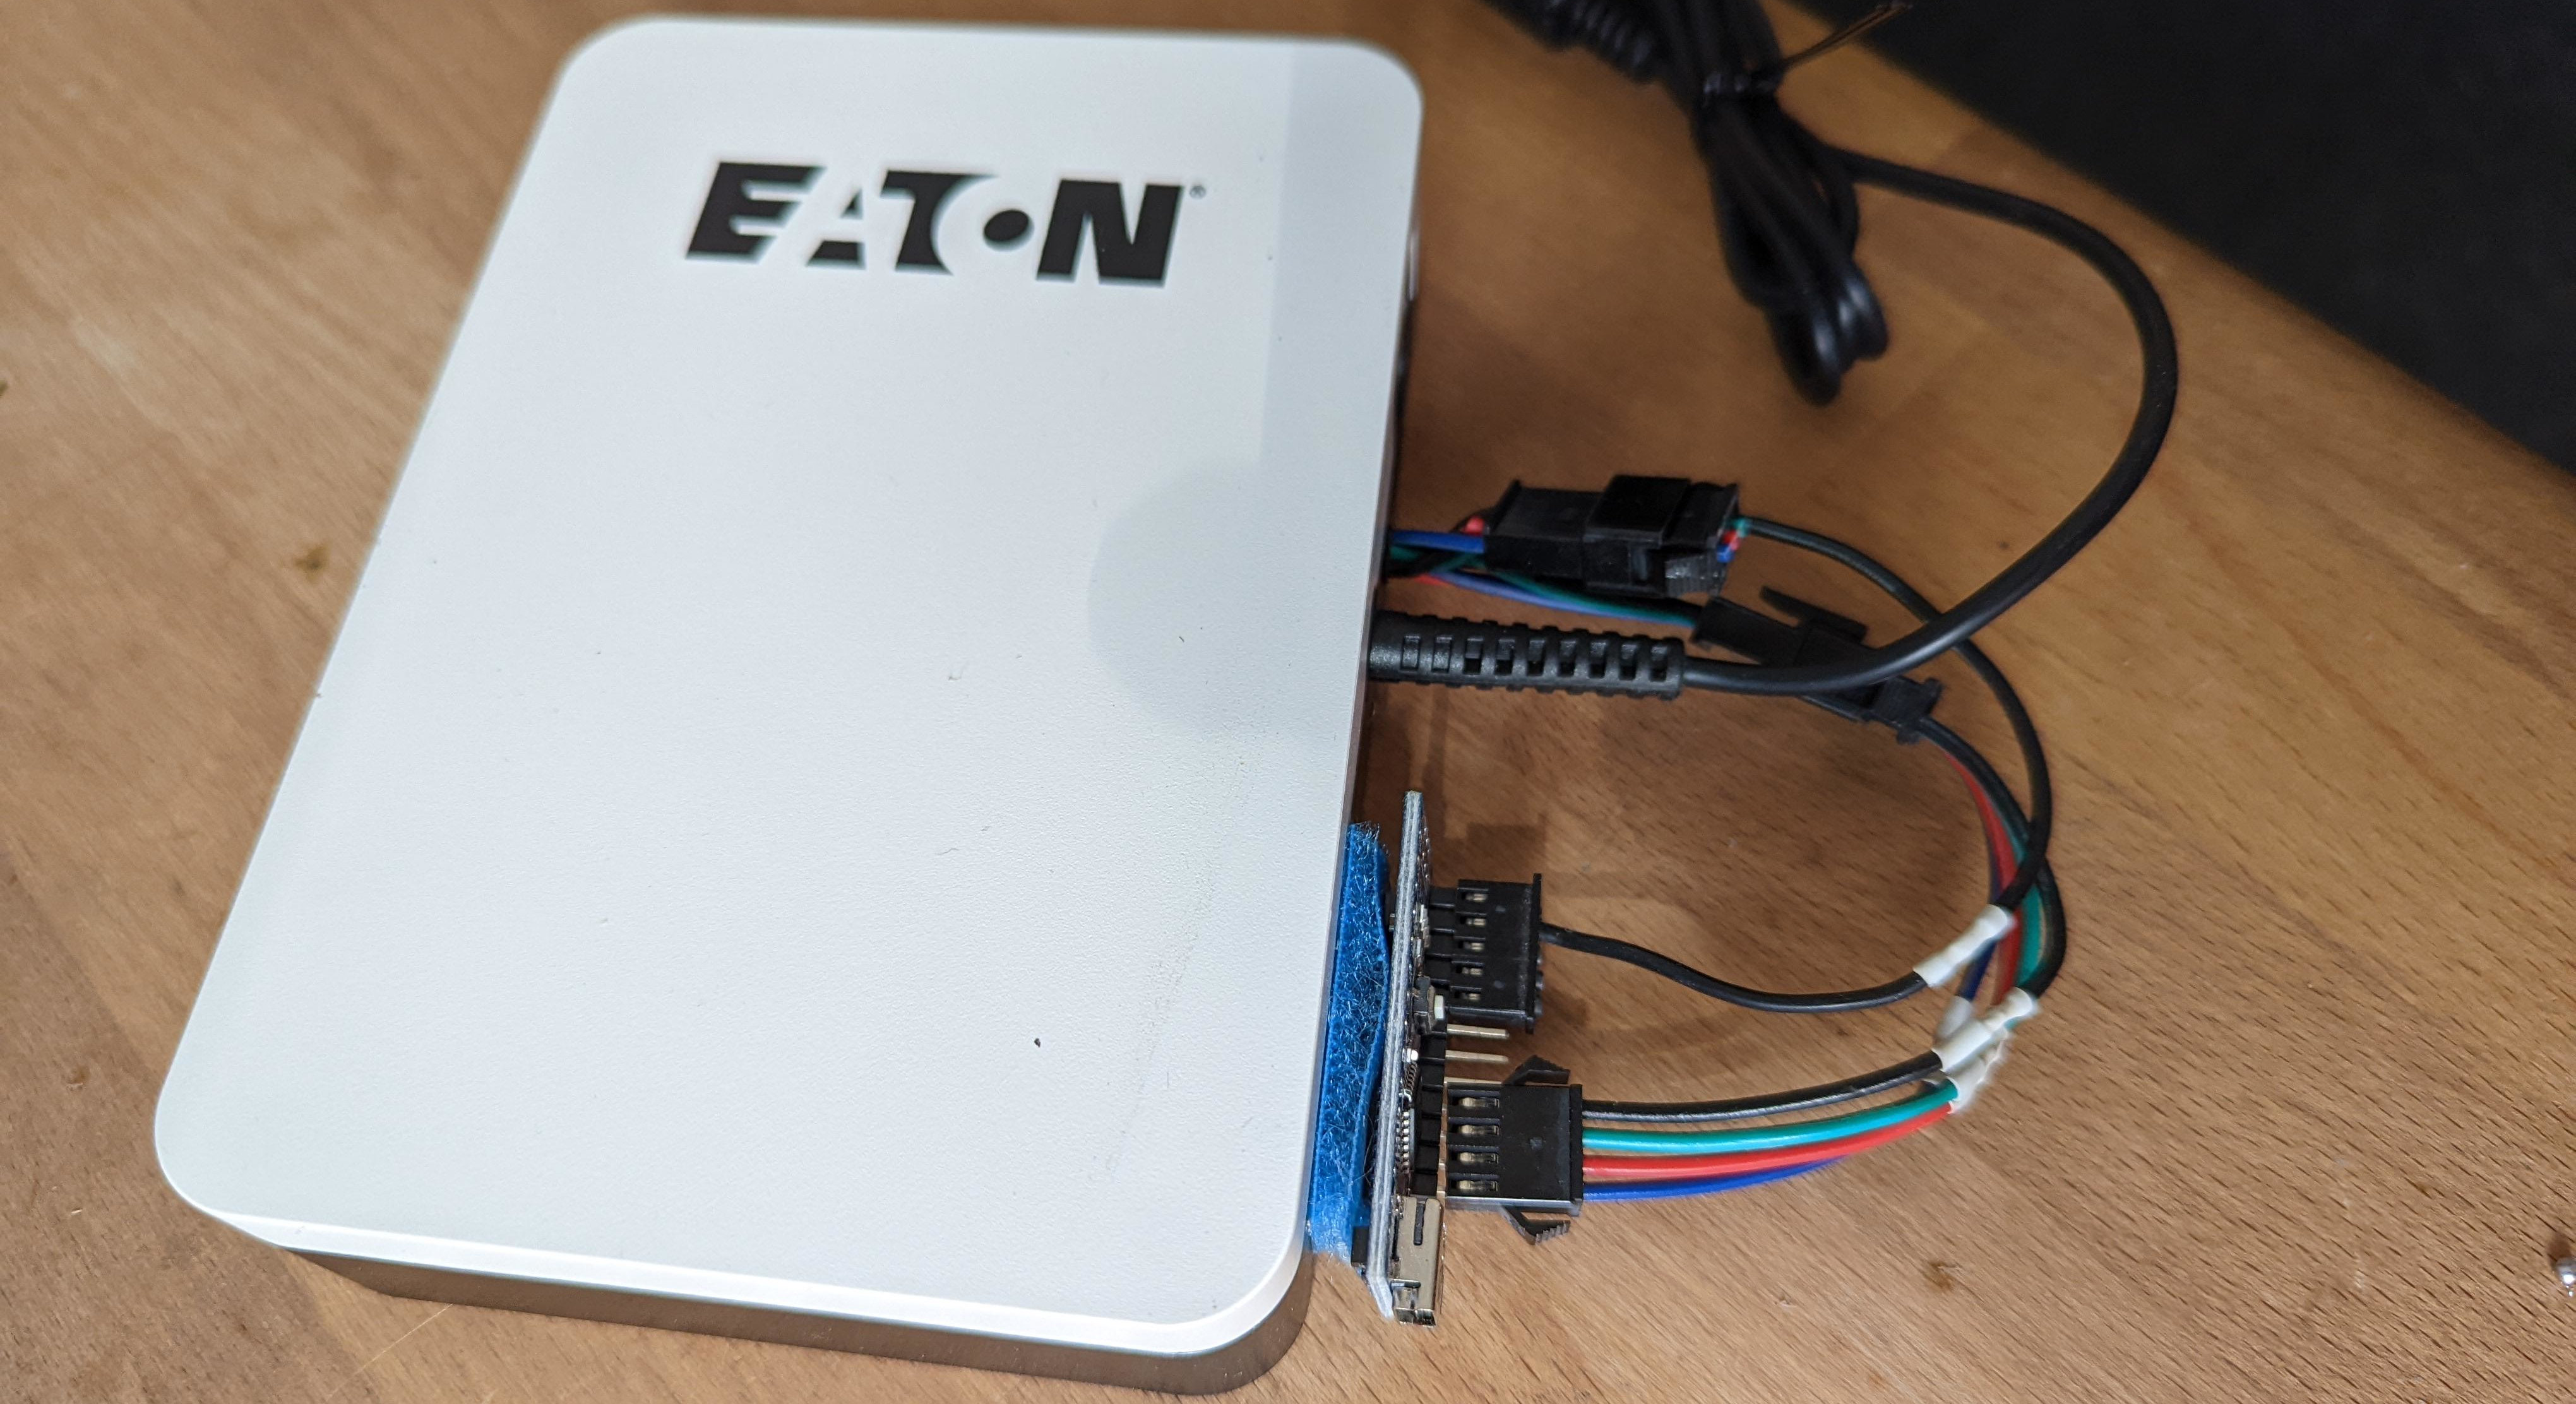
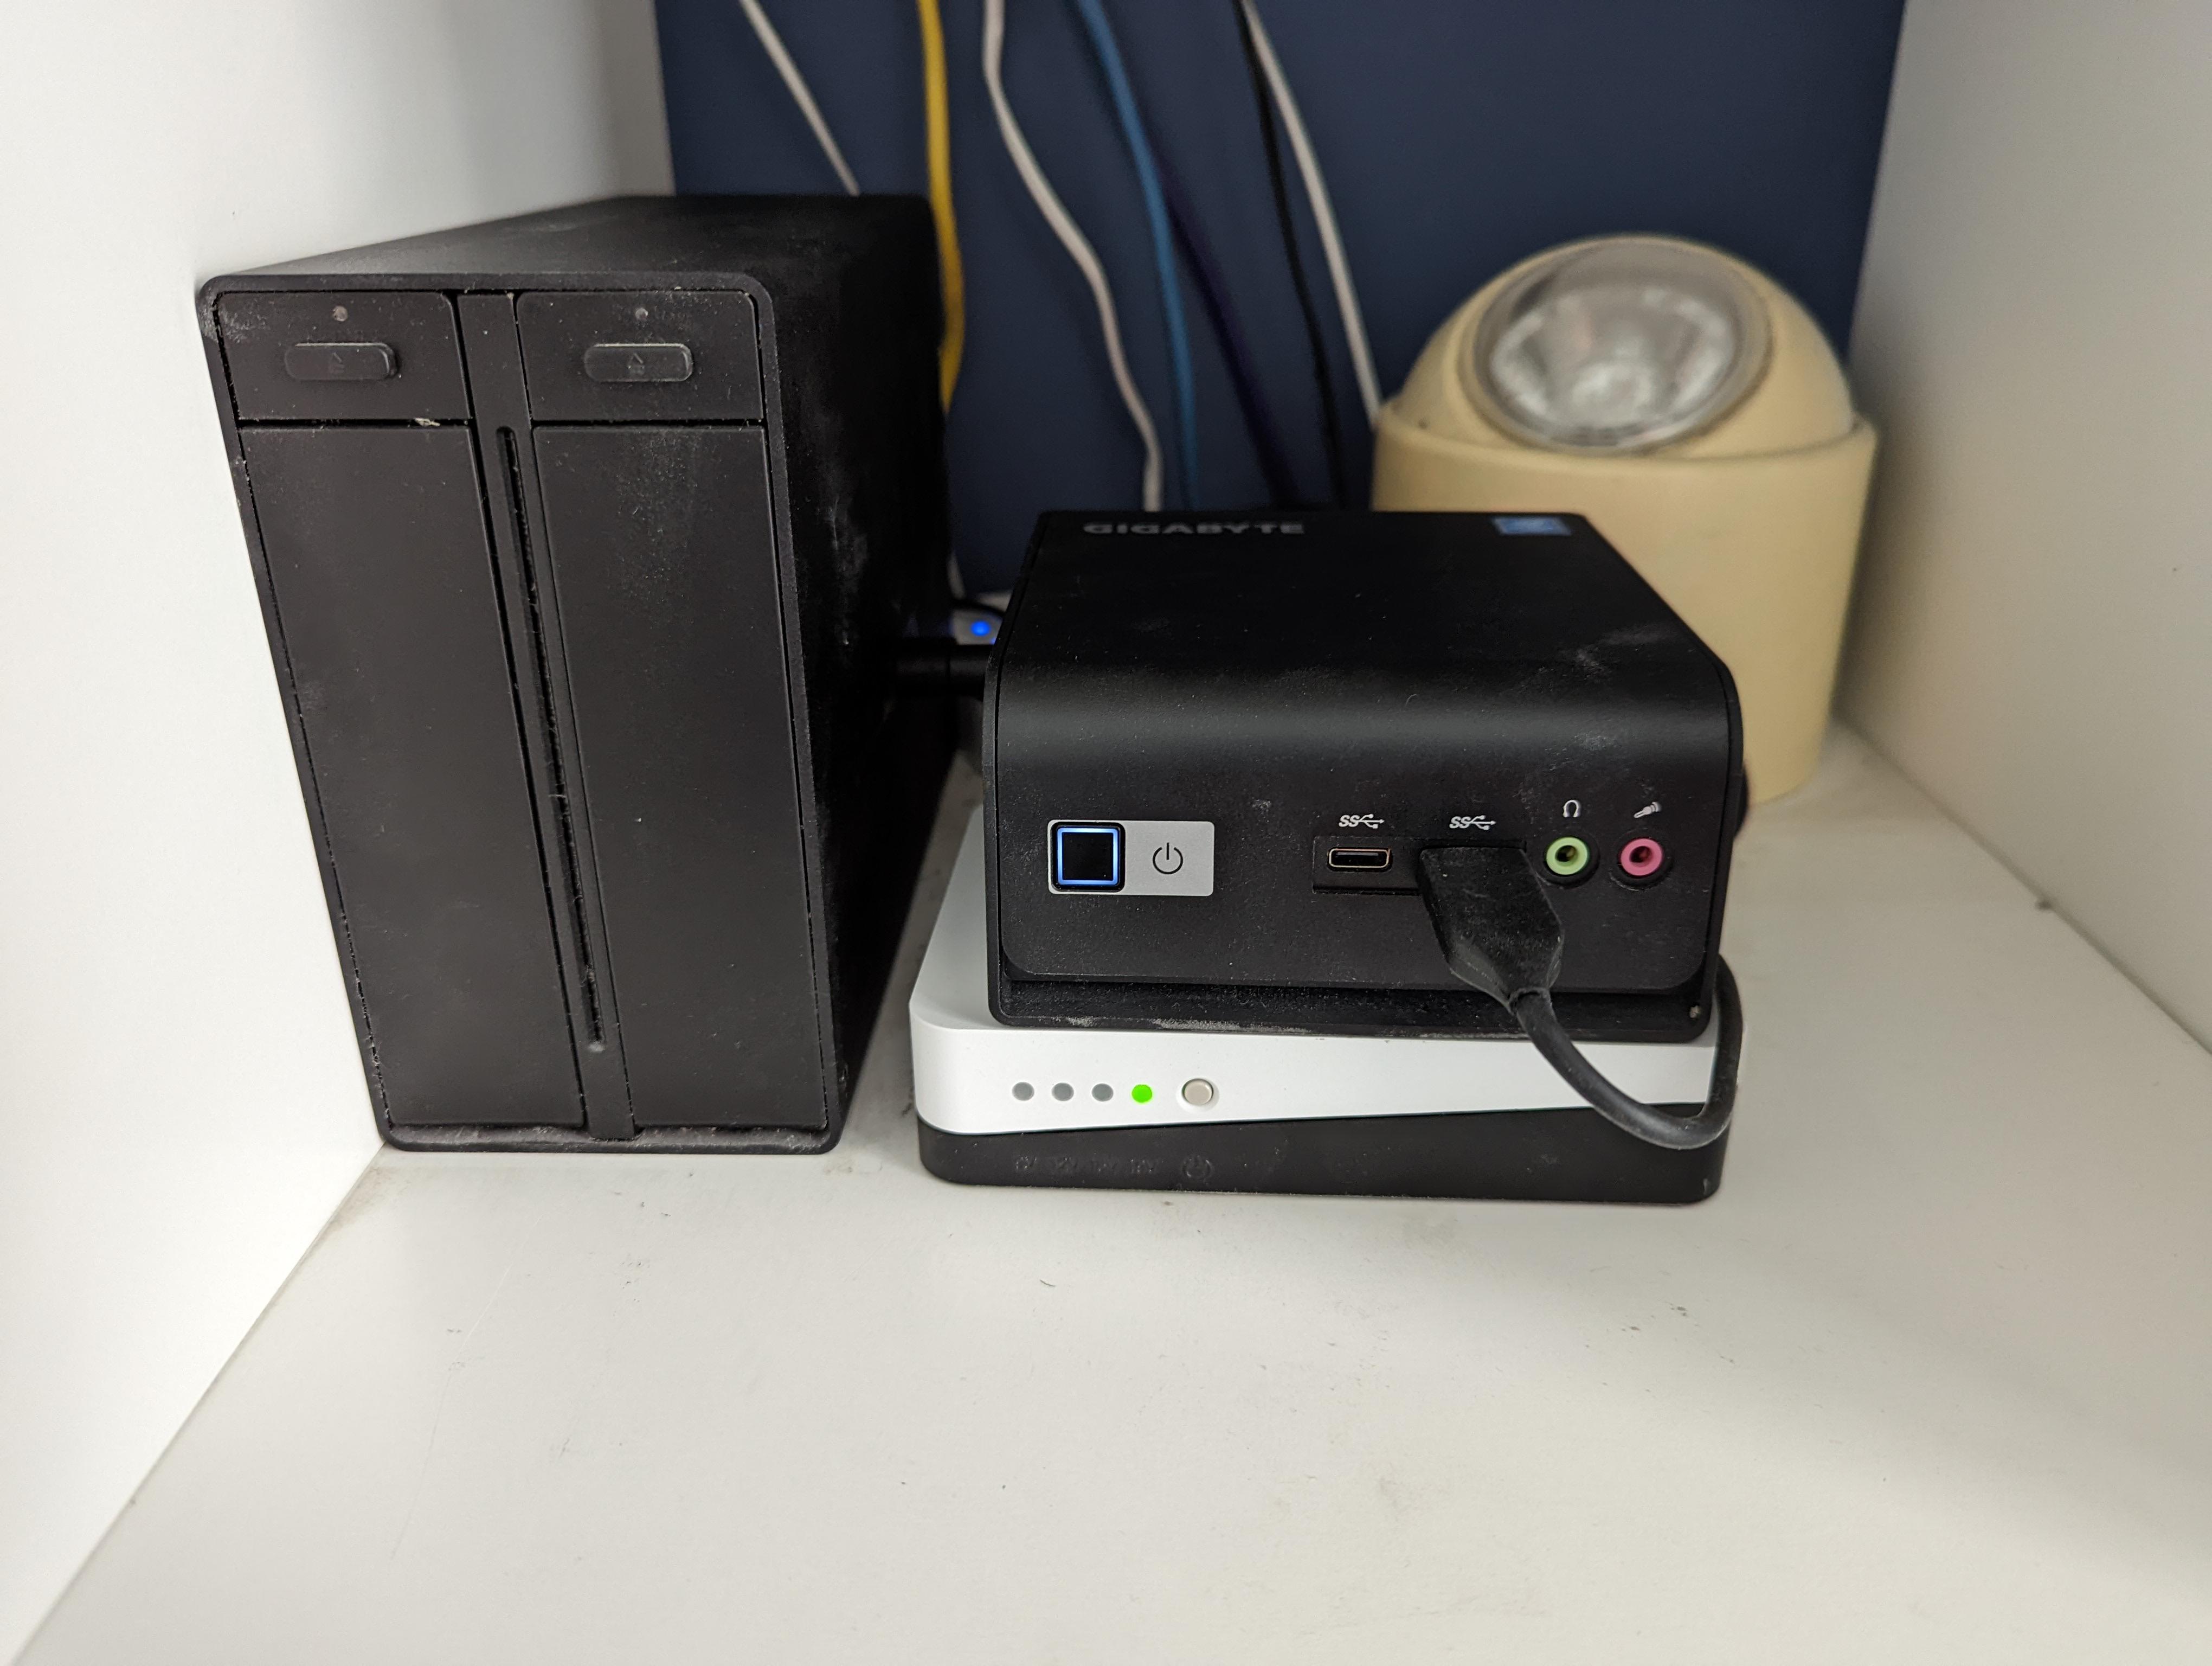
 The Eaton 3S Mini UPS is a nice little device to bridge power outages for small devices like router, rasberries, nucs and NAS. There is just one snag: It is dumb. Device state and battery levels are indicated via LEDs only and there is no way to let your home server know that power will be gone in a few minutes and it should power down gracefully.
Well, that was true until now. I smartified my device by tapping into the LEDs and you can too. With this mod the device reports its state via usb every 5 seconds which looks like this:
{"state":"normal","value":19}
Device is happily running on mains power serving 19V.
When we cut power output looks like this:
{"state":"discharging","value":3}
Device is discharging and there is only 3% power left.
- 1 Eaton 3S Mini UPS, no shit sherlock
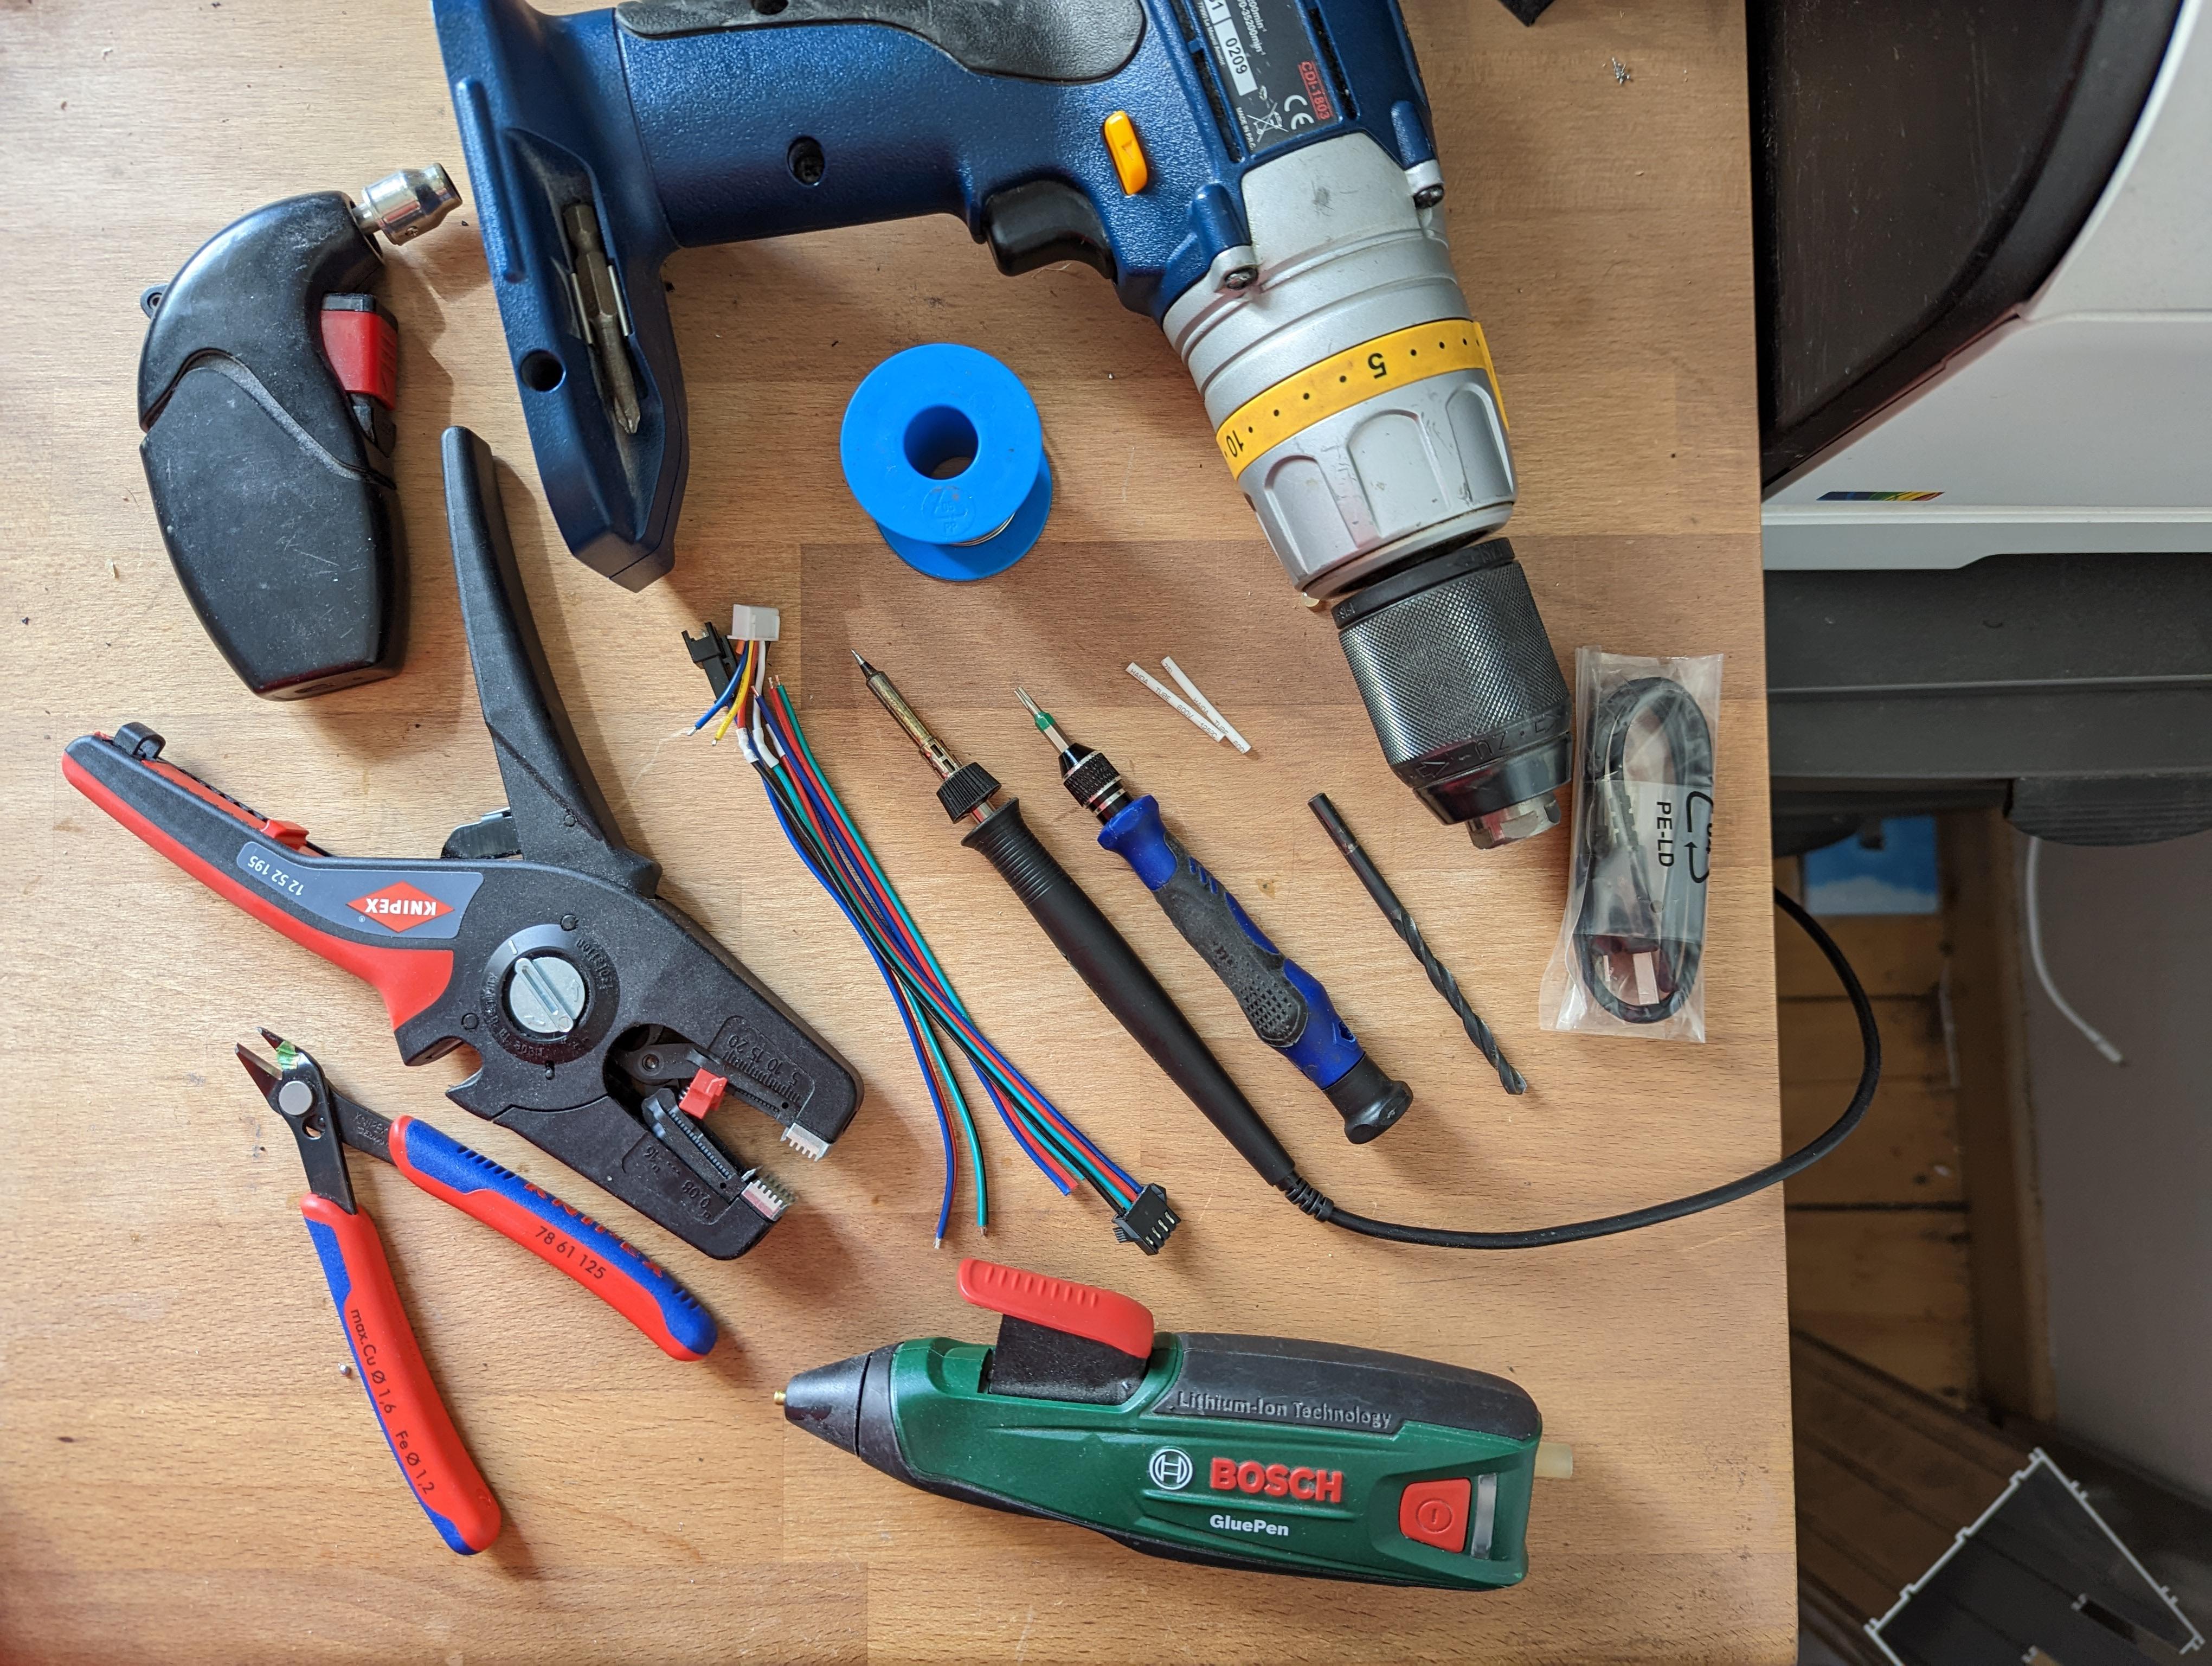
- Thin colored wires, the thinner the easier. the more colors the less errors.
- Some plugs: 4 pins at least, 7 at most
- Some programmable device which offers at least 4 0-2V voltage sensing inputs. I used an Arduino nano which I randomly found in a drawer and will provide its sketch but you can use any controller you like, code is simple and easy to modify.
- A mini-USB cable if you go the Arduino Nano way
- A security screwdriver tip to open the UPS. Its called TT9 in my screwdriver set and is basically a torx with a hole in the center. soldering iron, solder, heatshrink, scissors, drill, hotglue gun, duct tape, etc
- Mutimeter for measuring conductivity
- You will need to solder onto some very small pads. A magnifying glass and a steady hand will come in handy. Maybe not the best fit for your first soldering project but not impossible as well.
- You will need to drill a hole into the case so drilling skills are beneficial :)
- You will need to modify code unless you use an Arduino nano and the same analog inputs as I do
- You will need some general computer literacy to make use of the UPS status data
- Device is held shut by 4 screws hiding under the rubber feet. pull the feet, unscrew screws.
- Remove batteries.
- Drill a hole into the case. I made it big enough to fit all 7 wires (4 signal, 1 ground, 2 switch) but ended up not driving the switch so 5 wires is enough if you don't plan to add new functionality. If space is a concern 4 wires should do if common ground is used.
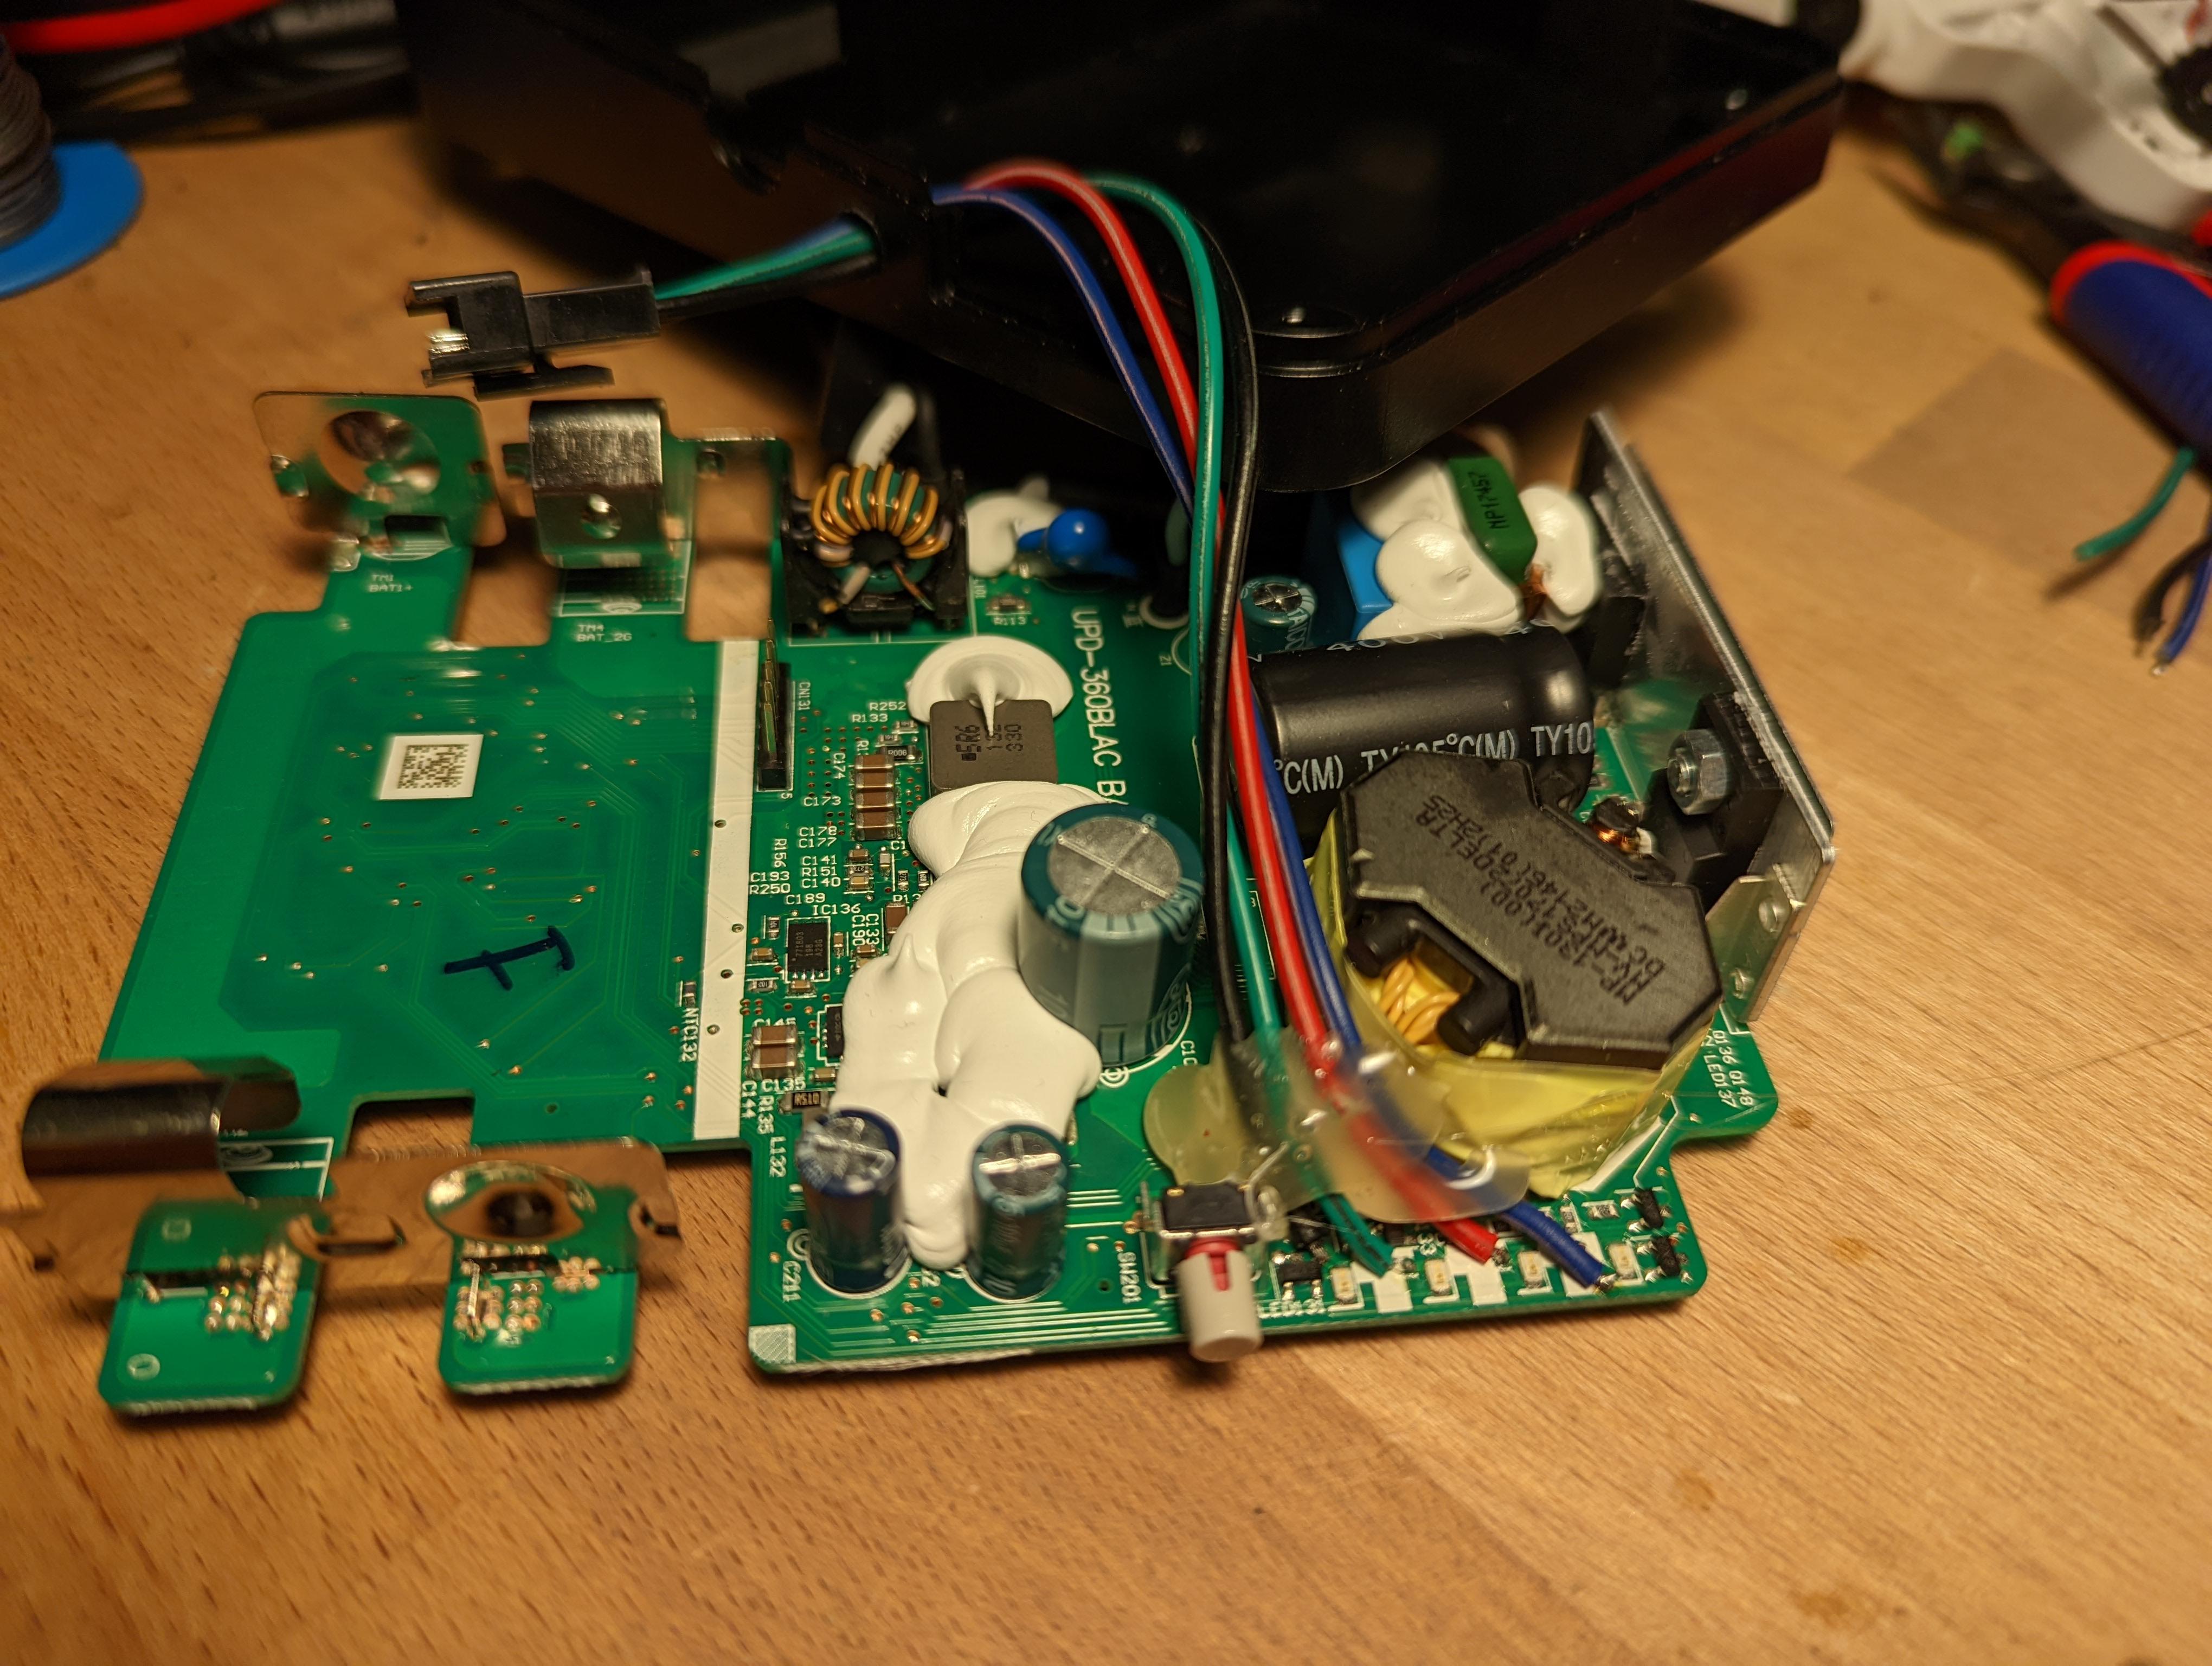
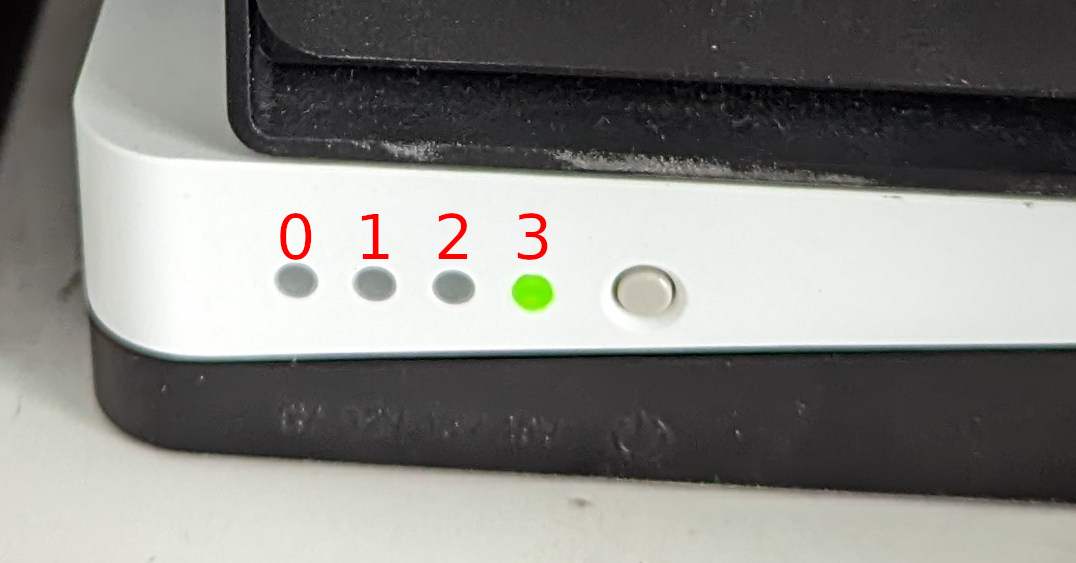
- Solder a wire to every LED. There is a tiny soldering pad next to every LED, I used that. You can solder to the LED directly or its drivers output leg. Check with continuity with multimeter.
- Solder ground wire to ground. I used the power output ground but every will do.
- Optional: I soldered 2 wires to the switch because I was planning to switch it with a relay but ended up not doing this at all. You can skip this part if you don't plan to enhance functionality.
- Fix wires with hot glue.
- Put batteries back in place. Check polarity. There is a small + sign on the PCB and on the battery as well for both batteries. However, there is reverse polarity protection in place. I know because I put them in wrong.
- Close case.
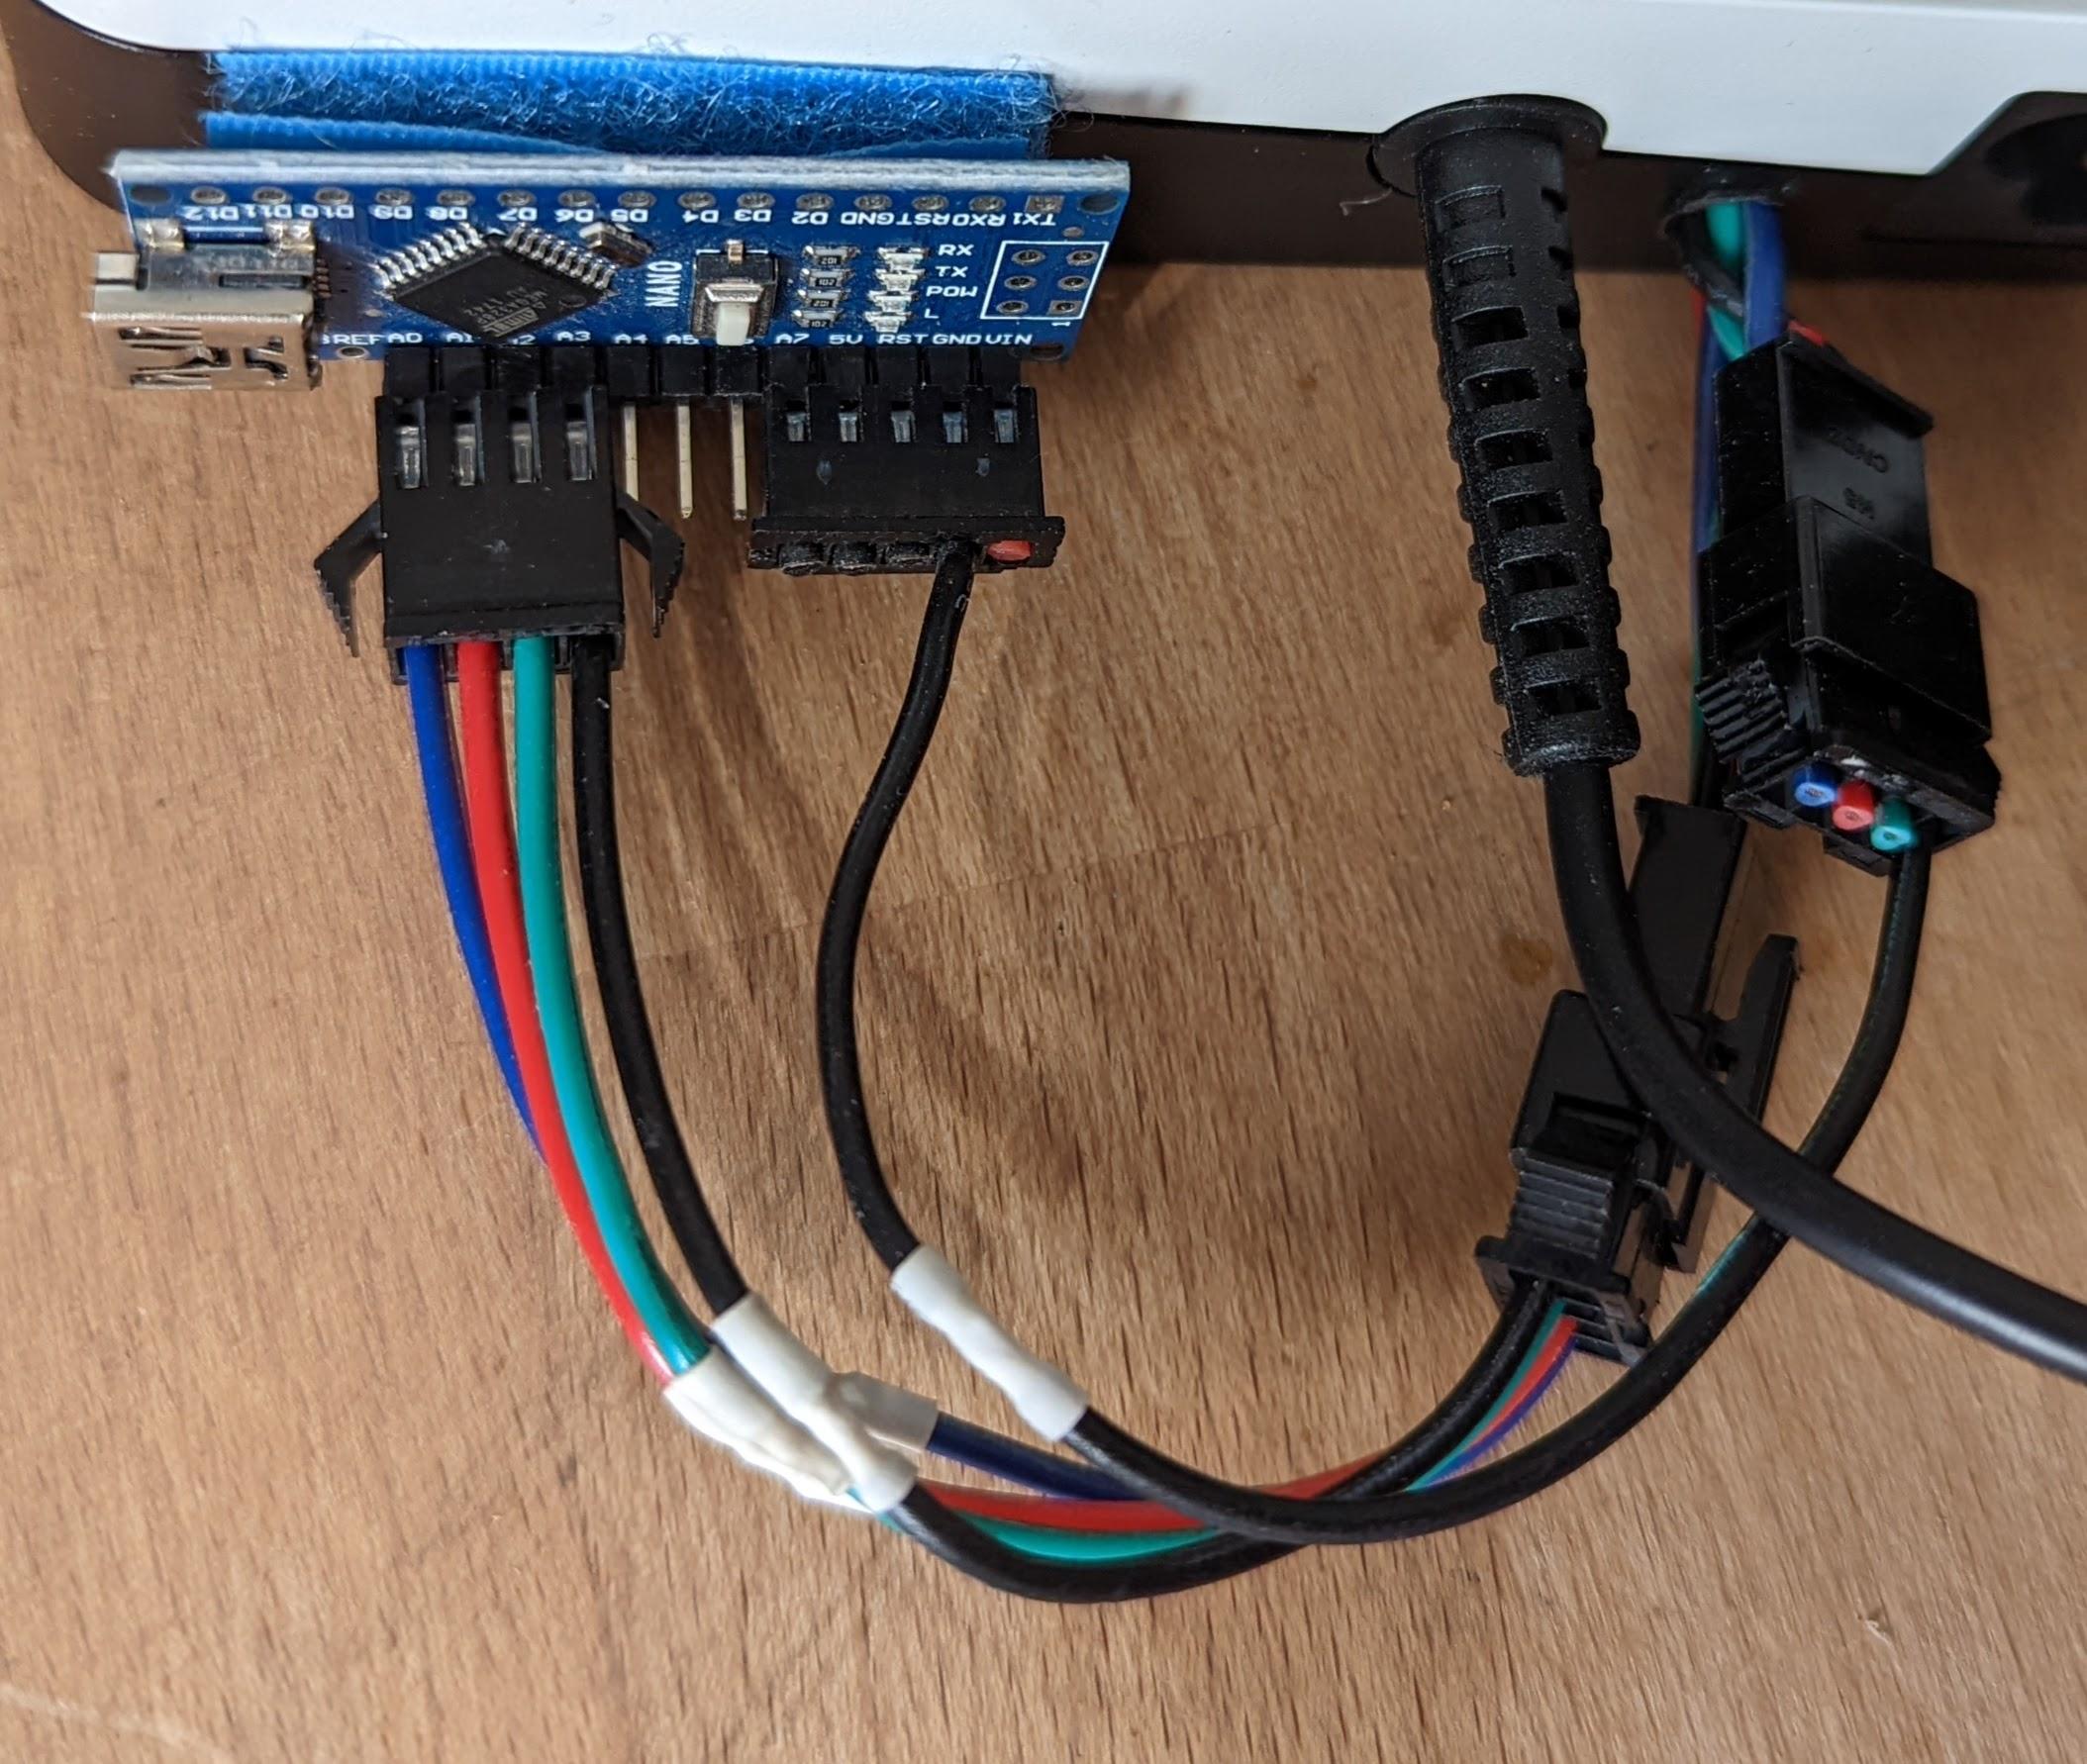
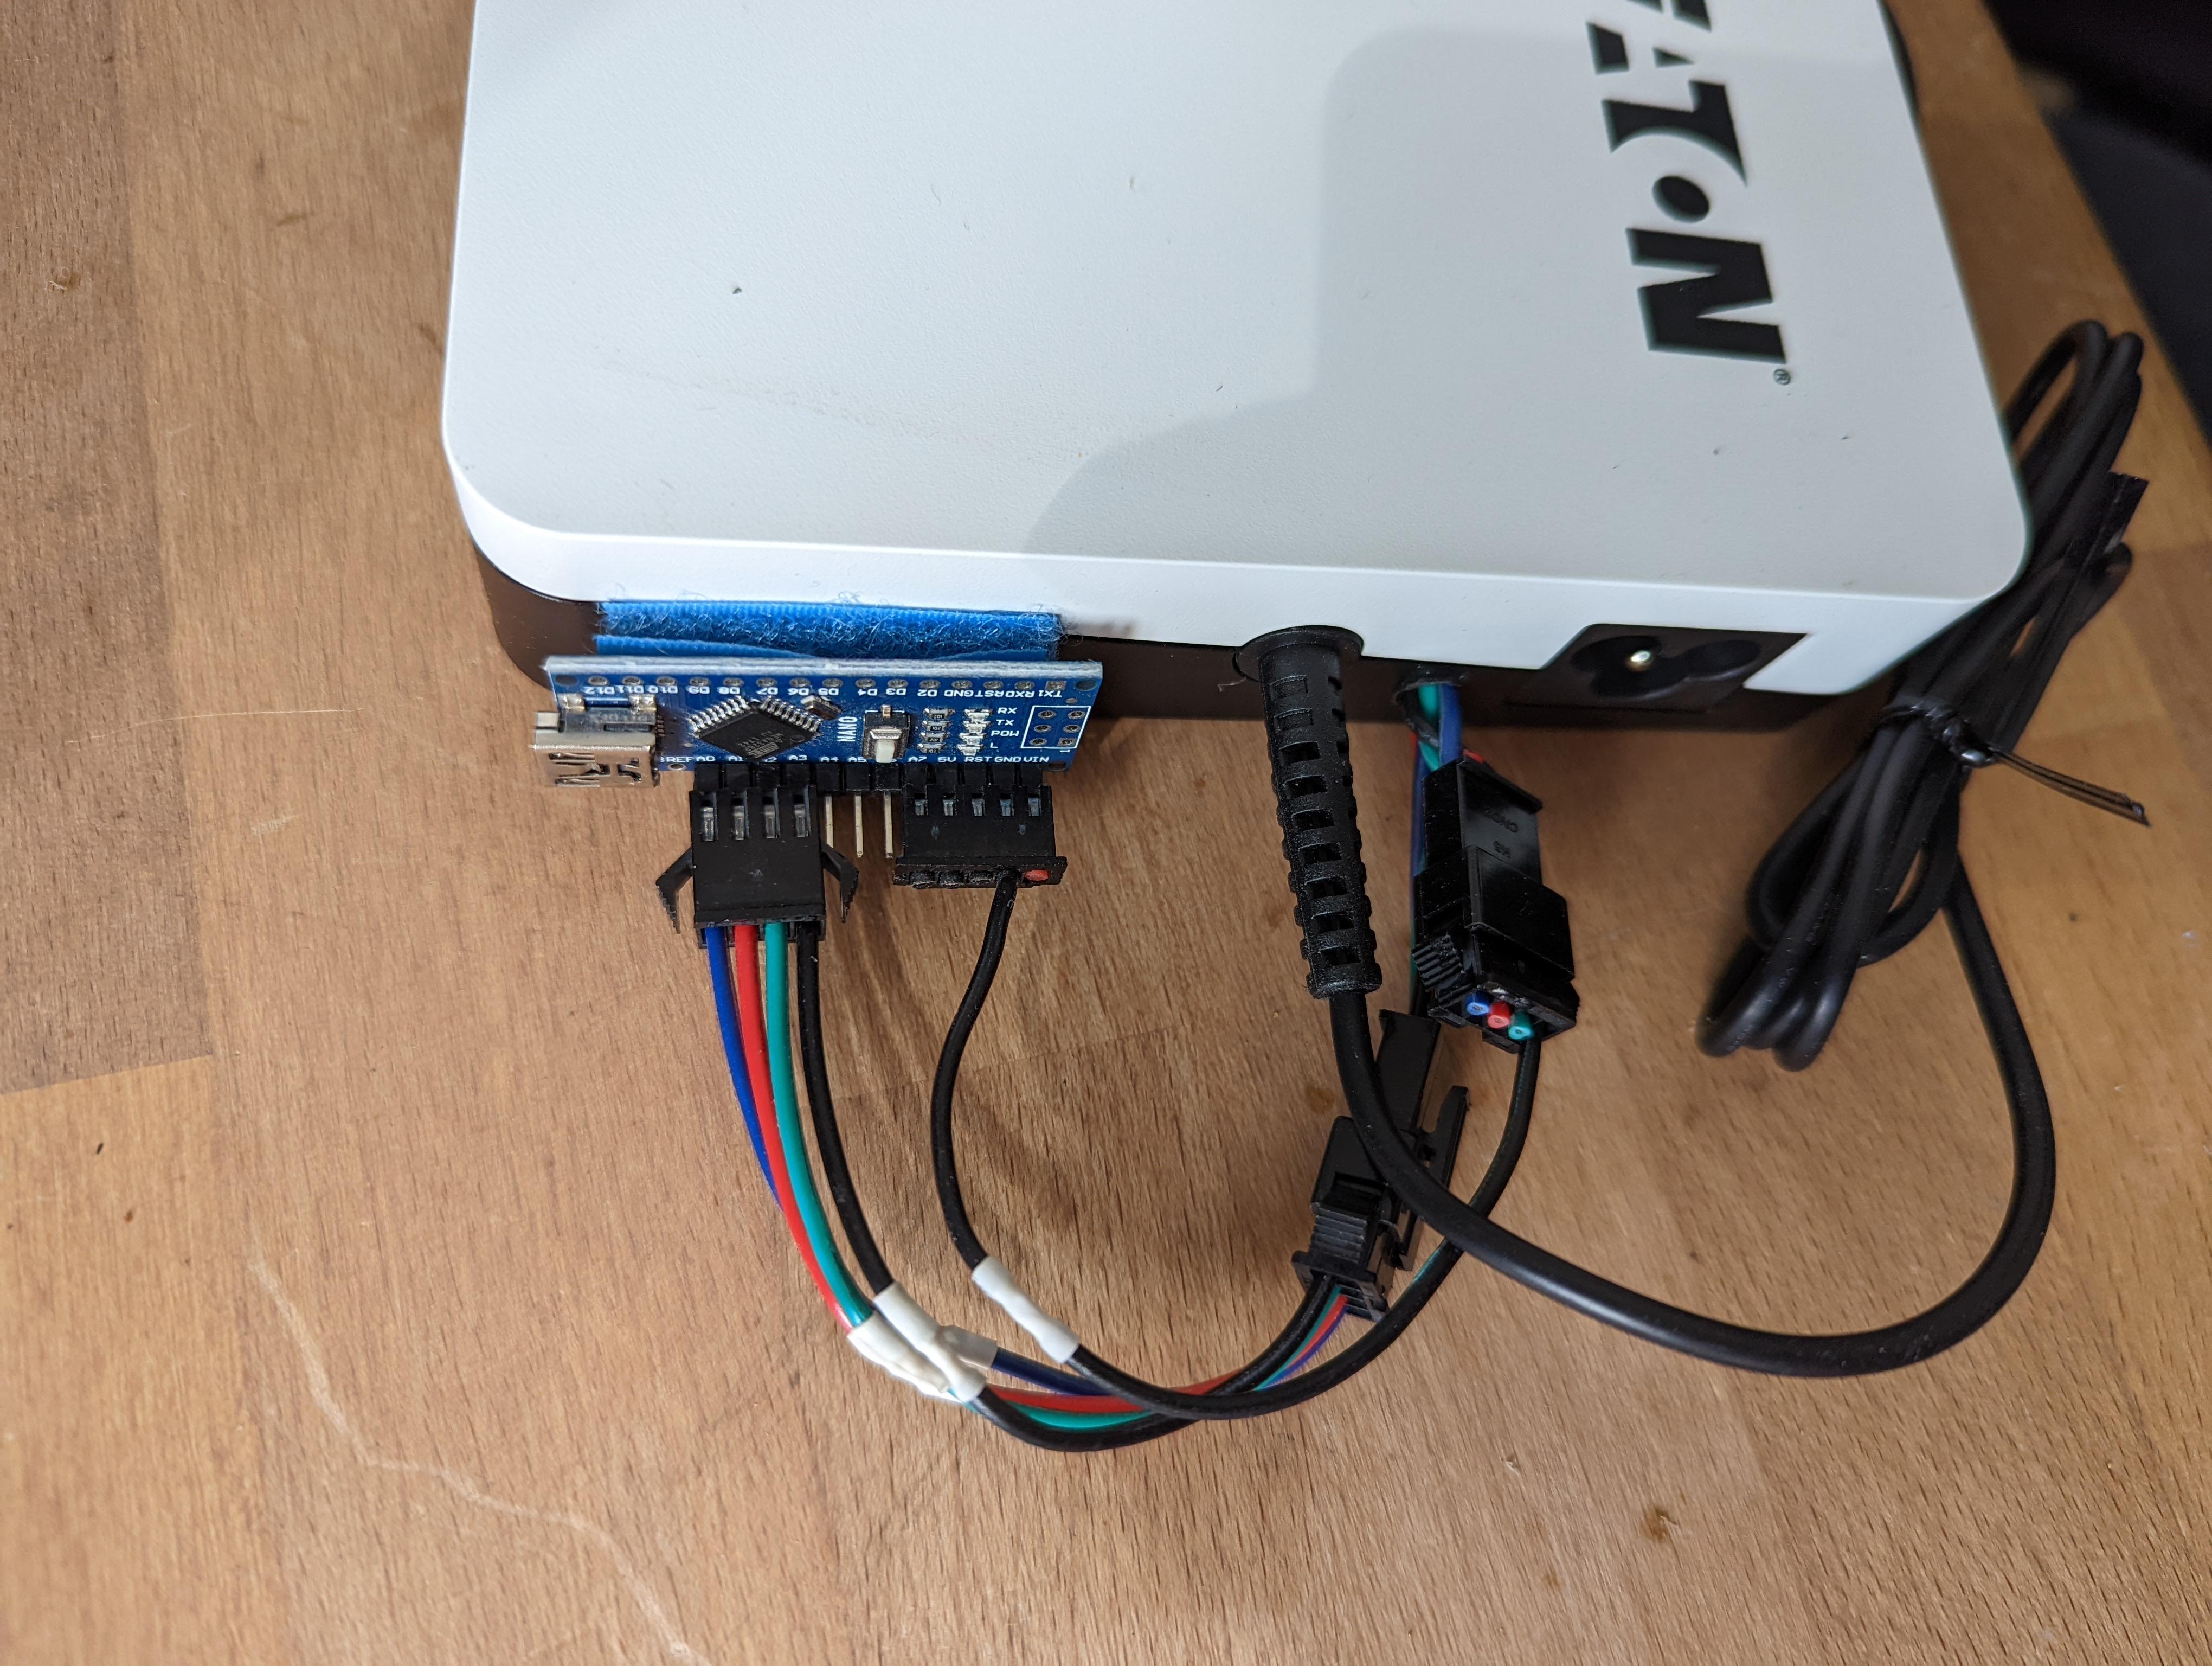
- Connect the 4 LED signals to the microcontroller. If you are cloning my arduino setup check photo for correct wiring order to A0, A1, A2, A3.
- Connect ground to Arduino ground. This is optional because you will have a common ground anyway if the controller is powered by the UPS but I needed it for testing and kept it that way
- If you followed closely there will be 2 wires left connected to the switch. I did not use them at the end but feel free to enhance functionality. A short button press would allow battery stats reading while charging :)
This part is specific the to Ardino Nano I used. Most compatible Arduinos will work as well. If you use a different controller you'll need to adapt code.
- Set up Arduino IDE, your board and install ArduinoJson library
- Download EATON_UPS_monitor.ino and flash to your board
- Test it: Connect microcontroller to your PC and listen at serial USB at 9600 baud. Status messages should arrive every 5 seconds.
My Arduino nano board reads voltages between 0V and 5V, and samples at 10 bit (1024 steps).
LED on/off detection works simply by reading voltages repeatedly. The base value is:
int onOffEdge = 350;
Values below 350 indicate LED off, above 350 indicate LED on. This could be different for you on a different device.
The sketch offers 1 productive and 2 debug modes for value finding and reliability checks:
enum OutputFormat { RAW, LEDS, STATE };
OutputFormat outFormat = STATE;
STATE is default format, see below for details.
LEDS shows detected LED states like so:
{"A0":"on","A1":"on","A2":"off","A3":"off"}
RAW shows raw values averaged over the sampling interval (5 sec):
{"A0":401,"A1":417,"A2":268,"A3":265}
LEDs in off-state (0V) will have lower values then LEDs in on-state (2V).
Sampling time is 5 seconds because blinking detection needs time to be reliable. Slow blink alternates about 1 time per second, fast blink ~2:
int minBlinksForFast = 7;
We assume fast blinking if LED blinks at least 7 times in 5 seconds.
Last note: State changes lead to wrong readings. Thats why a reading takes up to 3 cycles (15 seconds) when state changed: We only output a reading if its the same as last reading. If we misinterpreted LEDs because user pressed button mid cycle or output-voltage reading switched to battery level display, we won't output the values because reading differs from previous. Next reading will be a correct one but still won't be displayed because it differs from previous misreading. Third reading is going out because it equals the previous one which means its valid.
STATE data format calculates UPS state from LED readings. Format follows this structure:
{"state":"XXX","value":3..100}
Possible permutations are:
- "state":"error" indicates an error: LEDs show a combination which is neither a battery level nor an output voltage. "value" is always 0 for errors.
- "state":"normal" indicates normal operation. UPS is powered, running and is ready to take over in case power is lost. "value" is 9, 12, 15 or 19 - the current output voltage.
- "state":"discharging" indicates power loss state. "value" is current battery power level in percent and is one of the following values: 3, 8, 38, 63, 88 and 100 and is a numerical representation of the different LED states.
A small Python script can read and output UPS data.
- Install Python 3
- Install PySerial library
- Download upsmonitor.py
- Run upsmonitor.py
- Script prints available serialUSB port when started without any parameter:
fk@fiesernuc:~/bin$ python upsmonitor.py
Port not specified
Available ports:
/dev/ttyUSB0
1 ports found
Script will wait for a valid reading, display it and exit if started with a port as parameter:
fk@fiesernuc:~/bin$ python upsmonitor.py /dev/ttyUSB0
{"state":"normal","value":19}
fk@fiesernuc:~/bin$
Return code will be 0 on successfull readings and 1 on errors.
If you have some SATs to spare: 153HHsR9gZdiDTUgzSZks4uuU141zKcsSe
If you prefer a fancy Lightning address for your tipping needs: thosebetty84@walletofsatoshi.coom
Thanks a lot, your appreciation is what drives me!
