This is a workfolw using Scrivener + Zotero + Highlights + Latex to
- Collect, manage papers (with their pdfs) and their reference (using Scrivener and Zotero)
- Easily highlight keywords and key Content using different colors, extract them into RTF (Rich Text Format) (using Highlights)
- Writing papers using MultiMarkdown, compile it into latex file (using Scrivener and make)
Use MultiMarkdown Syntax in Scrivener to write latex?
MultiMarkdown syntax support many latex features
examples:
citation and cross ref
[#citekey]will be compiled to\citep{citekey}[#citekey;]will be compiled to\citet{citekey}[](#sec:1)will be compiled to\autoref{sec:1}- you can add refkey for sections, figures and equations
ordered and unordered lists
- you can use the markdown "List" syntax,
which will be compiled to
\begin{itemize} ... \begin{itemize}or\begin{enumerate} ... \end{enumerate}
- you can use the markdown "List" syntax,
which will be compiled to
equations
- you can use
$...$and$$....$$command to insert inline and normal euqations
- you can use
figures
you can use
![caption][label]
[label]: $PATH width="0.30\textwidth" height="0.25\textheight"
to insert figure (with label and simple options)
for other unsupported latex features, you can use latex code inside
<!-- -->comment pair to archieve it.the MultiMarkdown syntax make the source code more readable than raw latex code, but when you have to insert latex command, you need to put them in the comment pair (i use
<< >>pair in the project), this may make the code less readable. Don't mind, becausethe most important: you can use Scrivener to manage your source code, so you no longer deal with long latex source code, you can efficiently organize them into hierarchical structure and get focused on the content itself when you are writing.
Reasons i choose Scrivener
Scrivener is a powerful content-generation tool for writers that allows you to concentrate on composing and structuring long and difficult documents.
features:
suppport MultiMarkdown syntax and can compile it into latex
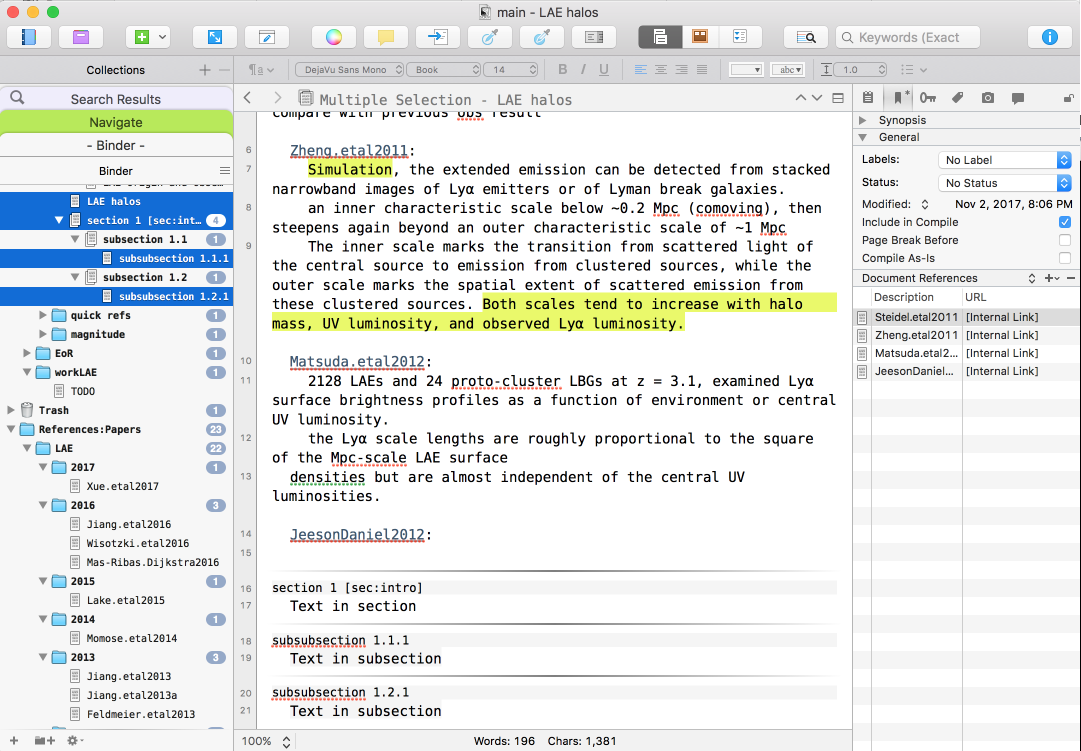
Tree structure to organize article content: As you can see in the left Binder, the title in sections and subsections will be automatically compiled as
\section{title}or\subsection{title}, the sections 1 will have a label "sec:intro"History nagivation: see the "<" and ">" button in the top left of the editor? when you move around in the Binder, your view history will be record and you can go around it.
The scrivening feature: now i use cmd+click to select 4 text in the binder, they are collected together in the text editor!! This is the most remarkable feature and also where the name of this software come from.
Rich text: the format of all the texts are RTF (Rich Text Format), you can color all the text, inserting images every where.
Reference list: the reference list are shown at the bottom right, you can goto this references by a simple click, also notice the three blue word "Zheng.etal2011", "Zheng.etal2011" and "JeesonDaniel2012", they are references links, and are clickable
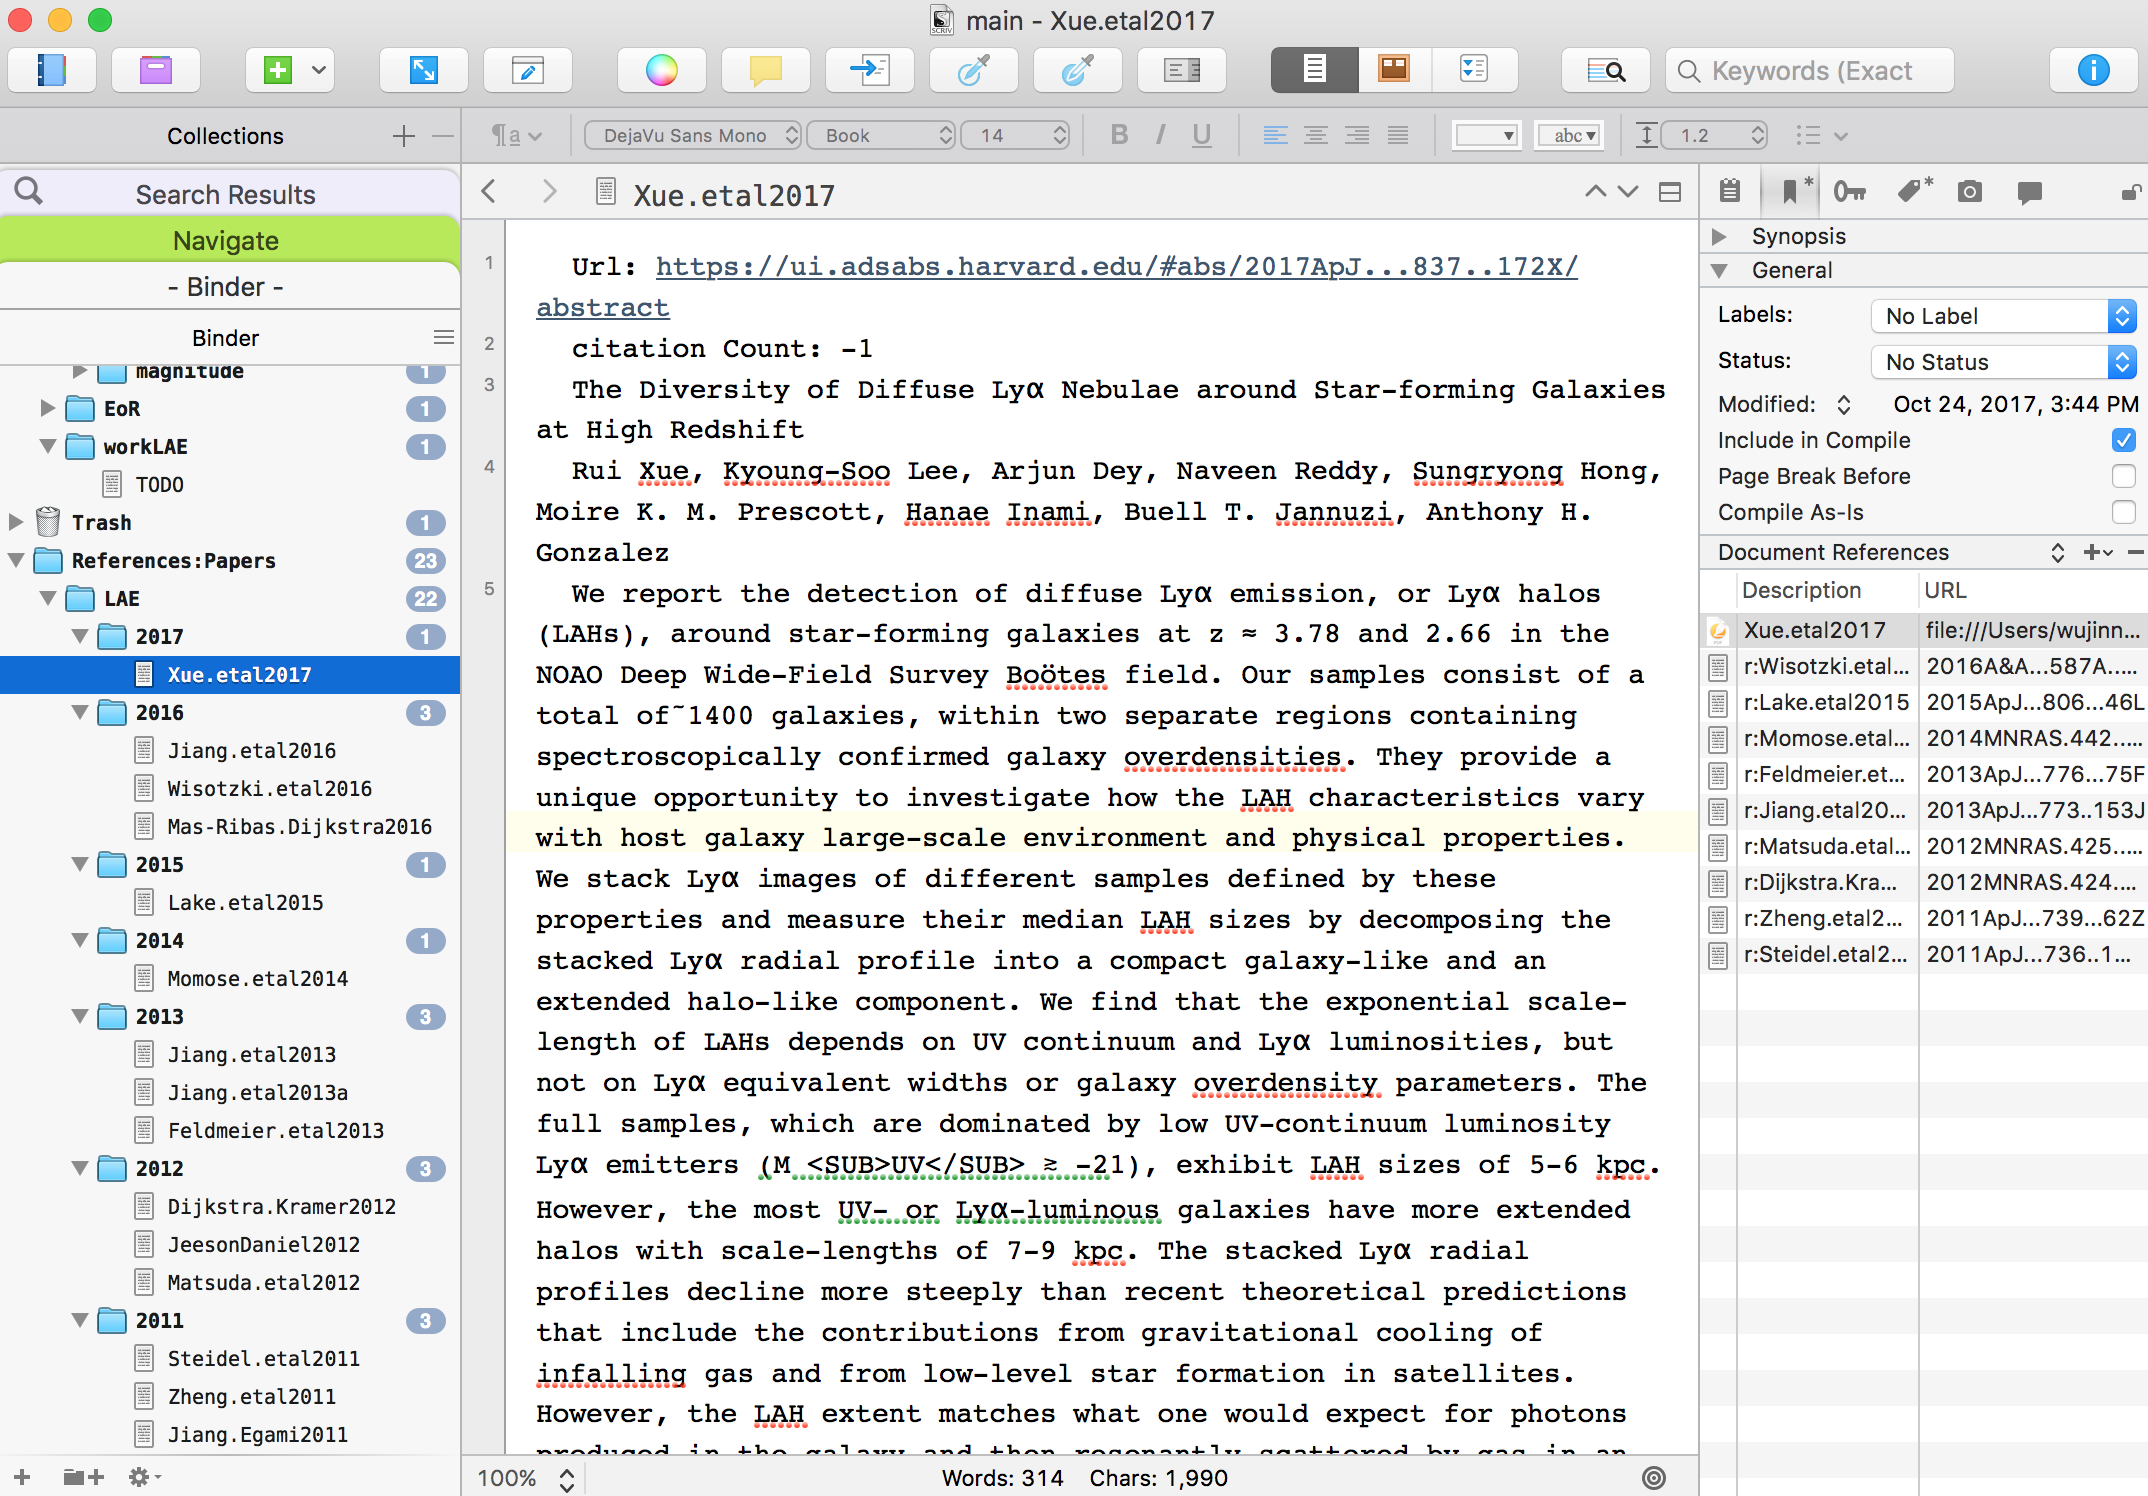
using python script, i can import paper info from Zotero into Scrivener: here is an example,
- papers are listed in inverse time order in the Binder.
- basic information are collected as the main text.
- the cross reference relation are show in their Reference list
- you can access the pdf directly in the Reference list
other useful features: keyworkds, metadata, snapshorts, collections...
you need some time to learn all the Scrivener features, but after that, you will find it very helpful when you collect, extract and refine informations from numerous resources.


Reasons i choose Highlights to read paper
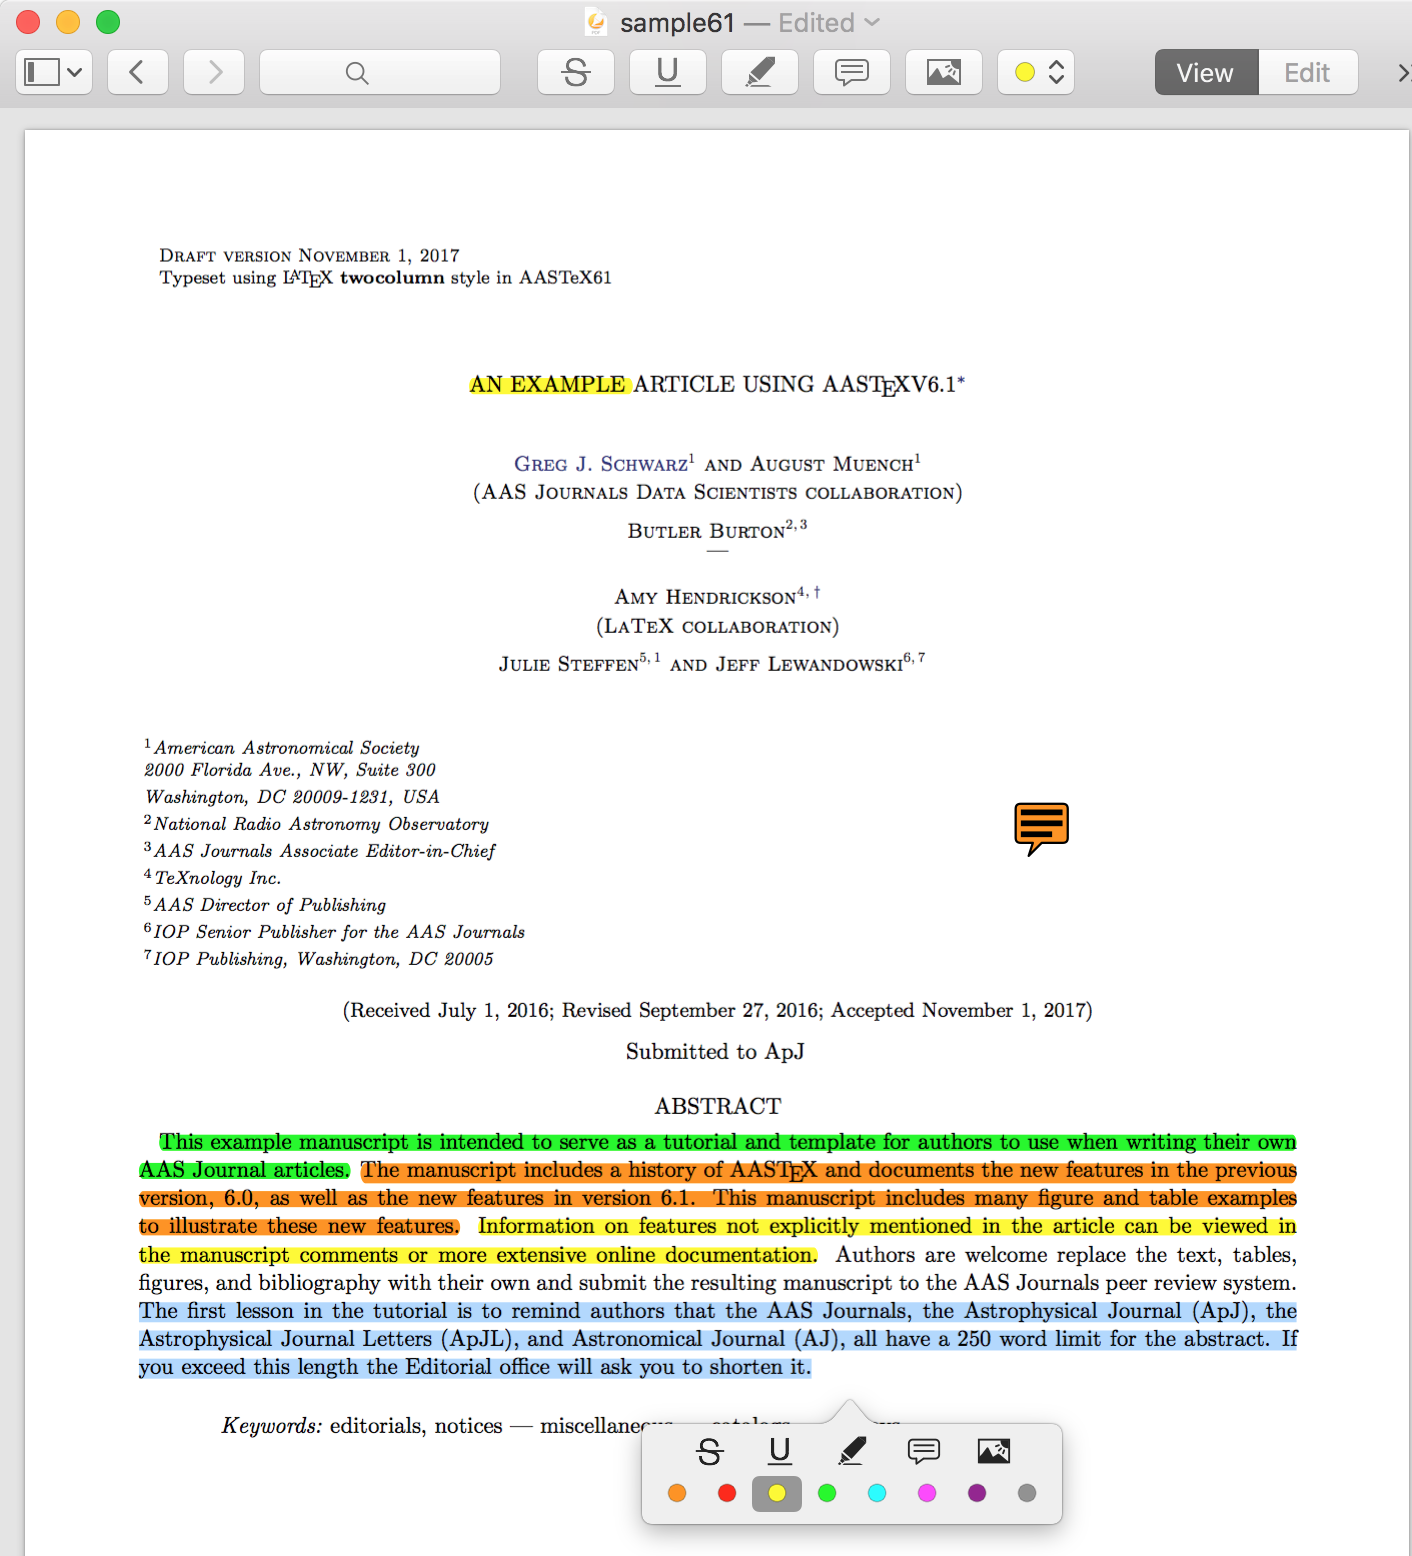
as shown in the figure, it has the simplest way to highlight, comment pdf with multipie color, among all PDF readers i have ever used.
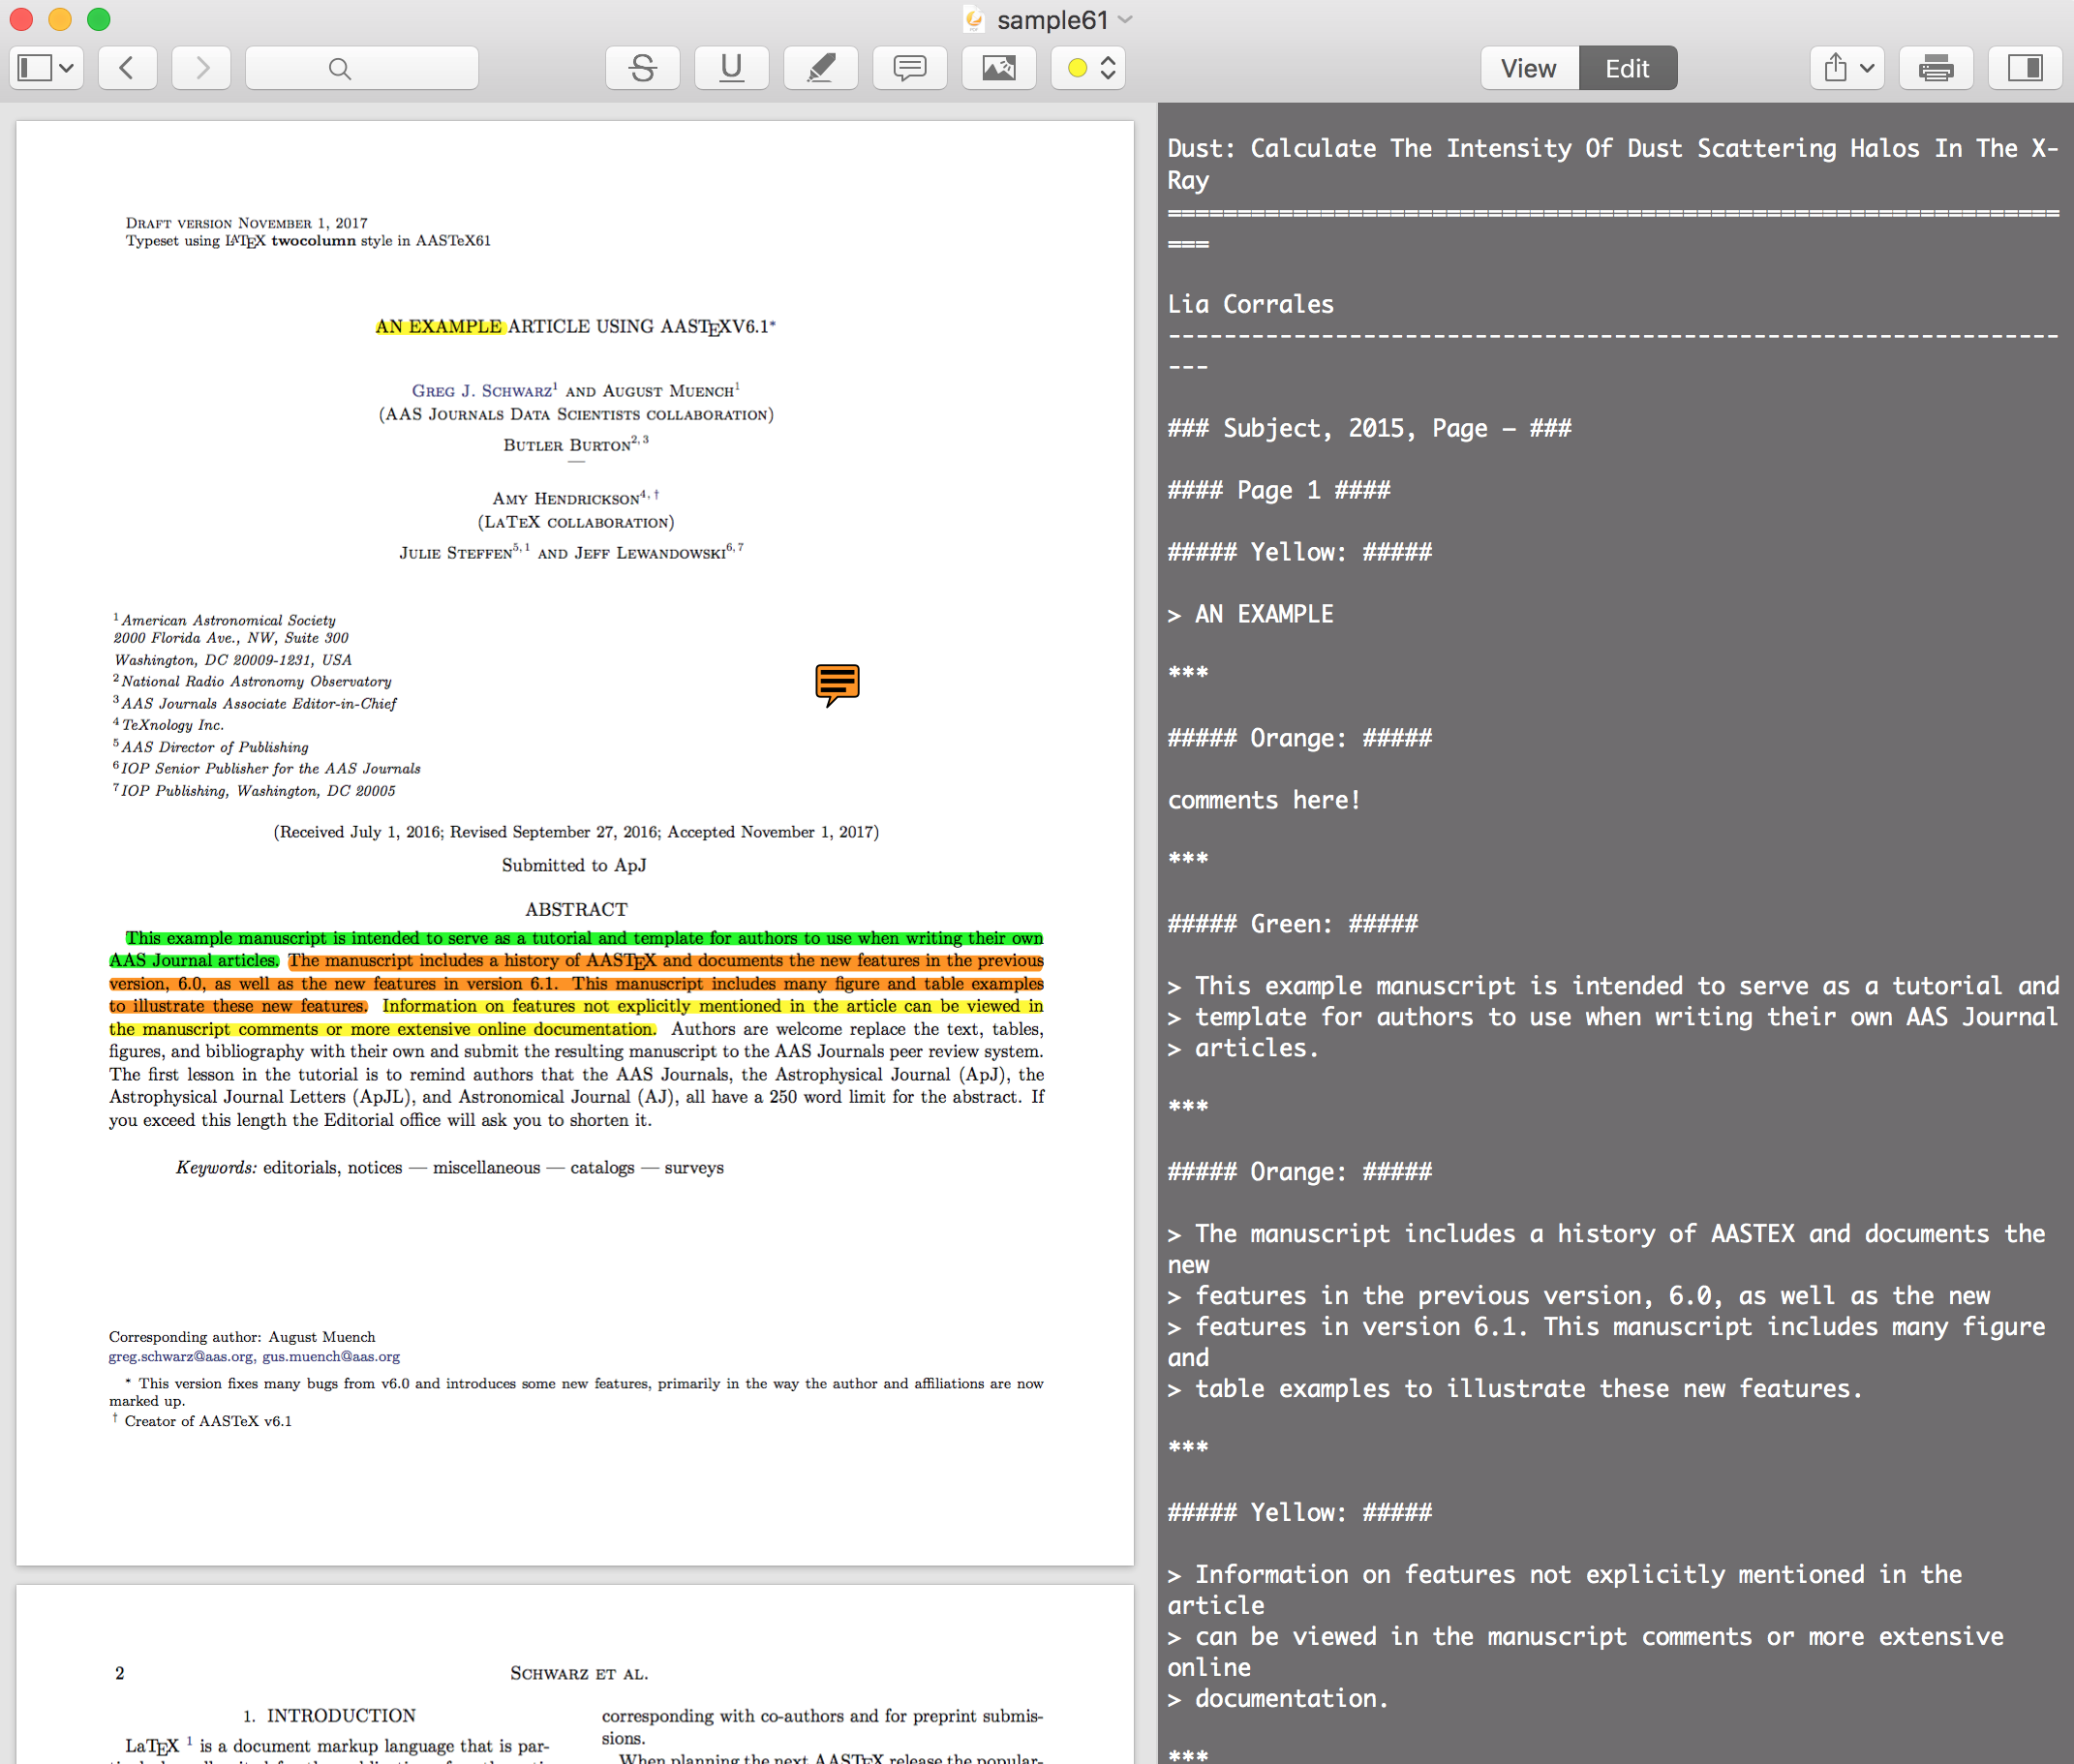
it can collect all the highlight text and the comments text in markdown format
another script can extract all the text into RTF format, and you can put them into your scrivener project!


macOS with python3 and make
Zotero Install the BetterBibtex Plugin, then in Preferences ==> Better BibTeX
- in Citation keys, set Citation key format to [auth.etal][year] and check "Force citation key to ASCII"
- in Export, check "Export BibteX as ASCII"
Latex Install latex and make sure you have the latex commands in Shell
-
Preferences ==> Customize ==> Annotation header ==> ONLY check Color category
- clone this repository
- export Zotero collections:
- make new collections (LAE in the following example) and collect papers the papers should come from ADS or arxiv
- export collections using these two format, Better Bibtex (.bib file) and BetterBibTex JSON(.json file), into the references folder. The .bib file is used by latex and the .json file is used by scripts
- use scripts to generate paper database and import them into Scrivener (make sure you have .json files in the reference folder)
make querywill generate the database and query all the papers in ADS and generate Cross reference relation between them, this will take some timemake offlinewill only generate the database- after
make queryormake offline, your canmake gento import the papers into Scirvener
we have two AASTeX based template and convert them into MultiMarkdown format in the Main.scriv project, all the useful syntax are included in the SimpleOneColumn and AASTeX6.1 demo.
You should read the "README" Text in the Draft folder and inside each demo, then follow them to compiled these two demos.
After that, you can duplicate one of these demos or convert your own Latex template into MultiMarkdown version.
when you follow the tutorial in the Main.scriv and get the compiled latex file
<$compileGroup>.tex/<$compileGroup>.tex
you can use make tex to copy one makefile and one script into all the *.tex folder
then cd into the *.tex folder and type make, you will get the final pdf
Also, you can choose to use your own IDE to compile the tex file.
- make highlights and comments for a pdf in the Highlights
- Show the notes panel, choose Edit mode
- copy all text in the notes panel
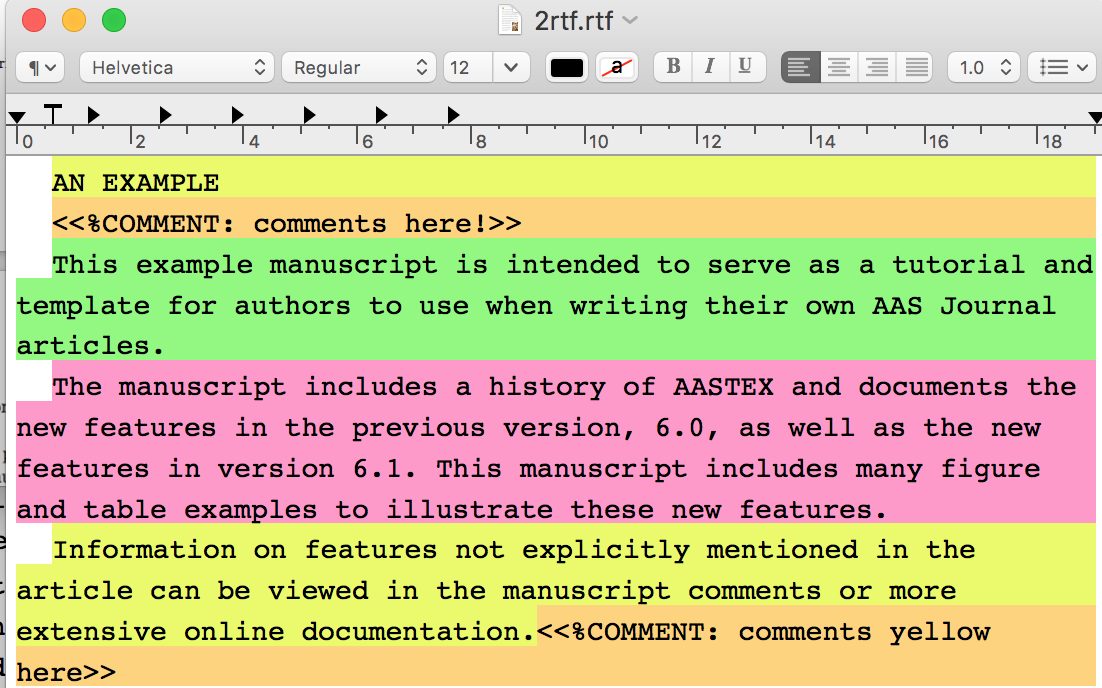
make 2rtf, the paste the content in the popped TextEditor- save the content in the TextEditor
- hit Enter in the termainal
- now will will get the extracted colorful text in RTF in the new popped TextEditor
After some version of Scrivener, they change multimarkdown 4 to multimarkdown 6
I use these Replacements in the compile config
<<([^<]*?)>> => <!--$1--> and \|\|([^\|]*?)\|\| ==> <!--$1-->
that's because multimarkdown version 4 will compile raw code in html comments <!-- * --> into raw code in latex,
but multimarkdown 6 change this action and break all << code >> pair in my demo
We need multimarkdown 4 (https://github.com/fletcher/MultiMarkdown-4). Clone and compile it, replace the bin (remember to backup the old bin)
/Applications/Scrivener.app/Contents/Resources/MultiMarkdown/bin/multimarkdown
I do not test this demo on other computer, if you meet any problem or have any suggession, please raise a Issue