Note: This repository is obsolete and is not maintained anymore. It will be deleted in the future. A new repository for LightPipes for Python has been made. Please go to: https://github.com/opticspy/lightpipes and to our website: https://opticspy.github.io/lightpipes/.
LightPipes for Python is a set of functions written in C++. It is designed to model coherent optical devices when the diffraction is essential. The toolbox consists of a number of functions. Each function represents an optical element or a step in the light propagation. There are apertures, intensity filters, beam-splitters, lenses and models of free space diffraction. There are also more advanced tools for manipulating the phase and amplitude of the light. The program operates on a large data structure, containing square two-dimensional arrays of complex amplitudes of the optical field of the propagating light beam. The LightPipes for Python routines are modifications of the LightPipes C routines written by Gleb Vdovin for Unix, Linux, DOS and OS2 workstations.
Visit the website of Flexible Optical: http://www.okotech.com, where you can find the source code of LightPipes and a manual.
Reference to the functions ###Example: Young interferometer
A plane wave is diffracted by two small holes, separated a distance, d. So two more or less spherical waves will propagate from these holes.
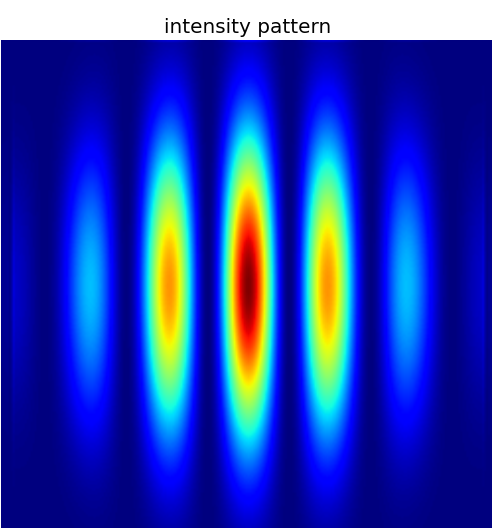
The resulting interference pattern on a screen at distance z looks like:
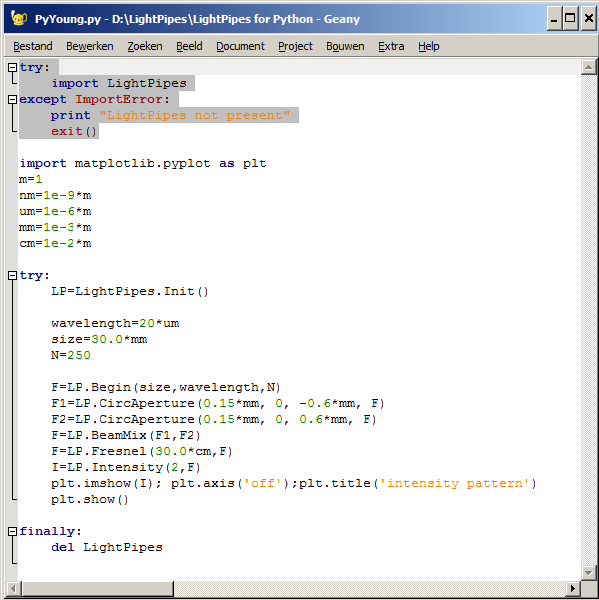
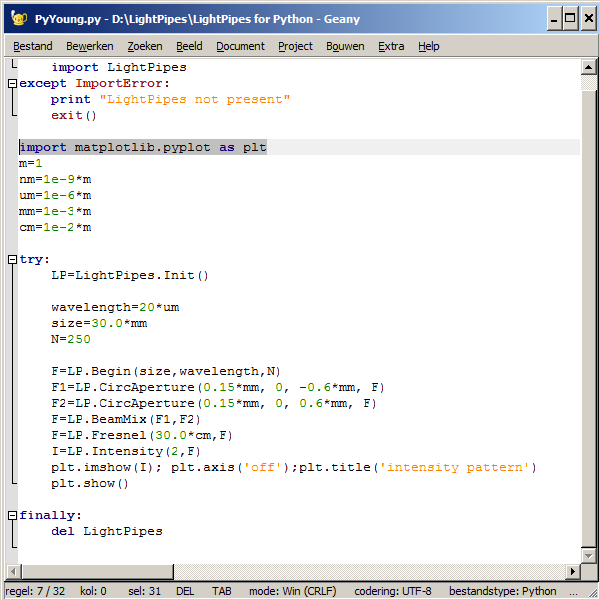
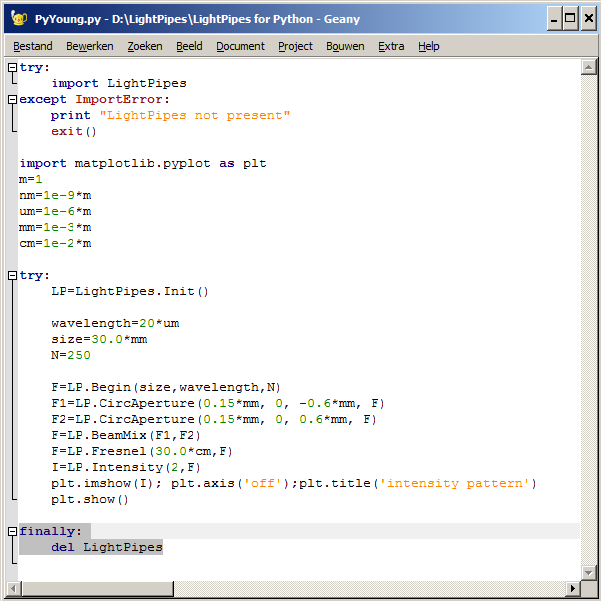
The Python program, Young.py, described in detail.
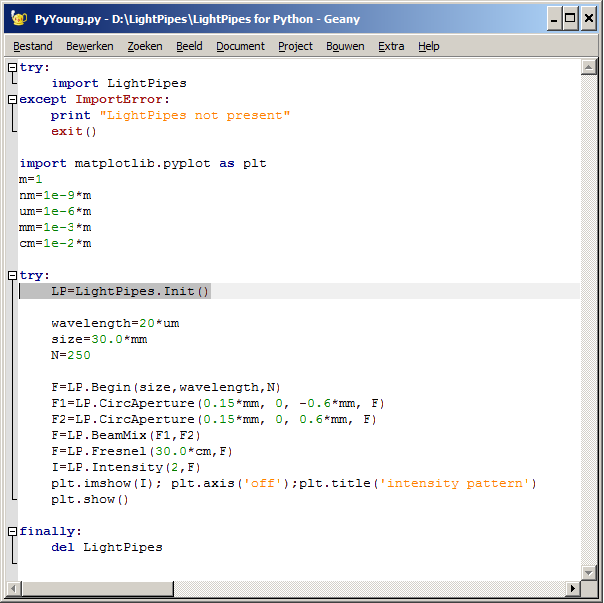
The first step in Python is to import the LightPipes for Python library:
If the LightPipes for Python library is successful installed on your computer Python can proceed with the next step. You probably want to plot the results, so import matplotlib:
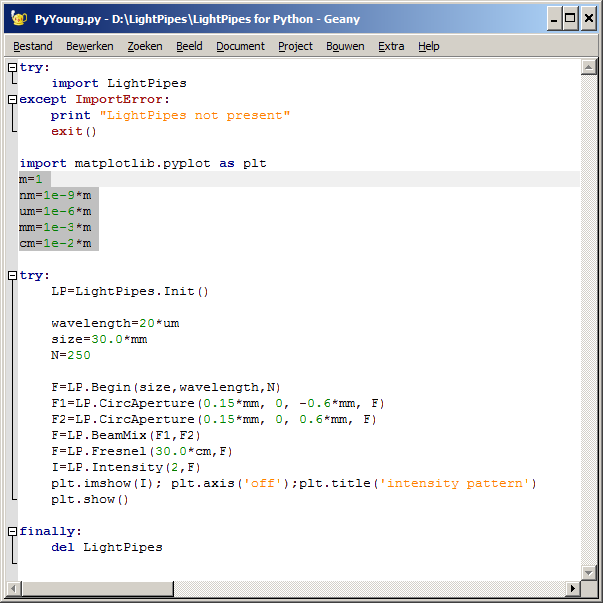
I like to work with units. So define them:
We have to initiate LightPipes for Python. This is done with the following command:
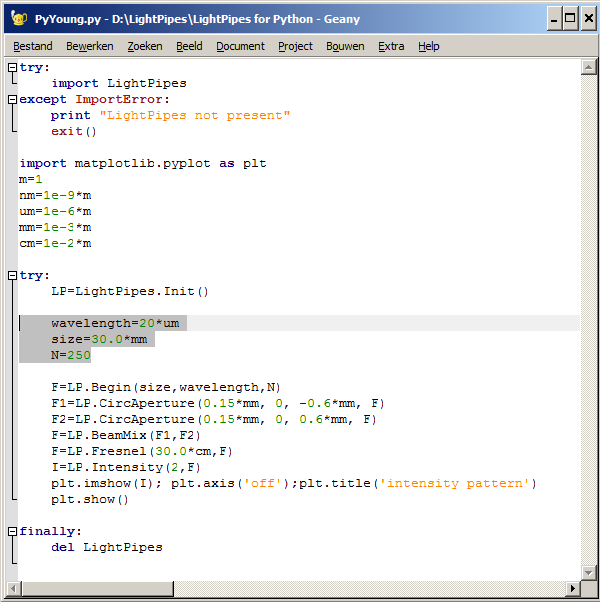
Next we define some variables: a wavelength of 20 micrometer , a 30 x 30 mm2 square grid with 250 x 250 pixels.
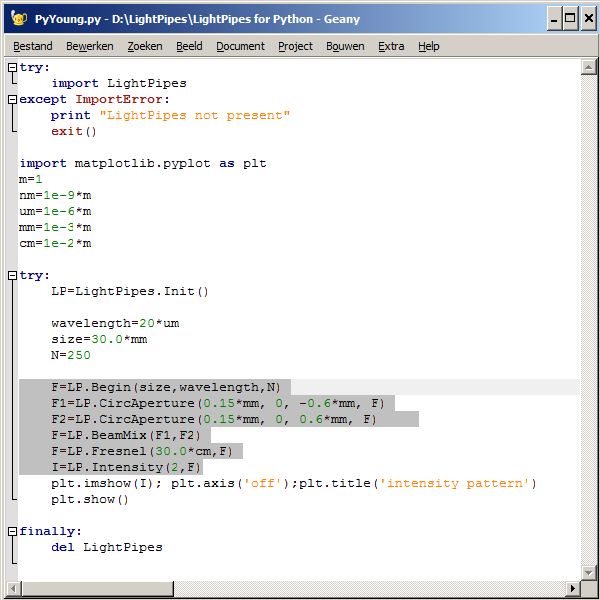
Now we are ready to start the simulation. The Begin command generates a field with amplitude 1.0 and phase zero, a plane wave. So, all the 250 x 250 elements of array, F, contain the complex number: 1.0 + j0.0. The next commands generate two waves, F1 and F2, which are apertured by the two circular apertures and combined (simply added) by the BeamMix command. The combined wavefront is propagated a distance z=30 cm by the Fresnel command. After that the intensity is caculated and normalized to 255 (2 -> 255, 1 -> 1.0, 0 -> not normalized) by the Intensity command.
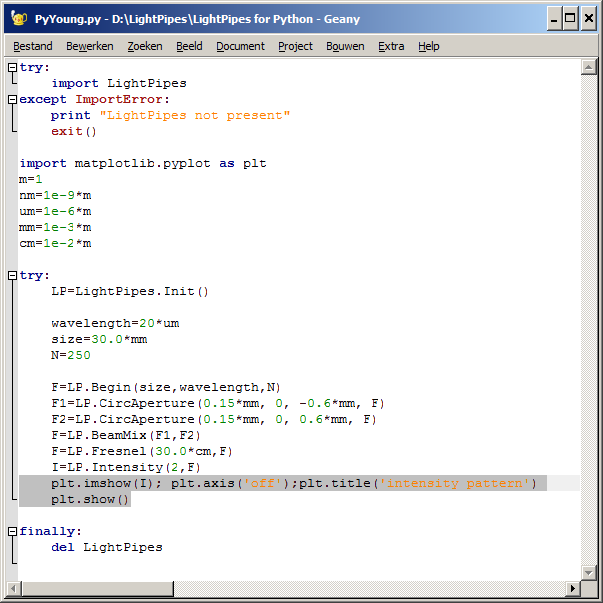
The result is plotted using the fantastic matplot routines. We are not interested in axis around the pattern and we like to write a title above the plot.
Finally it is good practice to clean up:
###Install LightPipes for Python by opening a terminal window and type at the prompt:
LightPipes is on PyPi, so for Windows win32 and win64 and Macintosh OSX simply type: (sudo) pip install LightPipes
For LINUX 'wheels' are not (yet) accepted by PyPi, you must use easy_install. (see below, easy_install also works for Windows and OSX)
pip install LightPipes
or:
easy_install LightPipes
or:
easy_install https://github.com/FredvanGoor/LightPipes-for-Python/raw/master/LightPipes-Packages/LightPipes-1.0.0-py2.7-win32.egg
####LINUX 64 BIT:
easy_install LightPipes
or:
####LINUX 32 BIT:
easy_install LightPipes
or:
####MACINTOSH:
pip install LightPipes
or:
easy_install LightPipes
or:

