Our goal is to create a Node.js based Command Line Interface (CLI) using Typescript. This setup includes top-Level await support and ES module imports.
For this tutorial, we’re going to create a CLI called inspace.
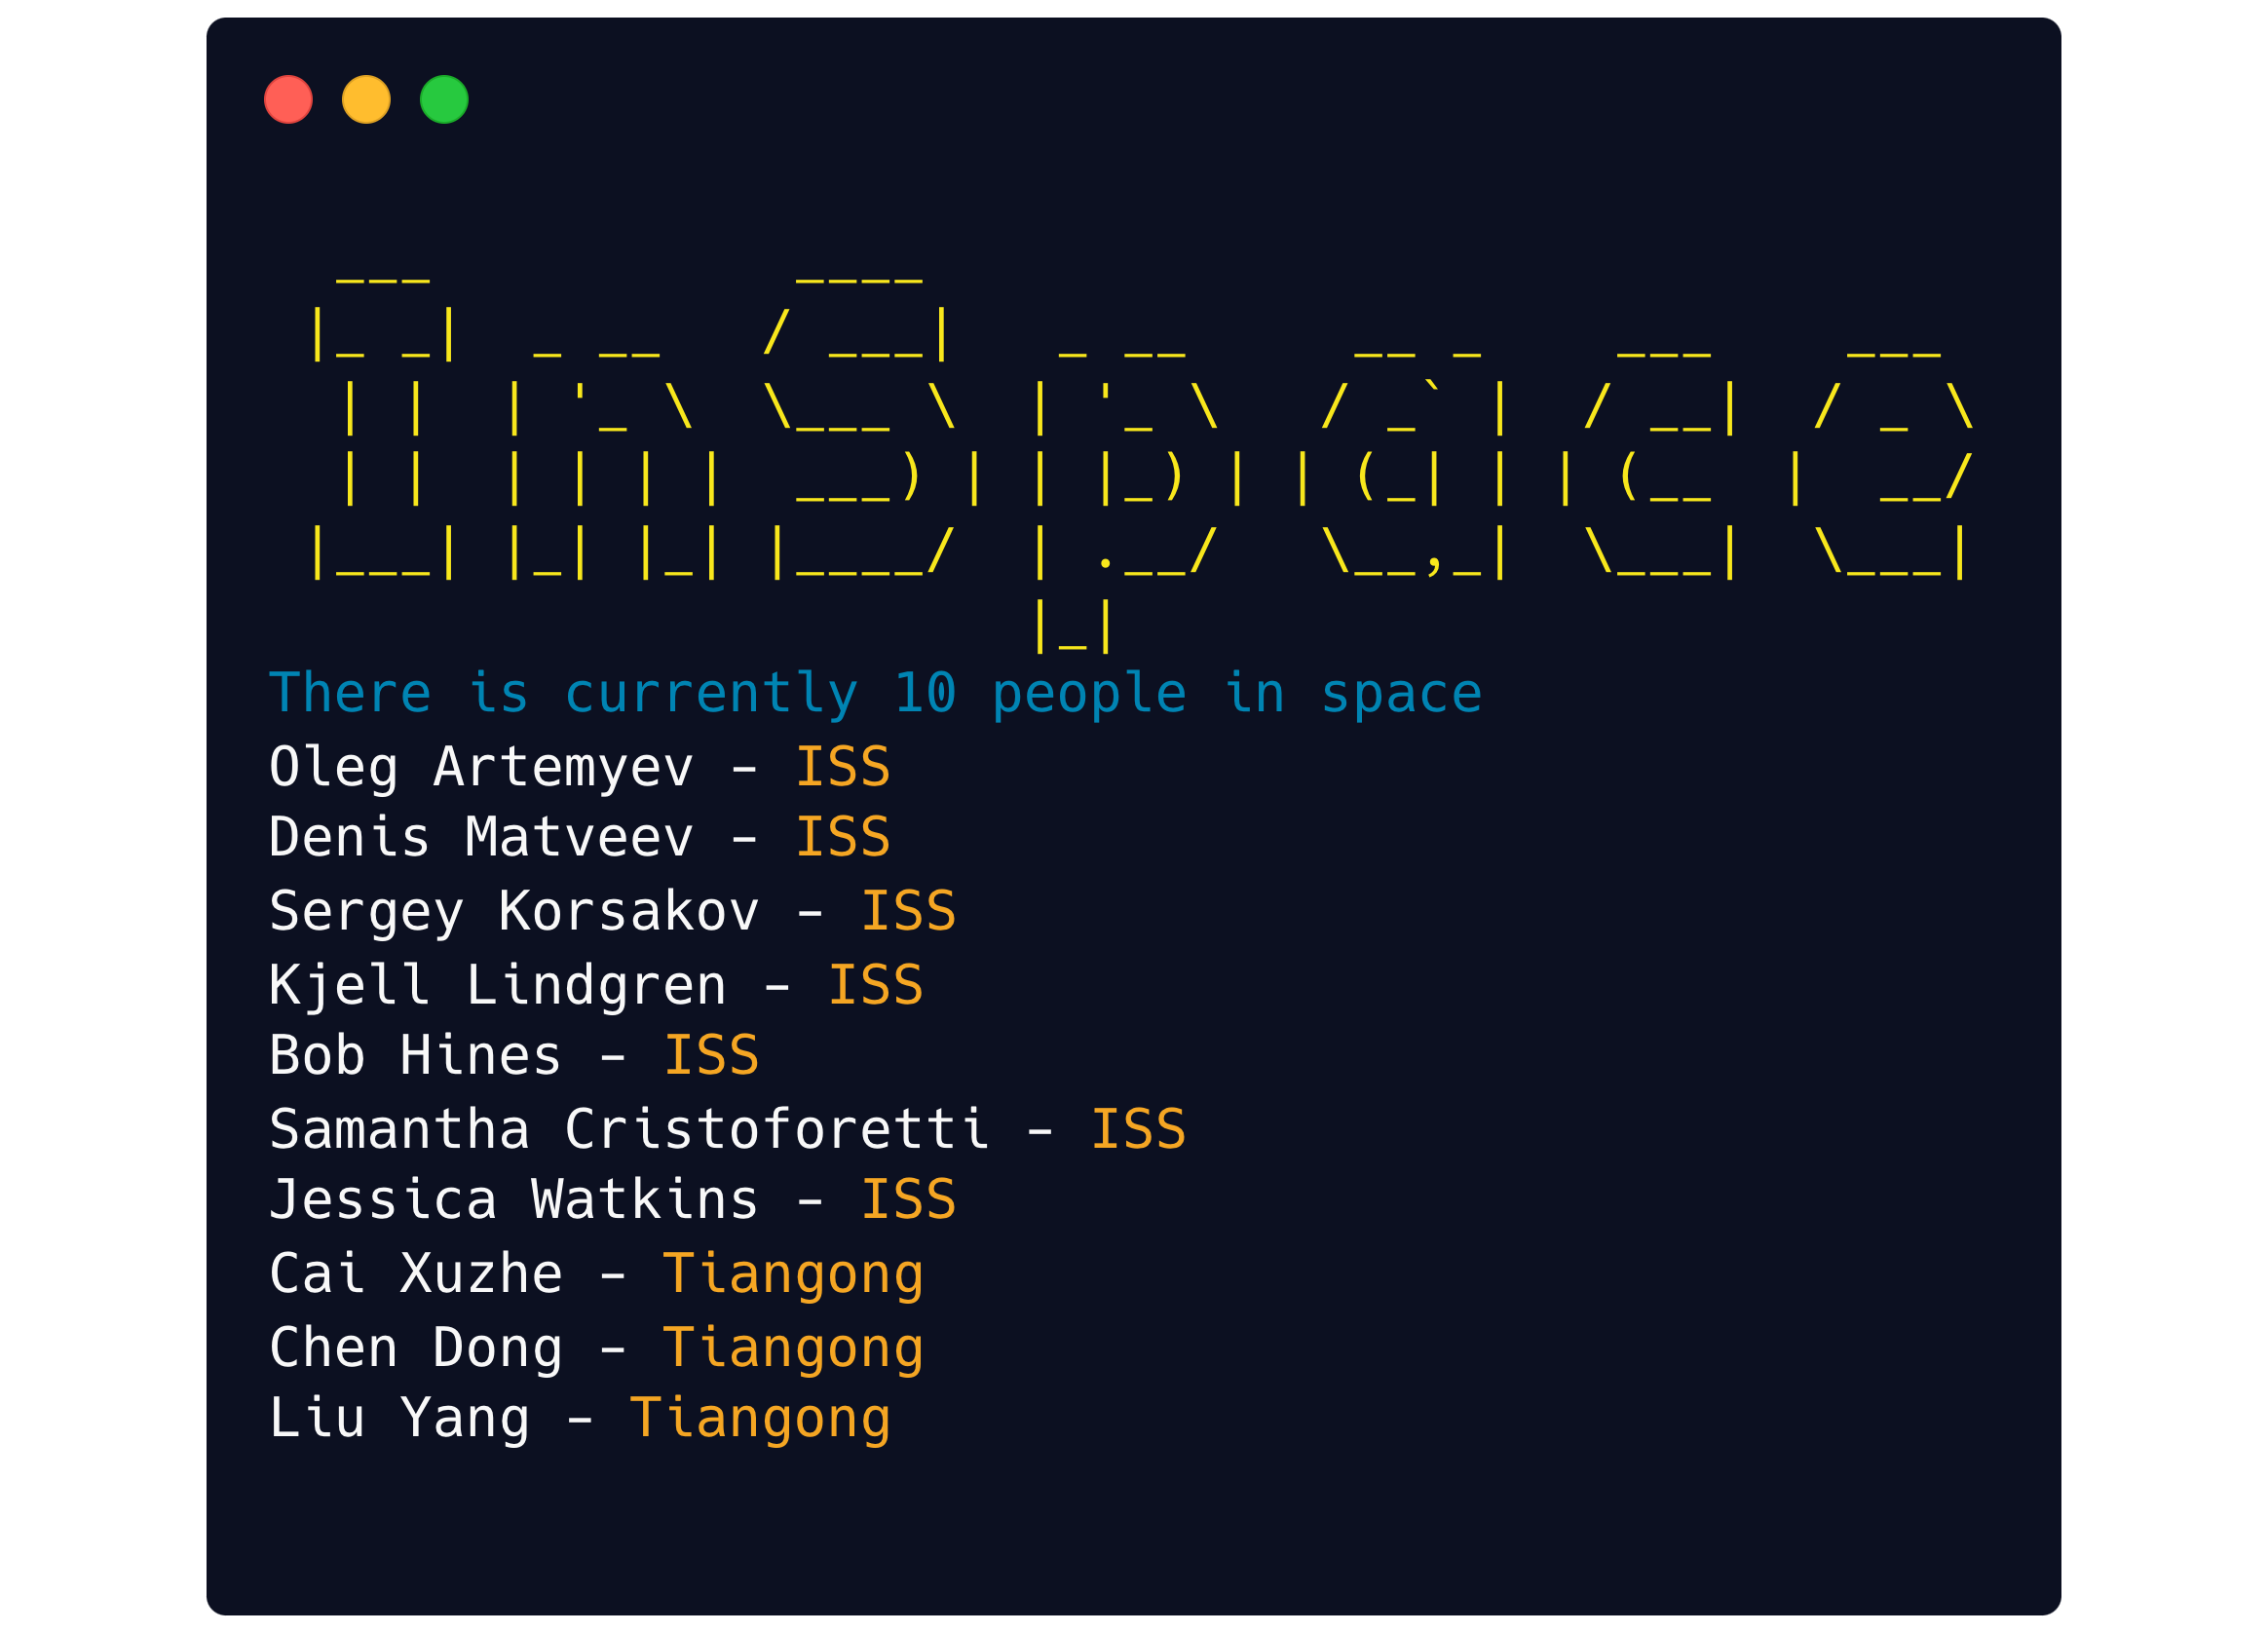
When executed the CLI will output the current people in space.
Create a new directory for the project. Call it whatever you want, I'm using inspace:
mkdir inspace
cd inspace
Setup a new npm package be creating a package.json file:
npm init -yTo support importing ES modules add the type property to the generated package.json file:
{
  "type": "module",
  // rest...
}
To enable executing the CLI add the bin property to the generated package.json file:
{
  "bin": "src/index.ts",
  // rest...
}
Create an tsconfig.json file in the same folder and include the following to enable importing ES modules and include top level await support:
{
  "compilerOptions": {
    "target": "ES2022",
    "module": "ES2022",
    "esModuleInterop": true,
    "moduleResolution": "Node"
  }
}Create the Typescript entrypoint src/index.ts file, to match the package.json bin property.
Include the following shebang as the first line of the file:
#!/usr/bin/env npx ts-node --esmThe esm flag is include to support Ensure the file includes execution permission. Execution permission can be added using the following command:
chmod u+x ./src/index.tsAdd Typescript to the file to help test execution:
console.log("Typescript executed successfully");The file (CLI) can now be executed directly as if it was a binary.
./src/index.tsThe npm package can now be locally installed globally using the following command:
npm install -gAfter installation the npm package can now be executed using the package name:
inspaceThe foundation of the CLI has now been setup. The CLI's functionality is ready to be fleshed out and is supplemental to the CLI's foundation. The following dependencies will be added only to showcase example CLI functionality.
- axios - promise based HTTP client
- chalk — colorizes the output
- clear — clears the terminal screen
- figlet — creates ASCII art from text
Install the dependencies using the following command:
npm install -S axios chalk clear figletAdd imports for the installed packages to the Typescript entrypoint src/index.ts file.
import axios from 'axios';
import chalk from 'chalk';
import clear from 'clear'
import figlet from 'figlet'
We are using the Open Notify API as a data source. Create types to handle the API response.
type People = {
  name: string;
  craft: string;
}

type Inhabitants = {
  number: number;
  people: People[]
}
Add a function to encapsulate interacting with the Open Notify API using Axios.
async function getInhabitantsOfSpace() {
  const response = await axios.get<Inhabitants>("http://api.open-notify.org/astros.json");
  return response.data;
}
Clear the terminal screen using clear, then print a ASCII header using figlet.
clear();
console.log(chalk.yellowBright(figlet.textSync('InSpace', { horizontalLayout: 'full' })));
Get the inhabitants of space using the getInhabitantsOfSpace function and print the results using chalk.
const inhabitants = await getInhabitantsOfSpace();
console.log(chalk.blue(`There is currently ${inhabitants.number} people in space`));
inhabitants.people.forEach(person => console.log(`${person.name} - ${chalk.yellow(person.craft)}`));The npm package can now be published if logged into npm using the following command:
npm publishThe npm package can now be installed globally using the following command:
npm install -g inspaceAfter installation the npm package can now be executed using the package name:
inspace