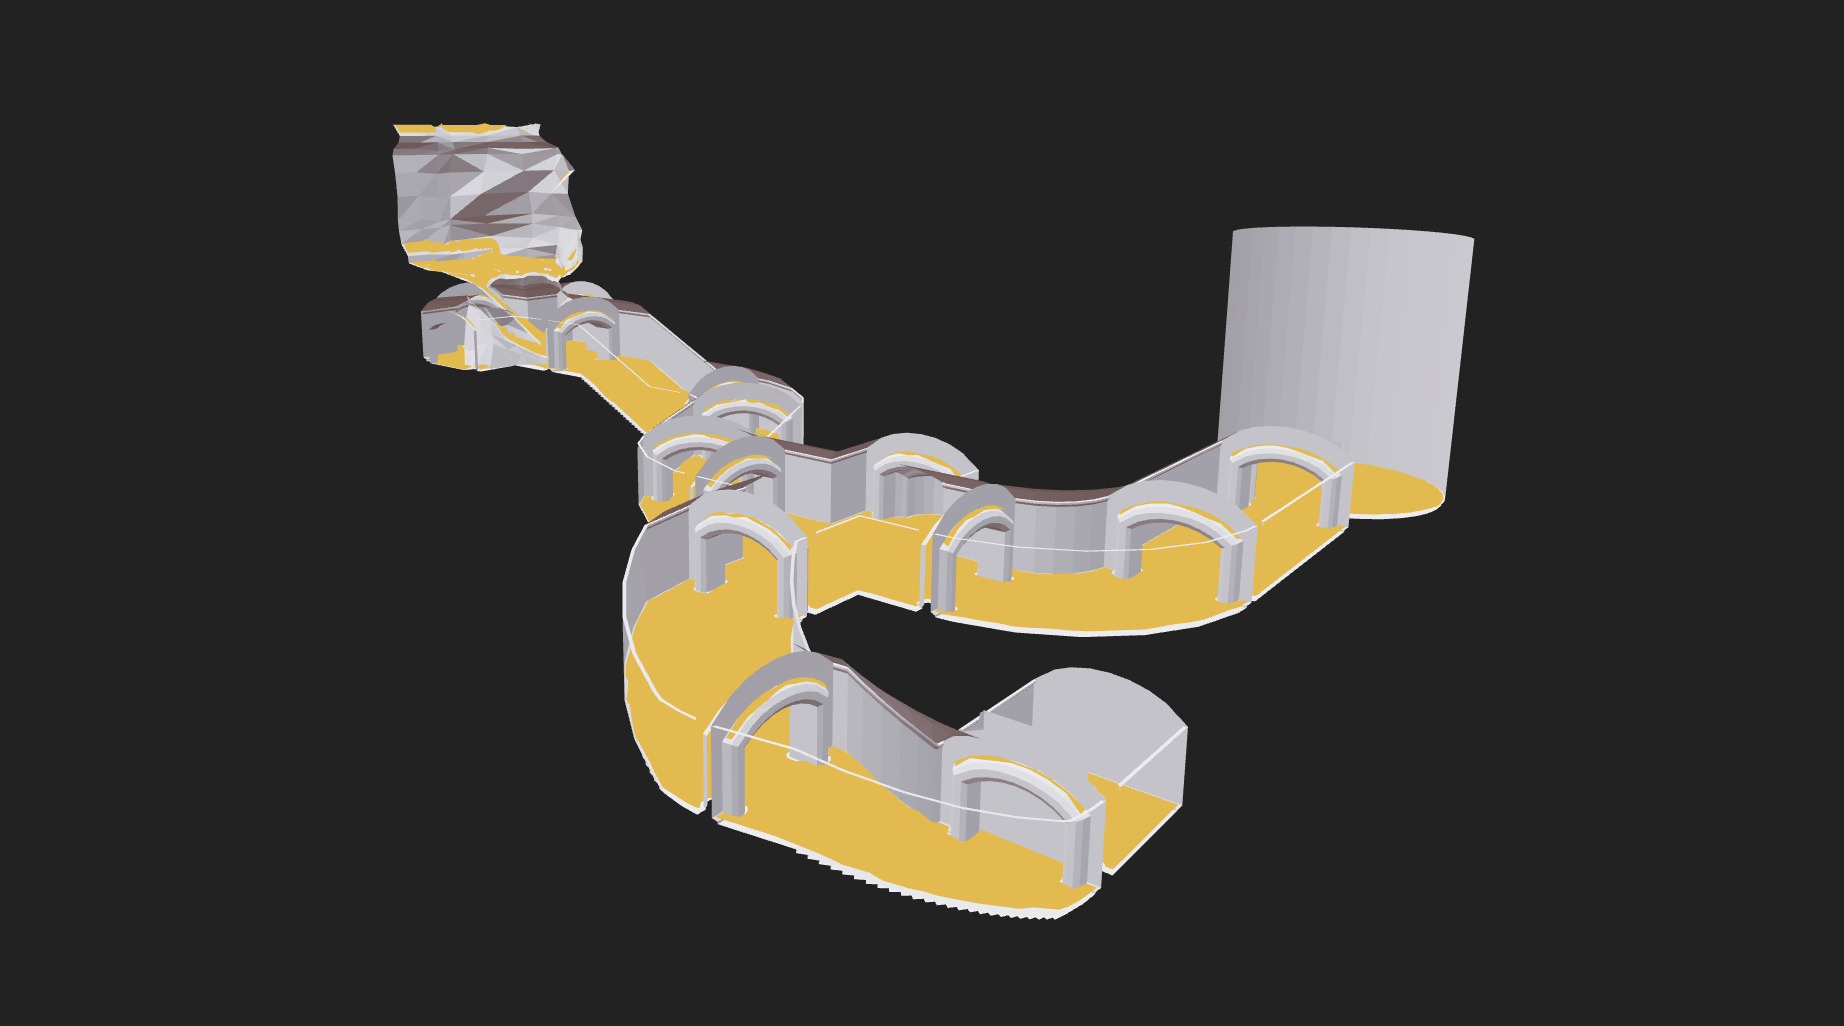

- 📐 NavMesh generation
- 🧭 Pathfinding
- 🧑🤝🧑 Crowd simulation
- 🚧 Temporary obstacles
- 🌐 Web and Node support
- 💙 TypeScript friendly
- 🖇 Easy integration with three.js via @recast-navigation/three
recast-navigation-js is a WebAssembly port of the Recast and Detour libraries. Recast is a state of the art navigation mesh construction toolset for games, and Detour is a path-finding and spatial reasoning toolkit.
This library provides high level APIs that make it easy to get started creating navigation meshes, querying them, and simulating crowds. It also provides lower-level APIs that give you fine-grained control over the navmesh generation process.
Warning This library is still in early development. Versions in the 0.x.x range may have breaking changes.
npm install recast-navigationThis package ships as both ECMAScript modules and CJS, and is compatible with Node.js and browser environments.
If you are using Vite, you may need to opt recast-navigation out of pre-bundling:
export default defineConfig(() => ({
  optimizeDeps: { exclude: ['recast-navigation'] }
)}Before you can use the library, you must initialize it. This is an asynchronous operation.
Calling init() after the library has already been initialized will return a promise that resolves immediately.
import { init } from 'recast-navigation';

await init();The easiest way to generate a NavMesh is using the high level generator functions from recast-navigation/generators:
generateSoloNavMesh- Generates a NavMesh with a single tile. You can use this for smaller environments.generateTiledNavMesh- Generates a NavMesh with multiple tiles. You should use this for larger environments.generateTileCache- Generates a TileCache that supports temporary obstacles. See the Temporary Obstacles section.
The input positions and indices should adhere to OpenGL conventions:
- Use the right-handed coordinate system
- Indices should be in counter-clockwise winding order
- The
positionsandindicesarguments should be flat arrays of numbers
import { generateSoloNavMesh } from 'recast-navigation/generators';

const positions = [
  /* flat array of positions */
  /* e.g. x1, y1, z1, x2, y2, z2, ... */
];

const indices = [
  /* flat array of indices */
];

const navMeshConfig = {
  /* ... */
};

const { success, navMesh } = generateSoloNavMesh(
  positions,
  indices,
  navMeshConfig
);This library provides low-level APIs that aim to match the recast and detour c++ api, allowing you to create custom navigation mesh generators based on your specific needs. You can use the NavMesh generators provided by @recast-navigation/generators as a basis: https://github.com/isaac-mason/recast-navigation-js/tree/main/packages/recast-navigation-generators/src/generators
Please note that this functionality is experimental, and not all everything is exposed. Familiarity with the recast and detour C++ libraries is required. If you require unexposed functionality, please submit an issue or a pull request.
import { NavMeshQuery } from 'recast-navigation';

const navMeshQuery = new NavMeshQuery({ navMesh });

/* get the closest point on the NavMesh to the given position */
const position = { x: 0, y: 0, z: 0 };
navMeshQuery.getClosestPoint(position);

/* get a random point around the given position */
const radius = 0.5;
navMeshQuery.getRandomPointAround(position, radius);

/* compute a straight path between two points */
const path: Vector3[] = navMeshQuery.computePath(
  { x: 0, y: 0, z: 0 }, // start position
  { x: 2, y: 0, z: 0 } // end position
);First, create a Crowd:
import { Crowd } from 'recast-navigation';

const maxAgents = 10;
const maxAgentRadius = 0.6;

const crowd = new Crowd({ maxAgents, maxAgentRadius, navMesh });
Next, create and interface with agents in the crowd.
const initialAgentPosition = navMeshQuery.getRandomPointAround(
  { x: 0, y: 0, z: 0 }, // position
  2 // radius
);

const agent = crowd.addAgent(initialAgentPosition, {
  radius: 0.5,
  height: 0.5,
  maxAcceleration: 4.0,
  maxSpeed: 1.0,
  collisionQueryRange: 0.5,
  pathOptimizationRange: 0.0,
  separationWeight: 1.0,
});

/* get information about the agent */
const agentPosition = agent.position();
const agentVelocity = agent.velocity();
const agentNextTargetPath = agent.nextTargetPath();
const agentState = agent.state();
const agentCorners = agent.corners();
const agentParameters = agent.parameters();

/* tell the agent to move to a target position */
const targetPosition = { x: 0, y: 0, z: 0 };
agent.goto(targetPosition);

/* reset the agents target */
agent.resetMoveTarget();

/* teleport the agent to a position */
agent.teleport(targetPosition);

/* update an agent parameter */
agent.maxAcceleration = 4;

/* update multiple parameters for an agent */
agent.updateParameters({
  maxAcceleration: 2,
});

/* set all parameters for an agent */
agent.setParameters({
  // any omitted parameters will be set to their default values
});

/* remove the agent */
crowd.removeAgent(agent);
To update the crowd, first set a timeStep, then call update each frame with the delta time.
const dt = 1 / 60;
crowd.timeStep = dt;

// you should call this every frame
crowd.update(dt);Recast Navigation supports temporary Box and Cylinder obstacles via a TileCache.
TileCache assumes small tiles (around 32-64 squared). Using tileSize values outside this range may result in unexpected behaviour.
import { generateTileCache } from 'recast-navigation/generators';

/* create a tile cache */
const { success, navMesh, tileCache } = generateTileCache(positions, indices, {
  /* ... */
  tileSize: 16,
});

/* add a Box obstacle to the NavMesh */
const position = { x: 0, y: 0, z: 0 };
const extent = { x: 1, y: 1, z: 1 };
const angle = 0;
const boxObstacle = tileCache.addBoxObstacle(position, extent, angle);

/* add a Cylinder obstacle to the NavMesh */
const radius = 1;
const height = 1;
const cylinderObstacle = tileCache.addCylinderObstacle(
  position,
  radius,
  height,
  angle
);

/* update the NavMesh to reflect obstacle changes */
tileCache.update(navMesh);

/* remove the obstacles from the NavMesh */
tileCache.removeObstacle(boxObstacle);
tileCache.removeObstacle(cylinderObstacle);
Off mesh connections are user-defined connections between two points on a NavMesh. You can use them to create things like ladders, teleporters, jump pads, etc.
Off mesh connections can be bidirectional or unidirectional.
You can provide a list of off mesh connections to the generateSoloNavMesh and generateTiledNavMesh high level generator functions.
const { success, navMesh } = generateSoloNavMesh(positions, indices, {
  // ...
  offMeshConnections: [
    {
      startPosition: { x: 0, y: 5, z: 0 },
      endPosition: { x: 2, y: 0, z: 0 },
      radius: 0.5,
      bidirectional: false,
      area: 0,
      flags: 1,
      userId: 0, // optional
    },
  ],
});
You can use agent.state() to determine if an agent is currently traversing an off mesh connection.
To add off mesh connections to a TileCache using generateTileCache, you must provide a TileCacheMeshProcess implementation that creates off mesh connections. For example:
const tileCacheMeshProcess = new TileCacheMeshProcess(
  (navMeshCreateParams, polyAreas, polyFlags) => {
    for (let i = 0; i < navMeshCreateParams.polyCount(); ++i) {
      polyAreas.set(i, 0);
      polyFlags.set(i, 1);
    }

    navMeshCreateParams.setOffMeshConnections([
      {
        startPosition: { x: 0, y: 5, z: 0 },
        endPosition: { x: 2, y: 0, z: 0 },
        radius: 0.5,
        bidirectional: false,
        area: 0,
        flags: 1,
      },
    ]);
  }
);

const tileCacheGeneratorConfig = {
  // ... other config ...
  tileCacheMeshProcess,
};

const { success, navMesh, tileCache } = generateTileCache(
  positions,
  indices,
  tileCacheGeneratorConfig
);You can use getDebugNavMesh to get a debug representation of the NavMesh.
const debugNavMesh = navMesh.getDebugNavMesh();

const { positions, indices } = debugNavMesh;
If you are using @recast-navigation/three, you can use NavMeshHelper and CrowdHelper to visualize NavMeshes, Crowds, and NavMesh generation intermediates.
See the @recast-navigation/three package README for usage information.
A NavMesh and TileCache can be imported and exported as a Uint8Array.
See below for an example of exporting then importing a NavMesh:
import { exportNavMesh, importNavMesh } from 'recast-navigation';

/* export */
const navMeshExport: Uint8Array = exportNavMesh(navMesh);

/* import */
const { navMesh } = importNavMesh(navMeshExport);
To export a TileCache and NavMesh, the usage varies slightly:
import { exportNavMesh, importNavMesh } from 'recast-navigation';

/* exporting */
// pass both the navMesh and the tileCache
const navMeshExport: Uint8Array = exportNavMesh(navMesh, tileCache);

/* importing */
// also pass the TileCacheMeshProcess implementation for the tile cache
// if you used `generateTileCache` and didn't provide one, `createDefaultTileCacheMeshProcess` returns the default TileCacheMeshProcess `generateTileCache` uses
const tileCacheMeshProcess = createDefaultTileCacheMeshProcess();

const { navMesh, tileCache } = importNavMesh(
  navMeshExport,
  tileCacheMeshProcess
);API Documentation can be found at https://docs.recast-navigation-js.isaacmason.com.
Documentation for the Recast and Detour c++ libraries can be found here:
The GitHub issues and Google Discussions are a great resources for learning about the library and getting guidance on common issues.
Some demonstrations of how to use the library in different environments can be found in the examples directory.
There are also storybooks that demonstrate the library in action: https://recast-navigation-js.isaacmason.com. The source code for the storybooks can be found in ./packages/recast-navigation/.storybook/stories.
Functionality is spread across packages in the @recast-navigation/* organization, with the recast-navigation acting as an umbrella package.
You can choose between picking the scoped packages you need, or using the umbrella recast-navigation package, which provides additional entrypoints for specific frameworks and libraries.
All packages ship as ECMAScript modules, and are compatible with Node.js and browser environments.

The umbrella package for recast-navigation.
> npm install recast-navigation
The core library!
> npm install @recast-navigation/core
NavMesh generator implementations. Use these to get started, and as a basis for your own NavMesh generator.
> npm install @recast-navigation/generators
Helpers for three.js.
> npm install @recast-navigation/threeA website for generating navmeshes for your game. Drag 'n' drop your GLTF, fine tune your settings, and download your navmesh!
(source)
- This would not exist without Recast Navigation itself!
- The demos use recastnavigation's level mesh
- The WASM build was based on the Babylon.js Recast Extension