with Jupyter Notebooks
In this workshop we will learn some common ways of interacting with Git and GitHub.
To follow along with this interactive workshop you will need a free Microsoft account and a free GitHub account. You can follow the links to create these accounts now, or you can create them when they are needed during the workshop.
You can also find a set of accompanying Google Slides at

To start the workshop you can use either Microsofts Azure or MyBinder. Microsoft Azure is the preferred way as notebook 4 cannot be followed on MyBinder.
-
Click the link
. This will take you to a new webpage that will ask you to import the repository.
Click the
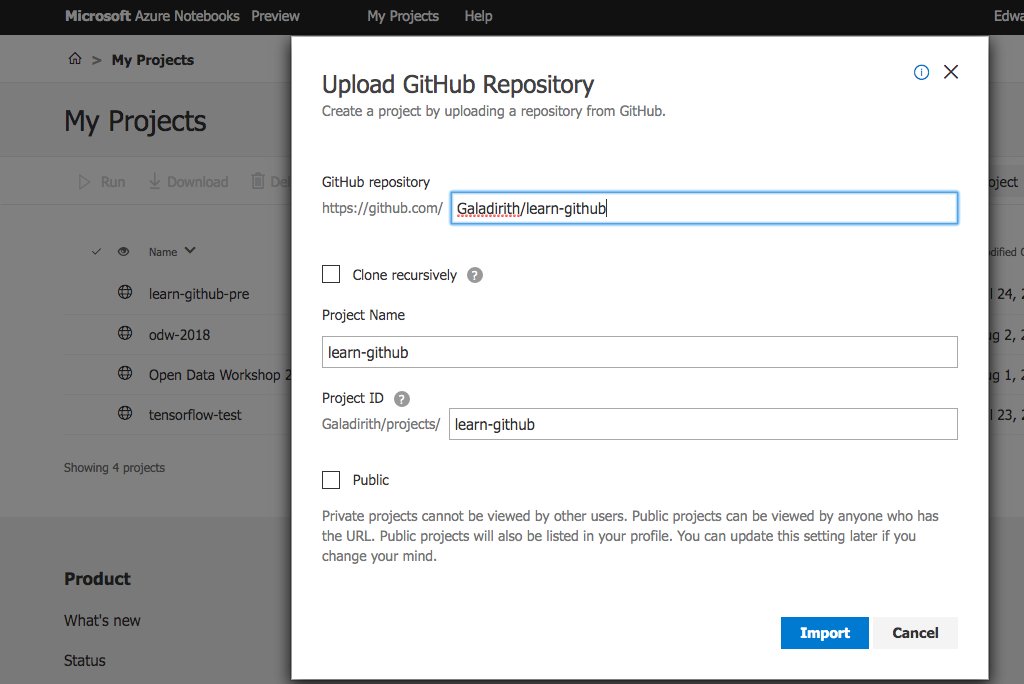
Importbutton. You will then be asked to sign in with your Microsoft account. If you haven't already created one then you can create one now. Once you have logged in you will see a new windowUpload GitHub Repository.You can leave all of the setting as their defaults. Click the
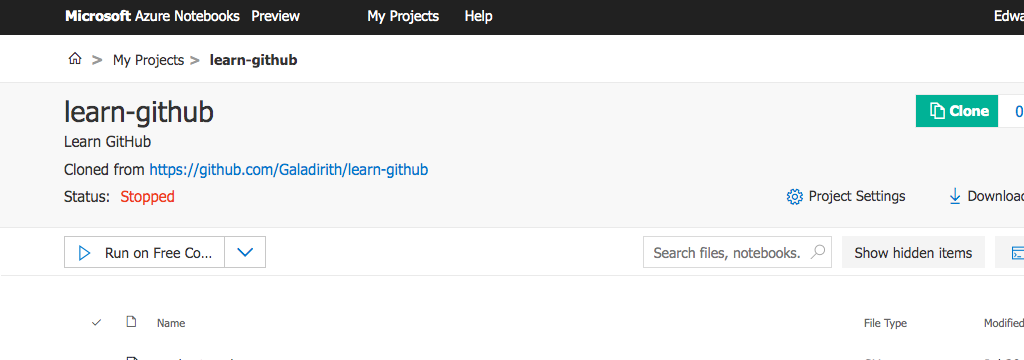
Importbutton. After a few minutes a new project will be created for you.Click the button with the label
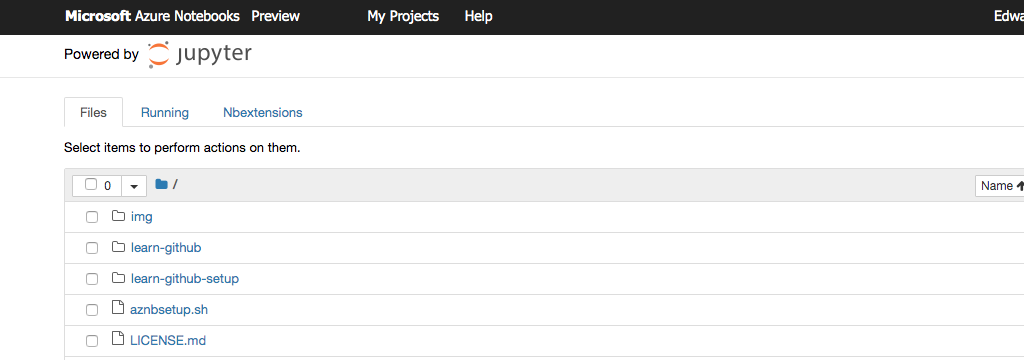
Run on Free Co.... This will open a new tab which will display all the files you will need to follow this workshop.You should wait for 5 minutes to allow your new project to be initialised. This will make sure that all the notebooks in this workshop can run. After waiting five minues you can click on the
learn-githubfolder link. This will display a list of all the notebooks for this workshop.Finally click on the file
1-introduction.ipynbto begin the workshop. -
Click the link
. This will automatically take you to a webpage where your interactive environment will be created and the
1-introduction.ipynbwill be opened for you.
This workshop was inspired by the fantastic
git-it-electron created by
Jessica Lord and built on a previous tutorial
presented by Duncan Macleod.
- Edward Fauchon-Jones
- Sam Peterson
- Rafael Mosca
- Lukas Thaler
learn-github is released under the MIT license.


