This is a simple Powershell script to install Sitecore 9 Update 2 for standlone/Developer instance. Follow the below steps to install the Sitecore in your local machine.
- Windows OS (10 or Windows Server 2012 R2 (64 bit) or higher)
- Download the Sitecore 9.0 update 2 (rev. 180604) from Sitecore Download Portal
- Unzip the Sitecore package and you will get another three zip files as pictured below
- Unzip the XP0 Configuration files 9.0.2 rev. 180604.zip. This will have the json files as pictured below
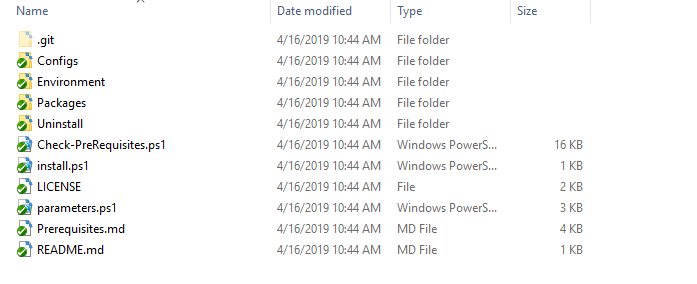
- After the above steps are completed clone or download this branch this to your local. You will get the folder structure as below
- Copy all the extractued config files from XP0 Configuration files 9.0.2 rev. 180604 and paste it into the Configs folder
- Copy the Sitecore 9.0.2 rev. 180604 (OnPrem)_single.scwdp.zip and Sitecore 9.0.2 rev. 180604 (OnPrem)_xp0xconnect.scwdp.zip and paste it into Packages folder
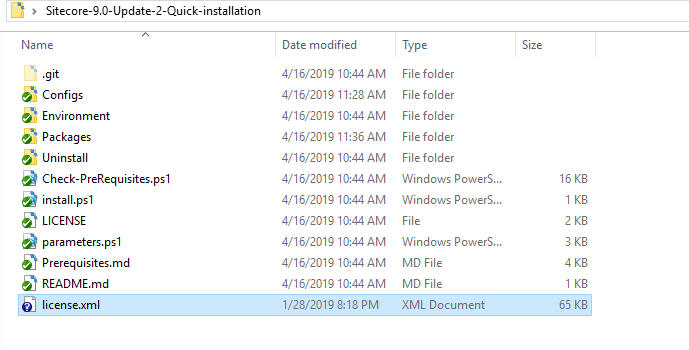
- Copy the Sitecore license.xml to main folder
- Make sure all the above steps have been completed and run Powershell in Admin mode
- Navigate to the folder in Powershell and run the below command to check your system is ready to install Sitecore 9.0 update 2
.\Check-PreRequisites.ps1- The above command will validate your machine has required packages for Sitecore 9 has already installed. If yes the test will pass else you will get error
- If the case is failed no need to worry we have written script to install all the dependencies which required for Sitecore 9 installation
- To install all the dependencies and Sitecore 9.0 update 2 run the below command in Powershell
.\install.ps1- This will download the Solr and enable it in https mode. Also it will register and install the Sitecore SIF
- Sitecore 9.0 Update 2 has installed. Happy Sitecoring!!!
This Project is licensed under the MIT License.


