English README.md 中文 README_zh.md
Android developer lack of monitoring of performance data,especially in production environment. so we need "AndroidGodEye".
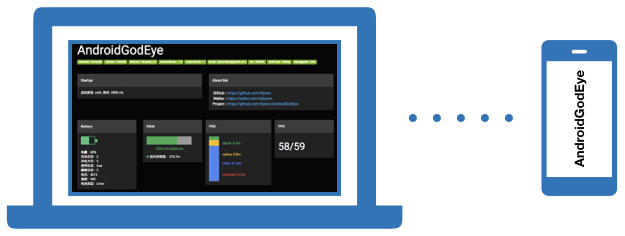
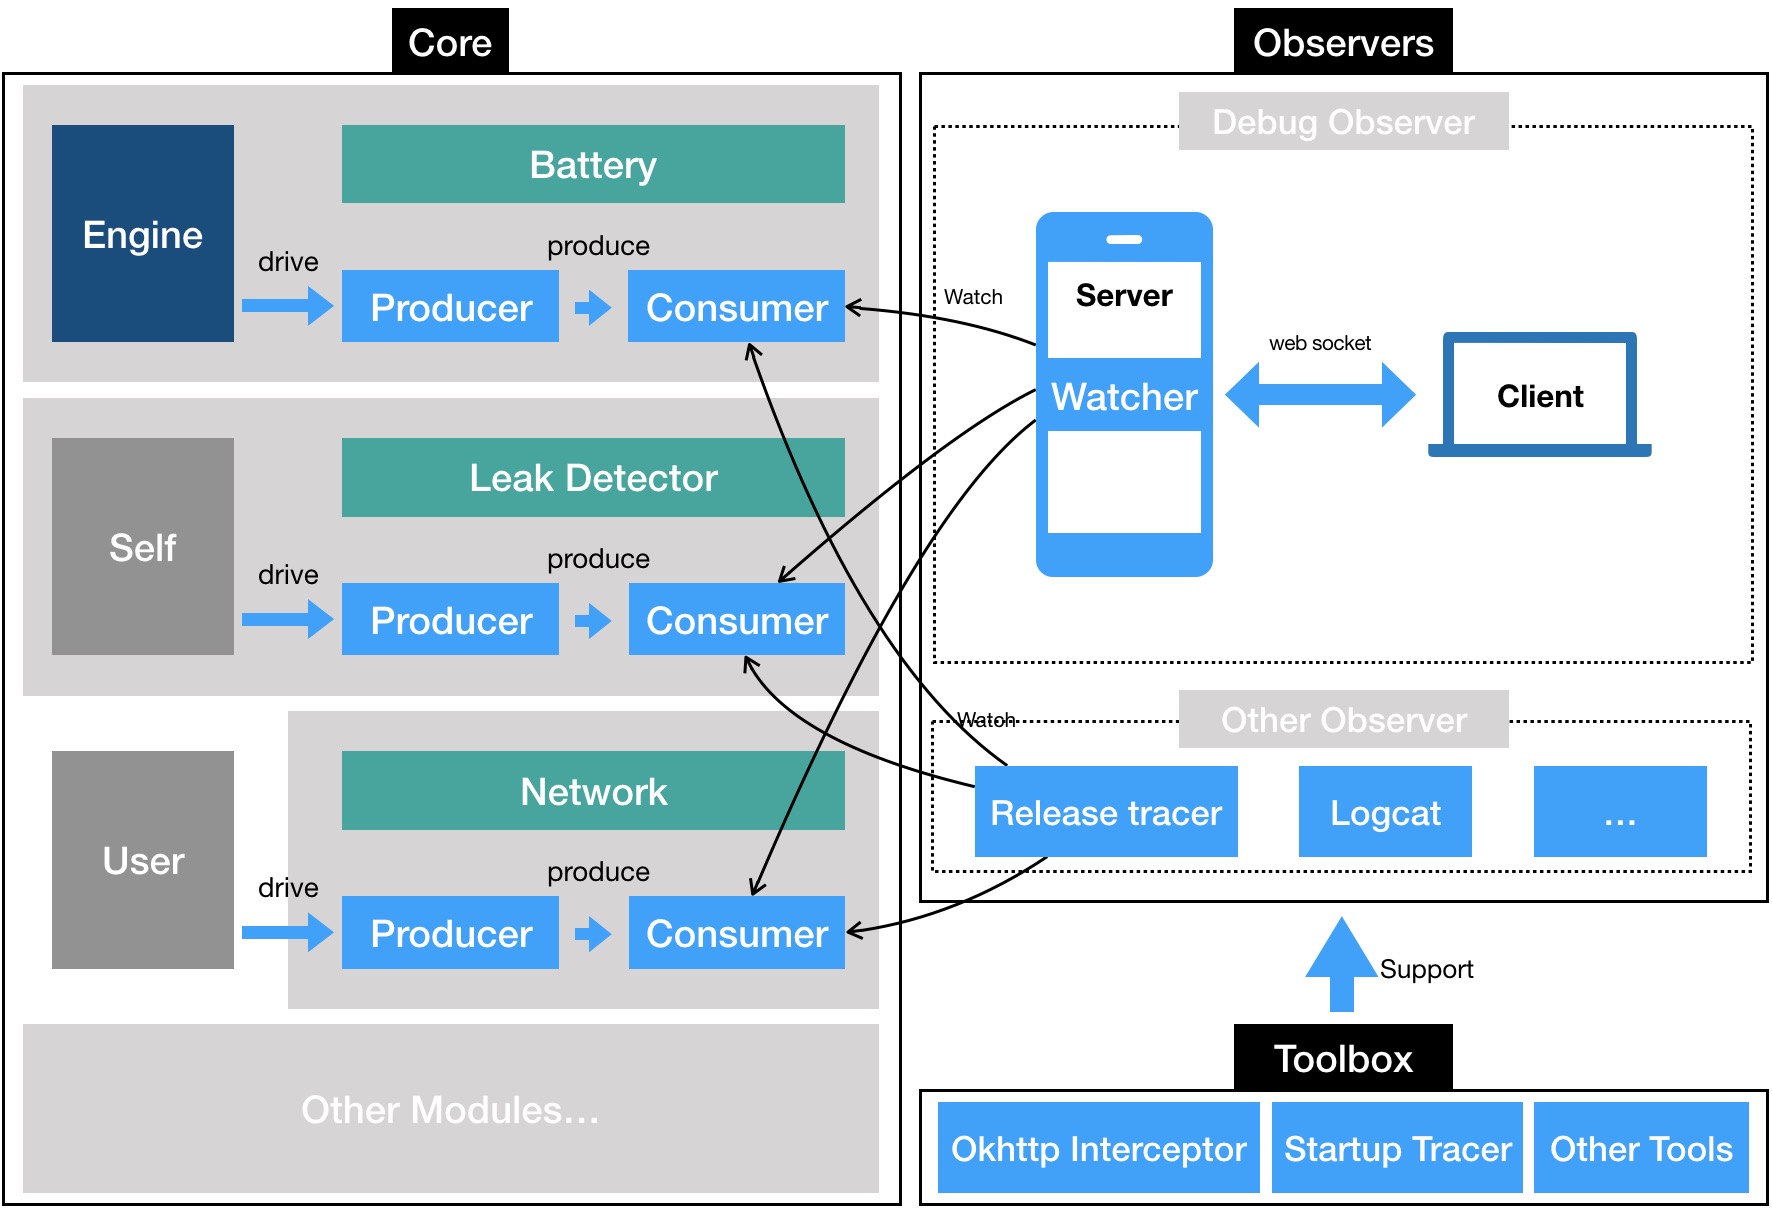
AndroidGodEye is a performance monitor tool for Android(not limited to performance data) , you can easily monitor the performance of your app in real time in pc browser.
It is divided into 3 parts:
- Core provide all performance modules and produce performance datas.
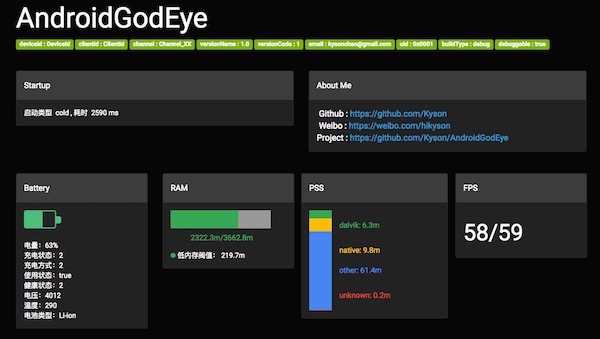
- Debug Monitor provide a panel to show these performance datas.
- Toolbox make developers easy to use this library.
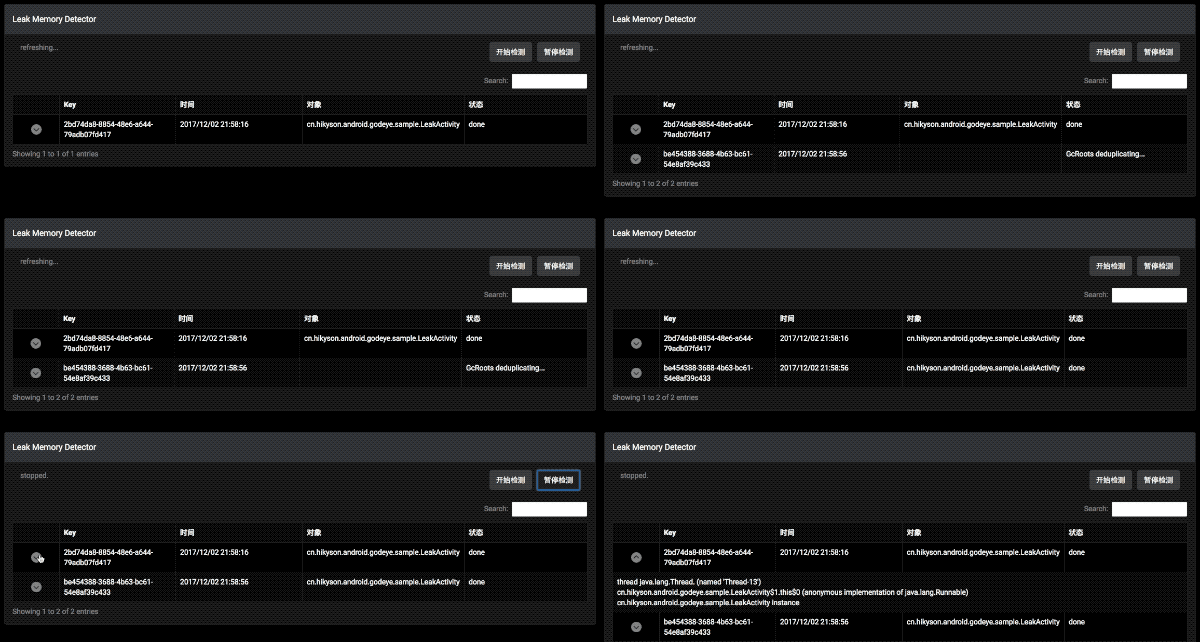
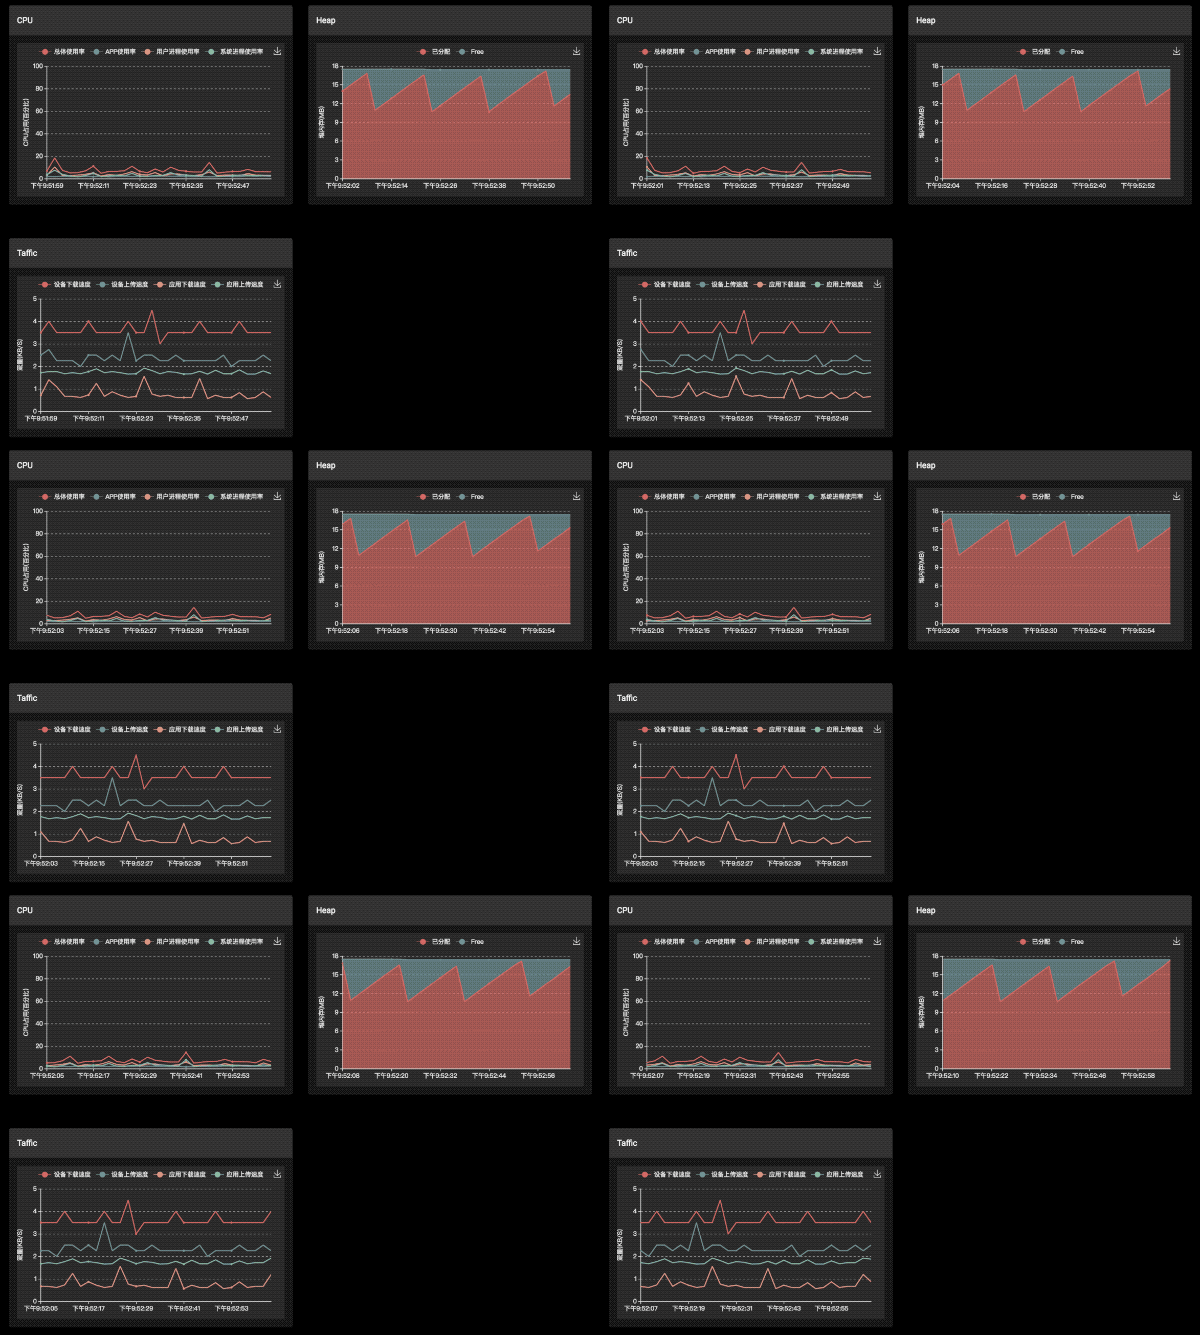
AndroidGodEye prodive several modules, such as cpu, heap, block, leak memory and so on.
Demo:https://github.com/Kyson/AndroidGodEyeDemo
In your build.gradle:
dependencies {
  implementation 'cn.hikyson.godeye:godeye-core:VERSION_NAME'
  debugImplementation 'cn.hikyson.godeye:godeye-monitor:VERSION_NAME'
  releaseImplementation 'cn.hikyson.godeye:godeye-monitor-no-op:VERSION_NAME'
  implementation 'cn.hikyson.godeye:godeye-toolbox:VERSION_NAME'
}
You can find VERSION_NAME in the github release.
Init first in your application:
GodEye.instance().init(this);Install modules , GodEye class is entrance for this step, all modules are provided by it.
// before v1.7.0
// GodEye.instance().installAll(getApplication(),new CrashFileProvider(context))
// after v1.7.0 ,install one by one
if (isMainProcess(this)) {//can not install modules in sub process
        GodEye.instance()
                        .install(new BatteryConfig(this))
                        .install(new CpuConfig())
                        .install(new CrashConfig(new CrashFileProvider(this)))
                        .install(new FpsConfig(this))
                        .install(new HeapConfig())
                        .install(new LeakConfig(this,new RxPermissionRequest()))
                        .install(new PageloadConfig(this))
                        .install(new PssConfig(this))
                        .install(new RamConfig(this))
                        .install(new SmConfig(this))
                        .install(new ThreadConfig())
                        .install(new TrafficConfig());
}

/**
* is main process
*/
    private static boolean isMainProcess(Application application) {
        int pid = android.os.Process.myPid();
        String processName = "";
        ActivityManager manager = (ActivityManager) application.getSystemService
                (Context.ACTIVITY_SERVICE);
        for (ActivityManager.RunningAppProcessInfo process : manager.getRunningAppProcesses()) {
            if (process.pid == pid) {
                processName = process.processName;
            }
        }
        return application.getPackageName().equals(processName);
    }
Recommend install in application.
Uninstall modules when you don't need it(not recommend):
// before v1.7.0
// GodEye.instance().uninstallAll()
// after v1.7.0 ,uninstall one by one
// GodEye.instance().getModule(Cpu.class).uninstall();
// after v2.1.0 ,uninstall all
GodEye.instance().uninstallAll();
// after v2.1.0 ,uninstall one by one
GodEye.instance().uninstall(ModuleName.CPU);
Note that network and startup module don't need install and uninstall.
When install finished, GodEye begin produce performance data, generally you can call consume of modules to get these datas, for example:
// before v1.7.0
// GodEye.instance().cpu().subject().subscribe()
// after v1.7.0, get module by class
//GodEye.instance().getModule(Cpu.class).subject().subscribe();
// after v2.1.0, get module by name
GodEye.instance().<Cpu>getModule(GodEye.ModuleName.CPU).subject().subscribe()
Just like we will mention later,Debug Monitor is one of these consumers.
Install debug monitor,GodEyeMonitor class is entrance for this step.
Consume data produced by GodEye modules:
GodEyeMonitor.work(context)Stop it:
GodEyeMonitor.shutDown()You're good to go!
Make sure your android device and pc are on the same network segment, and open browser on pc, then open Android device ip : Port/index.html
Or if you are using it over usb, run adb forward tcp:5390 tcp:5390, then open http://localhost:5390/index.html.
now enjoy it!
Default port is 5390, you can find ip in logcat output after call
GodEyeMonitor.work(context), log is like:'Open AndroidGodEye dashboard [ http://xxx.xxx.xxx.xxx:5390/index.html" ] in your browser...'.
Okay...If you just want to see the results, you can install APK directly.
Note that /index.html is necessary!!!
and more...
| Module Name | Need Install | Engine | Data produce time | permissions |
|---|---|---|---|---|
| cpu | yes | internal | interval | no |
| battery | yes | internal | interval | no |
| fps | yes | internal | interval | no |
| leakDetector | yes | internal | happen | WRITE_EXTERNAL_STORAGE |
| heap | yes | internal | interval | no |
| pss | yes | internal | interval | no |
| ram | yes | internal | interval | no |
| network | no | external | - | no |
| sm | yes | internal | happen | no |
| startup | no | external | - | no |
| traffic | yes | external | interval | no |
| crash | yes | external | after install,one time | no |
| thread dump | yes | internal | interval | no |
| deadlock | yes | internal | interval&happen | no |
| pageload | yes | internal | happen | no |
How does AndroidGodEye work?As below:
AndroidGodEye is under Apache2.0.
- Github: Kyson
- Weibo: hikyson
- Blog: tech.hikyson.cn


