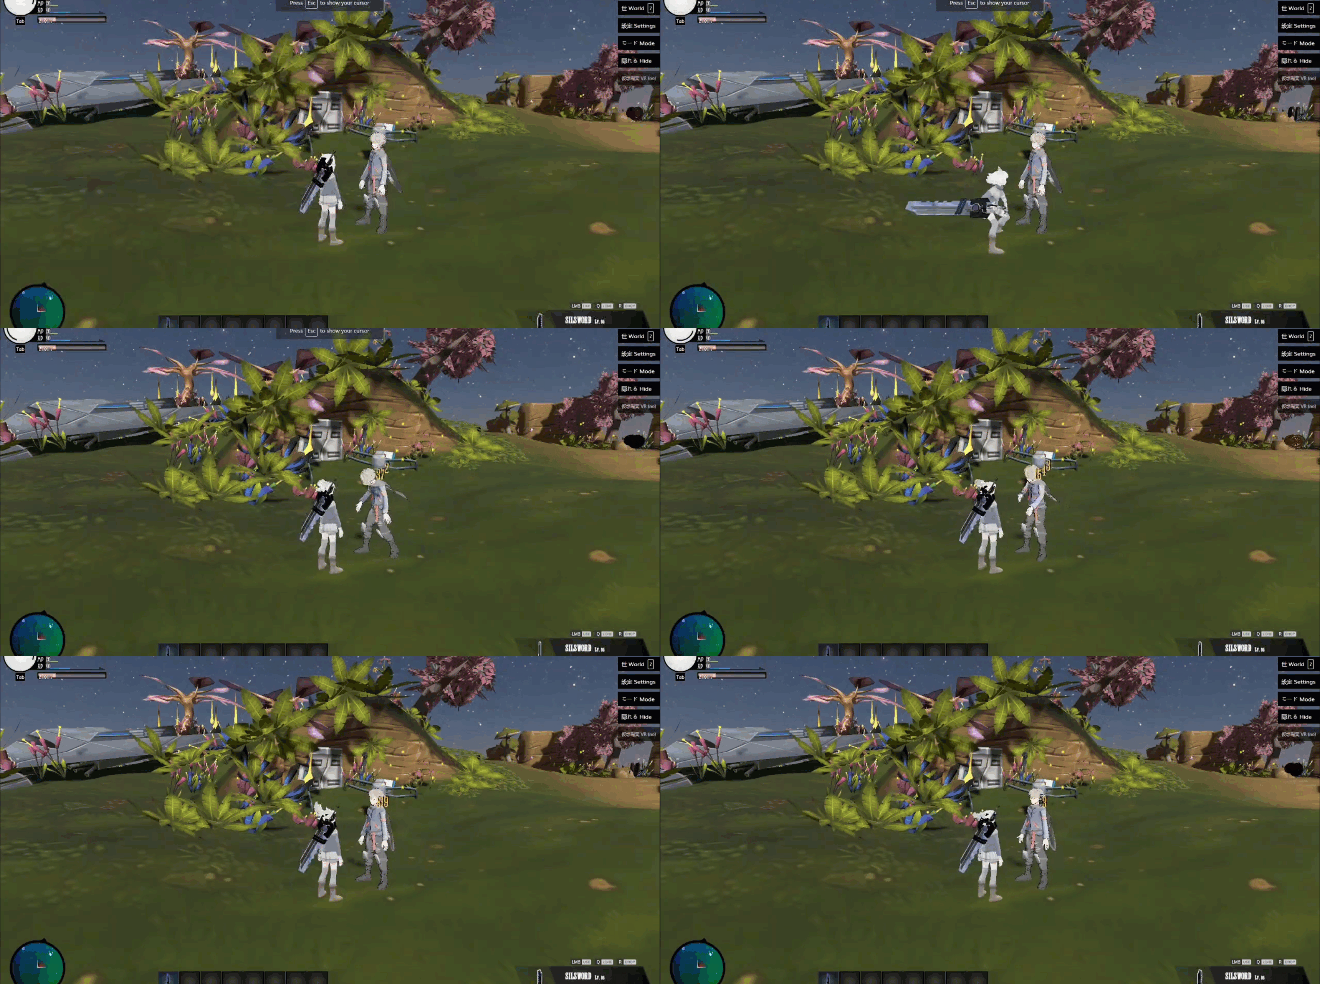
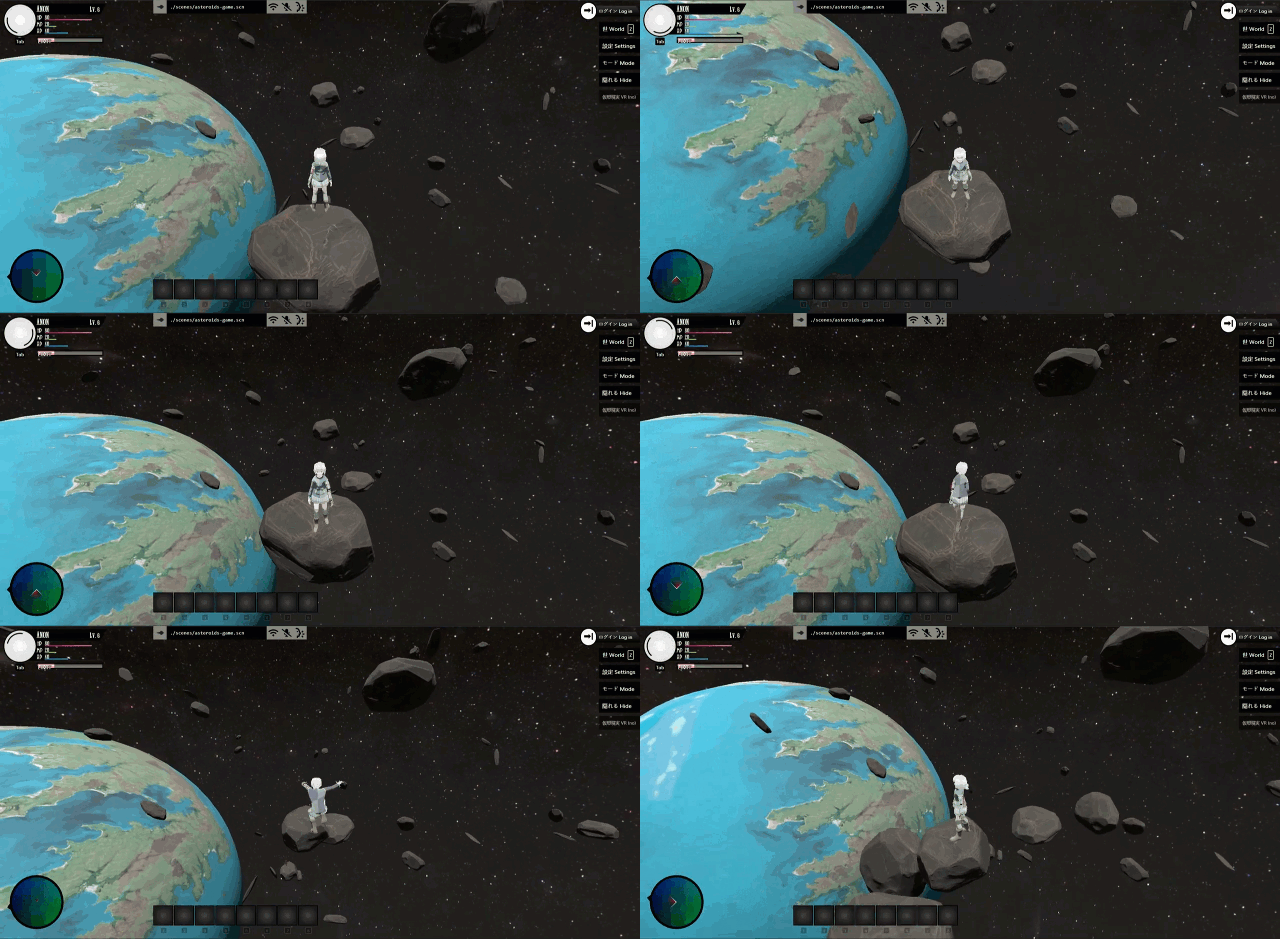
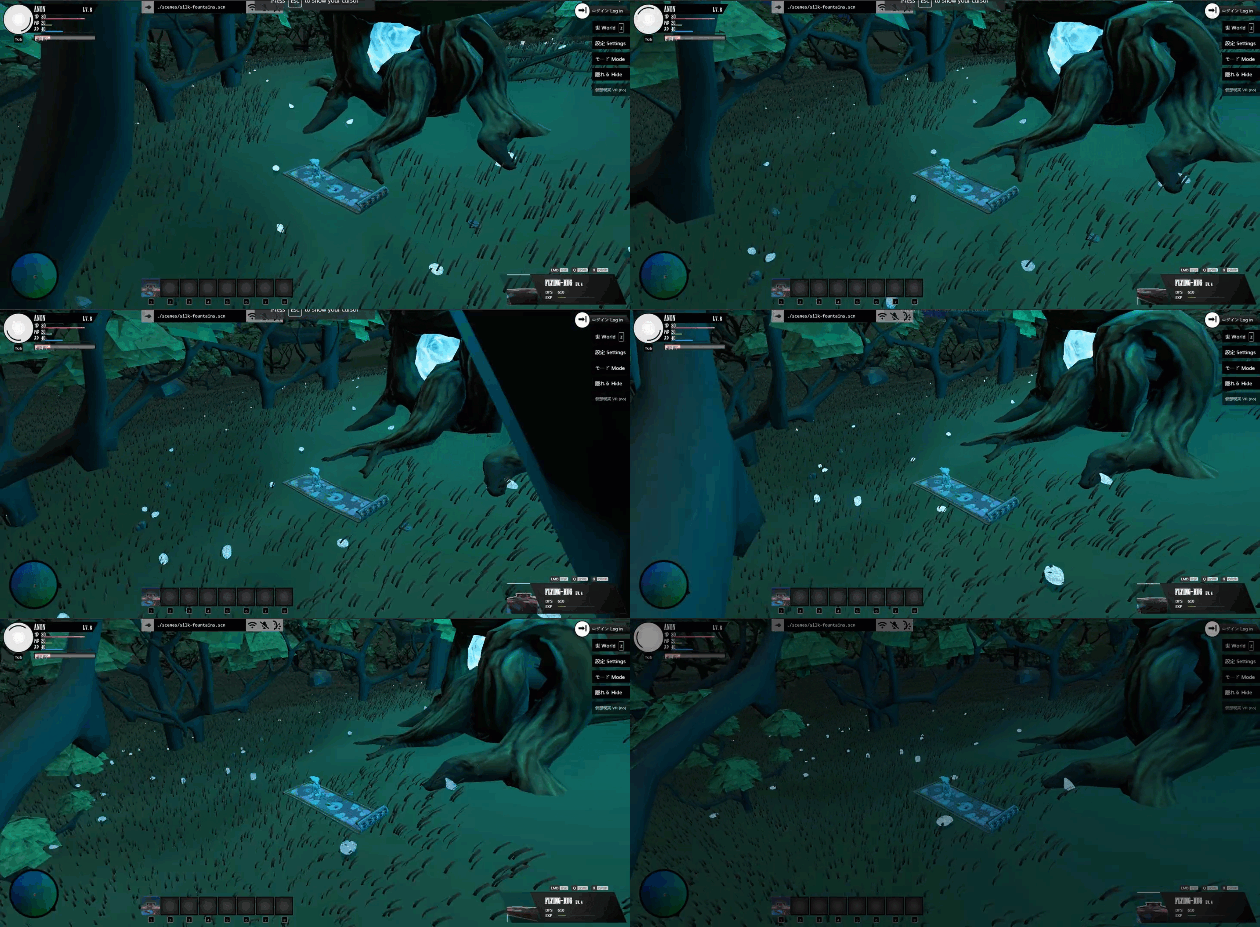
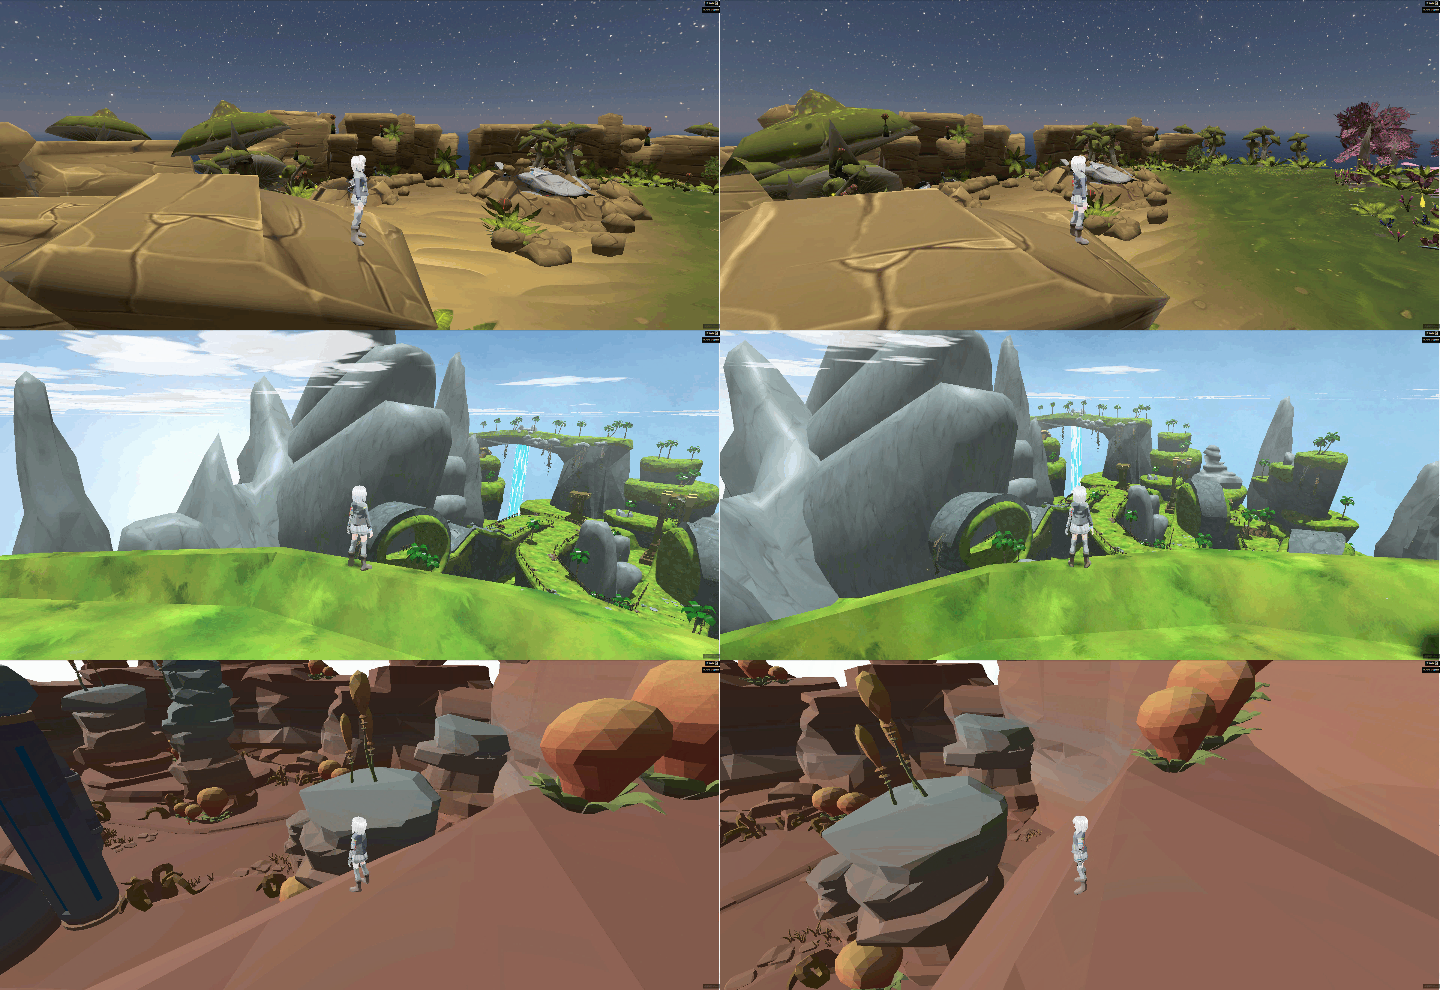
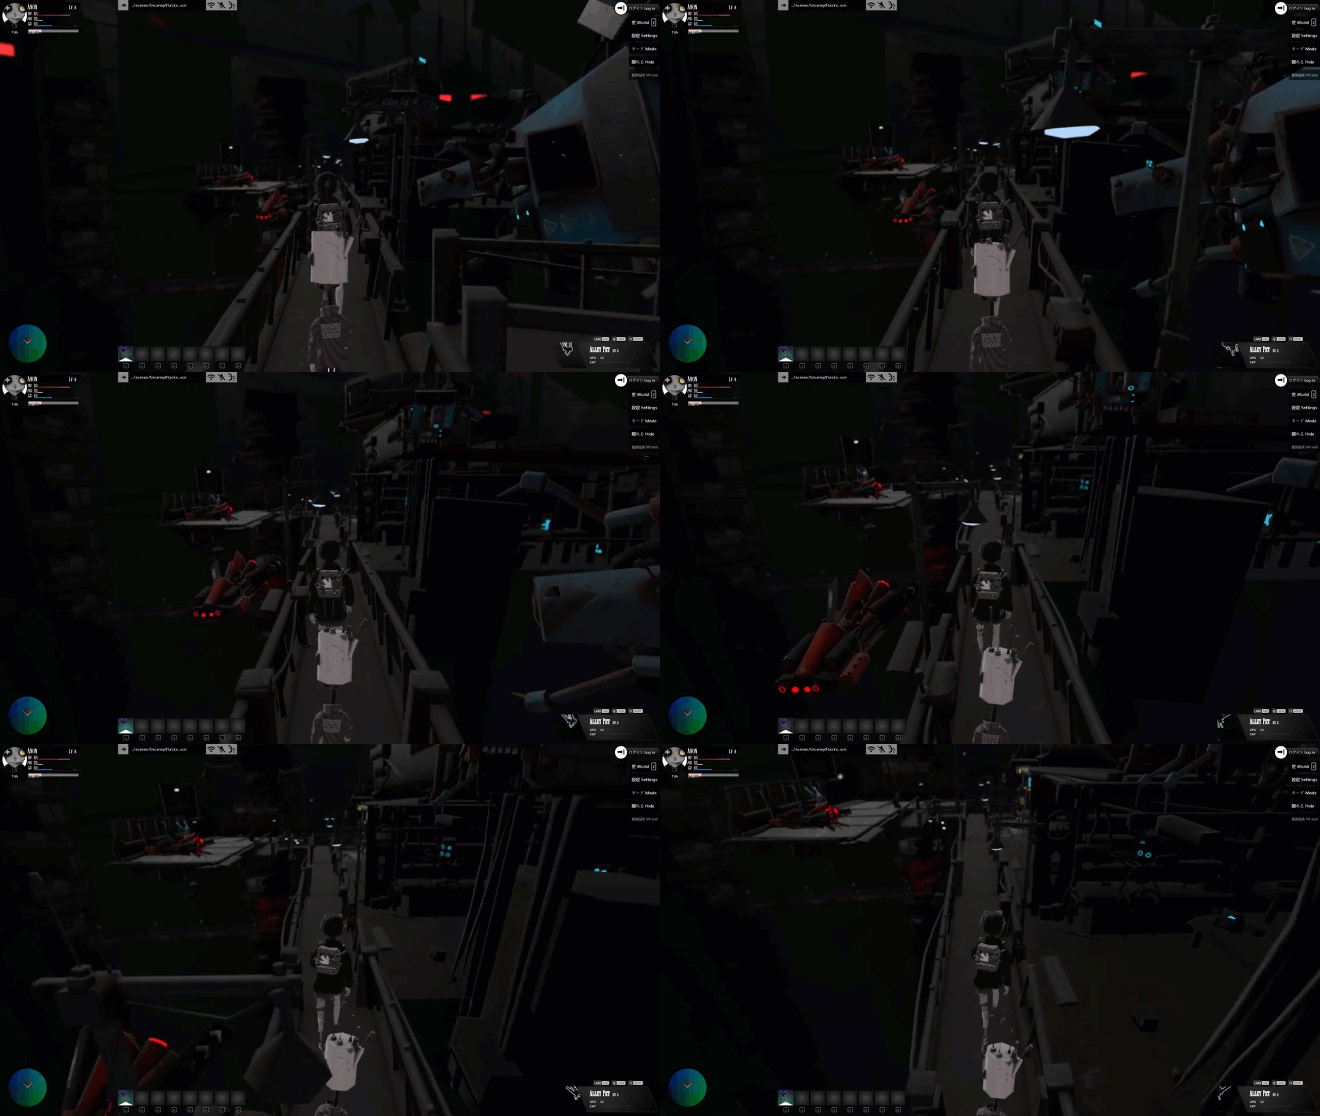
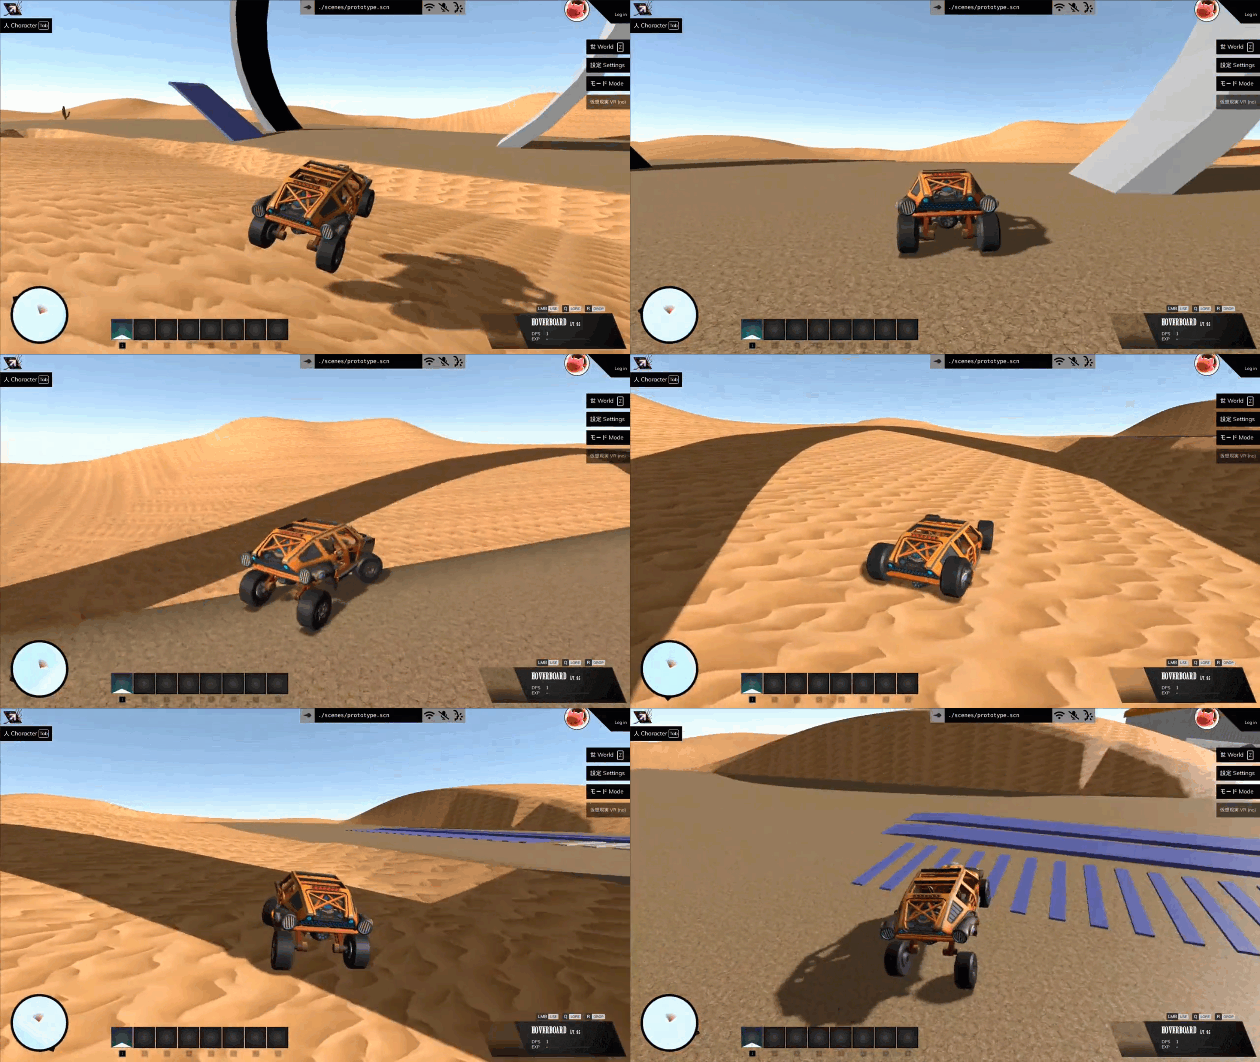
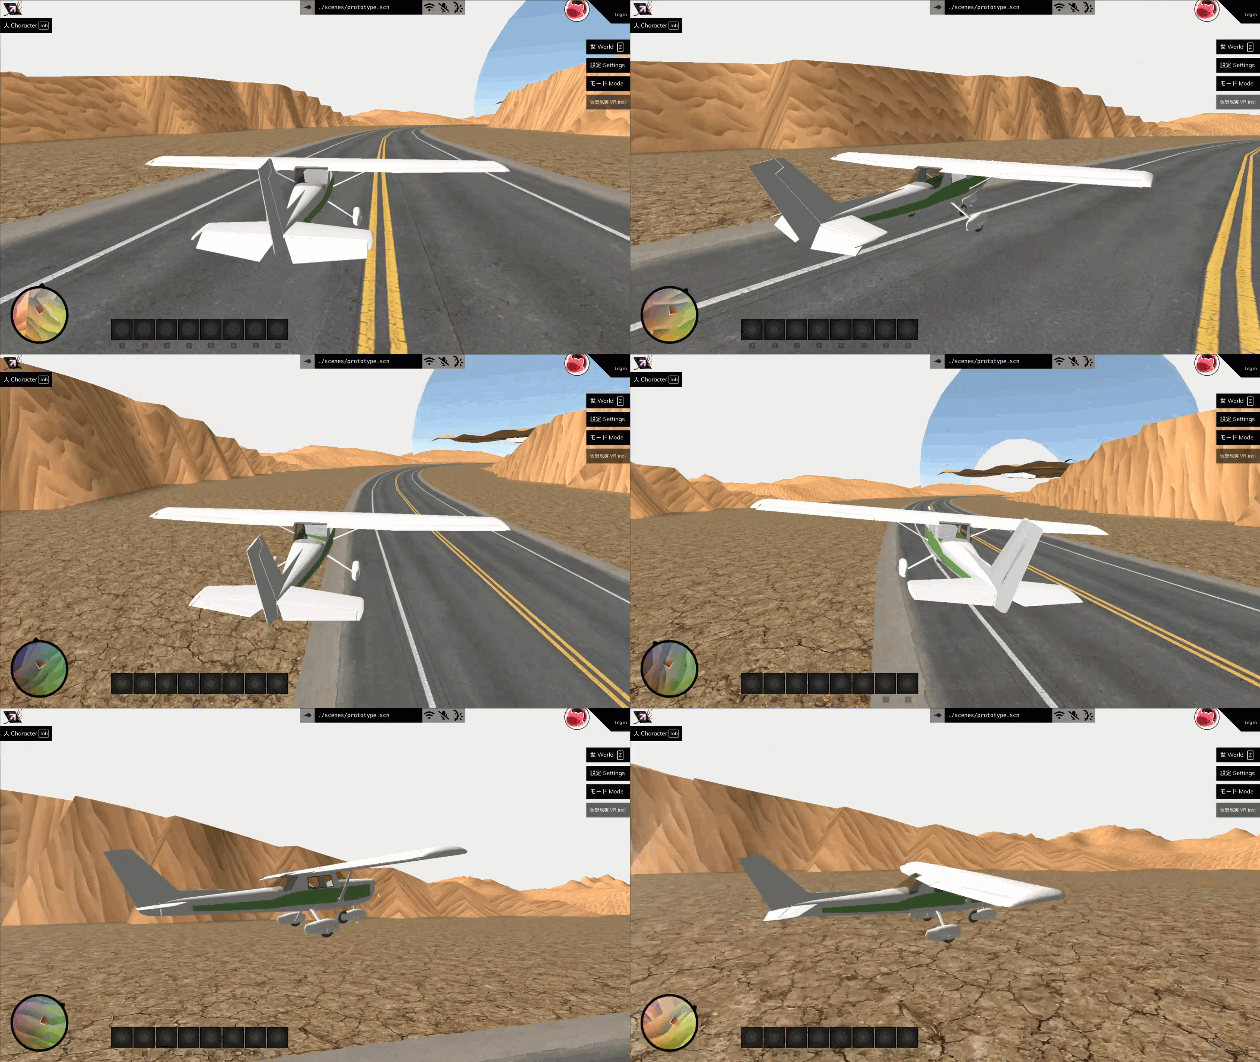
An open source web3 metaverse game engine that anyone can host. Easy to use, runs in the browser and utilizes open tools and standards like three.js and Node.
Everything you need to get started with building in the Webaverse is contained in this repository.
- 🎮 A full-featured game engine running in your browser
- ♾️ Infinite procedurally generated world
- 🧑🤝🧑 Multiplayer with voice and chat
- 🤖 AI-powered non-player characters
- 👓 Supports desktop and VR (mobile coming soon)
- 😊 Expressive, vocal and emotive avatars
- 🔮 Runtime support for user uploads and custom apps
- 🖥️ Completely self-hostable
Developer documentation is here
User documentation is here
- 10 GB Disk Space
- 8 GB RAM
- 4 Core CPU / vCPUs
- Node version 19.0.0. The recommended way to get node is
nvm: https://github.com/nvm-sh/nvm
Important note before you clone this repo: This repo uses Git submodules.
You need to install with the --recurse-submodules flag or installation will not work. Copy the code below to clone the repository if you aren't sure.
git clone --recurse-submodules https://github.com/webaverse-studios/webaverse.git && cd webaverse
npm install # Install dependenciesStarting the application is as easy as:
npm run devOnce the server has started up, you can press the "A" key to visit https://local.webaverse.com.
You may need to use Windows Subsystem for Linux to install and run Webaverse. This video shows you how you can set up WSL and Ubuntu.
Requirements:
- WSL2. If you have WSL1 installed you need to upgrade to WSL2.
- Ubuntu 20+. Install Ubuntu 20+.
Once you have WSL and Ubuntu set up, run wsl in a Windows command window to get a WSL Ubuntu command prompt. Run exit at the WSL command prompt to return to the Windows command prompt.
At a WSL command prompt, use nvm to install Node 19.0.0.
Run the following command at the WSL command prompt to install dependencies:
npm run install-libsThe following libraries get installed with this command (you can also install manually):
- libatk1.0-0
- libatk-bridge2.0-0
- libxcomposite-dev
- libxdamage1
- libxrandr2
- libgbm-dev
- libxkbcommon-x11-0
- libpangocairo-1.0-0
- libasound2
- libwayland-client0
To route all of the needed ports for 127.0.0.1 -> WSL to work locally, run the following command in a Powershell window:
powershell.exe .\scripts\wsl-port-forwarding.ps1
You can host the source files on either your Windows file system or on the Ubuntu file system in WSL's virtual drive.
Windows File System: Run the Git commands to clone and pull source files from a Windows command prompt. You may find this best if you're using programs such as SourceTree as a Git GUI. You can also edit source using your usual IDE.
Ubuntu File System: Run the Git commands to clone and pull source files from a WSL command prompt. In this case consider using the Visual Studio Code WSL extension as your dev environment - for features such as hot reload.
Start the application by running the NPM command at a WSL command prompt.
Thanks goes to these wonderful people (emoji key):
This project follows the all-contributors specification. Contributions of any kind welcome!
We would love for you to come build with us. First, please review the documentation in it's entirety before contributing. Also join our Discord and introduce yourself.
Please search Github issues before reporting a new issue or starting a new feature. If you are starting a new feature or bug fix, please write up or reference an issue and indicate that you are working on it.
Please make sure your PRs change as little existing code as is necessary to prevent upstream merge conflicts. When posting a pull request, please document what the PR does and how it can be reviewed and QA'd. PRs will be reviewed and accepted if they conform to our linting and code conventions, don't cause any bugs and don't decrease performance of the app.


