A python implementation of RISC-V Simulation.
Explore the docs »
Table of Contents
The aim of this project is to simulate the machine level execution of RISC V as well as the execution of RISC-V 32-bit instructions using a high level language.. The Project also aims to give updates to the user regarding each step of the execution of the program. It also returns the final status of the memory and registers as output for the user to analyse the working of their programs thoroughly. The Project currently allows the user to use 29 different instructions and can be extended to allow the use of any number of instructions by editing the .csv files as long as the instructions are supported by 32-bit RISC V ISA. For each instruction the program gives various updates like IR, PC, decoded instruction, temporary registers like RA, RB, RZ, RY, etc. during each cycle and prints the number of cycles. The program executes each instruction using five stages as described in the RISC V architecture.
pip(>21.0.3)python(>3.7)
os:for getting and adding path to certain file locations.sys:for reading and editing files with ease.json:for crunching generated data.glob:for file managementregex:for making the cleaned file by splitting the RISC-V instructions and removing commentspandas:for reading .csv files.random:for generating random number in Random Replacement Policyargparse:for taking arguments from the userdefaultdict:to make a hash map for memory.
PyQT5:for the Graphic User Interface.QtAwesome:for using iconsqdarkstyle:for dark theme
-
Clone the repository using git clone and open terminal in project directory.
-
Install required libraries using
pip install -r requirements.txt
-
To run the GUI version enter
python main.py -g
-
To run the non-GUI version
python main.py
Following flags are present to configure simulator:
-
-g, -guienable GUI -
-h, --helpshow this help message and exit -
-k1, -knob1enable Pipelining -
-k2, -knob2enable Data Forwarding -
-k3, -knob3show value in registerFile at end of each cycle -
-k4, -knob4show value in -
-k5 K5, -knob5 K5show value in Pipeline Registers at end of each cycle for particular instruction -
-f F, -filename Fspecify file which is to be run for non-GUI version Pipeline Registers at end of each cycle -
-ICache cacheSize blockSize noOfWaysconfigure input cache in format cache size block size number of ways -
-DCache cacheSize blockSize noOfWaysconfigure data cache in format cache size block size number of ways
File should be present in the test directory.
Support for changing block replacement policy and branch predictor is not present for Non-GUI version currently.
- Write the code you wish to run in the editor window.
- You may save the file using save button.
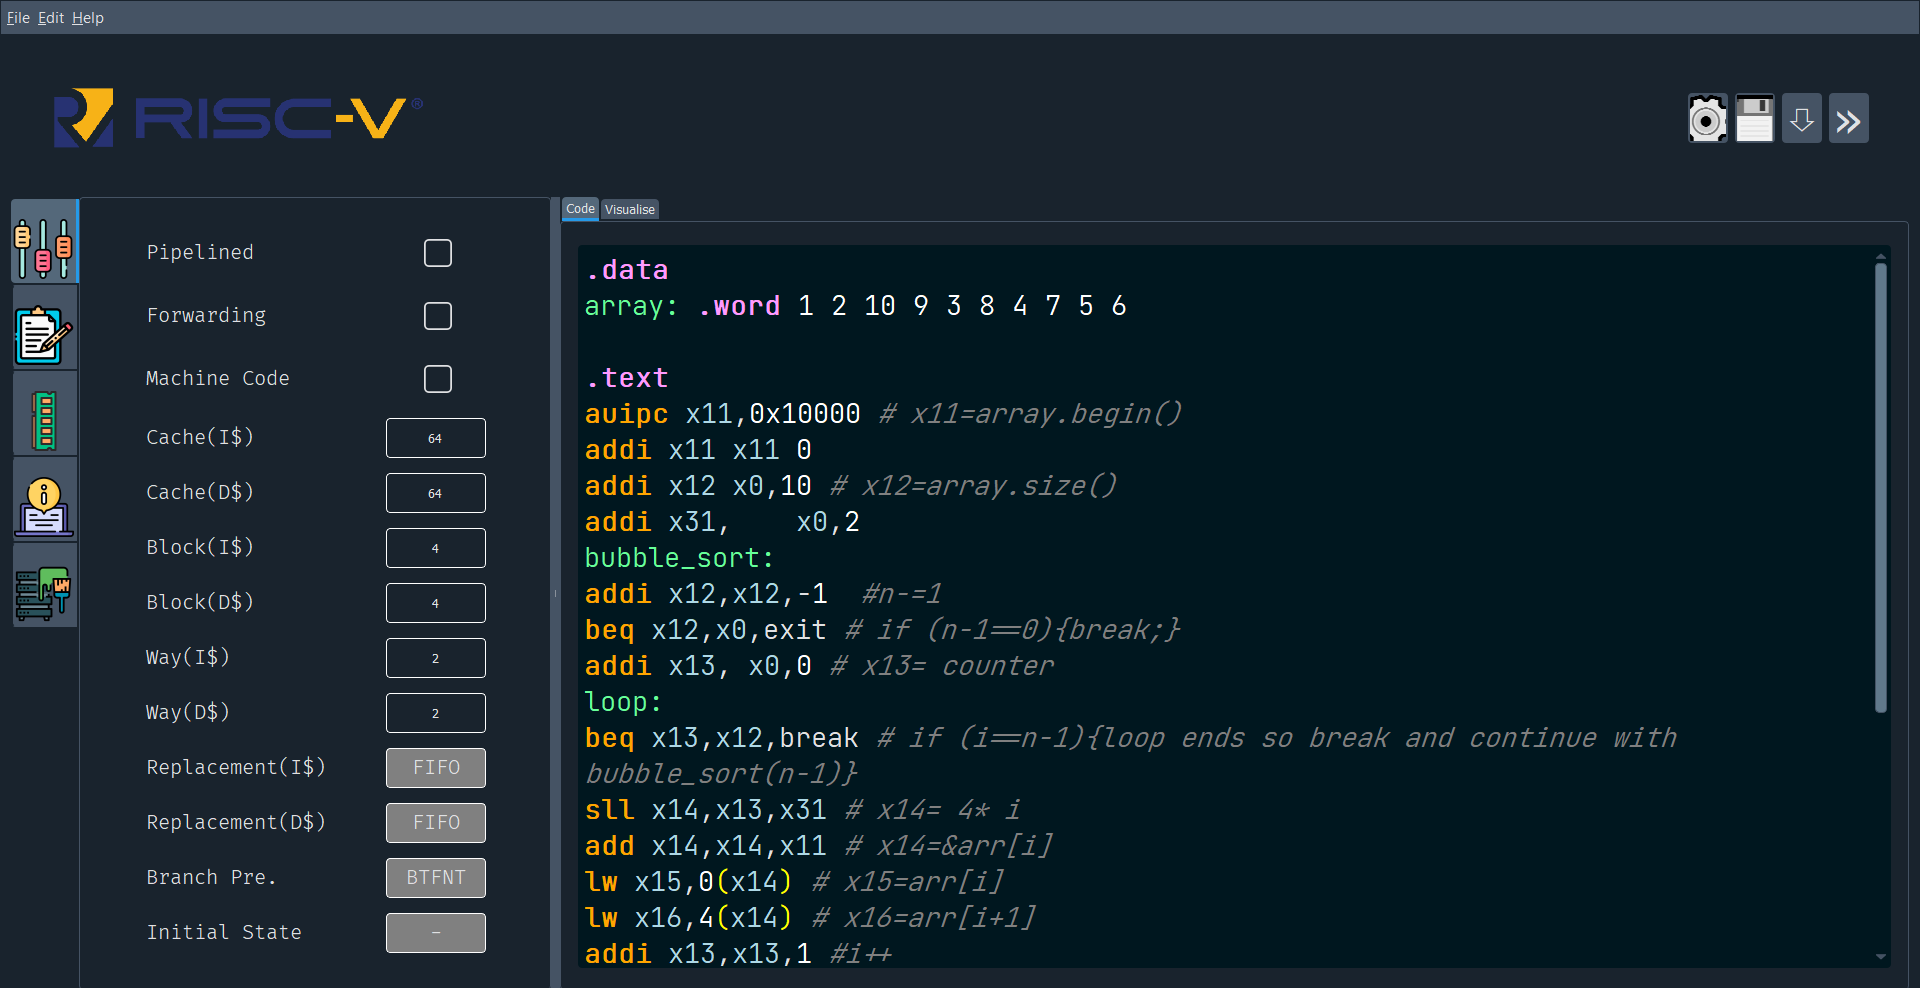
- Set the required knobs according to the documentation
- Set the details of cache in the control box.
- Tick the Machine Code button if the file is in Machine level of RISC-V.
- You may change the Inst Replacement Policy as well as the Data Replacement Policy by clicking on them. The Default is LRU.
- You may set branch predictor and initial state of predictor. The Default is static Always Taken predictor.
- To run the file using step function first load the file by pressing on the top right third (down arrow key) button and then click on the step button(last button).
- To run the file, press compile button. Once the code completes execution, a tick sign will be visible on the button.
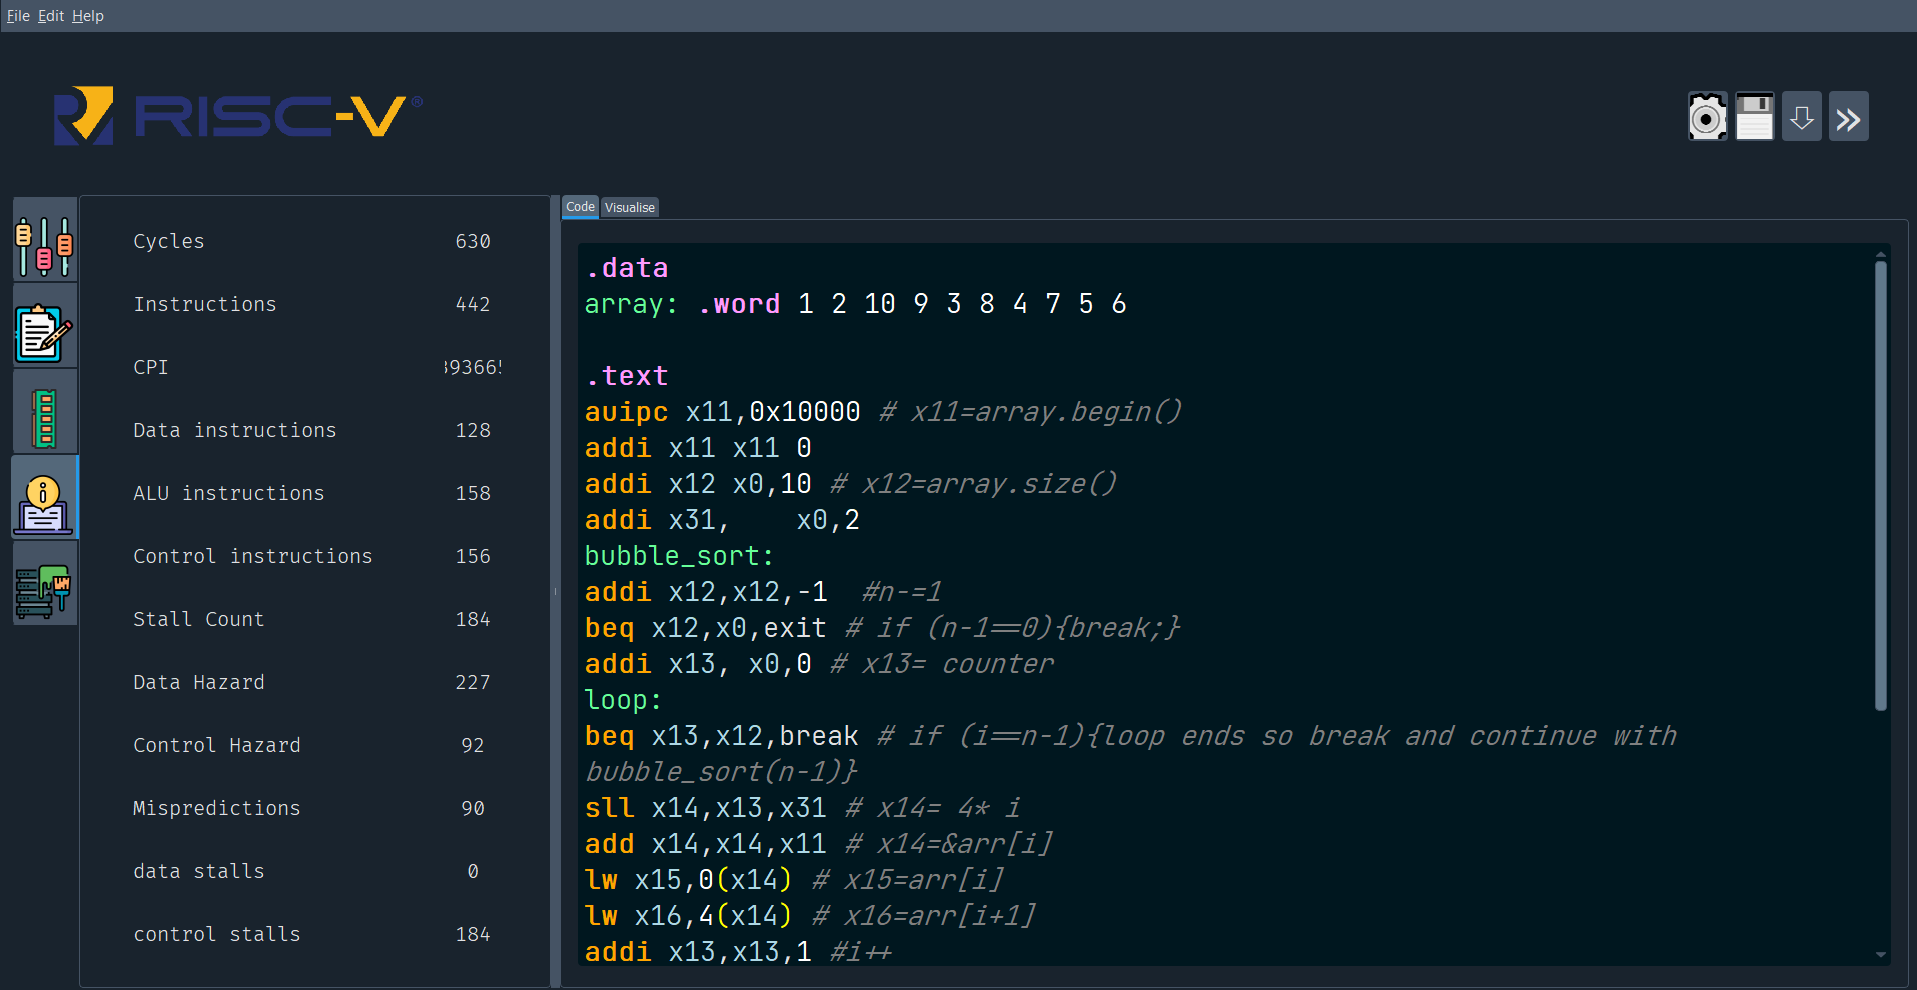
- In case you run the pipelined version the datapath can visualised using the "datapath" and "info" tab
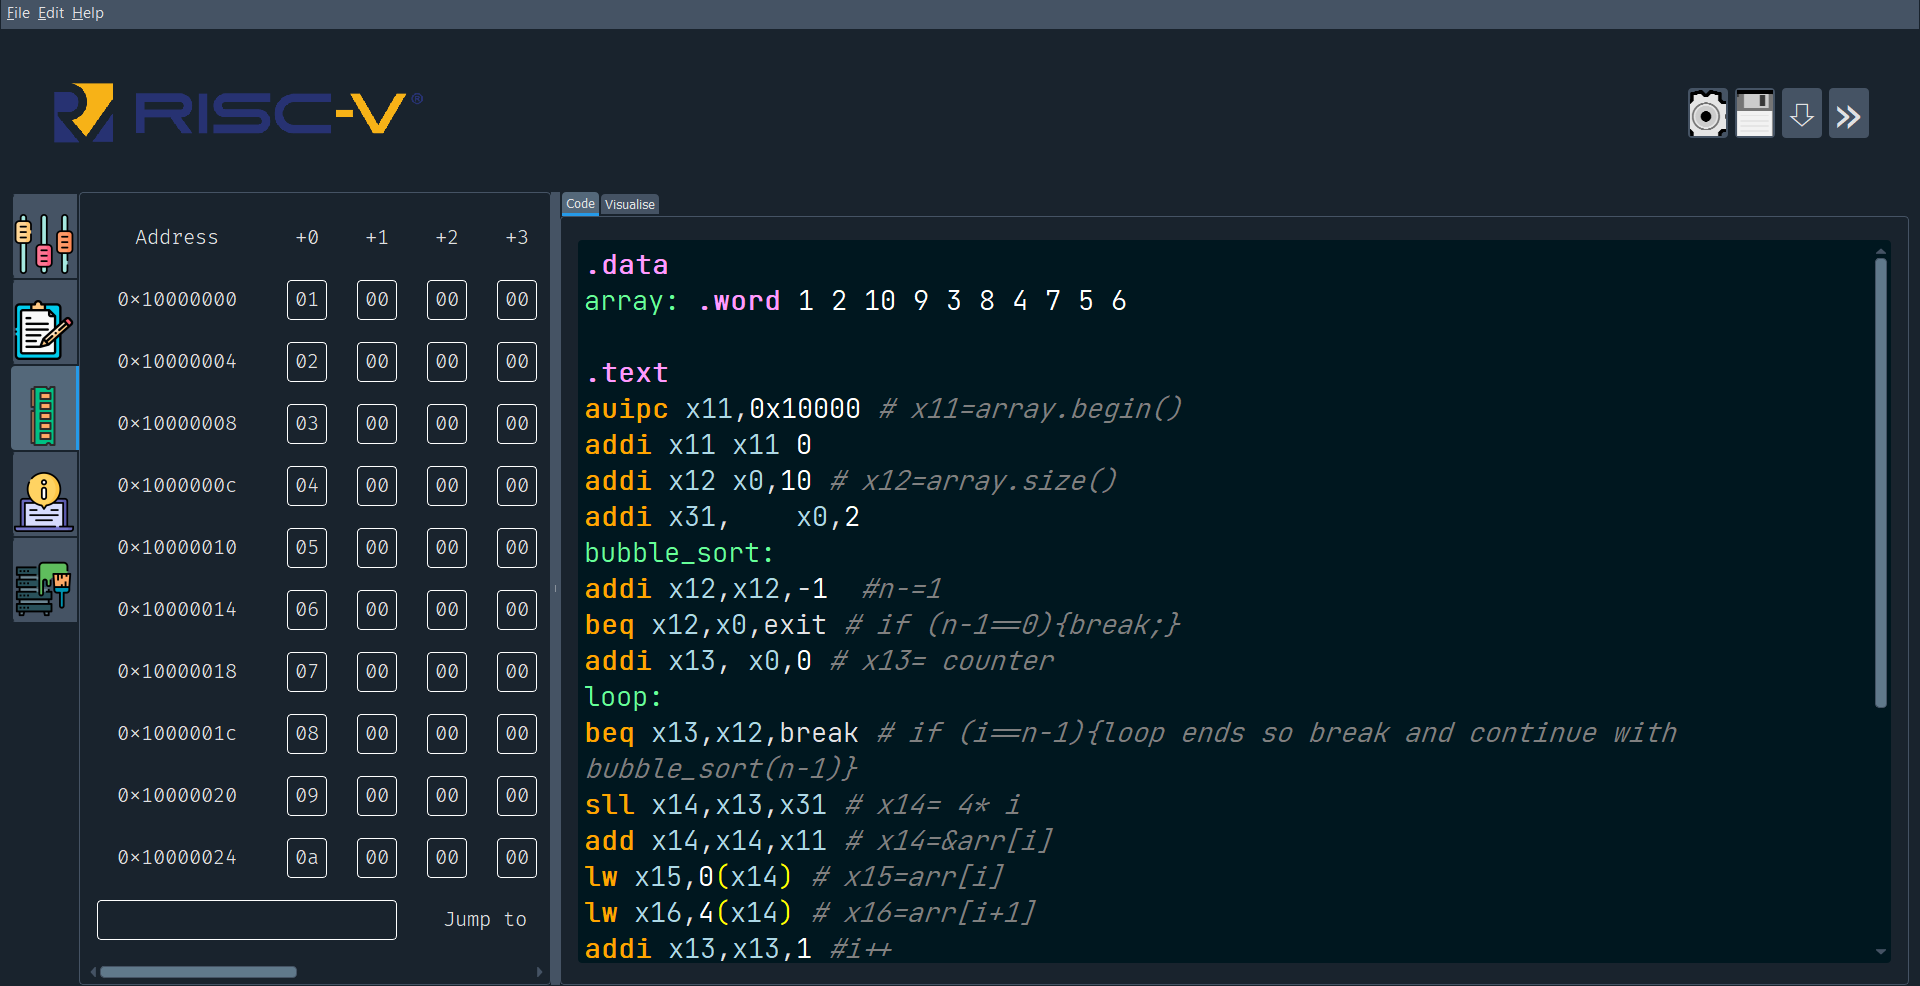
- You can get the info about data cache and instruction cache from respective tabs.
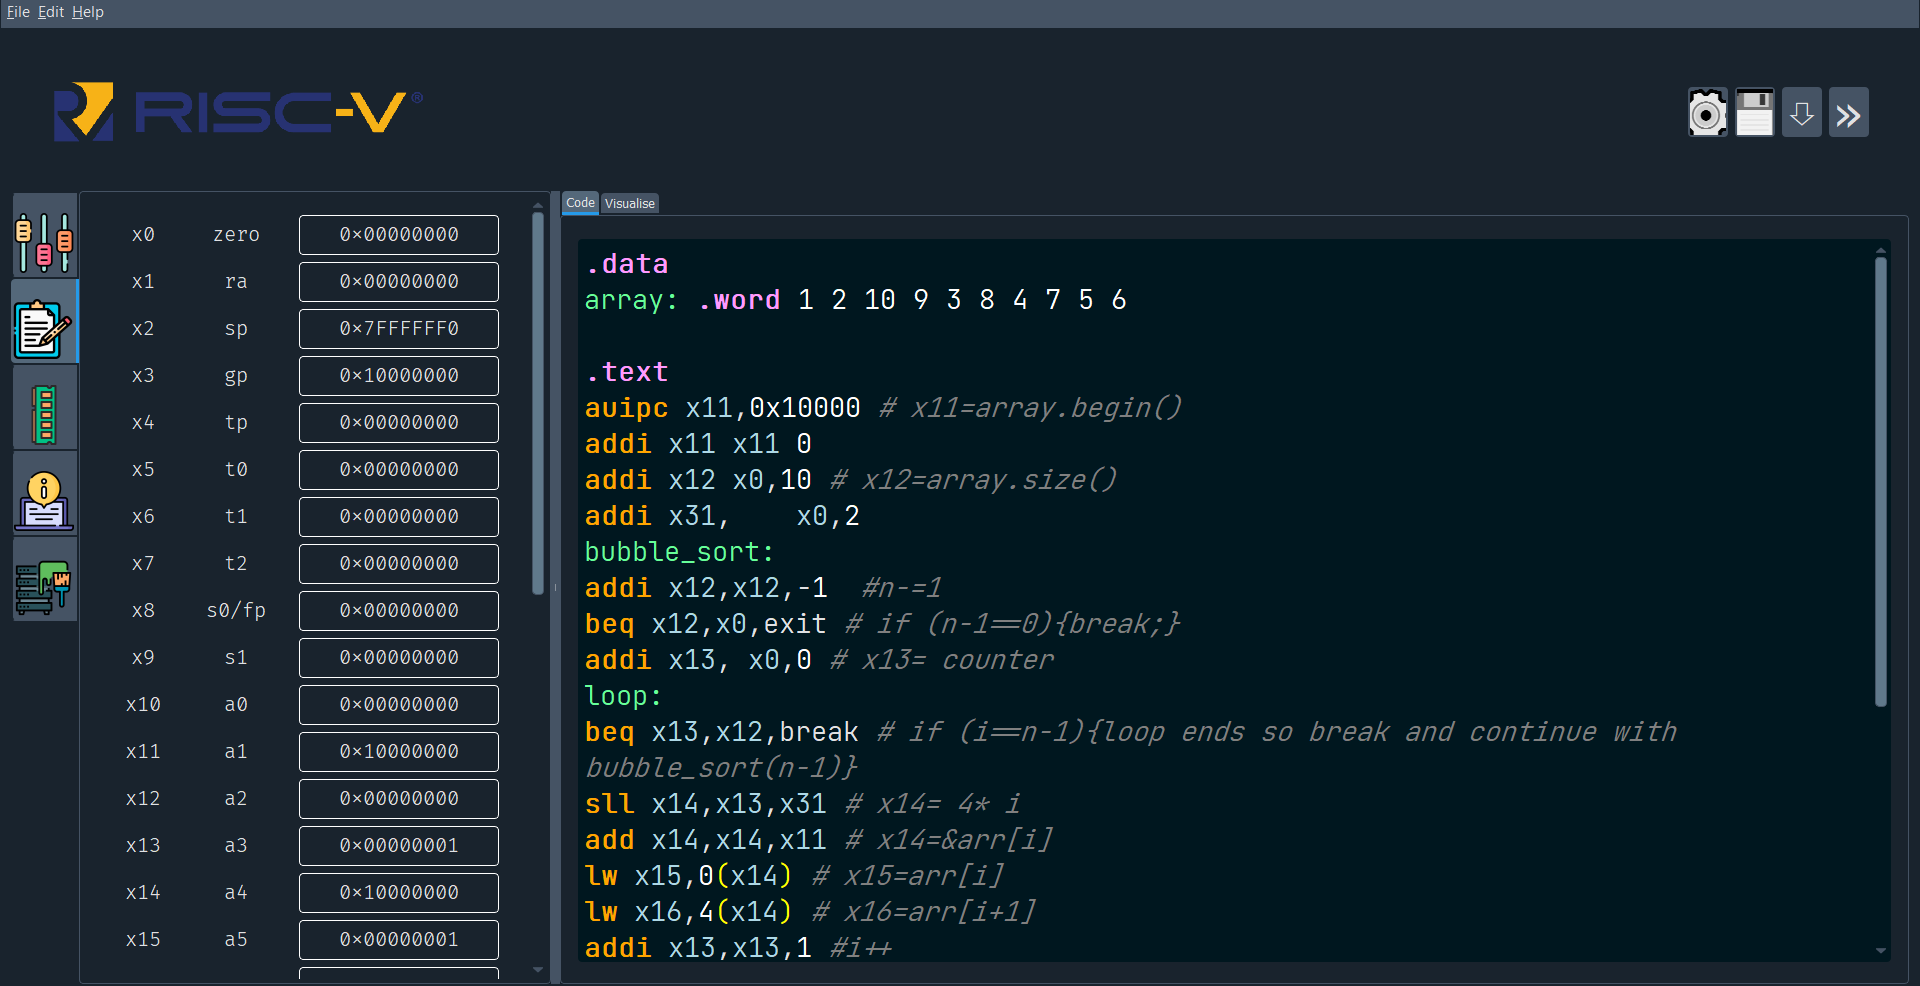
- Look for the generated files
Input format of the Machine Code file instructions
-
In text segment, data is word by word while in data segment it is byte by byte.
-
Text segment followed by data segment demarcated by '$', each line is of format: "address data".
-
Example:
  0x0 0x00500513
  0x4 0x008000EF
  0x8 0x0440006F
  $
  0x10000000 0x64
Input format of the RISC-V instructions
-
The instructions are RISC-V 32 bit instructions.
-
For these instructions keep the Machine Code unchecked
-
Example
  .data
  array: .word 1 2 10 9 3 8 4 7 5 6

  .text
  auipc x11,0x10000 # x11=array.begin()
  addi x11 x11 0
  addi x12 x0,10 # x12=array.size()
  addi x31, x0,2
  bubble_sort:
  addi x12,x12,-1 #n-=1
  beq x12,x0,exit # if (n-1==0){break;}
  addi x13, x0,0 # x13= counter
  loop:
  beq x13,x12,break # if (i==n-1)
  sll x14,x13,x31 # x14= 4\* i
  add x14,x14,x11 # x14=&arr[i]
  lw x15,0(x14) # x15=arr[i]
  lw x16,4(x14) # x16=arr[i+1]
  addi x13,x13,1 #i++
  blt x15,x16,loop
  beq x15,x16,loop
  sw x16,0(x14) # arr[i]=arr[i+1]
  sw x15,4(x14) # arr[i+1]=arr[i] # thus swapped
  jal x0 loop
  break:

  jal x0 bubble_sort
  exit:
Check the generated folder for details of compilation. It contains:
stats.txt :contains general stats about the code compilation.memory.txt:details of memoryregister.txt:details of registersoutputLog.txt:details of changes in temporary registers for each cycleforwarding.txt:details of data forwarding paths taken in each cycle


