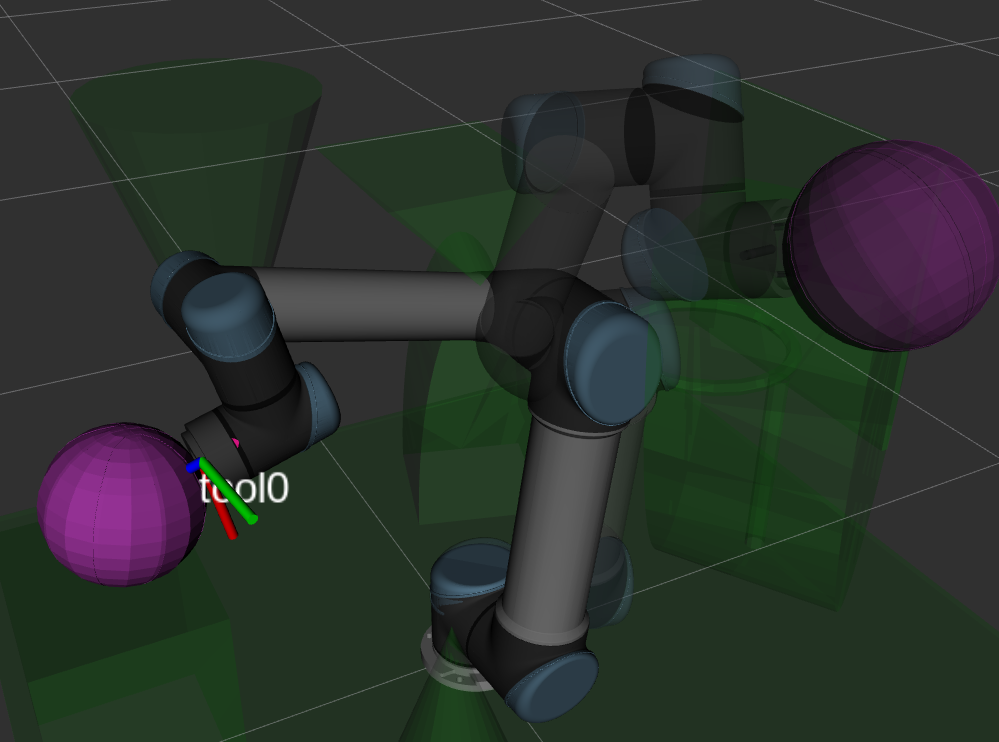
See workshop_4 readme for details
So far we have learned about the ros node trees, subscriber and publisher nodes, messages and topic channels. Last week we covered to interface with hardware to actuate a system and designed a very simple roll controller system which read the IMU roll angle and corrected the angle using a servo. This week we will open up to a more wholistic platform and later focus on the vision system. In this workshop we will look at how to communicate data over a network, which may consist of a platform with sensors and a ground system which does the decision making and relays commands back to the platform.
All our sensor inputs, i.e. our platform will be a simulated by our phones which are connected on the network. Please download the following apps for the workshop.
ROS Android Sensors Driver From: https://play.google.com/store/apps/details?id=org.ros.android.sensors_driver&hl=en_AU&gl=US
or you can also download the ROS Sensor app for however it is paid from: https://play.google.com/store/apps/details?id=org.ros.android.android_all_sensors_driver&hl=en_AU&gl=US
ROS Drivers for IOS is difficult but here is a guide to help set it up as well: https://pietrocolombo.medium.com/use-iphone-as-imu-in-ros-2b3afbc50184
- On the ROS Master URI please input the following IP Address:
192.168.0.1:11331 or the ip address of your raspberry pi which is running the ROS MASTER - start streaming sensor data on the network.
The streamed data should be available on the device hosting the ROS Master. All the nodes now should be available for all the devices on the network to perform analysis on.
Extension: To take image processing further here is YOLO ML tutorial with ROS here: https://github.com/leggedrobotics/darknet_ros
This workshop will be a lot more hands on focused on getting the items intefaced with each other. The most important components of an autonomous system are the following:
- State Estimation
- Control
- Mapping
- Planning
Each subsystem depends on preivous subsystem to further enchance the robot's ability to dynamically react to its surroundings. We won't be covering each of these topics however for all subsystems to work you need to address the qustion of where am I? This is a classic localisation problem with multiple solutions that are best suited for different situations.
we will be focused on orientation estimation for today, using an MPU sensor. We will be using the gyroscopes and the magenatometer on the MPU to best estimate the robot orientation.
We will reading the MPU sensor readings via a raspberry pi and then we will actuate a servo based on the MPU readings.
To install ROS on the rapsberry pi with ROS preinstalled, please download the image from
http://downloads.ubiquityrobotics.com/
and flash the image using balena etcher software: https://www.balena.io/etcher/ or your preferred image flashing software.
Or if you like to setup the pi yourself please follow the installation guide at ROS WIKI: http://wiki.ros.org/ROSberryPi/Installing%20ROS%20Kinetic%20on%20the%20Raspberry%20Pi to get ros installed as we did in #workshop 1
- Raspberry Pi (>=2B+) preferabbly
- Breadboard
- Jumper wires
- MPU 9250
- 9g Serve (Any othe servo is fine as well but please double check the raspberry pi can handle the load)
Files for workshop 2 can be found in the workshop 2 folder. You will need the GPIOzero library for the raspberry pi to test the Servo.
sudo apt update
sudo apt install python3-gpiozero
or you can directally install it using python3 pip utility on command line using the following:
sudo pip3 install gpiozero
ROS runs on a linux based environment you can therefore dual boot a non linux native system, run linux subsystem for windows or run Ubuntu in a virtual machine. We will be running a ubuntu virtual machine to ensure all of us can follow along and to keep the development environemnt consistant.
You can use Virtual Box by Oracle or VMWare we prefer virtualbox as its more user friendly however the below guide
Here is the custom Image I mentioned in workshop 1 to get everything up and running quickly: https://connectqutedu-my.sharepoint.com/:u:/g/personal/n10235779_qut_edu_au/ETgwntNDdA1NiAJL6OZVXcUBAbiZh3y3Hry2C_RfpHMt4A?e=eYyGQW
Virtual Box install: https://www.virtualbox.org/wiki/Downloads
Here is the link to the ubunutu guide. You will need to install the ubuntu virtual image available at: https://www.linuxvmimages.com/images/ubuntu-1804/ (Ensure you download the correct version, the virtual box image)
then follow this guide: https://www.linuxvmimages.com/how-to-use/how-to-import-vm-images-in-virtualbox/ it walks you through on how to install ubuntu on a virtual box.
Minimum requirements:
- Ram: >2GB
- CPU Processor: >= 1
- Disk space: >20 GB (Recommended)
- Password:
ubuntu
Ensure when installing the ubuntu image the disk image is in the same directory as the root folder.
If the above doesn't work here is a sepearte guide: https://brb.nci.nih.gov/seqtools/installUbuntu.html
This will be covered in the workshop but if you want to get ahead here are ROS installation guides.
First we need to install al the dependencies and ROS itself, follow this guide to help install ROS and all its dependencies: http://wiki.ros.org/melodic/Installation/Ubuntu
Next we need to download the catkin build tools. Note ROS comes with ros build tools but they are no longer supported and all the build tools have transitioned to catkin build tools. Guide: http://wiki.ros.org/ROS/Tutorials/InstallingandConfiguringROSEnvironment
