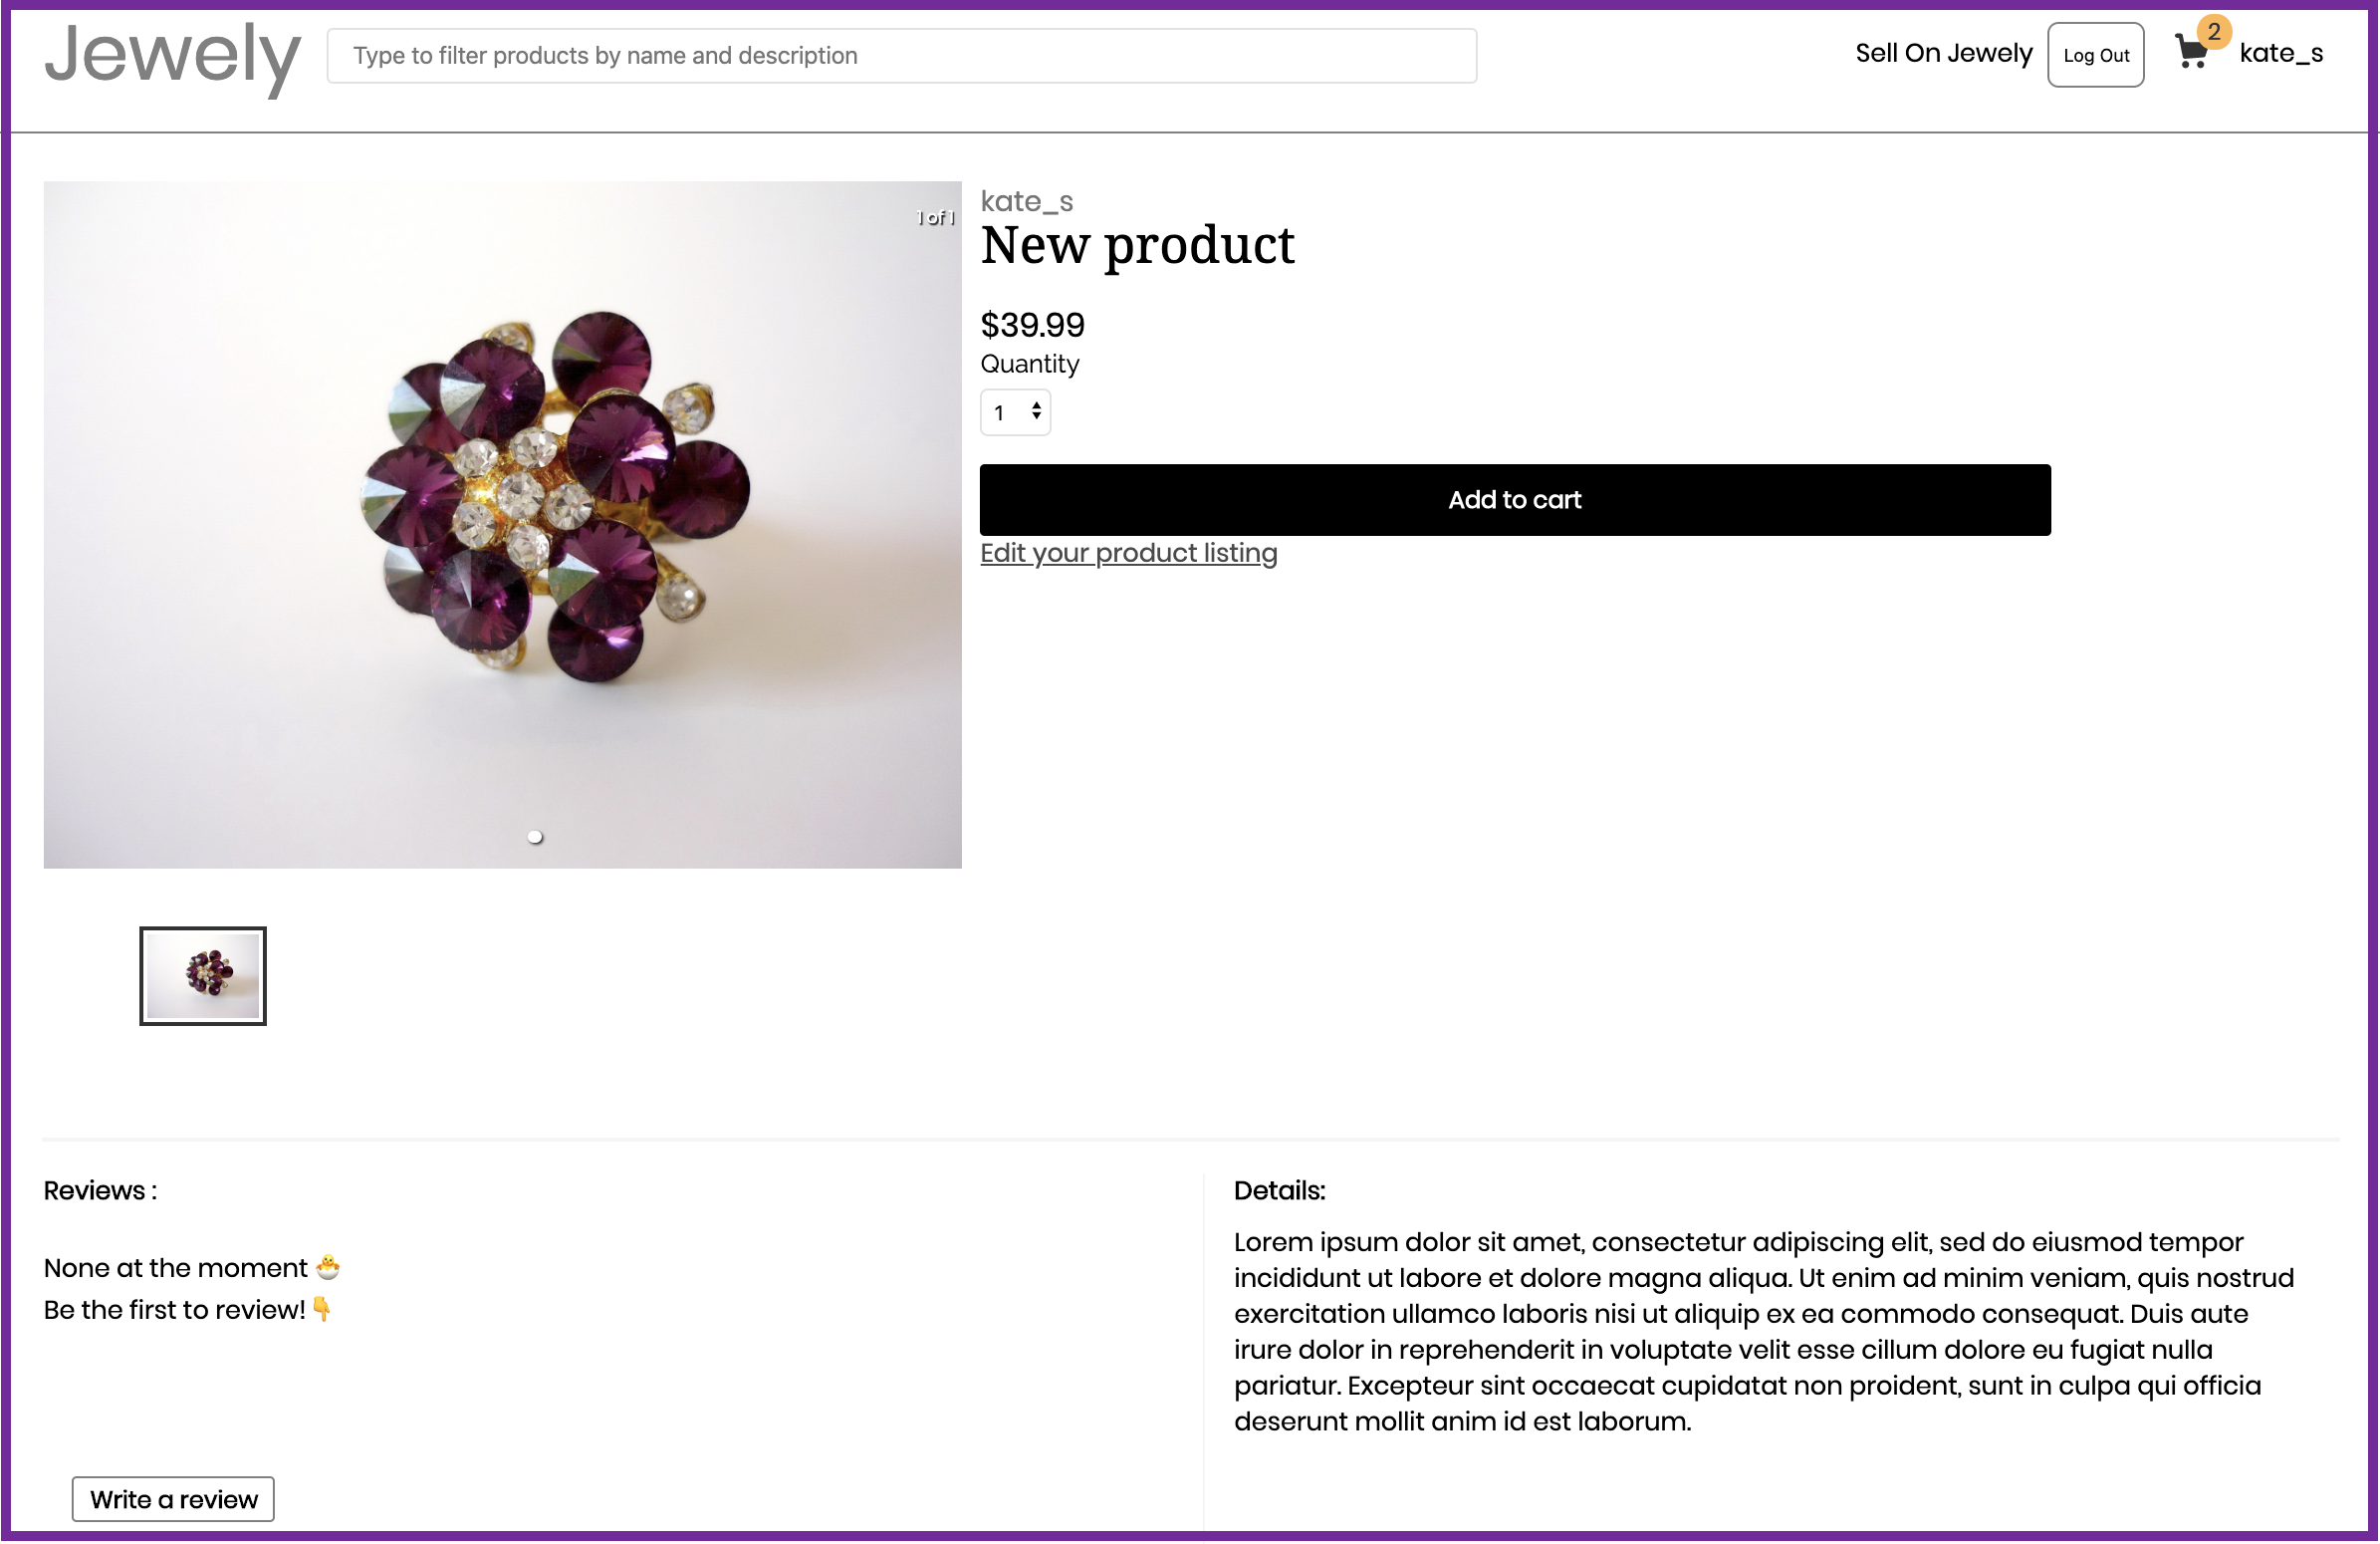
Jewely is an Etsy inspired site that specializes in allowing users to buy and sell jewelry. It works like most e-commerce stores, except in this one, you could be a vendor. A user must sign up or sign in order to be able to sell.
- Database
- PostgreSQL
- Backend
- Ruby on Rails
- Frontend
- React / Redux
bcrypt- Hash passwords before they're stored in database
jbuilder- Extract a JSON object from backend and pass it on to frontend
aws-sdk-s3- Required for the use of AWS S3 in Rails applications
sass-rails- Sass adapter for rails pipeline
- All styling in this project was done through Sass
- Sass adapter for rails pipeline
rubocop- Connected to
huskyon frontend to lint Ruby code on commit
- Connected to
@babel/core,@babel/preset-env,@babel/preset-react,babel-loader- Converts ES5+ JavaScript code into more compatible versions
react-responsive-carousel- Displays images in a photo carousel
- Used in product show pages and site landing page
- Displays images in a photo carousel
webpack,webpack-cli- Module bundler
react-router- For frontned routing
husky,eslint, andprettierhuskylints frontend code usingeslintandprettieron commit
In terminal:
bundle installto install Ruby gemsnpm installto install JavaScript dependencies
In computer:
- Make sure that PostgreSQL is running, if not, start it
In terminal:
rails db:setupto setup PostgreSQL databaserails sto start Rails servernpm startto start Webpack module bundler
In browser:
- navigate to
http://localhost:3000to view application
- After signing up / logging in, go to "Sell on Jewely" on top right of header
- Create product listing and submit
handleSubmit(e) {
    e.preventDefault();
    const formData = new FormData();

    formData.append('product[productId]', this.state.id);
    formData.append('product[title]', this.state.title);
    formData.append('product[description]', this.state.description);
    formData.append('product[price]', this.state.price);
    formData.append('product[seller_id]', this.state.seller_id);
    formData.append('product[errors]', this.state.errors);

    if (this.state.photoFiles) {
        const photos = this.state.photoFiles
        for (let i = 0; i < photos.length; i++) {
            formData.append('product[photos][]', photos[i]);
        }
    }

    this.props.action(formData)
        .then(() => this.props.history.push(`/`),
        (err) => { console.log(err) })
}
Both create and update actions share the same form (frontend/components/products/create_update/product_form.jsx). The only difference is that #action would be different depending on what got passed on from the container.
Code snippet above shows how data may be passed on to DB once a user clicks submits.
- Go to home page
- Click on any product listing from index to view its show page
[You must be signed in to do this]
- Click on a product that you own
- Click on "Edit your product listing" in product show page
- Edit as needed and submit
- After navigating to a product that you own, click on "Edit your product listing"
- Click on "Delete product listing" (located at the bottom of product edit form)
handleRemove() {
    // remove it from cart (if it is there)
    const cart = JSON.parse(localStorage.getItem('cart'))
    for (let i = 0; i < cart.length; i++) {
        if (parseInt(cart[i][0]) === this.state.id) {
            cart.splice(i, 1)
        }
    }
    localStorage.setItem('cart', JSON.stringify(cart))

    // remove it from database
    this.props.removeProduct(this.state.id)

    // change location to the main page
    location.hash = '#/'
}
As can be seen from snippet above, we first check if the cart has targeted item by checking window.localStorage (which is our next noticable feature). If it contains it, we remove it.
Then we trigger removeProduct to remove item from database. this.state.id would represent the id
of the product in the current show page.
Lastly, we navigate to the home page.
The cart of this site is mainly run on window.localStorage. It is constructed of an array of arrays, each sub-array consisting of two items, an id, and a quantity.
Example localStorage cart: "[[43,2], [75, 1]]" This cart would be considered to have two items with ids 43, 75 and quantities 2, 1 respectively.
Logically, when a user adds an item to their cart, then an array of id and the quantity (e.g. [12, 2]) of the item gets pushed to the parent array of localStorage cart. This is demonstrated in 'create' code snippet from 'CRUD' Noticeable Feature.
This was done mainly to allow guest users to add items to their cart without needing to sign in, allowing for better user experience in my belief. Moreover, another reasoning for this is to not query the cart database for each addition or deletion of a product, which could lead to somewhat slow performance.
Checkout dev README for more details about the development process.


