Monitor server errors in real-time via Telegram. Telegram Bot API.
Send error or custom logs to telegram. Seperate your logs via telegram topic channels.
npm i telegram-error-logger//First create new file called initialise.ts this will create a single instance of your logger
import {Logger, Settings, TelegramChannels} from 'telegram-error-logger';
// Use your bot token that you created from bot father take a look at #prerequisites
const botToken = 'xxx'
const telegramChannel: TelegramChannels<'info' | 'error'> = {
error: 'https://t.me/c/2021285143/1',
info: 'https://t.me/c/2021285143/6',
};
const setting: Settings = {
displayConsoleLogs: true,
displayTelegramLogs: false,
useColoredLogs: true,
displayTime: true,
};
const logger = new Logger<'info' | 'error'>(botToken, telegramChannel, setting);
export {logger} // will be initialized with the correct type//example of when to use the logger
import {logger} from './initialise.ts'
try{
await dynamoDB.putItem(params)
}catch(error){
logger.logMessage('error', `FAILURE: ${error.message}`)
}Inorder to send messages (IMPORTANT!)
- Create a telegram account
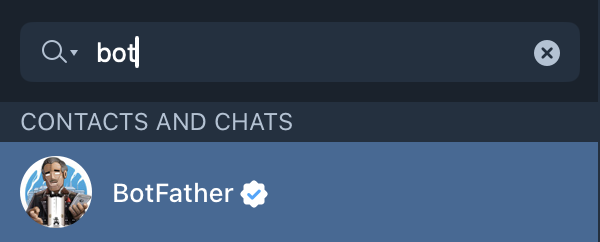
- Search for the bot father
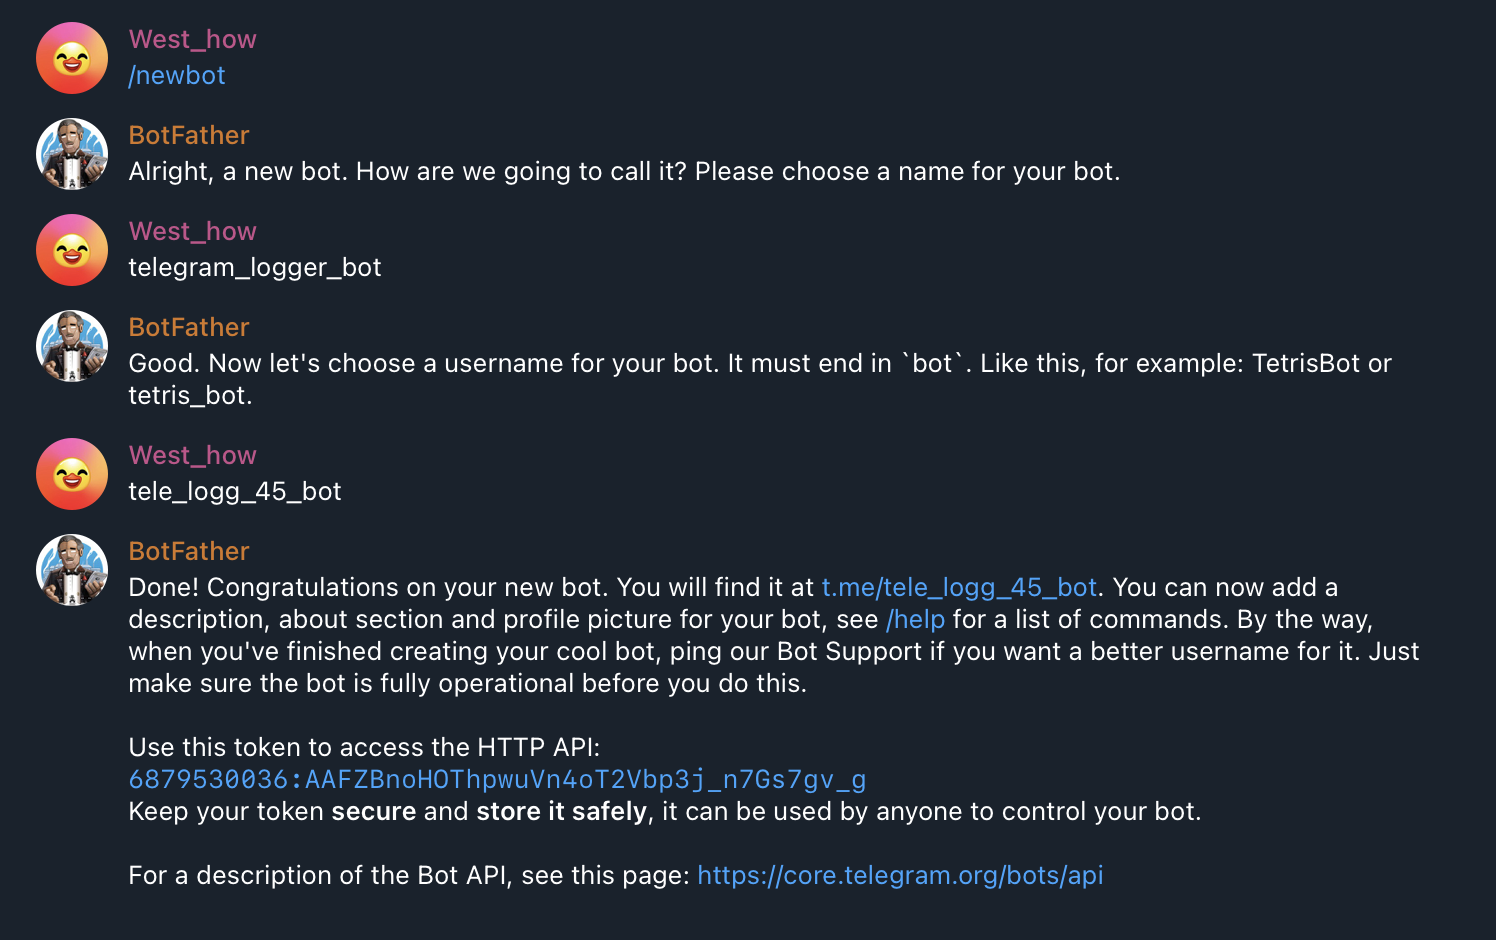
- Create a new telegram bot by writing the command
/newbotin the chat and follow the steps. Copy the token id that was created. (Dont copy mine it wont exist when you read this😇) example bot token:6879530036:AAFZBnoHOThpwuVn4oT2Vbp3j_n7Gs7gv_g
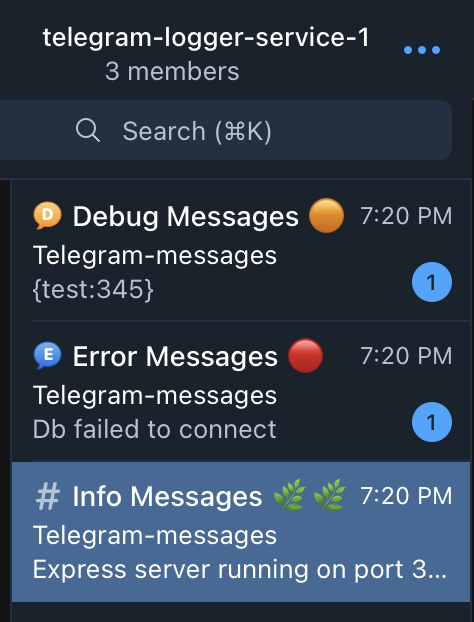
- Create a new private telegram chat group with topics turned on.
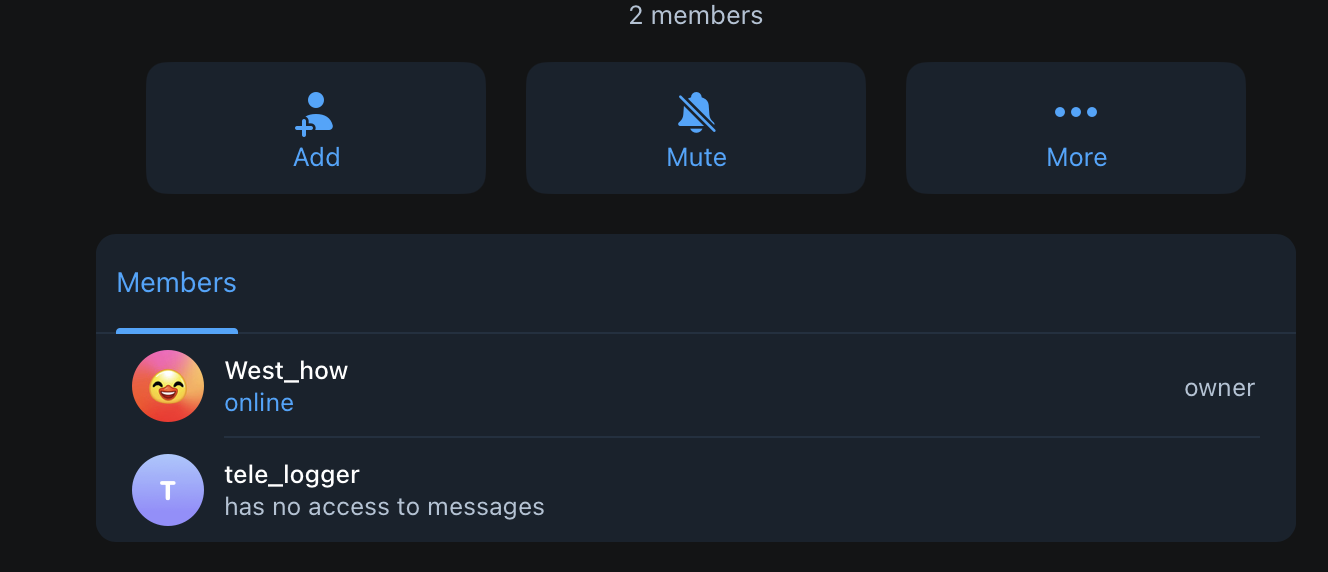
- Add your telegram bot to the private group chat you have made and give it admin rights.
- Click the share button for the topic that you need (in this case info), then click the share button and copy the link.
- Clone the repository to your local machine.
- Create a new branch on your local repository.
- Follow the naming convention outlined in the article you provided (Check out this article) when naming your new branch.
- Make the necessary changes to the code and push upstream, then open up a pr


