by Steve for NTU Open Source Society
This workshop assumes some knowledge of Python.
Disclaimer: This document is only meant to serve as a reference for the attendees of the workshop. It does not cover all the concepts or implementation details discussed during the actual workshop.
When: Friday, 5 Apr 2019.
Where: Lecture Theatre 1, North Spine, Nanyang Technological University
Who: NTU Open Source Society
Please raise your hand any time during the workshop or email your questions to me later.
For errors, typos or suggestions, please do not hesitate to post an issue. Pull requests are very welcome! Thanks!
In this workshop, we'll be building a program that identifies things like faces and arrows in pictures and videos. Cool, huh? First, a demo.
-
Download a text editor of your choice. I strongly recommend either:
- Atom
- Sublime Text 3
- Brackets
- Or the default IDLE that comes with Python.
-
Please follow the guides below and install both Python 3 and OpenCV before the workshop. Remember to add Python to your
PATH. -
Download or clone this project folder. We will be running the programs in the
exercisesfolder.
Let's get familiar with basic OpenCV functions. Open up the Task 1 folder.
Open up 1. openimg.py and you'll see a few lines of code. This program opens up an image and saves it under another name. Run it.
You should see a new image file called arrow.jpg in the resources directory.
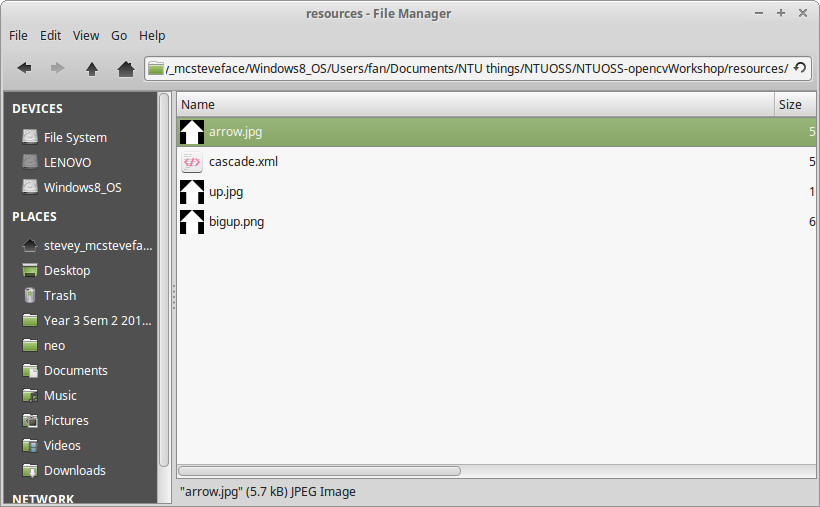
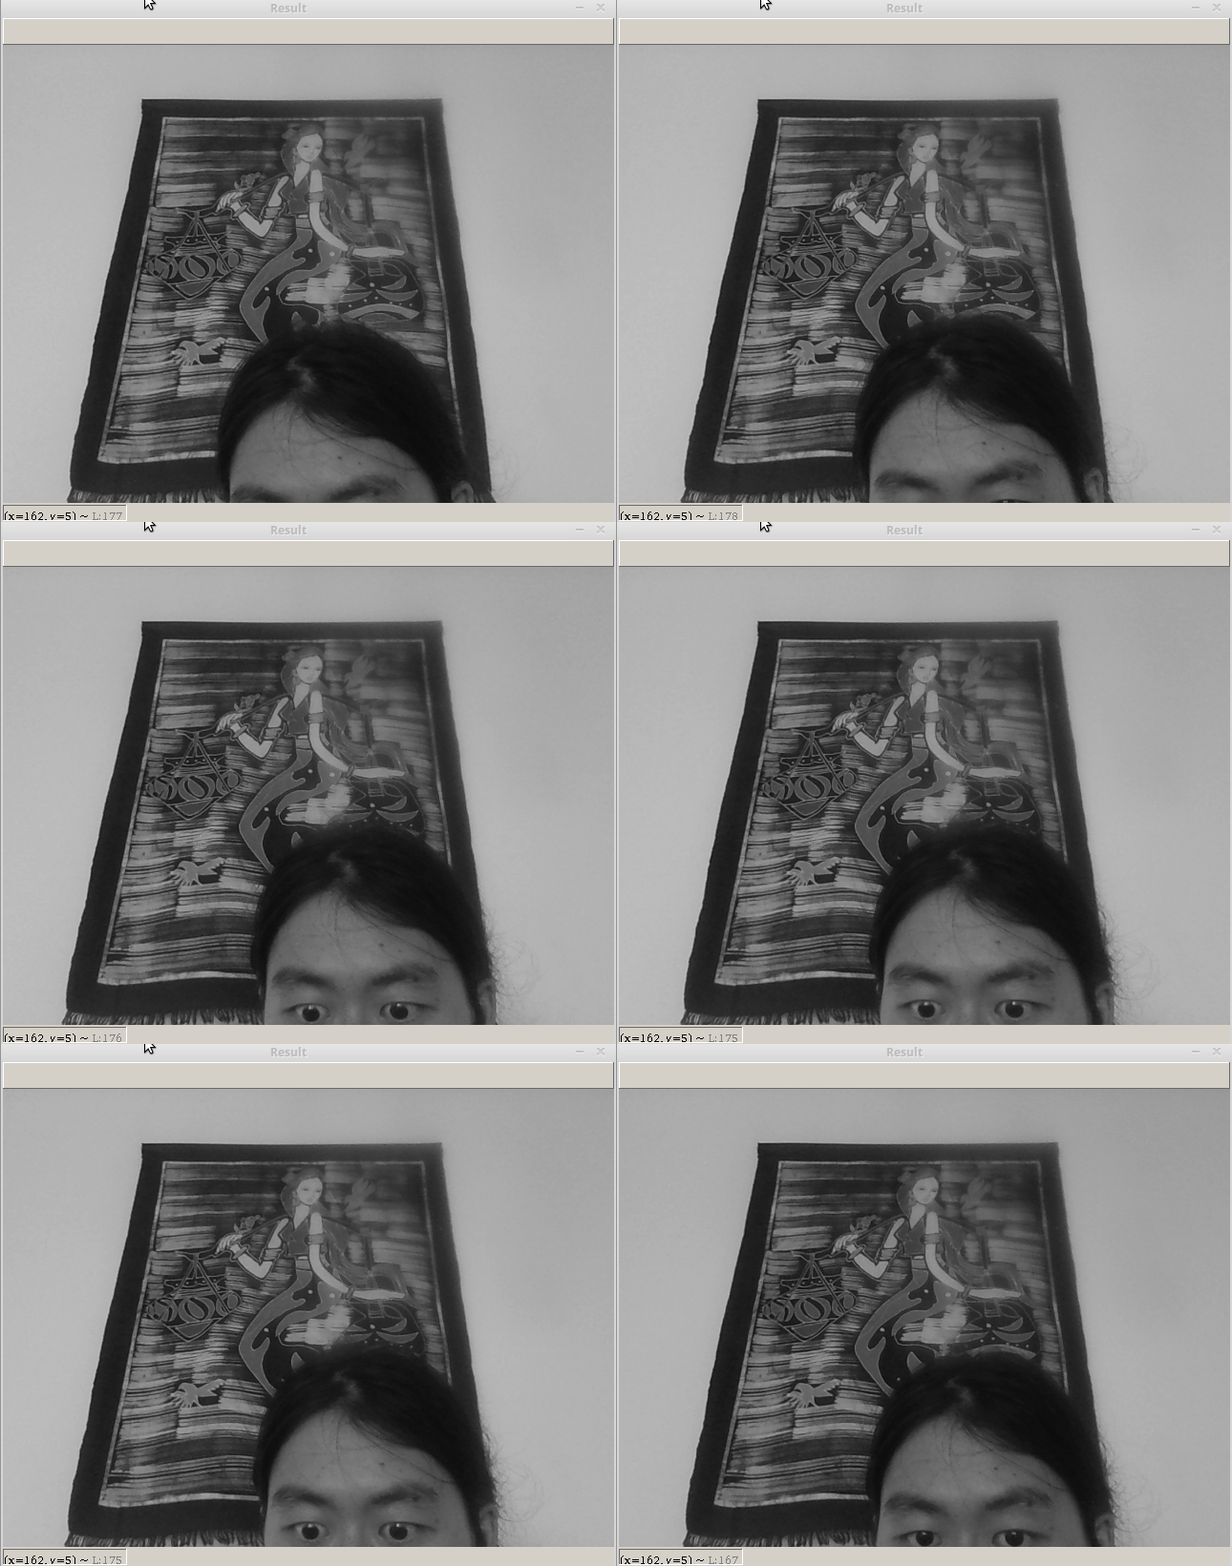
Now open up 2. videocapture.py. This program opens activates the webcam and records the stream to local storage. We can also choose to stream in grayscale. Stop the recording with the q key.
We can also choose not to record by commenting out the lines:
fourcc = cv2.VideoWriter_fourcc(*'DIVX')
output = cv2.VideoWriter('../../resources/result.avi', fourcc, 20.0, (640,480), False)
...
output.write(frame)
...
output.release()
Congratulations! You now have the know-how on reading and writing images! And also videos! Let's move on to more complicated stuff.
In this section we'll do some image manipulation. We'll use the Task 2 folder.
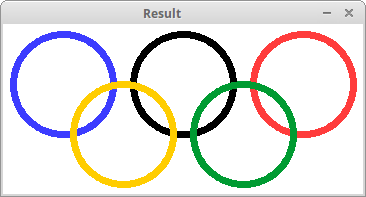
Now we'll try to draw something cool. And what could be cooler than the Olympics rings?
Open the file 1. draw.py. You should see the line
image = np.zeros((512, 512, 3), np.uint8)

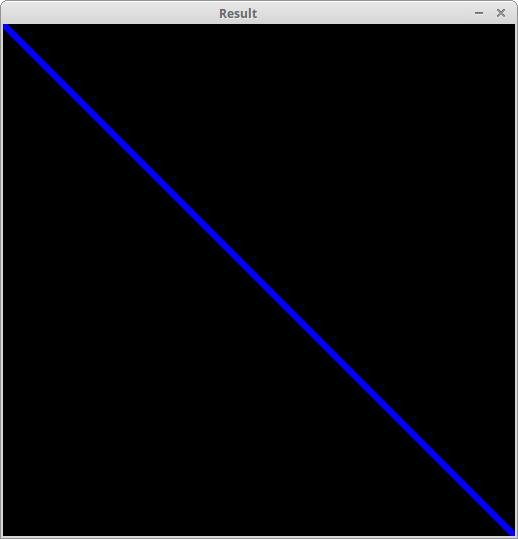
image = cv2.line(image, (0,0), (511, 511), (255,0,0), 5)
The first line initiates a blank image of 511 * 511 pixels.
This calls upon the line() function of OpenCV to draw a (255,0,0) (blue) line from position [0,0] to position [511,511]. When we run the code we see the result.
Try uncommenting the next few lines and running the code again to see what new gets drawn!
Okay, we've had our fun. But I promised the Olympic rings. So let's add some new lines into our code.
image = np.zeros((170, 360, 3), np.uint8)

# Fill the image with a white color
image[:] = (255, 255, 255)

# Draw five circles
image = cv2.circle(image, (300,60), 50, (60,60,255), 5)
image = cv2.circle(image, (180,60), 50, (0,0,0), 5)
image = cv2.circle(image, (60,60), 50, (255,60,60), 5)
image = cv2.circle(image, (240,110), 50, (50,155,0), 5)
image = cv2.circle(image, (120,110), 50, (0,205,255), 5)
And when we run the program again, we should see our cool rings.
Hough Transform is a technique used to detect circles and lines in an image. In this case we'll look at our arrow and try to find the lines that make up said arrow.
Open 3. hough.py and have a look at the code. We are using something called Canny Edge Detection to figure out where the edges are.
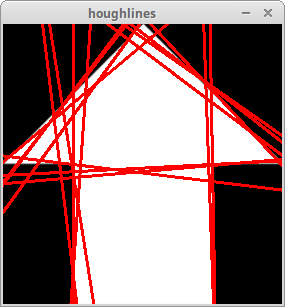
When we run the program we should see the following:
What a mess! Keep in mind we are only outputting 10% of our total number of lines. Still, we can see the lines that make up the general shape of the arrow. The lines are somewhat skewed because the picture quality is a bit fuzzy.
After faffing about for a bit, we're finally getting into the meat of the workshop: Image Recognition!
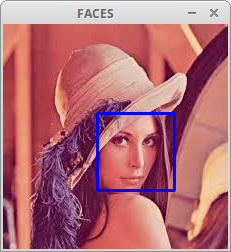
Let's start with 3. detect.py. This program runs a pre-trained Haar Cascade Classifier in order to determine whether an image contains a face. The image we're using is called lena.jpeg. It is a picture of a lady named Lena.
Let's run it and see if our program can see Lena's face.
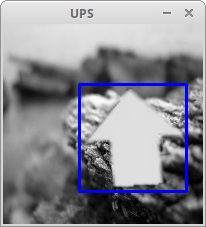
Now let's try something a little more exciting. Instead of looking for Swedish models, we'll be hunting for arrows instead!
So run the code in 4. detectarrow.py, and see if it can find the arrow in our picture.
Hey what do you know! Looks like it can. Our work is done.
Our work is not done. Now we're working with the Task 3 folder.
So we can detect an element in a static image in less than a second. That's pretty cool, except that a chimpanzee can probably do the same.
But there is one thing that sets us apart from chimps. We can write software to comb through and detect the element in thousands of images per second.
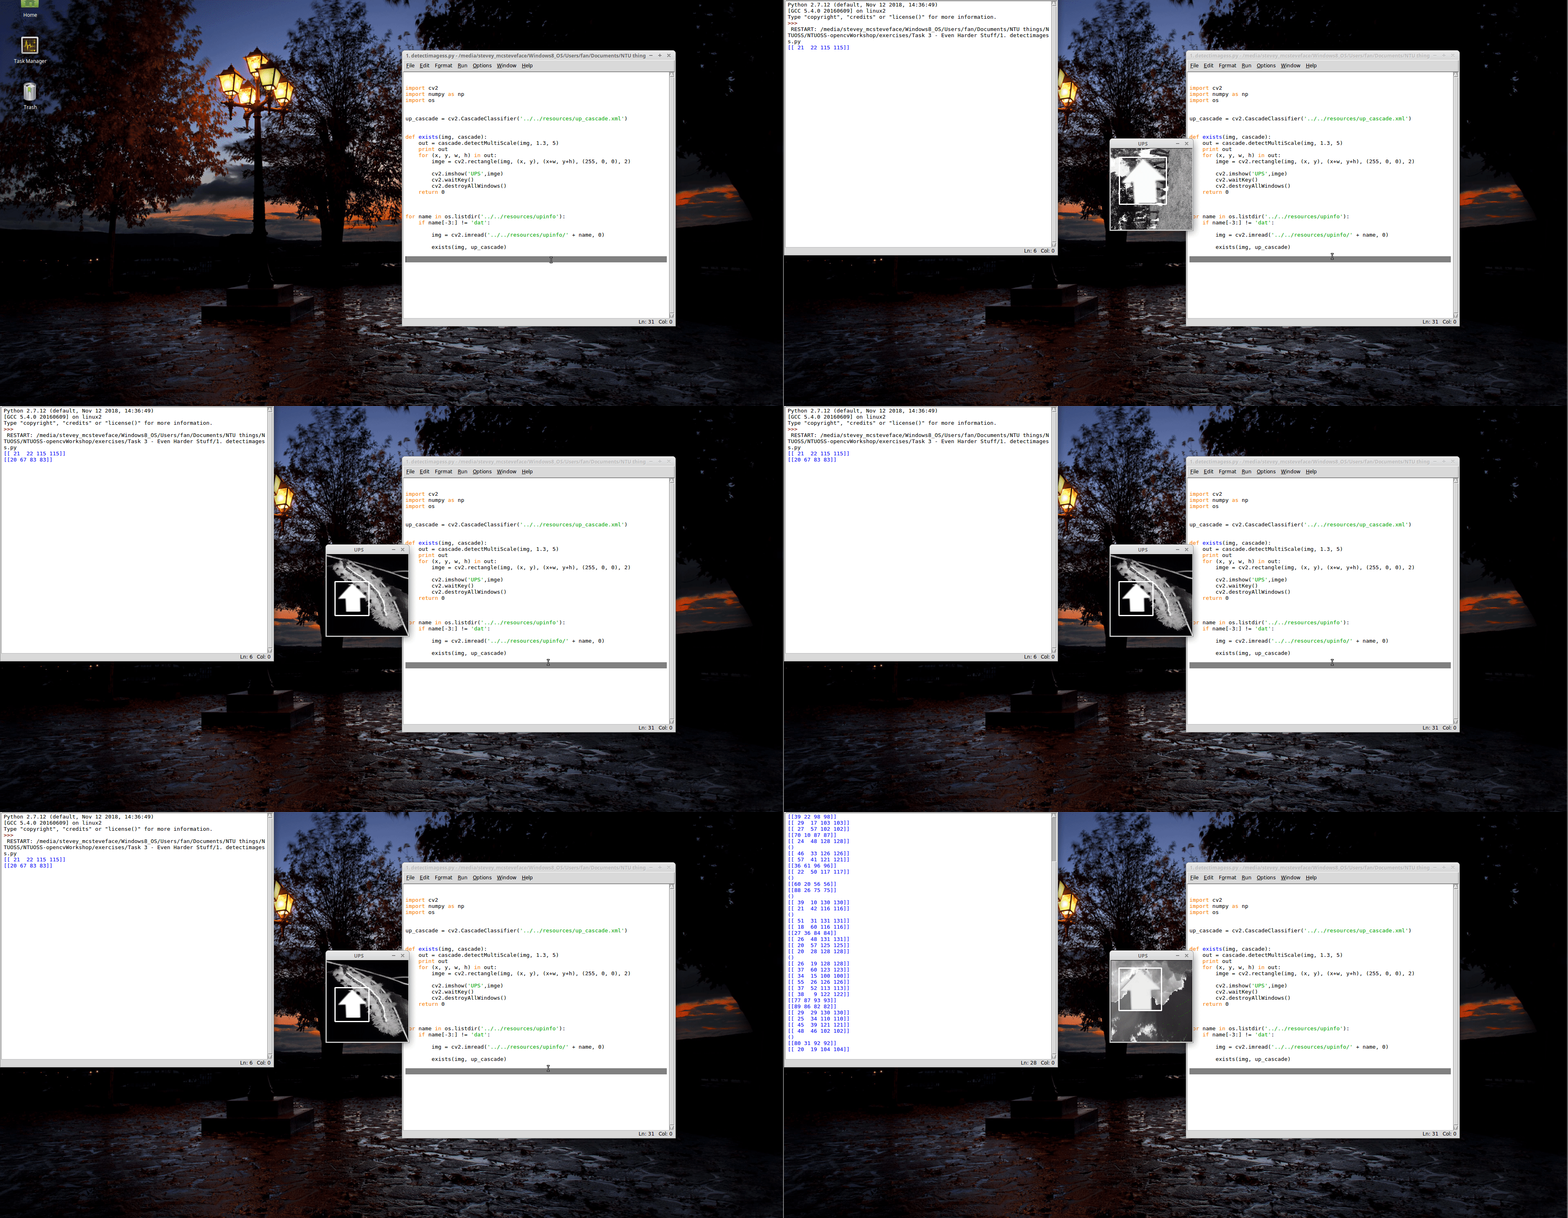
Open 1. detectimagess.py (the extra 's' is not a type - it implies that there will be a lot of images). We'll be running the arrow detection on a ton of images (1704, to be precise).
Right now we are showing off the results one by one. But if you don't want to see all 1704 images, just close the window.
So now let's bring everything together. A video is a series of images shown in quick succession. What we humans and chimps see as digital video is normally 24-144 frames per second. This means that we have to run our image dectection on 24-144 images per second. Which we can!
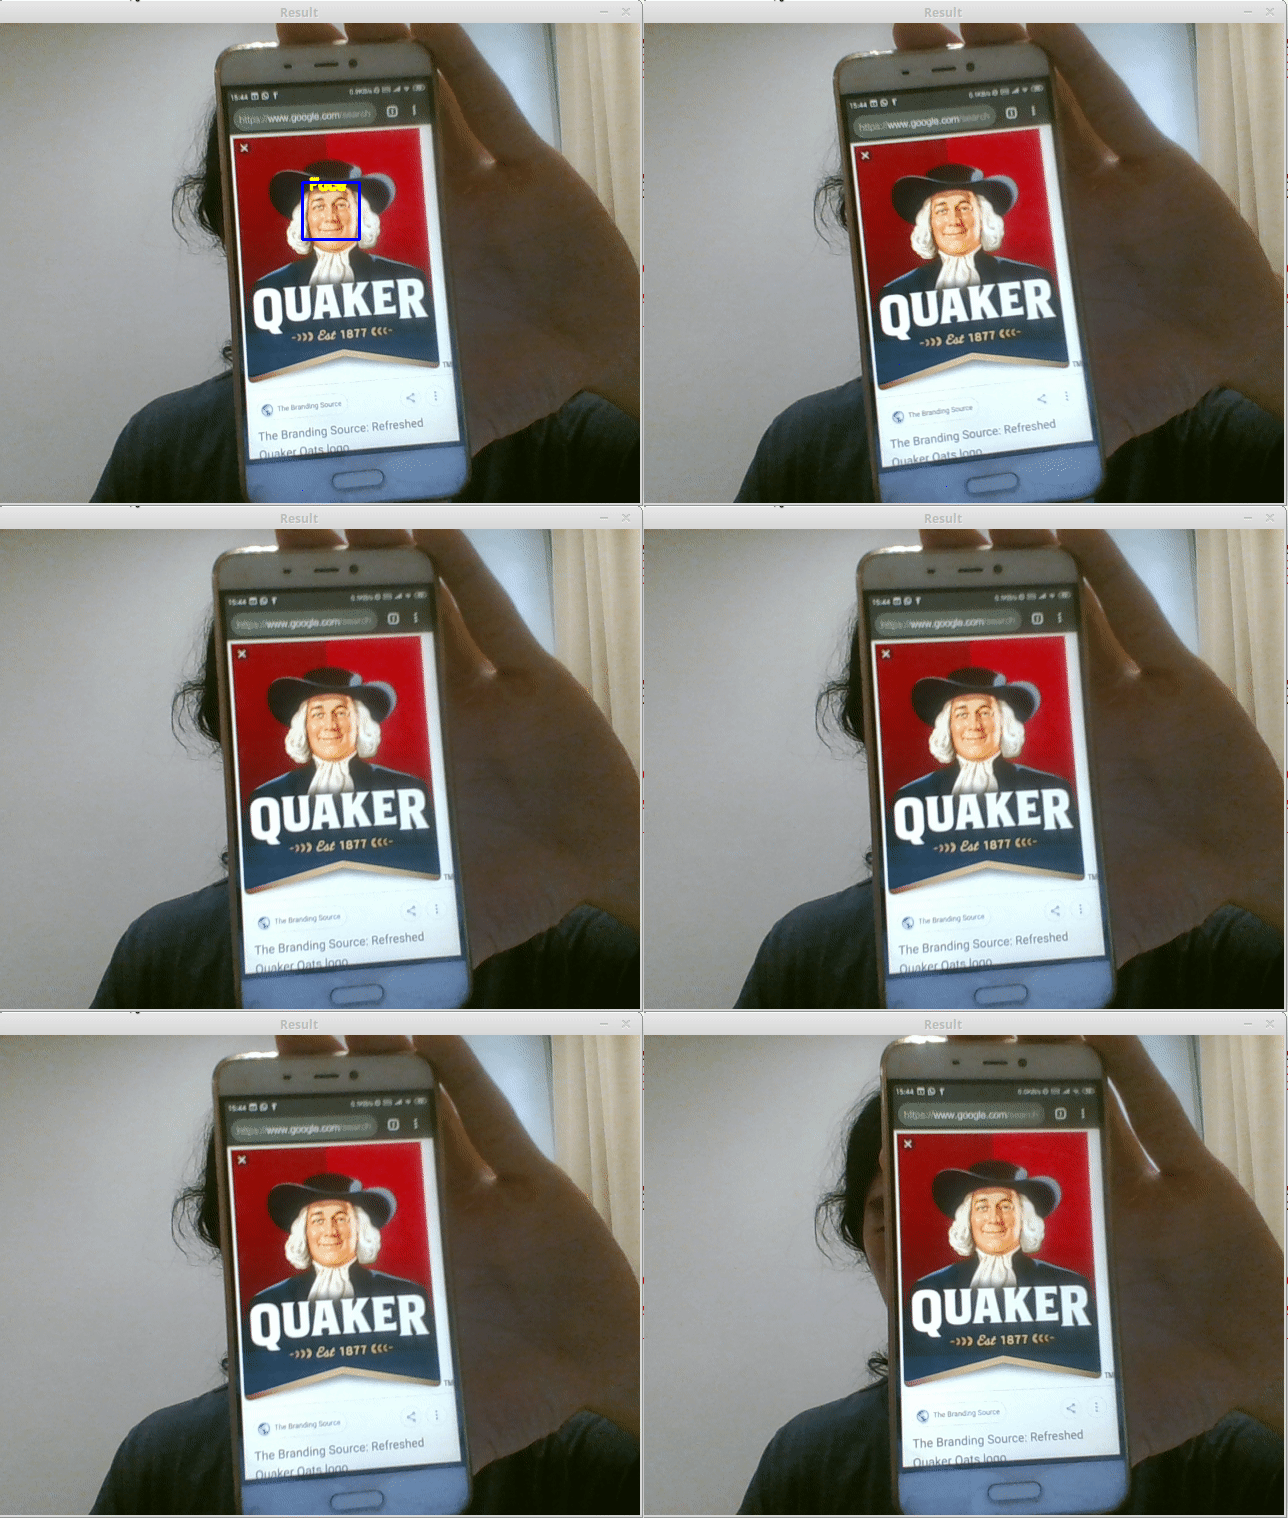
So open up 4. detectarrow.py and run it. The base code simply detects faces. If you put a face in front of the webcam it will show up.
And if one classifier isn't enough, we can run multiple facial detections at the same time, such that we have a higher chance of getting a hit.
Now, we can also detect things like eyes by acting the following code:
for (ex, ey, ew, eh) in eyes:
   cv2.putText(frame,'eye',(ex+ew-30,ey+eh-10), font, 0.5, (0,255,255), 2, cv2.LINE_AA)
It is quite costly to run multiple classifiers simultaneously. Which is why we may want to put it within the face detection loop. This way, we only try to find eyes if the face exists. After all, if there is no face, there should be no eyes as well...
We can also put in the arrow detection:
for (x, y, w, h) in ups:
   font = cv2.FONT_HERSHEY_SIMPLEX
   cv2.putText(frame,'Arrow',(x+w-50,y+h-50), font, 0.5, (11,255,255), 2, cv2.LINE_AA)
   frame = cv2.rectangle(frame, (x, y), (x+w, y+h), (255, 0, 0), 2)
Cool stuff, eh?
This is potentially some pretty powerful stuff, what we've built today.
But there are some unanswered questions regarding this build. For example, where do those Haar Cascades come from?
Well, the answer is simple: someone trained them. For example, the facial classifier was trained by Intel (the company who makes semiconductors) in 2000. The arrow classifier was trained by yours truly (Steve) in 2019.
Of course, there has been incredible strides in the past 19 years. The capabilities of facial recognition software today far exceeds what we covered in today's workshop. So much so that governments and corporations are deploying them en masse in order to exert control over their citizens, their enemies, or just the general population. And that may or may not include you! It probably does...
Good luck!
This workshop does not cover the training portion, as that would have taken far too much time.
Thanks, OpenCV!
Thanks, NTU Open Source Society!
Thanks, Linux Mint!
