To get started, we need to first install Terraform and configure the Google Cloud environment.
- Install Terraform either manually or via Homebrew/Chocolatey. I’m using a Mac, so I opted to install via brew
$ brew tap hashicorp/tap
$ brew install hashicorp/tap/terraform
-
To configure Terraform to use Google Cloud, we need to also install the gcloud cli. Follow the instructions for your machine with Python 3 installed: https://cloud.google.com/sdk/docs/install
-
Create a Google Cloud account and enable billing at https://console.cloud.google.com/
-
Create a new project and make note of the name. This example will use harperdb
There are a few ways to give Terraform the credentials it needs to interact with GCP. You can create a service account key and download the JSON as mentioned in the Terraform docs, or you can leverage the gcloud authentication mechanism to locally set permissions. We will go with the latter route here:
Run gcloud auth application-default login from a terminal and authenticate with the Google account associated with GCP.
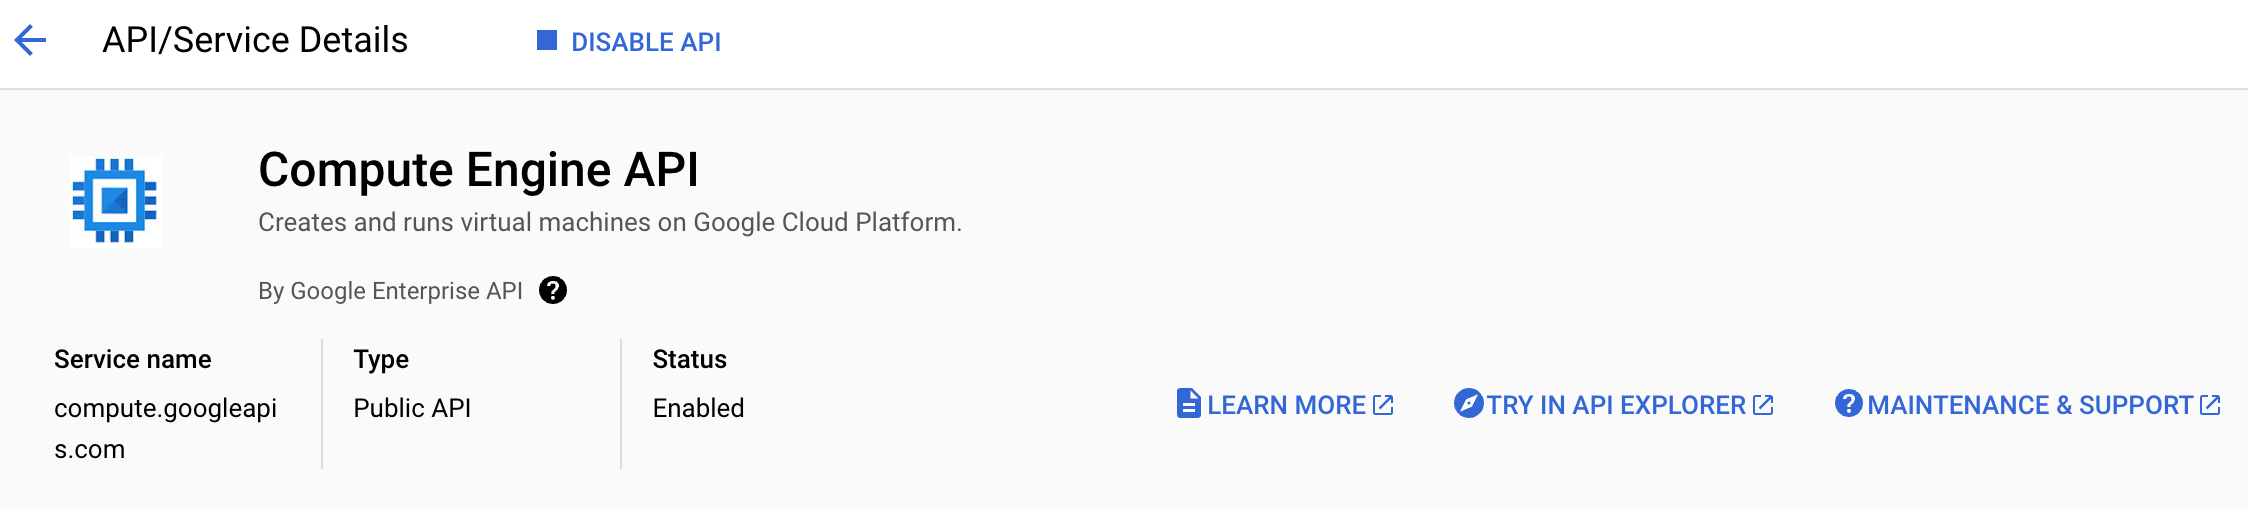
Now navigate to the GCP project and enable the compute api.
We are now ready to write some Terraform code to create a simple VM and allow firewall access. We will organize the code into four files:
- provider.tf : holds Google provider information
- vpc.tf: creates the VPC and subnet
- gce.tf: creates the VM
- firewall.tf: allows traffic into specified ports
Now that we have a Debian machine, we need to install HarperDB. For simplicity, we’ll deploy via Docker but HarperDB supports native Linux deployments as well.
Navigate to the GCP console and click SSH to login to the machine:

First, follow the instructions to download docker: https://docs.docker.com/engine/install/debian/#prerequisites
For persistence, we will store data into a separate directory. Create the directory (harperdb) and run HarperDB via docker:
mkdir harperdb

sudo docker run -d \
  -v $(pwd)/harperdb:/home/harperdb/hdb \
  -e HDB_ADMIN_USERNAME=HDB_ADMIN \
  -e HDB_ADMIN_PASSWORD=password \
  -p 9925:9925 \
  -p 9926:9926 \
  harperdb/harperdb
Now we can use CURL commands to create schema like before:
curl --location --request POST 34.150.228.207:9925 \
  --header 'Content-Type: application/json' \
  --header 'Authorization: Basic SERCX0FETUlOOnBhc3N3b3Jk' \
--data-raw '{
    "operation": "create_schema",
    "schema": "dev"
}'
{"message":"schema 'dev' successfully created"}
Note that the authorization uses basic auth with the admin username and password set in the docker command above.