PhotonMapping
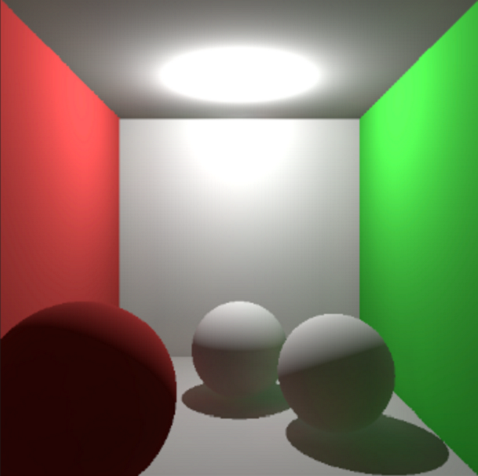
Based on a previous code (description below), this code implements two light effects: color bleeding and caustics. This simulation is shown in the following images:
==================================================================================
/*********************************************************************************
Copyright (C) 2015 Adrian Jarabo (ajarabo@unizar.es)
Copyright (C) 2015 Diego Gutierrez (diegog@unizar.es)
All rights reserved.
This is an educational Ray Tracer developed for the course 'Informatica Grafica' (Computer Graphics) tought at Universidad de Zaragoza (Spain). As such, it does not intend to be fast or general, but just to provide an educational tool for undergraduate students.
This software is provided as is, and any express or implied warranties are disclaimed.
In no event shall copyright holders be liable for any damage.
**********************************************************************************/
This code provides the base framework for implementing a basic functional photon
mapper as described by Jensen in his initial works. The goal is that the students
fill the blank parts of the code that implement the algorithm. For this task, the
students have to work on two functions on the file "PhotonMapper.cpp" (can be found
in SmallPM/src), in particular in the one that precomputes the photon maps, and the
one that uses them to shade a point in the scene.
The code has pre-baked a set of scenes, and its execution can be controlled using the command line. To check what commands should be introduced to the program, we refer to 'main.cpp' at SmallPM/src.
###Notes:
1- The following code has been though as an educational piece of software to teach
how to implement a small classic photon mapper, based on Jensen's initial design.
As such, it only supports Lambertian and delta (perfect transmissive and specular)
BSDFs. The reason is to hide as much as possible the complexities related with
particle tracing and Monte Carlo integration in general.
2- The output of the rendering is an HDR image, which for display should be tonemapped. Photoshop does a terrific work on that, but there are thousands of viewers for HDR out there.
3- The code is implemented in C++; although we've tried to use as less C++ features as possible, so students unexperienced in C++ wouldn't have much troubles with the code, in several parts these have been included: lists and vectors from the STL are used extensively for the photons fetching, and the KDTree has been coded as a tem- platized data structure. While the former (STL) is easy to learn, the templatized KDTree might be trickier, but still simple after some look at the code. To help with this, here are two examples on how to introduce photons in the KDTree:
	Photon photon;
	...
	m_global_map.store(std::vector<Real>(photon.position.data,
									     photon.position.data+3), photon);


how to search the nearest neighbors of point 'p':

	Vector3 p;
	...
	std::vector<const KDTree<Photon, 3>::Node*> photons;
	Real max_distance;
	m_global_map.find(  std::vector<Real>(p.data,p.data+3),
						m_nb_photons,  photons, max_distance );


Note that in order to make a query on the tree it needs to be balanced using
the function:

	m_global_map.balance();

Additionally, note that the functions 'm_global_map.nb_elements()' and 'm_global_map.is_empty()'
will return 0 and true respectively unless the tree has been already balanced.
4- This code has been developed and tested in Windows, and it builds on top of a small educational ray-tracer called SmallRT, which is provided as a precompiled static library and its corresponding header files. This library is already linked in the provided Visual Studio solutions for versions 2008, 2010 and 2013. These are easy to get, and thus, for the sake of simplicity we recomend using the provided VS solutions, which already has all linking and including stuff needed.


