View Demo
·
Report Bug
·
Request Feature
Table of Contents
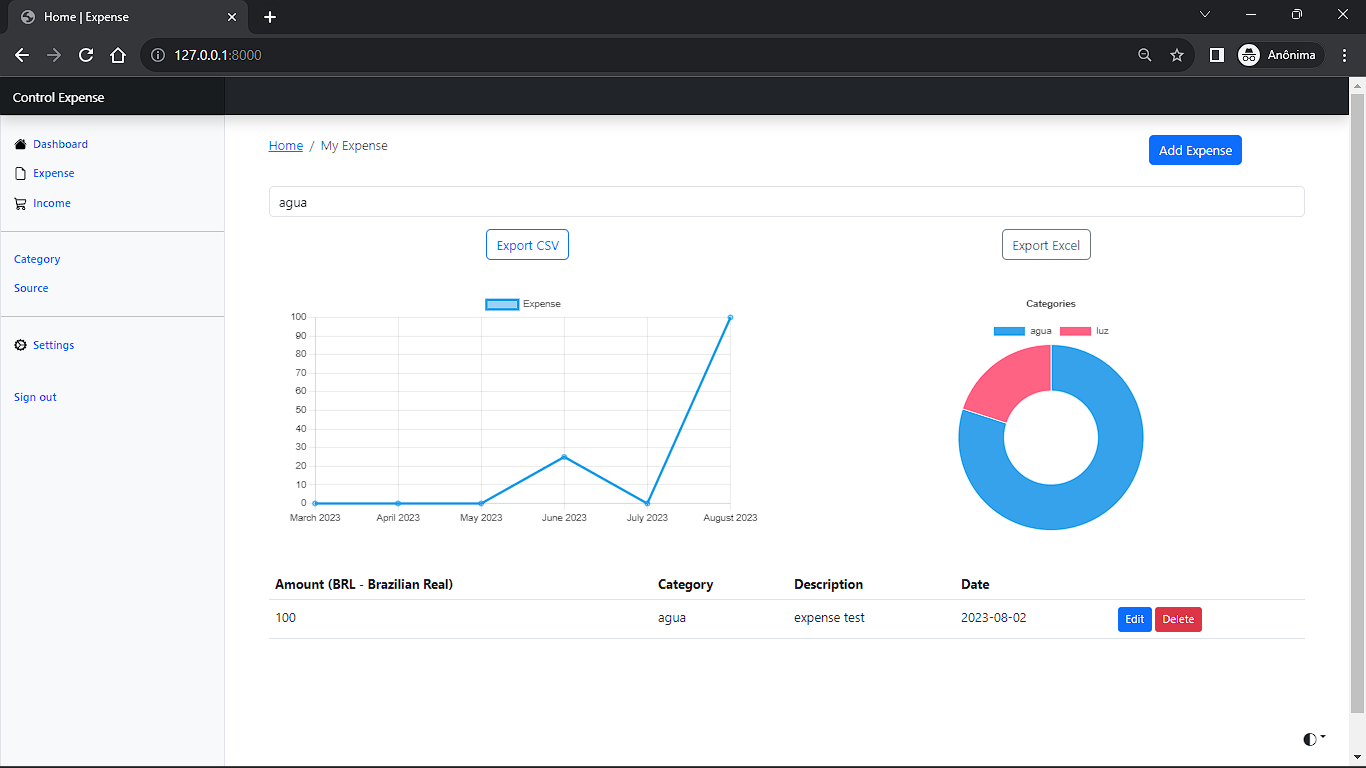
This project was created to improve my knowledge in Django, html, css, boostrap, javaScript and added another ability to show results in graphs with chartjs, in addition to training different ways of working with django, where I overcame the difficulties of using chartjs and I worked on new ways of working with django using Django's Views classes, along with JavaScript validation, importing data from a json file and saving it in the database, exporting data to CSV and Excel files, with account activation and password recovery via email.
-
Clone the repo
git clone https://github.com/HeitorLouzeiro/django-expense-control.git
-
Access the project folder in terminal/cmd
cd django-expense-control -
Create a virtualenv with Python 3.9.0.
python -m venv venv
-
Activate virtualenv.
- Ubunto
source venv/bin/activate- MacOs
source venv/bin/activate- Windows
venv\scripts\activate
-
Install as dependencies.
pip install -r requirements.txt
-
Configure an instance with .env.
cp .env-example .env
or
Copy the env-example to a new file called .env and then open it and change the variable values if necessary
-
Change the .env variables, put your email and gmail password, if you have two-factor security follow the tutorial below.
-
Run the migrations.
python manage.py migrate
-
Create a Superuser.
python manage.py createsuperuser
-
Run the application.
python manage.py runserver
- User Login Page.
- User Register Page.
- Active User Verification.
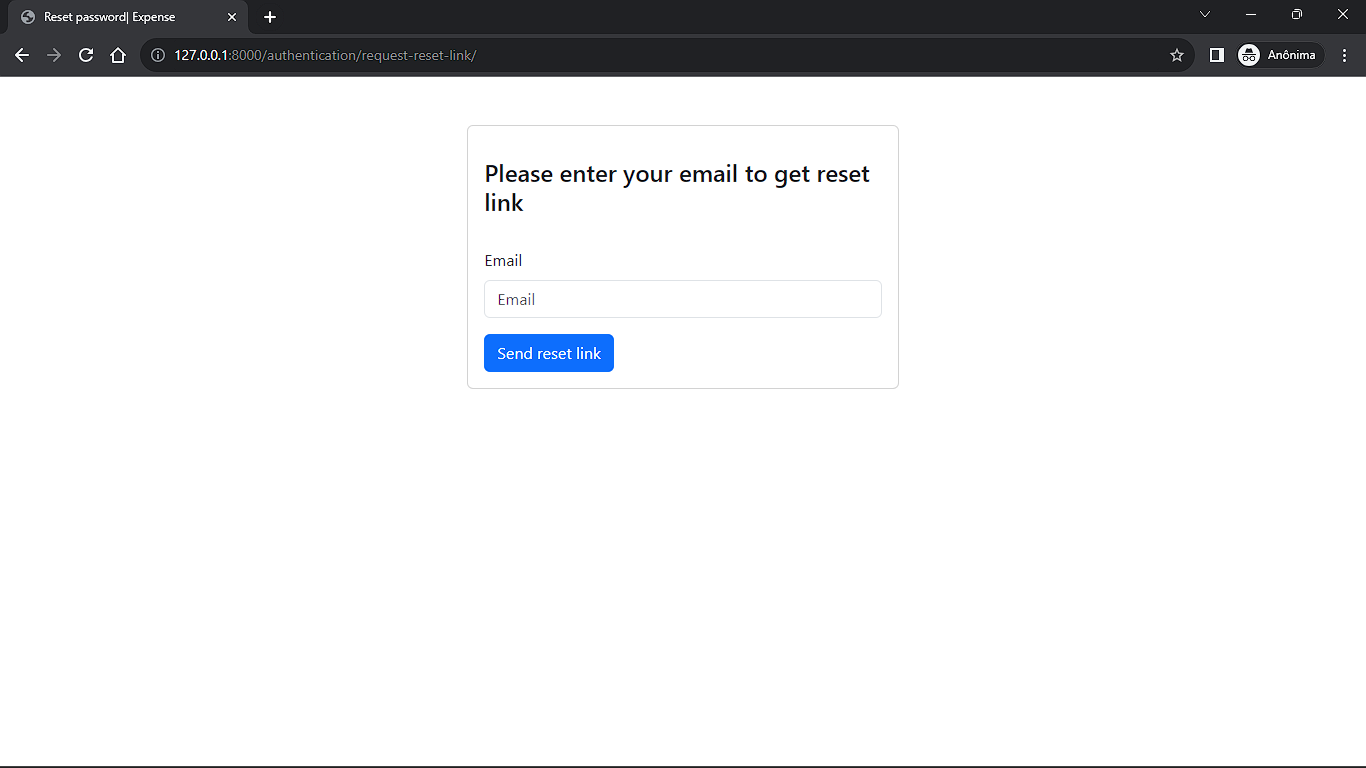
- Reset Password Page.
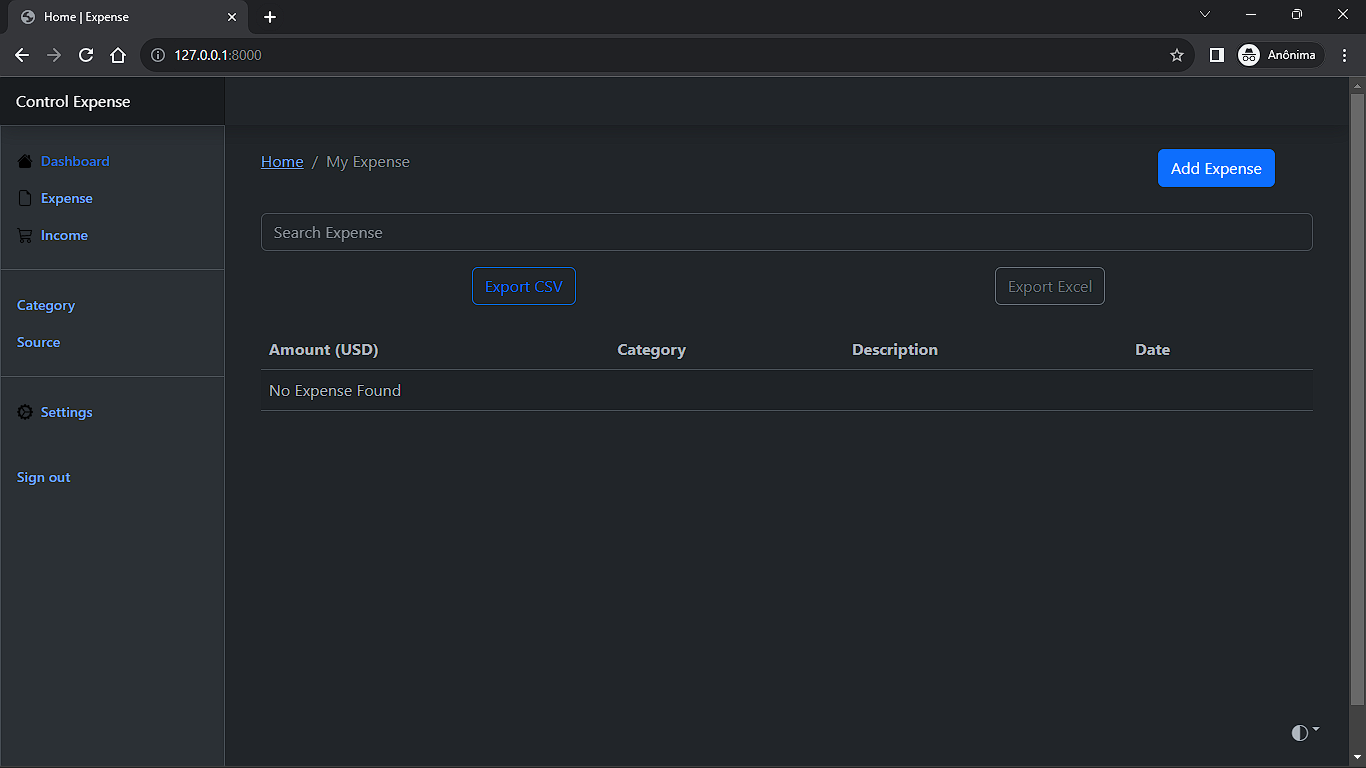
- Home Page.
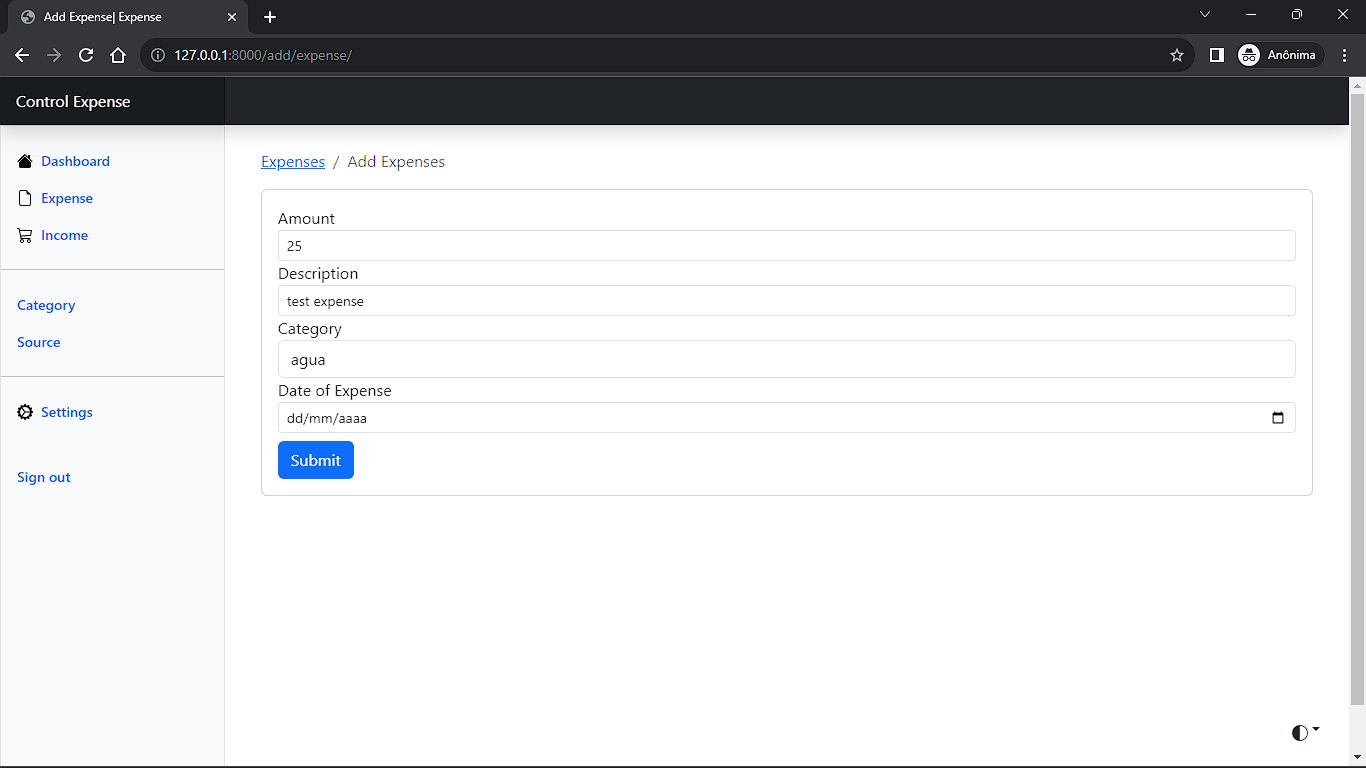
- Create Expense Data.
- Create Expense Data.
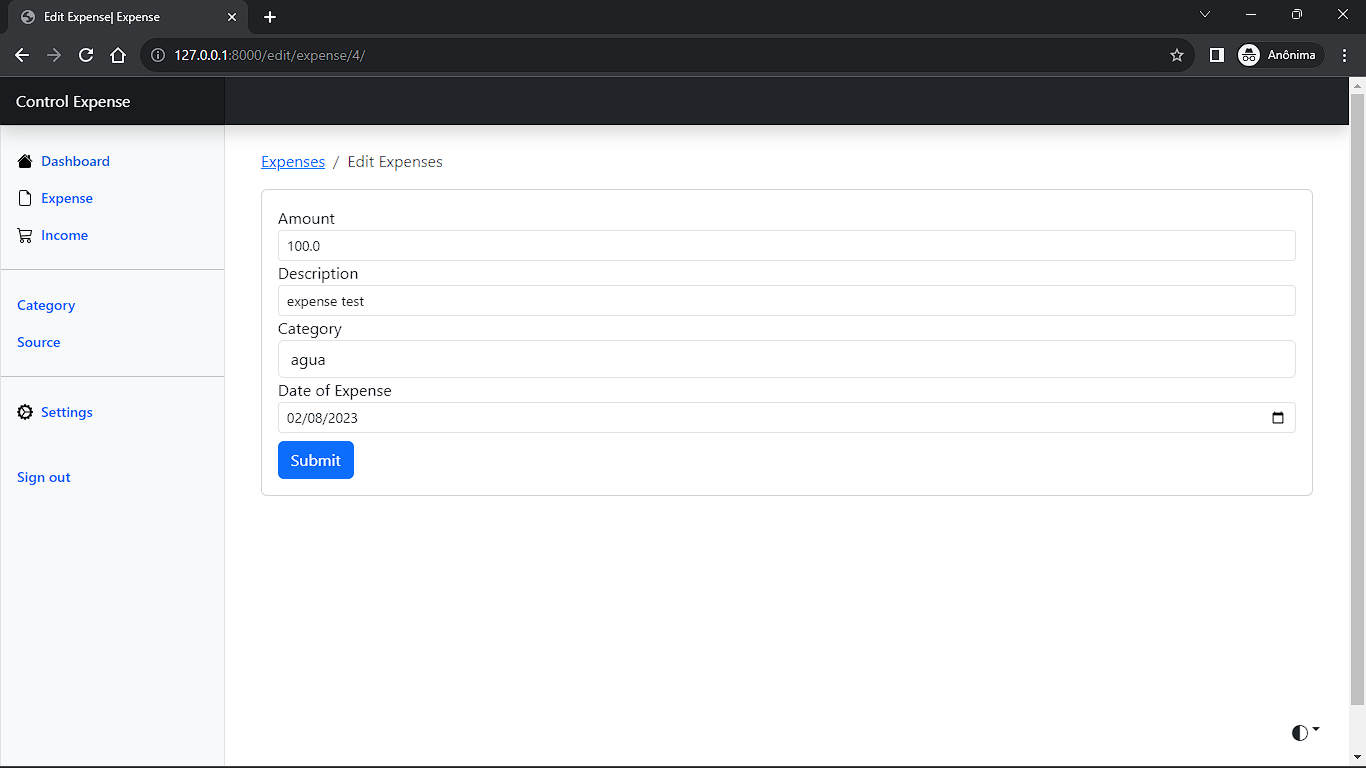
- Edit Expense Data.
- Delete Expense Data.
- Search Expense data.
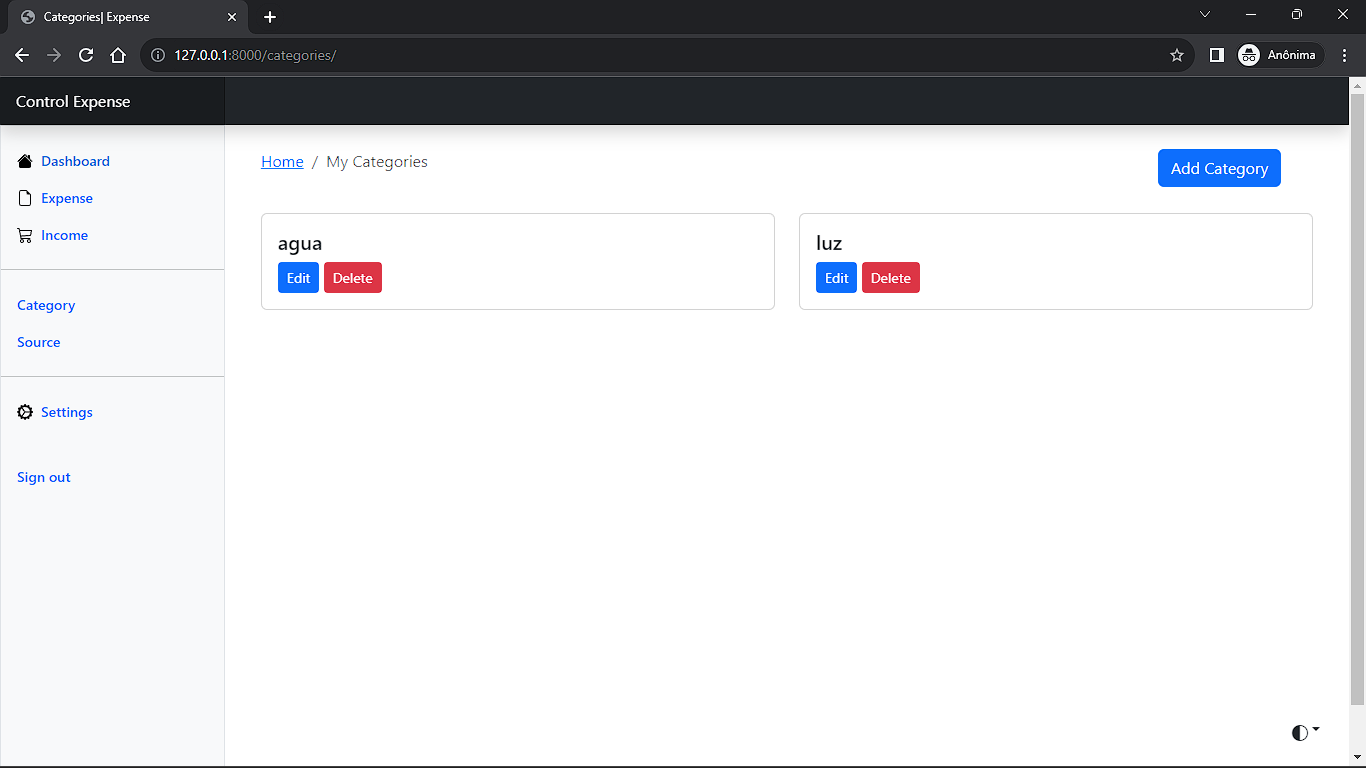
- View Category data.
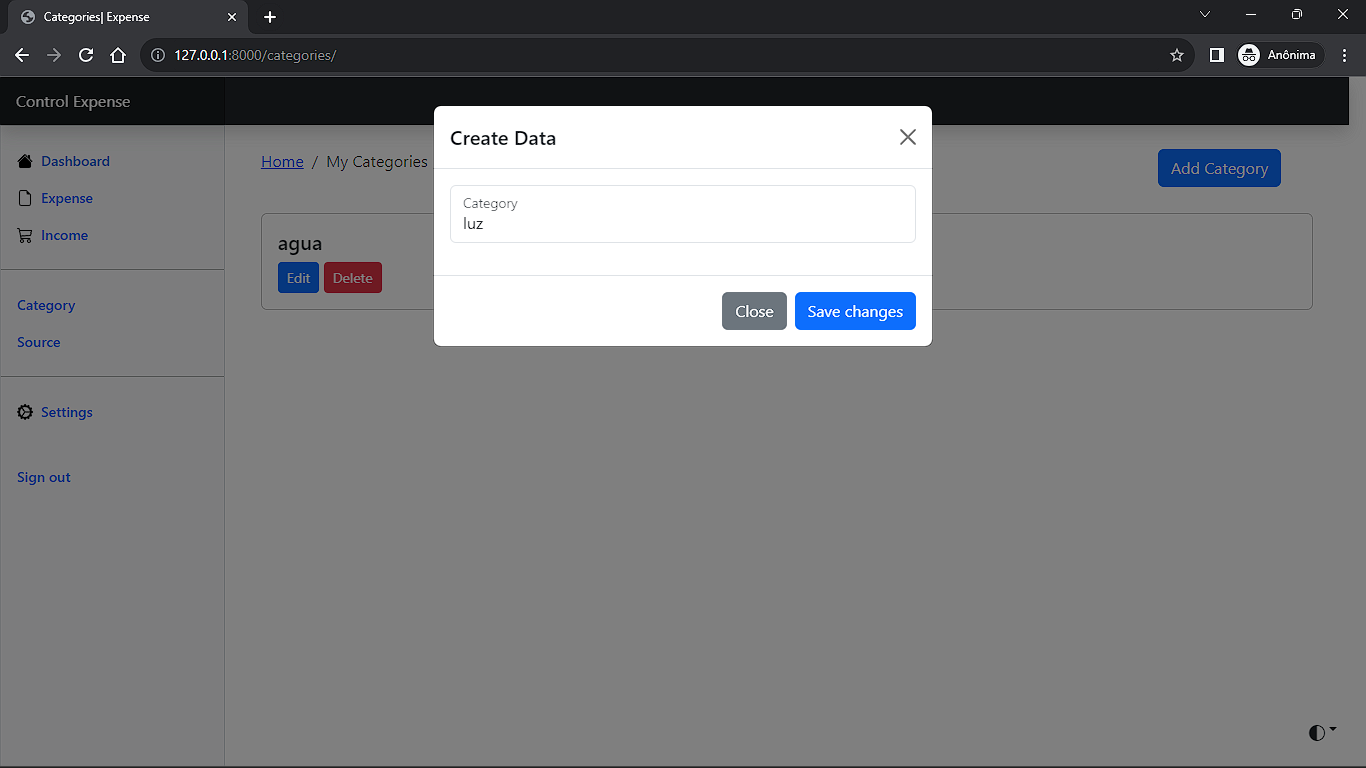
- Create Category data.
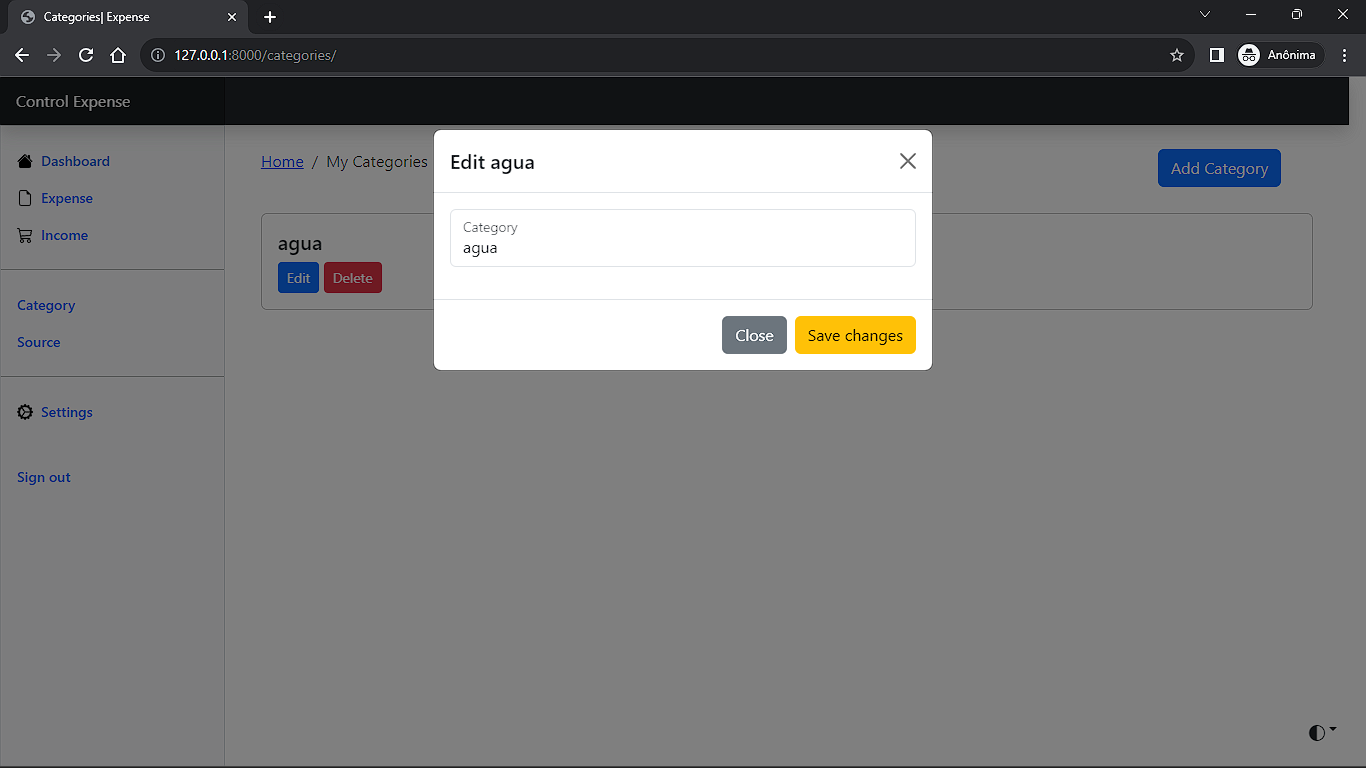
- Edit Category data.
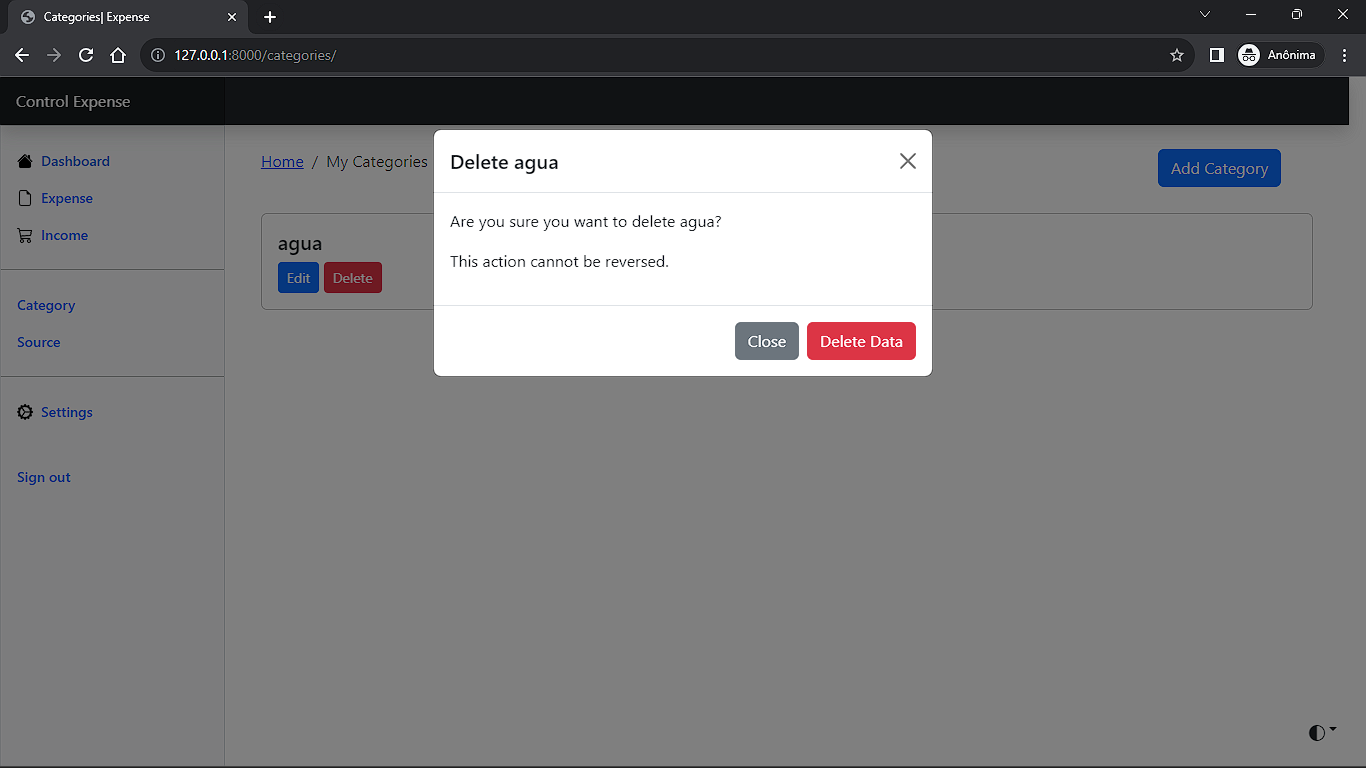
- Delete Category data.
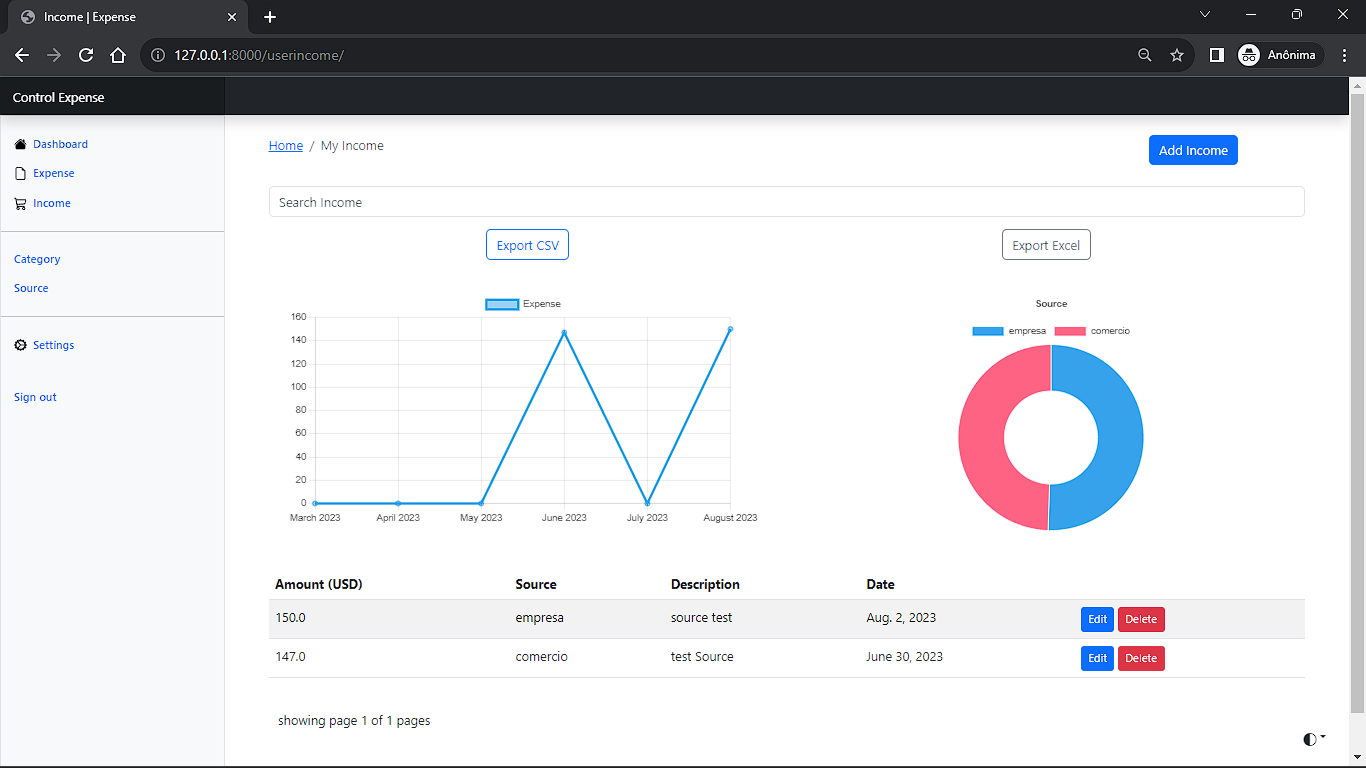
- View Income Data.
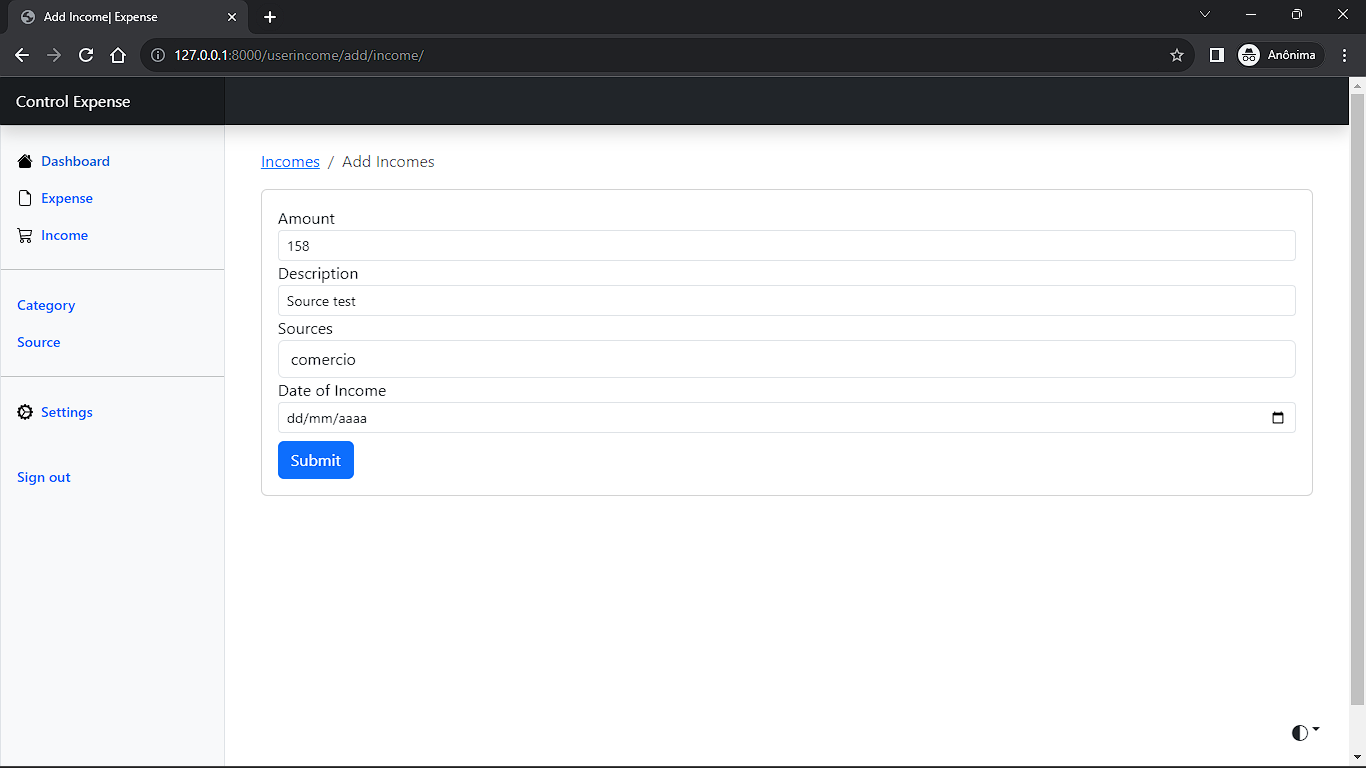
- Create Income Data.
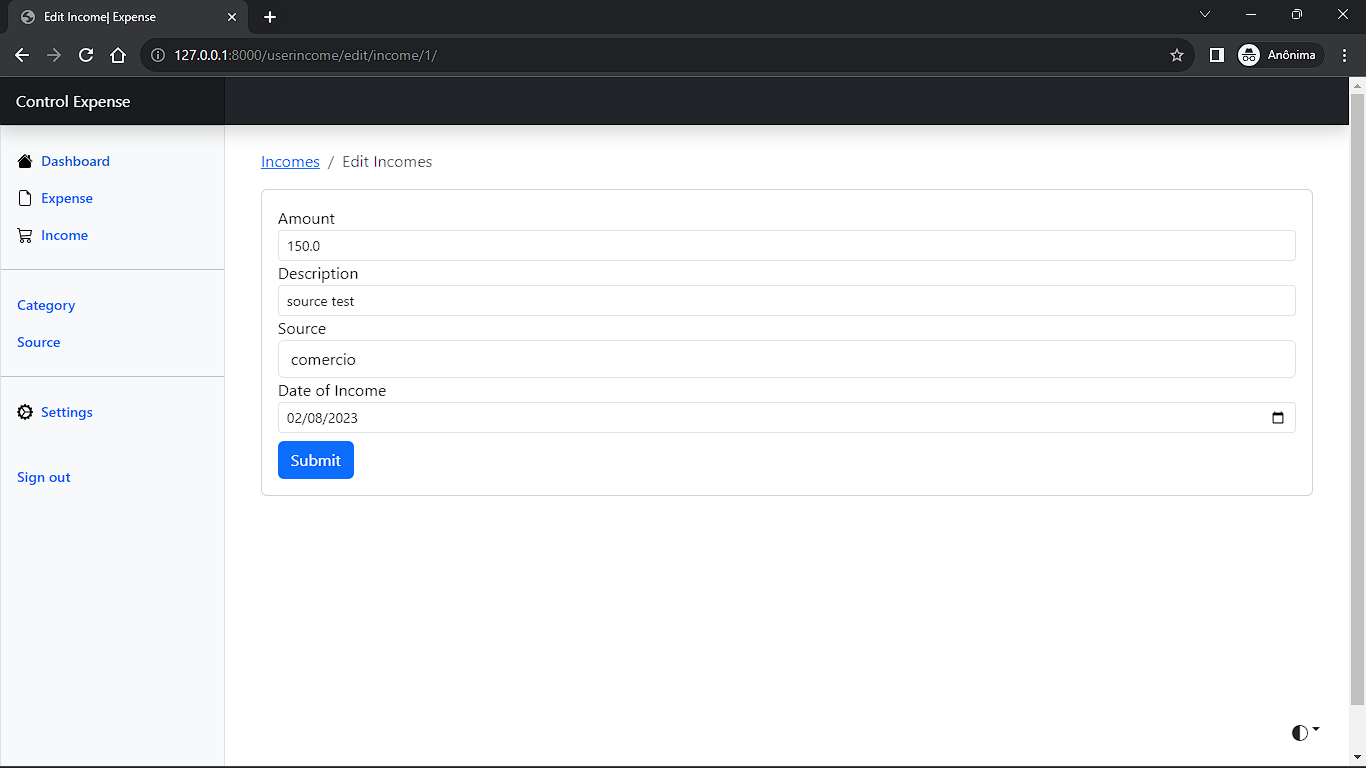
- Edit Income Data.
- Delete Income Data.
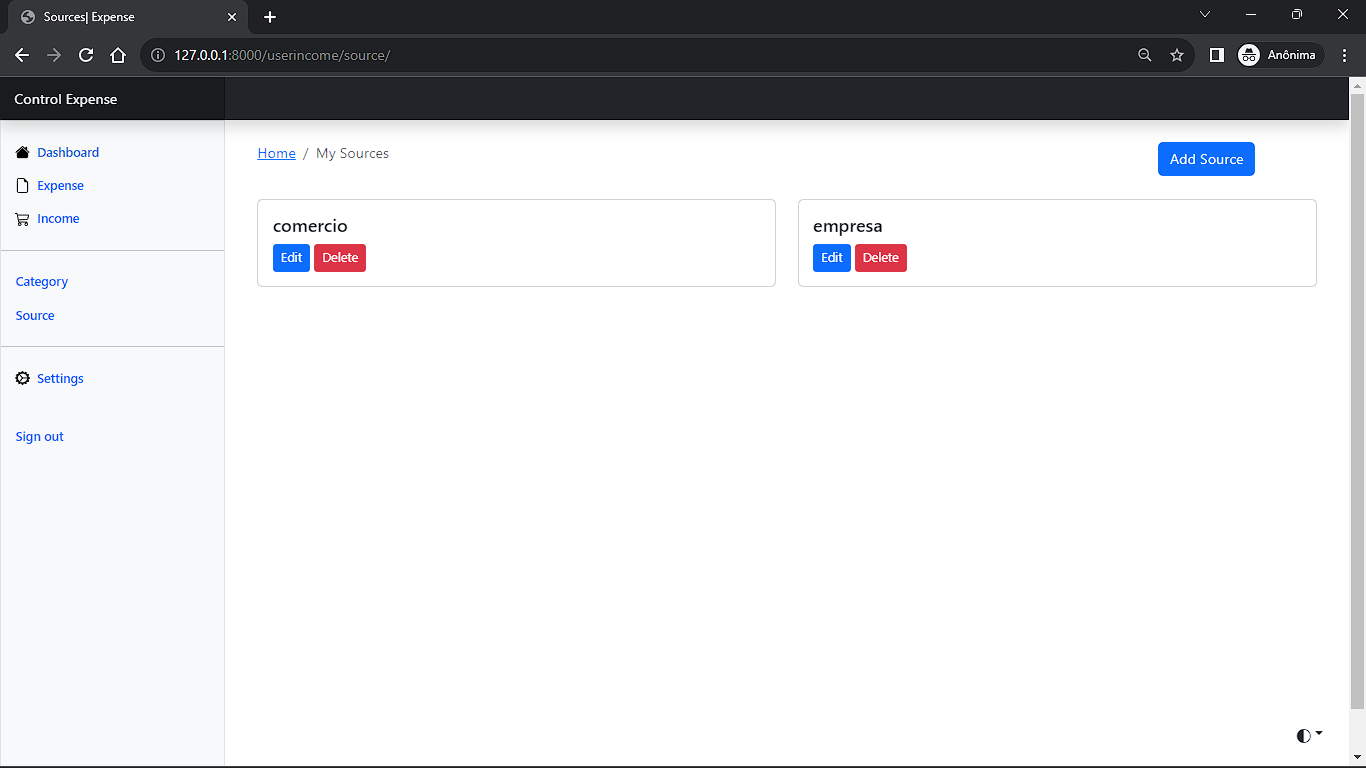
- View Source data.
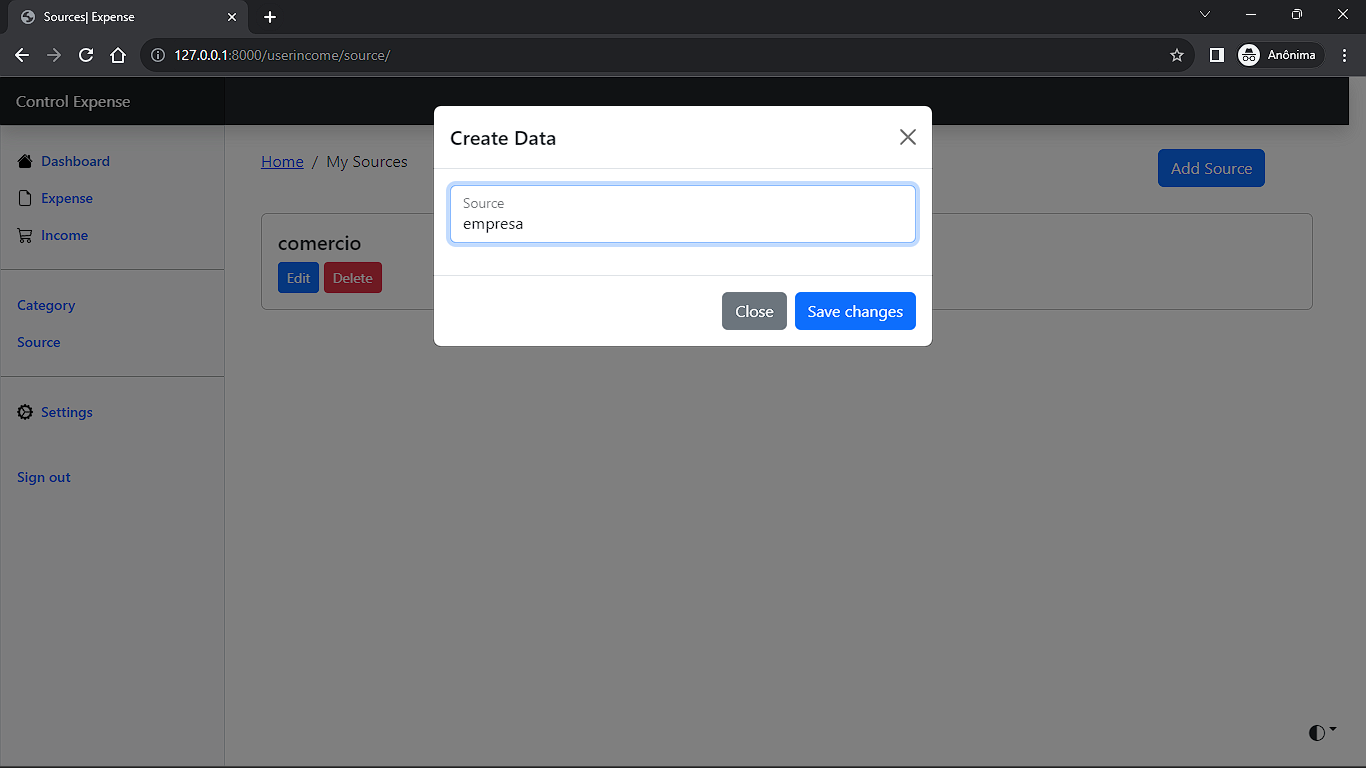
- Create Source data.
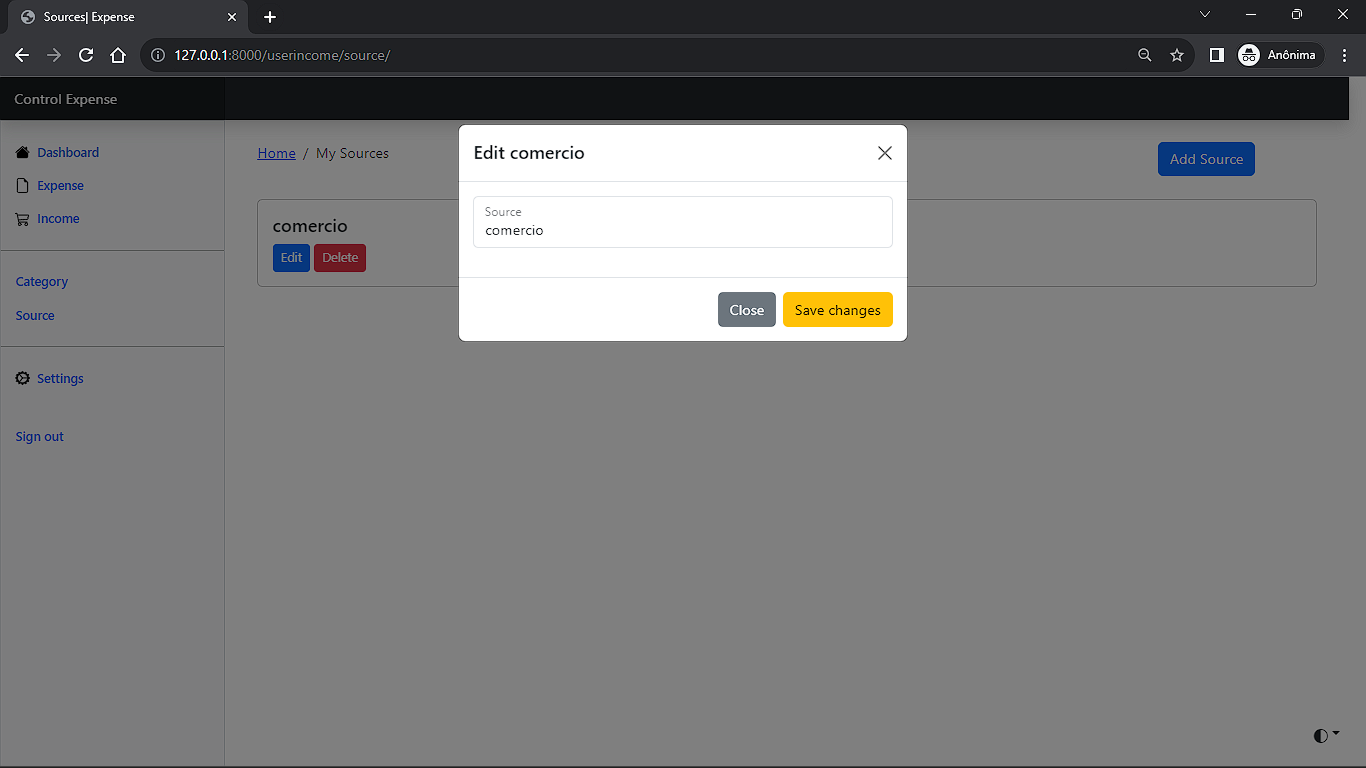
- Edit Source data.
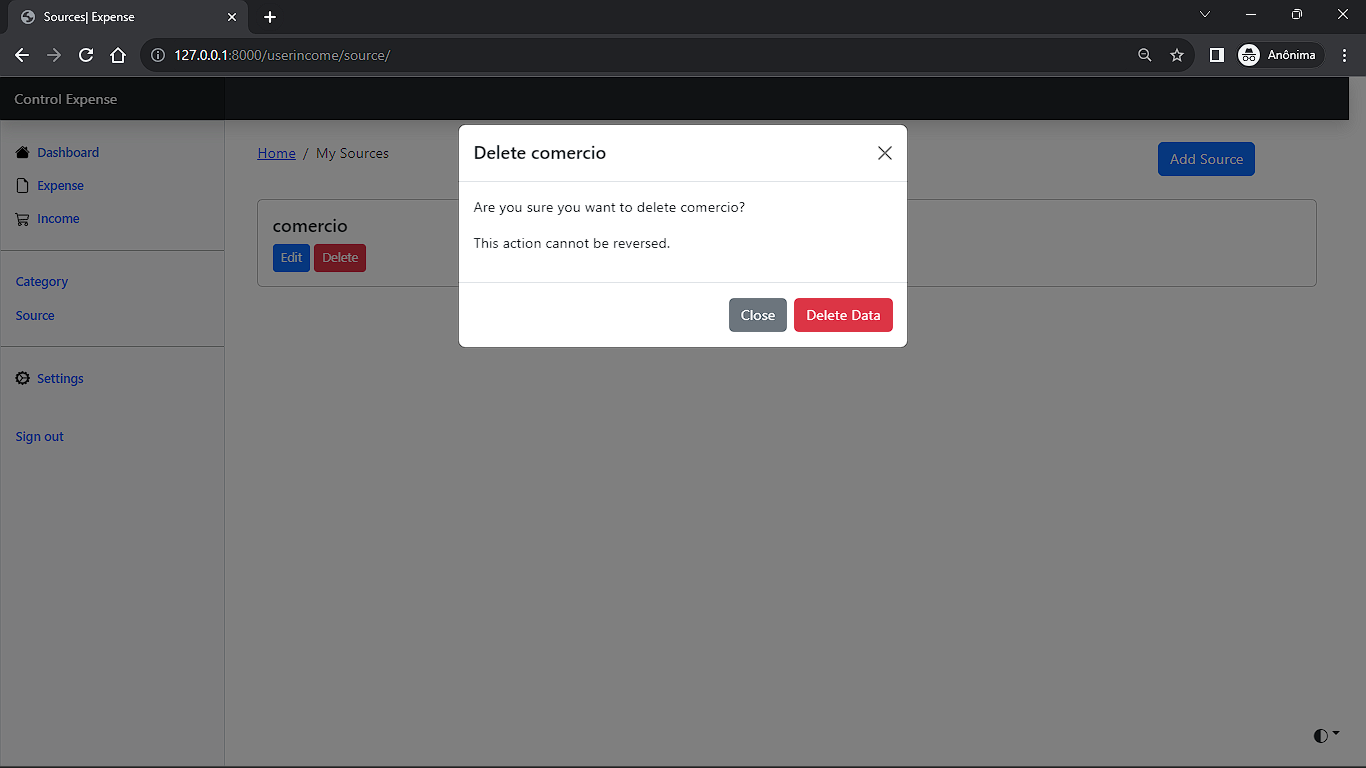
- Delete Source data.
- Search Income data.
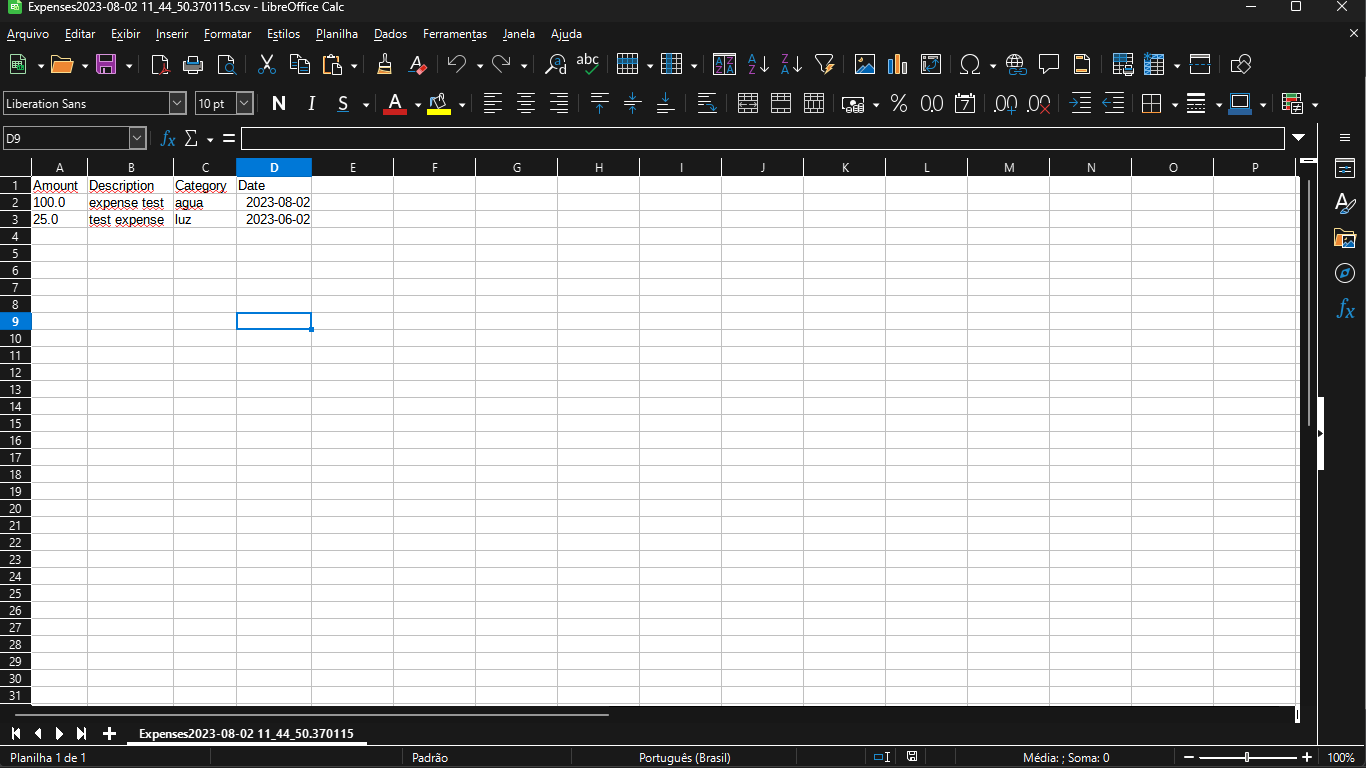
- Export CSV.
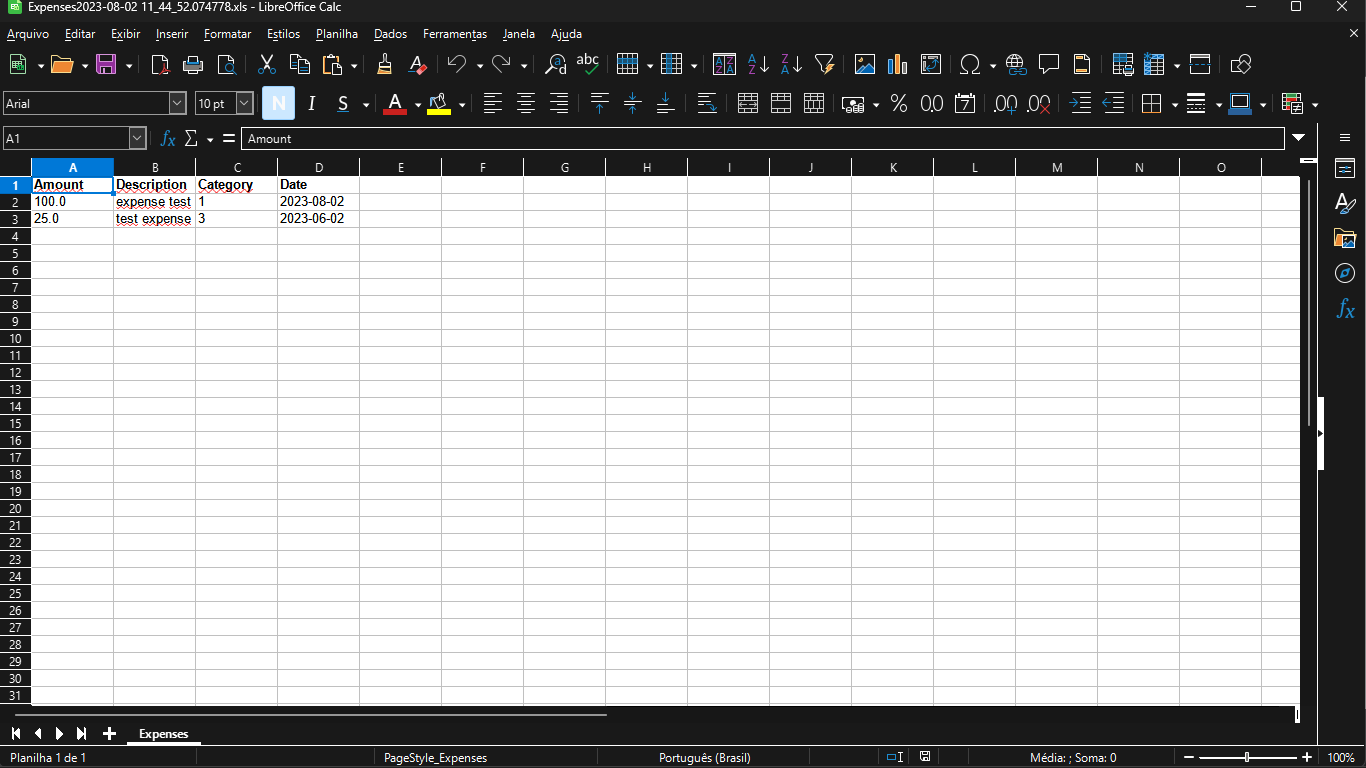
- Export Excel.
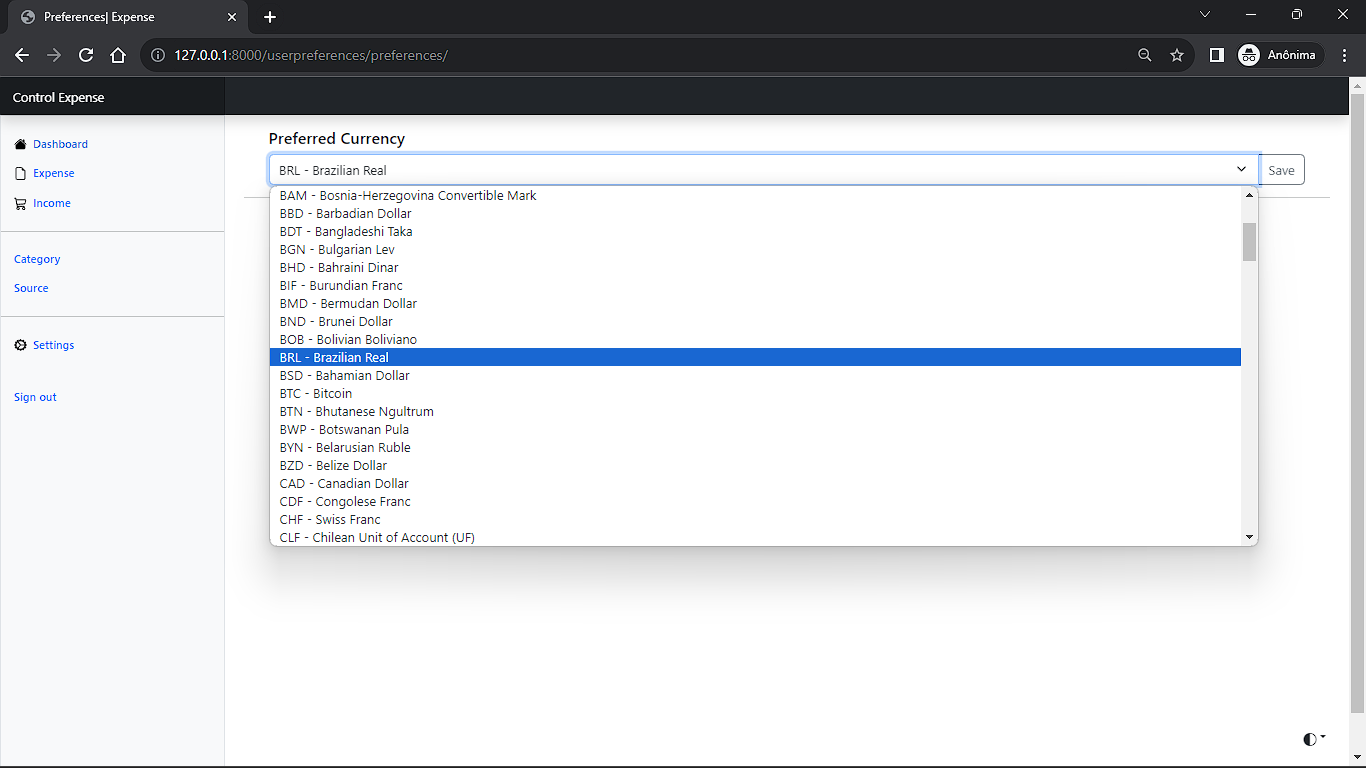
- Preferred Currency.
- Dark Mode.
See the open issues for a full list of proposed features (and known issues).
Contributions are what make the open source community such an amazing place to learn, inspire, and create. Any contributions you make are greatly appreciated.
If you have a suggestion that would make this better, please fork the repo and create a pull request. You can also simply open an issue with the tag "enhancement". Don't forget to give the project a star! Thanks again!
- Fork the Project
- Create your Feature Branch (
git checkout -b feature/Improvements) - Commit your Changes (
git commit -m 'Add my new Enhancements') - Push to the Branch (
git push origin feature/Improvements) - Open a Pull Request
We thank the following people who contributed to this project:
|
Heitor Louzeiro |
Distributed under the MIT License. See LICENSE for more information.
Project Link: https://github.com/HeitorLouzeiro/django-expense-control


