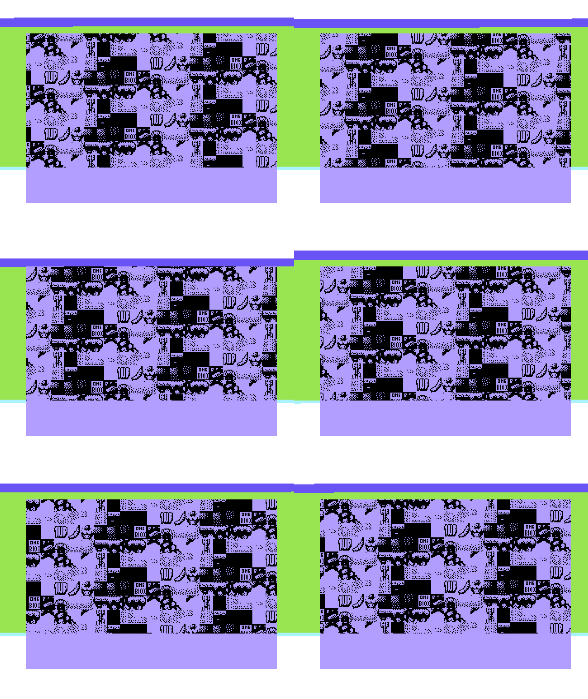
This won't be the fastest by far, but it was influenced by seeing Sam's Journey after I was initially going to write a flip screen game.
Coupled with the awesome assembler that is Kick-Assembler I began the journey in to programming for the C64 for the very first time.
After seeing screen shots of Sam's Journey, I concluded, probably incorrectly, that they used tile sets of 2x2 characters with the same colour being used for each of the 2x2 characters. After numerous attempts I came up with something that worked.
From this point on, tile will be used to refer to a 2x2 character set.
The general idea is to create a table of instructions for each tile that would cover our play area, 20x10, this would yield 200 code blocks of the following
adc #2
sta $4000,x
adc #2
sta $4028,x
adc #2
sta $4001,x
adc #2
sta $4029,x
iny
as you can see by the sta $xxxx,x instructions, they are in column major order, this is so we only need to increment the map read address once per tile, the ,x variant is so we can nudge all the tiles down a character when we scroll on the Y axis.
The reason we use adc #2, is so we can change 1 byte in the code block to change it to a lda ($2),y instruction. This means we can store the 16bit pointer to our map start at memory locations $2 and $3. Only the first or third sta instruction will be modified and that will be determined by 0 or 8 pixel bounds on the X axis (as a tile is 16 pixels wide).
This does mean our tile data has to be laid out in an odd way, given our source tiles
we have to swizzle them so the first two tiles are interleaved to take in to account the character index being incremented by 2 for each character in a tile
As you can see, the first tile is at character positions 0, 2, 4 and 6, and the second tile is at positions 1,3,5 and 7, then the third at 8, 10, 12 and 14 and the fourth at 9, 11, 13 and 15 and so on.
This also means our map data has to be laid out in a bizarre way too, rather than having the following
00110022...
It would be something like
00110088...
We can use offline tools to do all the work for this, I have been using Tiled Map Editor for this project to create the map data.
Of course, at end end of each row of tiles, we need to modify the map pointer to point to the next row, we do this like so
lda $3
adc #$28	// LSB of map width
sta $3
lda $4
adc #$00	// MSB of map width
sta $4
ldy #0
lda ($3),y	// Preload a in case we're offset 8 pixels on the X axis
adc #2
ldy map_x_adjust
The LSB and MSB values can be changed via self modifying code upon map initialisation. The last four instructions are also needed before we call the character fill routine as A needs to be in a ready state for the first two adc #2 instructions.
ldy map_x_adjust is used to offset the first tile in the map data per row as we change halfway through a 2x2 block when our scroll on the X axis is 8 bound, this is just a zero page variable that is 0 when we're less than 8 pixels on the X axis and 1 when we're less than 16.
The good thing about all this, is that we can use the exact same code for the colours by replacing adc #2 with and #15 and putting the colour map data pointer at zero page address $f and $10. This does mean we do needless operations for most part, but the cycle count should be pretty much identical, and as you would generally do the colour on a subsequent frame, it doesn't really matter.
There is a special case for all the above, and that's doing the first row when we are bound at 8 on the Y axis, we deal with this by doing pretty much the same as above, although we skip this code when we're 0 bound to avoid messing up the map pointers, the code is like so
adc #2
adc #2
sta $4000
adc #2
adc #2
sta $4001
iny
and change the first and third adc instruction, also note we don't use the ,x offset here.
We also need to revert any self modifications we do transforming either the adc #4 or and #15 instructions to lda (xx),y back to their former glory ready for the next frame.
That pretty much sums it up, and the code itself will probably explain more.


