This application deploys a Huggingface Image-to-text pretrained model on AWS SageMaker and provides a Flask-based web interface to caption images. The web application is capable of handling both URL and uploaded images.
- AWS Account with SageMaker and Elastic Beanstalk permissions
- AWS CLI installed and configured with user credentials
- Git LFS: On Mac, you can install it using
brew install git-lfs - Python3 with Flask, Boto3, SageMaker, Pillow and Requests installed
-
Clone the repository and navigate to the project directory.
-
Prepare the model for deployment:
- Create a folder called
codein the project directory. - Add
inference.pyandrequirements.txtto thecodefolder. - Create a
model.tar.gzfile with the layout specified in the Huggingface SageMaker inference documentation.
- Create a folder called
    model.tar.gz/
    |- pytorch_model.bin
    |- ....
    |- code/
      |- inference.py
      |- requirements.txt
-
Upload the model to S3 using AWS CLI:
aws s3 cp model.tar.gz s3://<your-bucket-name> -
Deploy the model on SageMaker. You can follow the instructions in the SageMaker notebook provided in this repository. Alternatively, you can load the deployed model using the following Python code:
from sagemaker import Session
from sagemaker.huggingface.model import HuggingFacePredictor

sagemaker_session = Session()
predictor = HuggingFacePredictor(
    endpoint_name="<endpoint-name>",
    sagemaker_session=sagemaker_session
)
-
Set up the Flask application:
- Create
application.pyandindex.htmlin thetemplatesfolder. - Test the application locally by running
flask runand visitinghttp://127.0.0.1:5000/.
- Create
-
Prepare the application for Elastic Beanstalk:
-
Rename
app.pytoapplication.py. -
Create a
requirements.txtfile listing all the necessary Python packages. -
Create a
.ebextensionsdirectory and a01_flask.configfile inside it with the following content:option_settings: aws:elasticbeanstalk:application:environment: PYTHONPATH: "/var/app/current:$PYTHONPATH" aws:elasticbeanstalk:container:python: WSGIPath: "application:application"
-
Zip all the application files at the root level of the
flask_appfolder.
-
Please note that the file structure of your application should look like this:
flask_app/
├── application.py
├── requirements.txt
├── templates/
│   └── index.html
└── .ebextensions/
    └── 01_flask.config
-
Deploy the application on Elastic Beanstalk:
- Go to the AWS Management Console and select Elastic Beanstalk.
- Add SageMaker Full Access to
aws-elasticbeanstalk-ec2-role. - Create a new application and select the default VPC.
- Upload the zip archive created in the previous step and launch the application.
-
Setting Environment Variables in Elastic Beanstalk
Once your application is deployed on Elastic Beanstalk, you need to set some environment variables for your application to function properly.
- In the Elastic Beanstalk dashboard, navigate to your application.
- Under the "Software" configuration, click on "Modify".
- Scroll down to the "Environment properties" section.
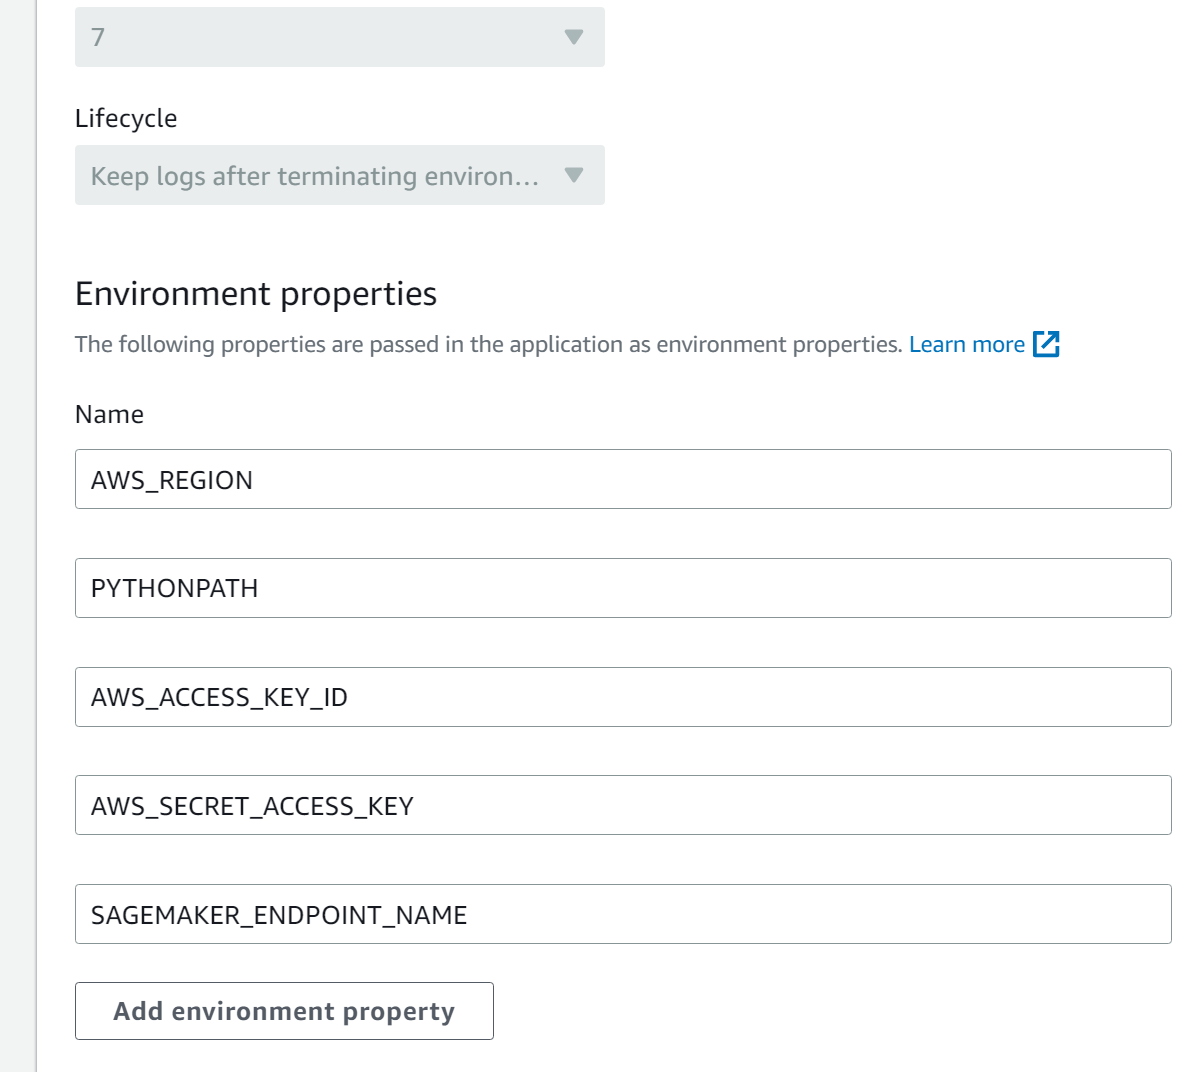
Here, you will need to add the following variables:
AWS_REGION: The AWS region where your resources are located.PYTHONPATH: Should be set automaticallyAWS_ACCESS_KEY_ID: Your AWS Access Key ID for programmatic access.AWS_SECRET_ACCESS_KEY: Your AWS Secret Access Key corresponding to the Access Key ID.SAGEMAKER_ENDPOINT_NAME: The endpoint name of your deployed SageMaker model.
Your environment variables section should look like this:
Make sure to replace the placeholders with your actual values and click "Apply" to save the changes.

