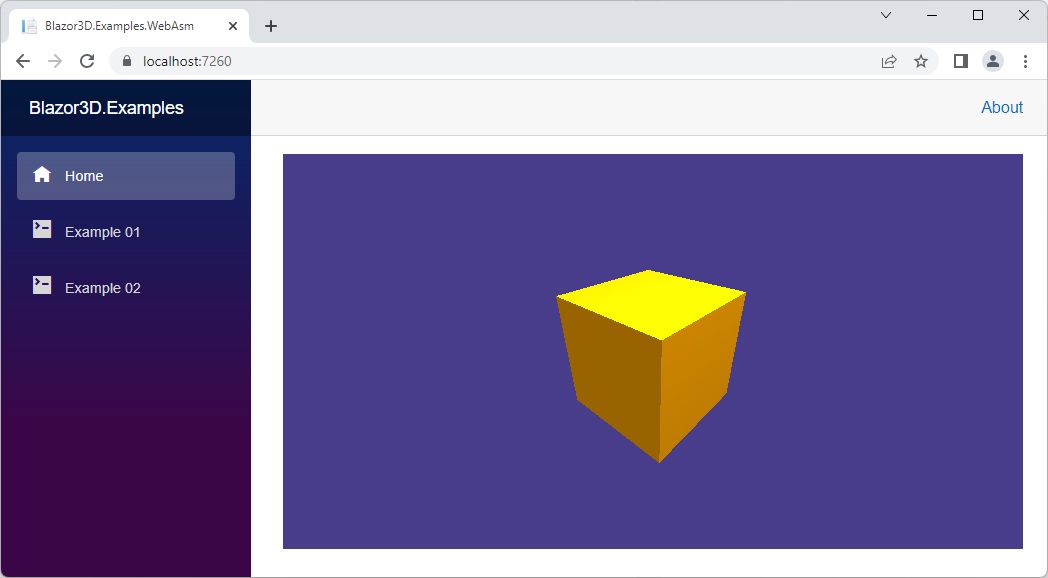
You can find the source code in the Blazor3D-Core repository.
This repository contains examples of using the Blazor3D Viewer component in the ASP.NET Core Blazor applications.
Since package version v0.1.39 the Blazor3D package root namespace changed from Blazor3D to HomagGroup.Blazor3D
Live preview of these examples WebAsm version you can see at https://homaggroup.github.io/Blazor3D/
With .NET CLI
dotnet add package Blazor3D
With Package Manager
Install-Package Blazor3D
Or just download it from https://www.nuget.org/packages/Blazor3D and add it as project reference.
See example here
- Add usings to the _Imports.razor or to your page
@using HomagGroup.Blazor3D.Viewers
- Put Blazor3D Viewer component to your page
<Viewer UseDefaultScene=@true></Viewer>
See example here
- Add usings to the _Imports.razor or to your page
@using HomagGroup.Blazor3D.Settings
@using HomagGroup.Blazor3D.Scenes
@using HomagGroup.Blazor3D.Lights
@using HomagGroup.Blazor3D.Maths
@using HomagGroup.Blazor3D.Materials
@using HomagGroup.Blazor3D.Objects
@using HomagGroup.Blazor3D.Geometires
@using HomagGroup.Blazor3D.Enums
- Put the View3D component to you blazor application page and add some code
<div class="row justify-content-center">
    <div class="col-6 v3d">
        <Viewer @ref="View3D1" ViewerSettings=@settings Scene=scene />
    </div>
</div>

@code {
    private Viewer View3D1 = null!;
    private Guid objGuid;
    private ViewerSettings settings = new ViewerSettings()
        {
            ContainerId = "example1",
        };

    private Scene scene = new Scene();
    protected override Task OnInitializedAsync()
    {
        scene.Add(new AmbientLight());
        scene.Add(new PointLight()
            {
                Position = new Vector3
                {
                    X = 1,
                    Y = 3,
                    Z = 0
                }
            });
        scene.Add(new Mesh());
        scene.Add(new Mesh
            {
                Geometry = new BoxGeometry
                {
                    Width = 2,
                    Height = 0.5f
                },
                Position = new Vector3
                {
                    X = -1,
                    Y = 1,
                    Z = -1
                }
                        ,
                Rotation = new Euler
                {
                    X = Math.PI / 4
                }
            });

        scene.Add(new Mesh
            {
                Geometry = new CircleGeometry(),
                Position = new Vector3
                {
                    X = 1,
                    Y = 1,
                    Z = -1
                },
                Scale = new Vector3(0.5f, 1f, 1f)
            });

        return base.OnInitializedAsync();
    }
This example shows how to:
- Control the Blazor3D Viewer component's dimensions with CSS
- Add custom ViewerSettings
- Add user-defined scene
- Add user-defined lights and meshes with different geometries
- Turn on/off objects selecting mode
- Subscribe ObjectSelected event
This example shows how to:
- Control the Blazor3D Viewer component's dimensions with CSS and HTML element style
- Add user-defined scene and lights
- Import obj, Collada, Fbx, Gltf or Stl model on button click asyncronously
- Control loaded object by its uuid with ObjectLoaded event
- Import file when all required JS modules already loaded (inital load)
This example shows how to:
- Control the Blazor3D Viewer component's dimensions with CSS
- Use animated orthographic camera
- Use helpers
- Camera toggling
- Stop camera animation on start using orbit control
This example shows how to:
- Add new cubes (or it can be any mech) with specified positions
- Update selected cube (or any mech) position (in fact the complete scene is updated)
- Delete selected cube (or any mech) from the scene
This example shows how to:
- Load a bitmap texture to the mesh using URL
- Use different wrapping types
- Use texture repeating, offset and rotation
