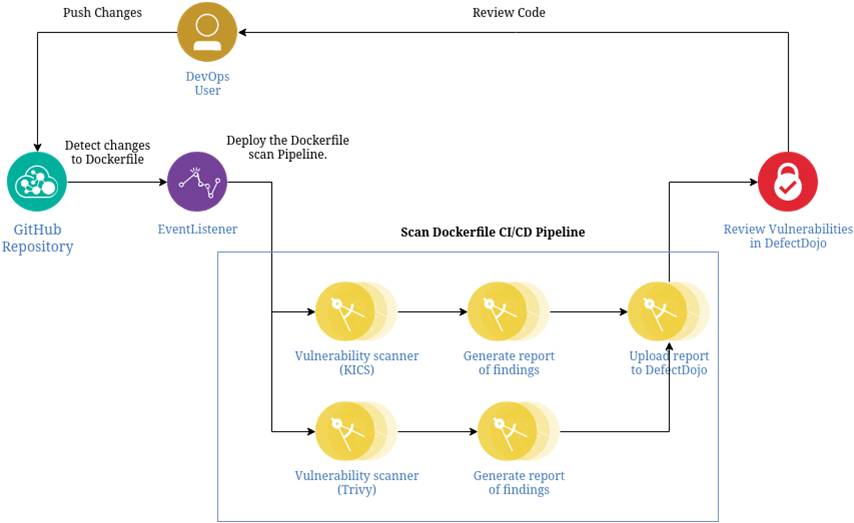
The CI/CD Docker Static Vulnerability Analysis project automatically detects changes to made to a repositories Dockerfile and performs a SAST scan to identify vulnerabilities, before generating a scan report which is uploaded to DefectDojo for review.
- Prerequisites
- Installing CodeReady Containers
- Stopping CodeReady Containers
- Installing Helm
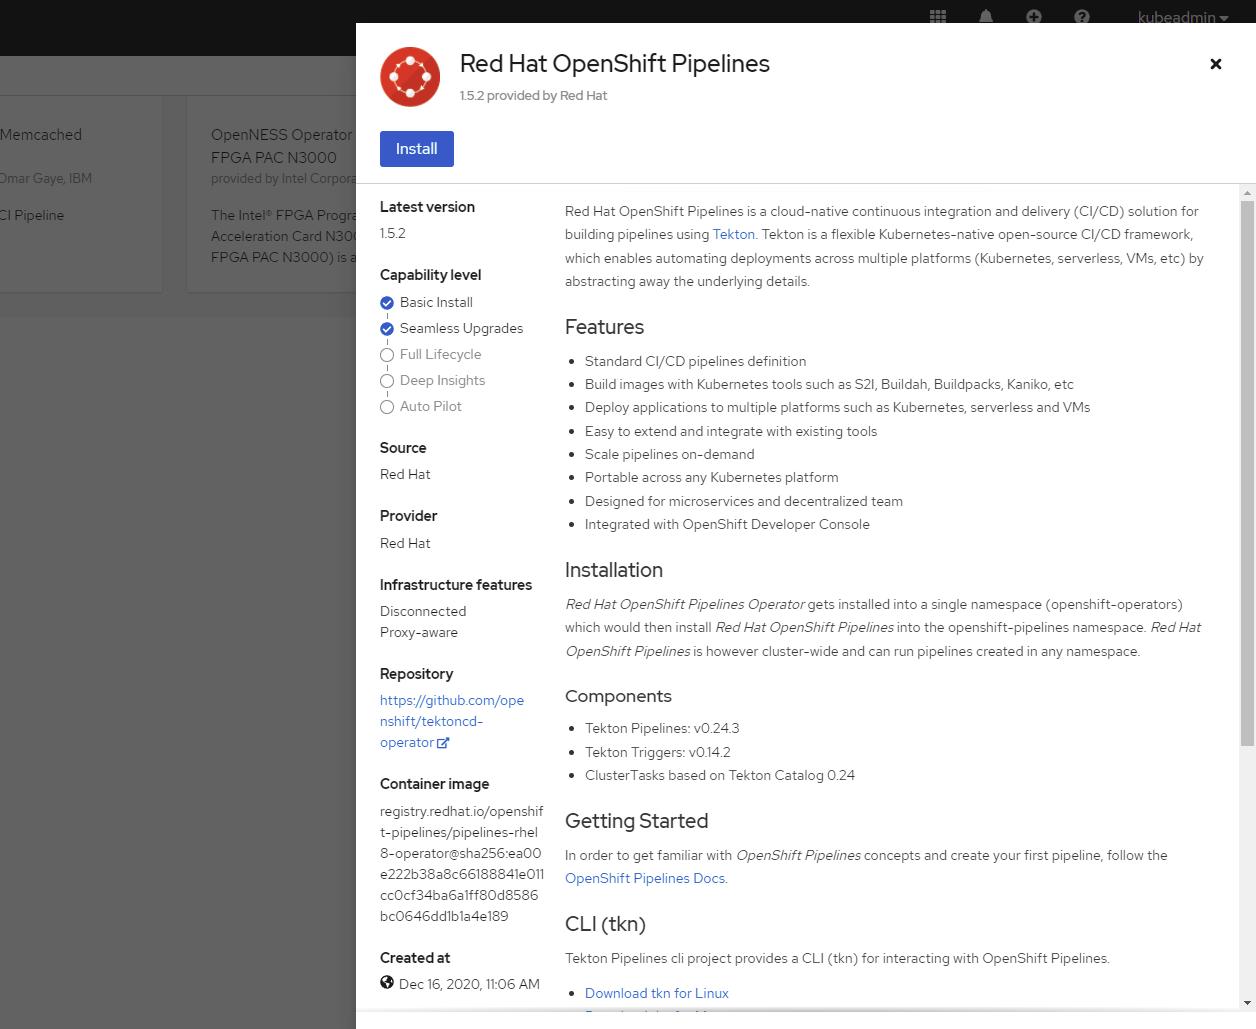
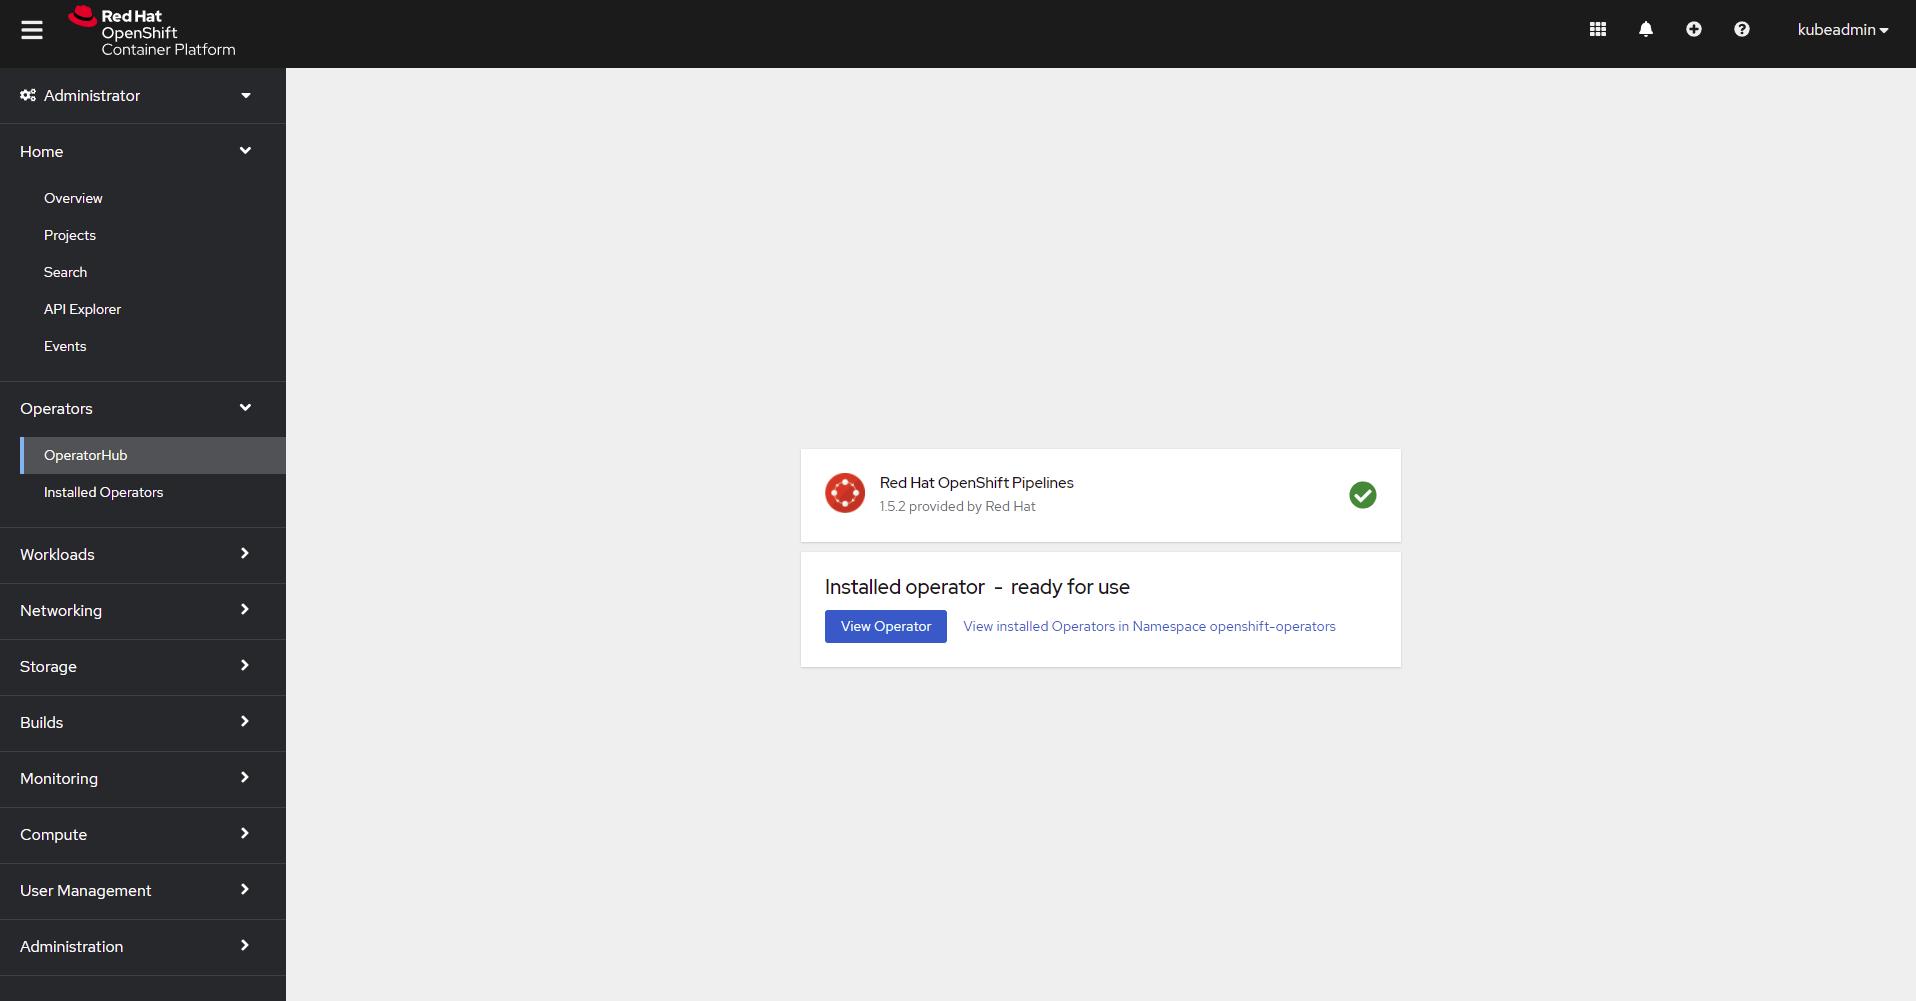
- Installing OpenShift Pipelines
- Deploying CI/CD Pipeline Components
- Deploying Tekton Triggers
- Uninstalling -OpenShift Components -Helm Charts
Prior to deploying the CI/CD Docker Static Vulnerability Analysis project you must download or clone this Repository, you can do this by performing:
git clone https://github.com/Homopatrol/secure-Docker-dev-CI-CD-pipeline.gitTo deploy the CI/CD Docker Static Vulnerability Analysis the following system resources are required to run the Container Orchestration platform, Code Ready Containers:
- 4 physical CPU cores
- 9 GB of free memory
- 35 GB of storage space
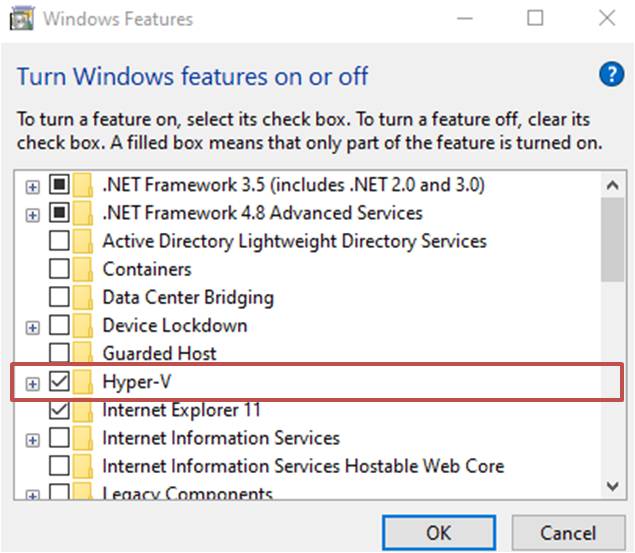
Note For Windows installation you must enable the default Hypervisor, Hyper-V, this can be done via the "Enable/Disable Windows Features" tab.
RedHat provides this installation guide
After installing CodeReady Containers
crc setupcrc start NOTE When starting CRC you can assign a custom number of cpus (-c 4) and allocated memory (-m 16384) avaliable to the instance.
If successful, you should expect to see the following output:
Started the OpenShift cluster.

The server is accessible via web console at:

  https://console-openshift-console.apps-crc.testing


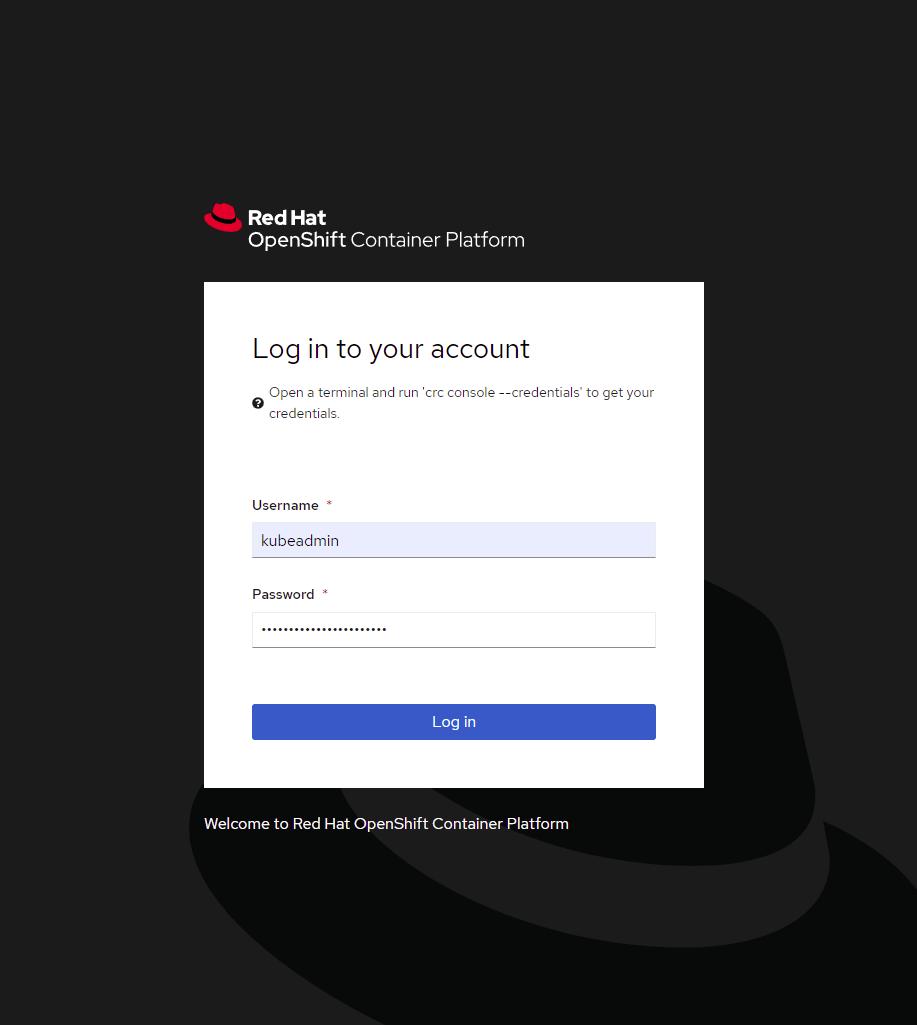
Log in as administrator:

  Username: kubeadmin

  Password: <kubeadmin_password>

Log in as user:

  Username: developer

  Password: developer

Use the 'oc' command line interface:

  PS> & crc oc-env | Invoke-Expression

  PS> oc login -u developer https://api.crc.testing:6443
You can navigate to the OpenShift web console by navigating to https://api.crc.testing:6443 or by performing console crc console
NOTE If you encounter this error whilst trying to start crc:
failed to expose port :2222 -> 192.168.127.2:22: listen tcp :2222: bind: An attempt was made to access a socket in a way forbidden by its access permissions. NOTE The port in this example is 2222 however this solution is applicable to any port number referenced in this error.
You need to:
- Disable Hyper-V in Windows Features
- Reserve the port by opening PowerShell with Administrator rights and performing:
netsh int ipv4 add excludedportrange protocol=tcp startport=2222 numberofports=1- Enable Hyper-V and restart your system, then run
crc setupandcrc start.
You must shutdown cluster safetly by performing:
crc stop You should see the output:
INFO Stopping kubelet and all containers...

INFO Stopping the OpenShift cluster, this may take a few minutes...

Stopped the OpenShift cluster If installing on Windows (chocolatey):
choco install kubernetes-helmIf installing on MacOS (brew):
brew install helmIf installing on Debian/Ubuntu (APT):
curl https://baltocdn.com/helm/signing.asc | sudo apt-key add -
sudo apt-get install apt-transport-https --yes
echo "deb https://baltocdn.com/helm/stable/debian/ all main" | sudo tee /etc/apt/sources.list.d/helm-stable-debian.list
sudo apt-get update
sudo apt-get install helmThis chart is developed and maintained by the DefectDojo Community, the original chart can be found here A collection of changes have been made to this chart to make it compliant when deployed on the OpenShift Environment which can be viewed here
Ensure you are in the directory that contains the helm chart by performing:
cd secure-Docker-dev-CI-CD-pipeline-main/Backend/DefectDojo/chart/ Update the host value in DefectDojo's helm chart. This is the name of the URL that you will assign to your DefectDojo instance. NOTE If you are using CodeReady Containers the domain for exposed applications is apps-crc.testing.
database: postgresql
host: defectdojo-route.app-crc.testing # replace this with your DefectDojo-URL.YourDomain
imagePullPolicy: Always
# Where to pull the defectDojo images from. Defaults to "defectdojo/*" repositories on hub.docker.com
repositoryPrefix: defectdojo
helm install <release_name> ./Note If you are re-installing DefectDojo you must ensure there is no remaning resources from the previous DefectDojo instance. You can do this by peforming:
oc get pvc

oc delete pvc <release_name>-pvc

----------------------

oc get secret

Name
------
defectdojo-postgresql-specific
defectdojo-rabbitmq-specific
....

oc delete secret defectdojo-postgresql-specific defectdojo-rabbitmq-specific
All pods should begin starting up, you can confirm this by performing:
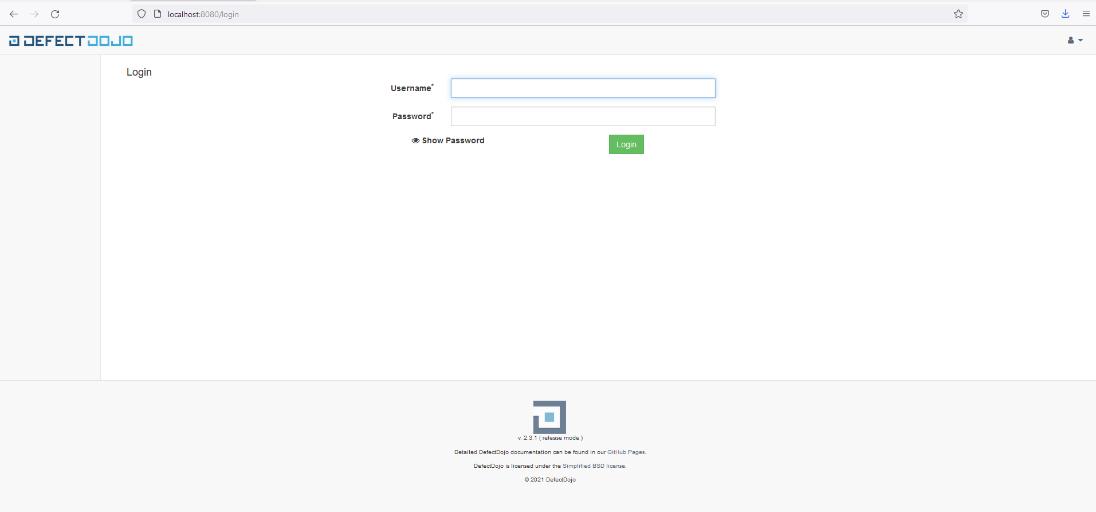
oc get pods -n <namespace-you-deployed-defectdojo>Once the initializer pod has finished you can access the DefectDojo UI via your specified route, you can retrieve the credentials by navigating to the Secrets tab in Openshift -> <release_name>- or by performing
.Gitea is a self-hosted git service, you can read more about Gitea here
This chart is developed and maintained by the Gitea Community, the original chart can be found here A collection of changes have been made to this chart to make it compliant when deployed on the OpenShift Environment which can be viewed here
Install Gitea from the command line by performing
cd secure-Docker-dev-CI-CD-pipeline-main/Backend/Gitea/chart/

helm install <release_name> ./
Once Gitea is running you can setup a repository
Whilst logged into the OpenShift Web console navigate to the Operators tab
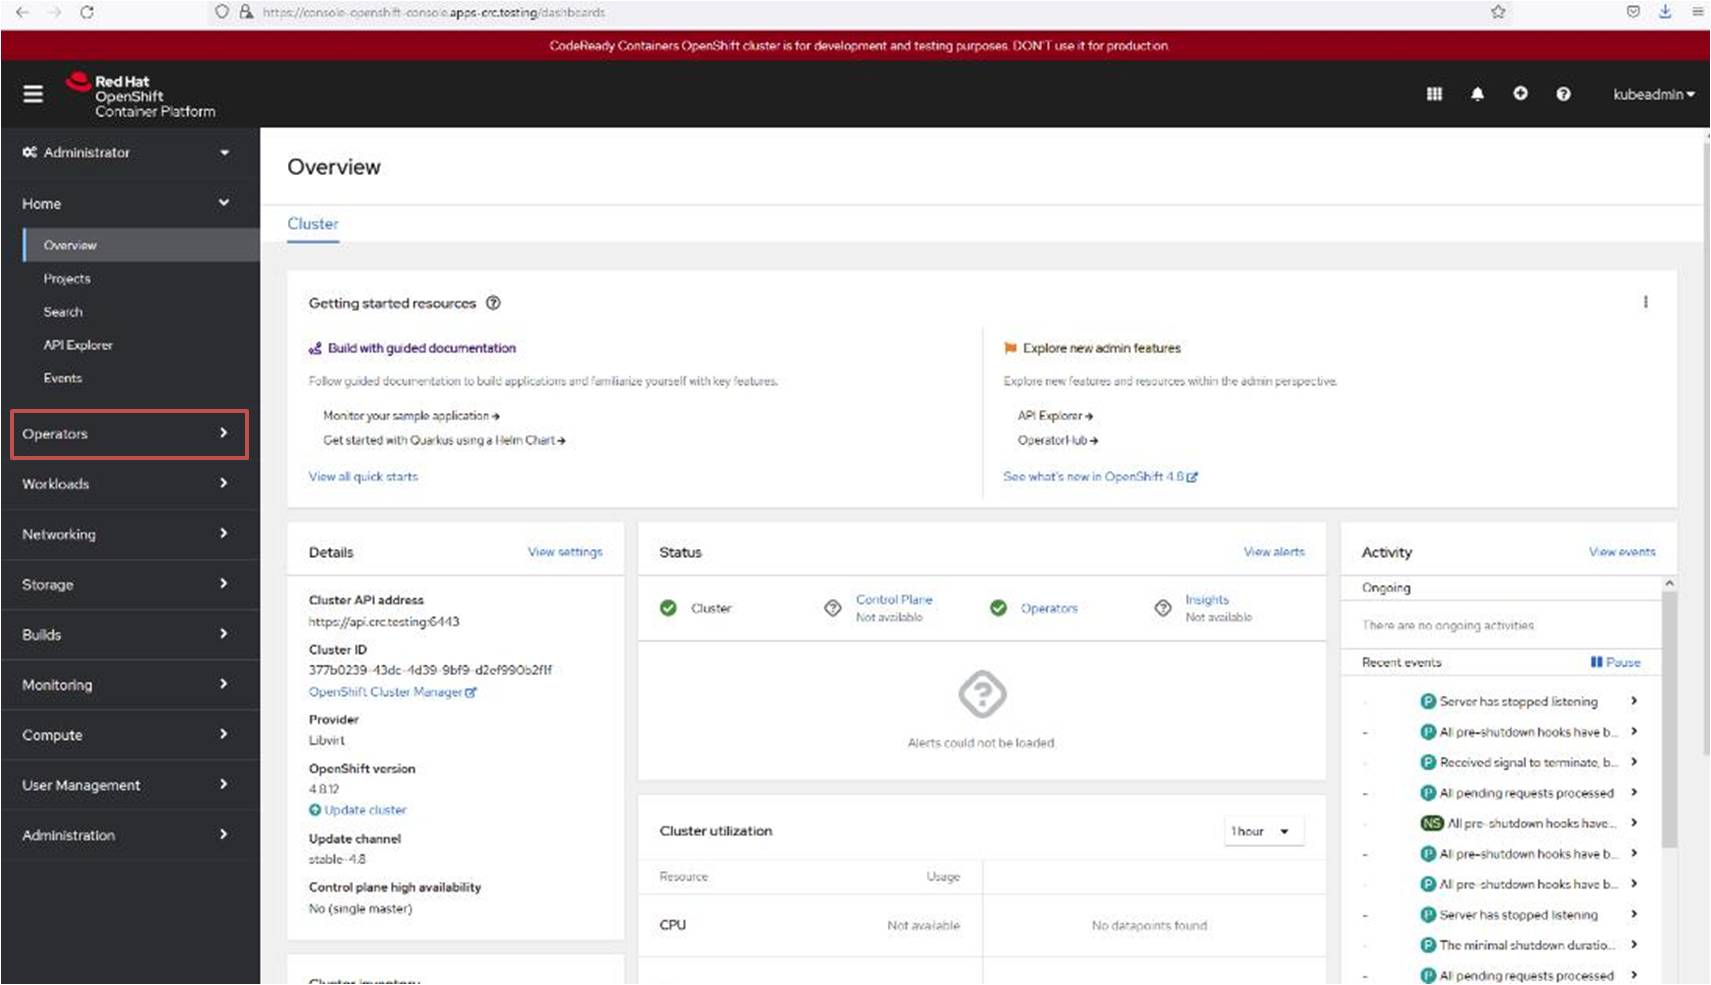 -->
-->
OpenShift can also be deployed using the subscription template.
oc create -f subscription.yamlEnsure you are deploying the pipeline components in the correct namespace:
oc project openshift-pipelinesoc create -f kics-task.yaml
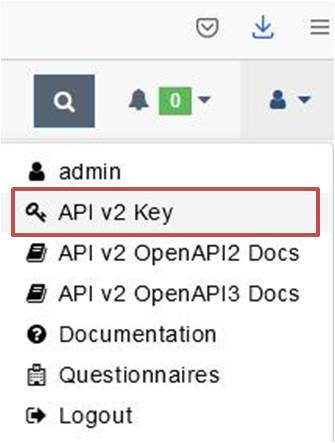
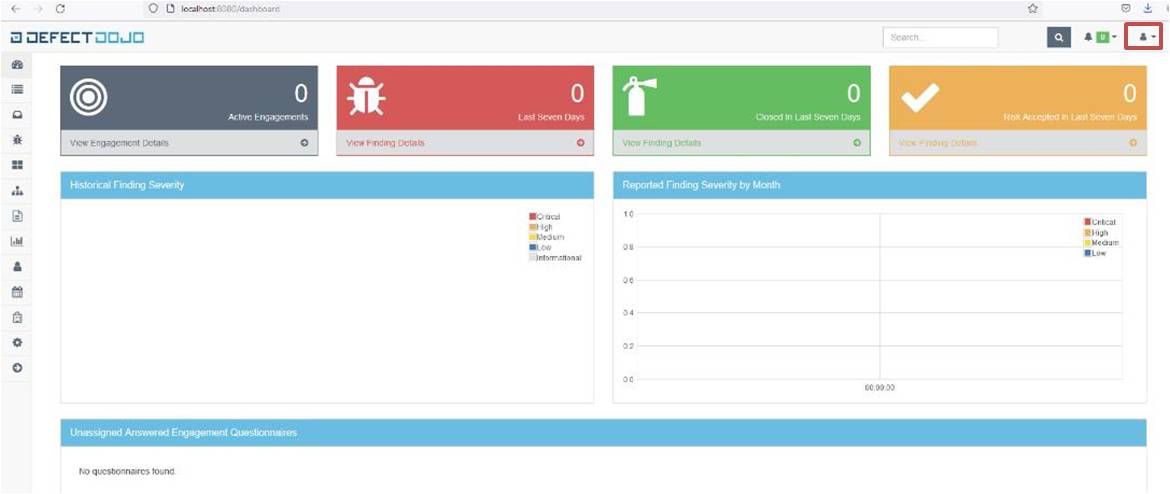
oc create -f checkov-task.yamloc create -f ci-cd-pipeline.yamlInput the API key for the admin user, you can retrieve this whilst logged into the DefectDojo Web UI and navigating to OpenAPIV2
apiVersion: v1
kind: ConfigMap
metadata:
  name: dojo-configmap
  namespace: default
data:
dojo-configmap.url: https://<release_name>.yourDomain # e.g https://defectdojo-route.app-crc.testing/apiVersion: tekton.dev/v1alpha1
kind: PipelineResource
metadata:
name: <resource_name>
spec:
type: git
params:
- name: url
value: '<url>' # this is the URL of you Git Repository in Gitea ..?
- name: revision
value: main # this is the default revision branch of you repository unless configured otherwise this is main or master.You can the deploy the PipelineResource by performing:
oc create -f pipelineresouce.yamlThe Pipeline can be deployed via the OpenShift Web Console or by configuring the following parameters and deploying the PipelineRun.
.....
  pipelineRef:
    name: ci-cd-scan-dockerfile-pipeline
  resources:
   - name: git-source
     resourceRef:
       name: <Pipeline_resource> # vulnerable-dockerfile
  params:
  - name: Dojo-Product-Name
    value: example_product # Name of the Product to be created in DefectDojo
  - name: Dojo-Engagement-Name
    value: example_enagment # Name of the Engagement to be created in DefectDojo
  - name: Branch_Name
value: main # Name of the Git repository Branch being scannedA description of the Tekton Trigger configurations is described here
# Deploy the role based access control
oc create -f rbac.yaml

# Deploy the trigger template
oc create -f triggertemplate.yaml

# Deploy the trigger binding
oc create  -f triggerbinding.yaml

# Deploy the Eventlistner
oc create -f EventListener.yamlIf you are hosting this pipeline in an internal environment (using CRC) then follow the guide for Setting up Gitea
In the GitHub Repo that you wish to use navigate to Settings > Webhooks and input the Eventlistner URL from above.
Once Gitea has been deployed, navigate to the application using your specified route. (https://gitea-route.apps-testing.crc)
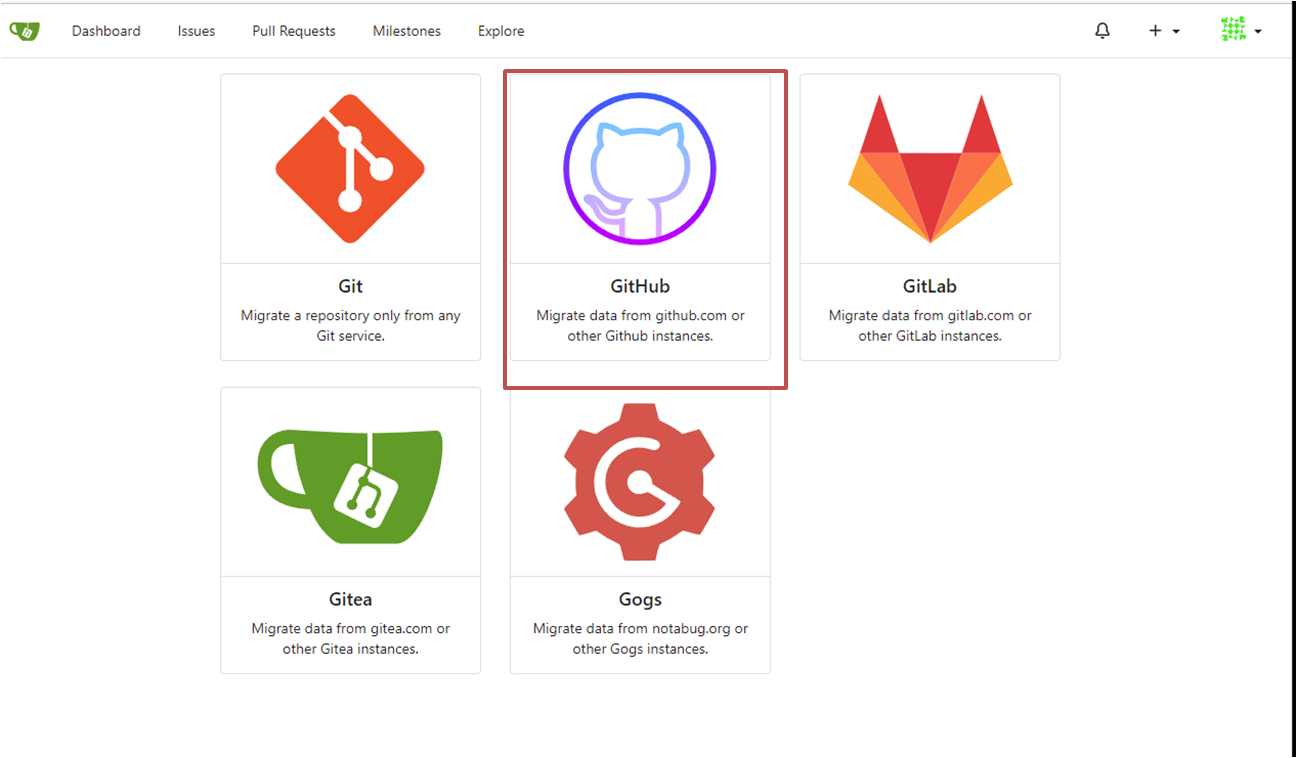
To create a Gitea Migration select "+" -> "New Migration"
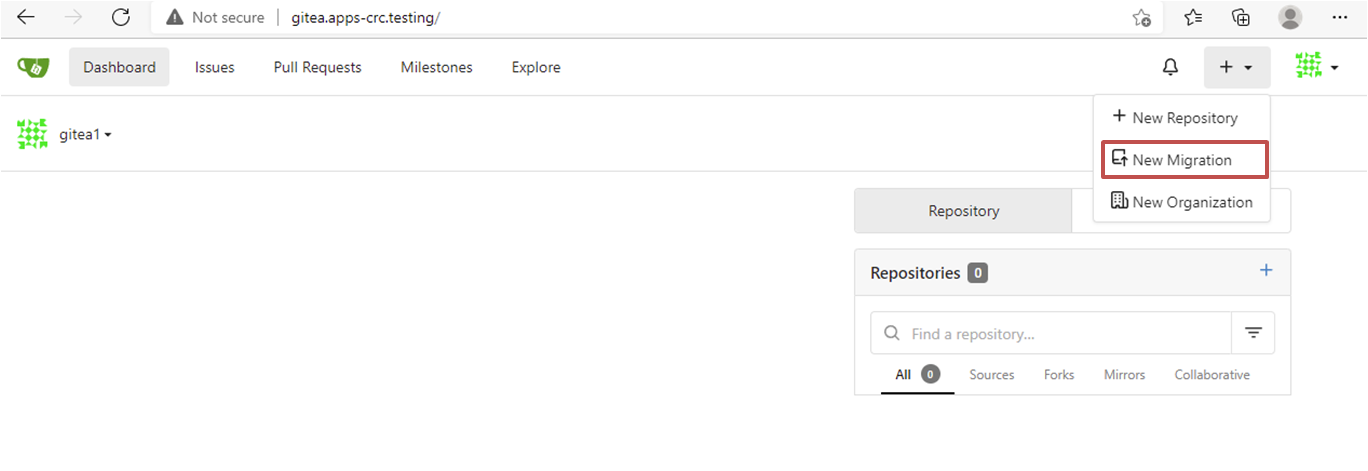
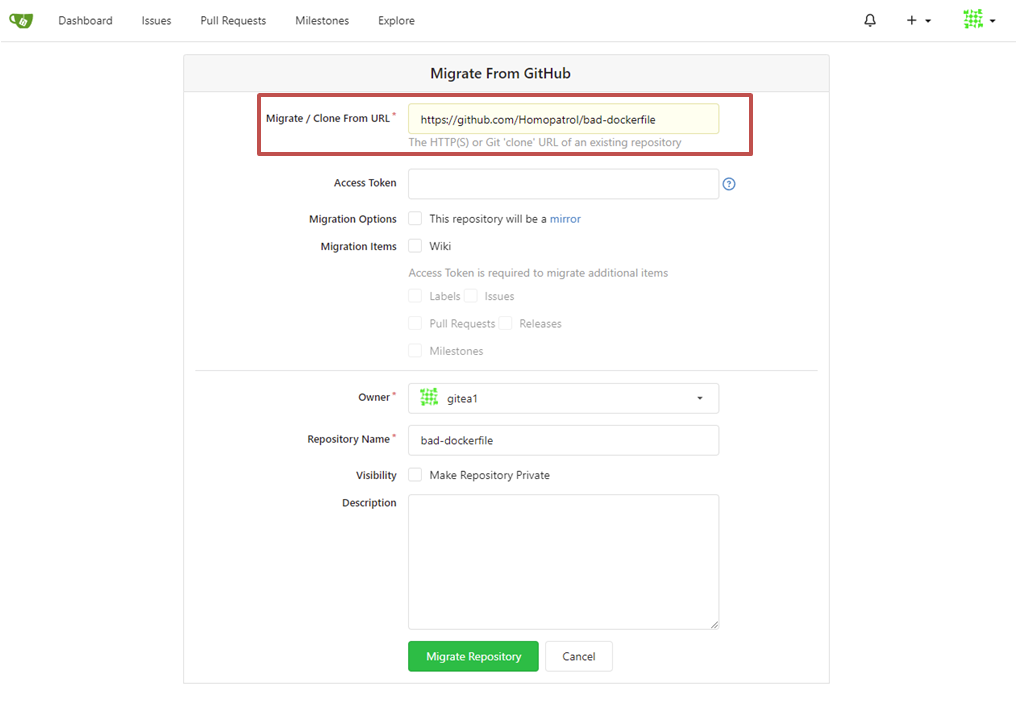
Input the URL for the GitHub repository you are migrating from.
Note it is recommended for itegrity accross platforms that you set up a mirrored repository, if you choose not to then do not tick the option "This repository will be a mirror" seen below
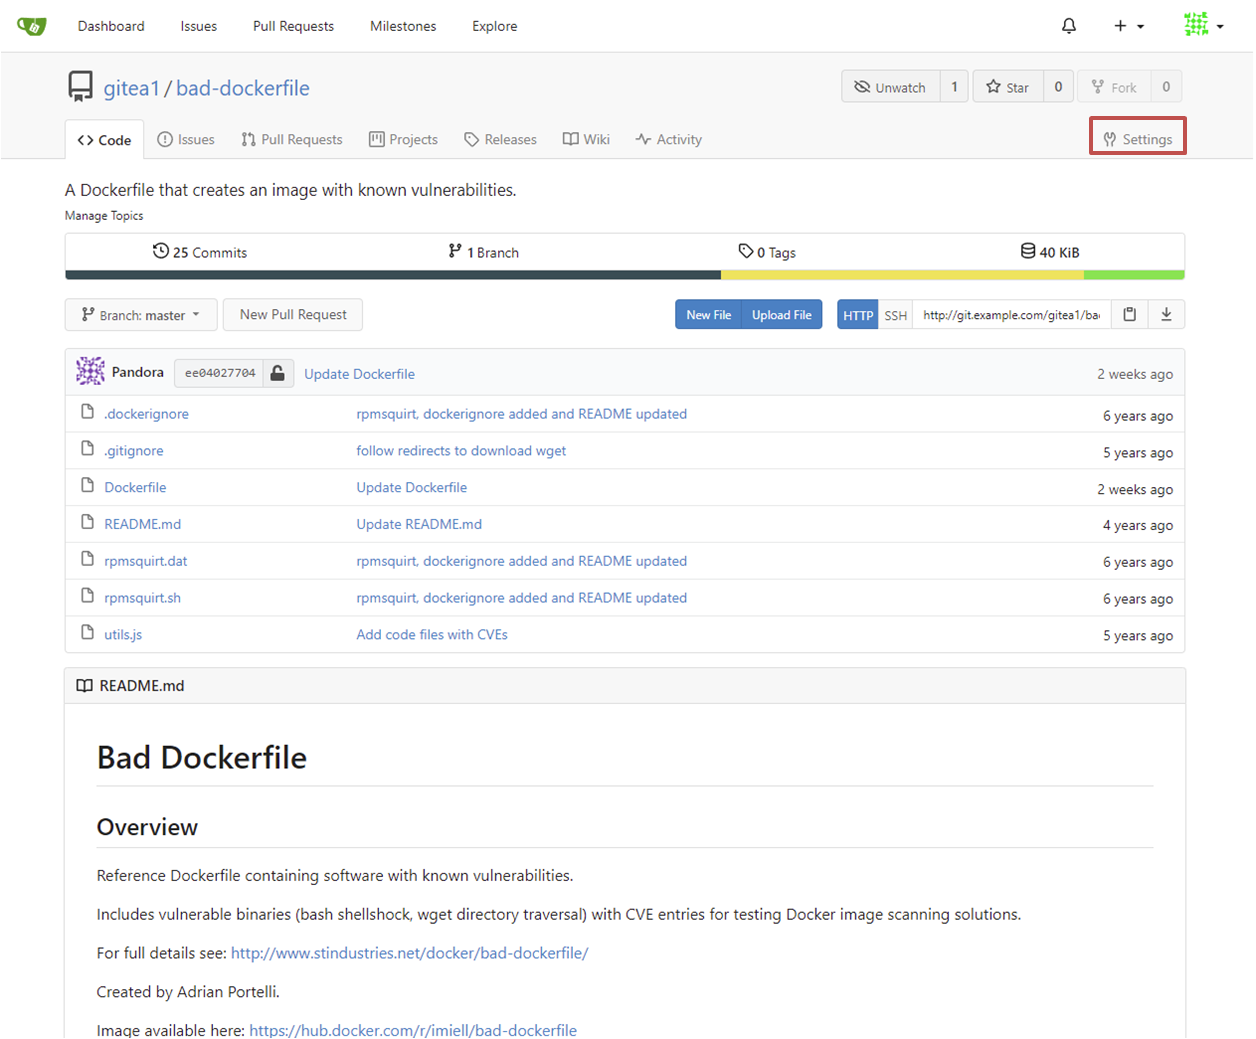
To setup a webhook for the newly created Gitea Repository navigate to Settings -> Webhooks
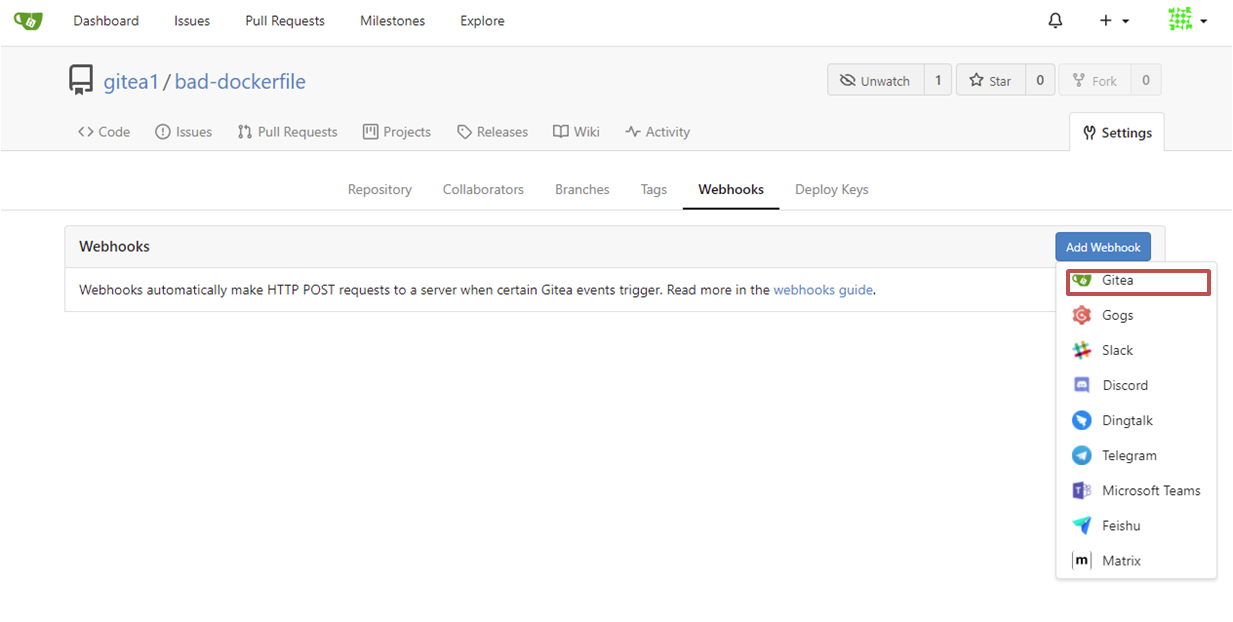
Select "Add Webhook" and "Gitea" from the drop down menu
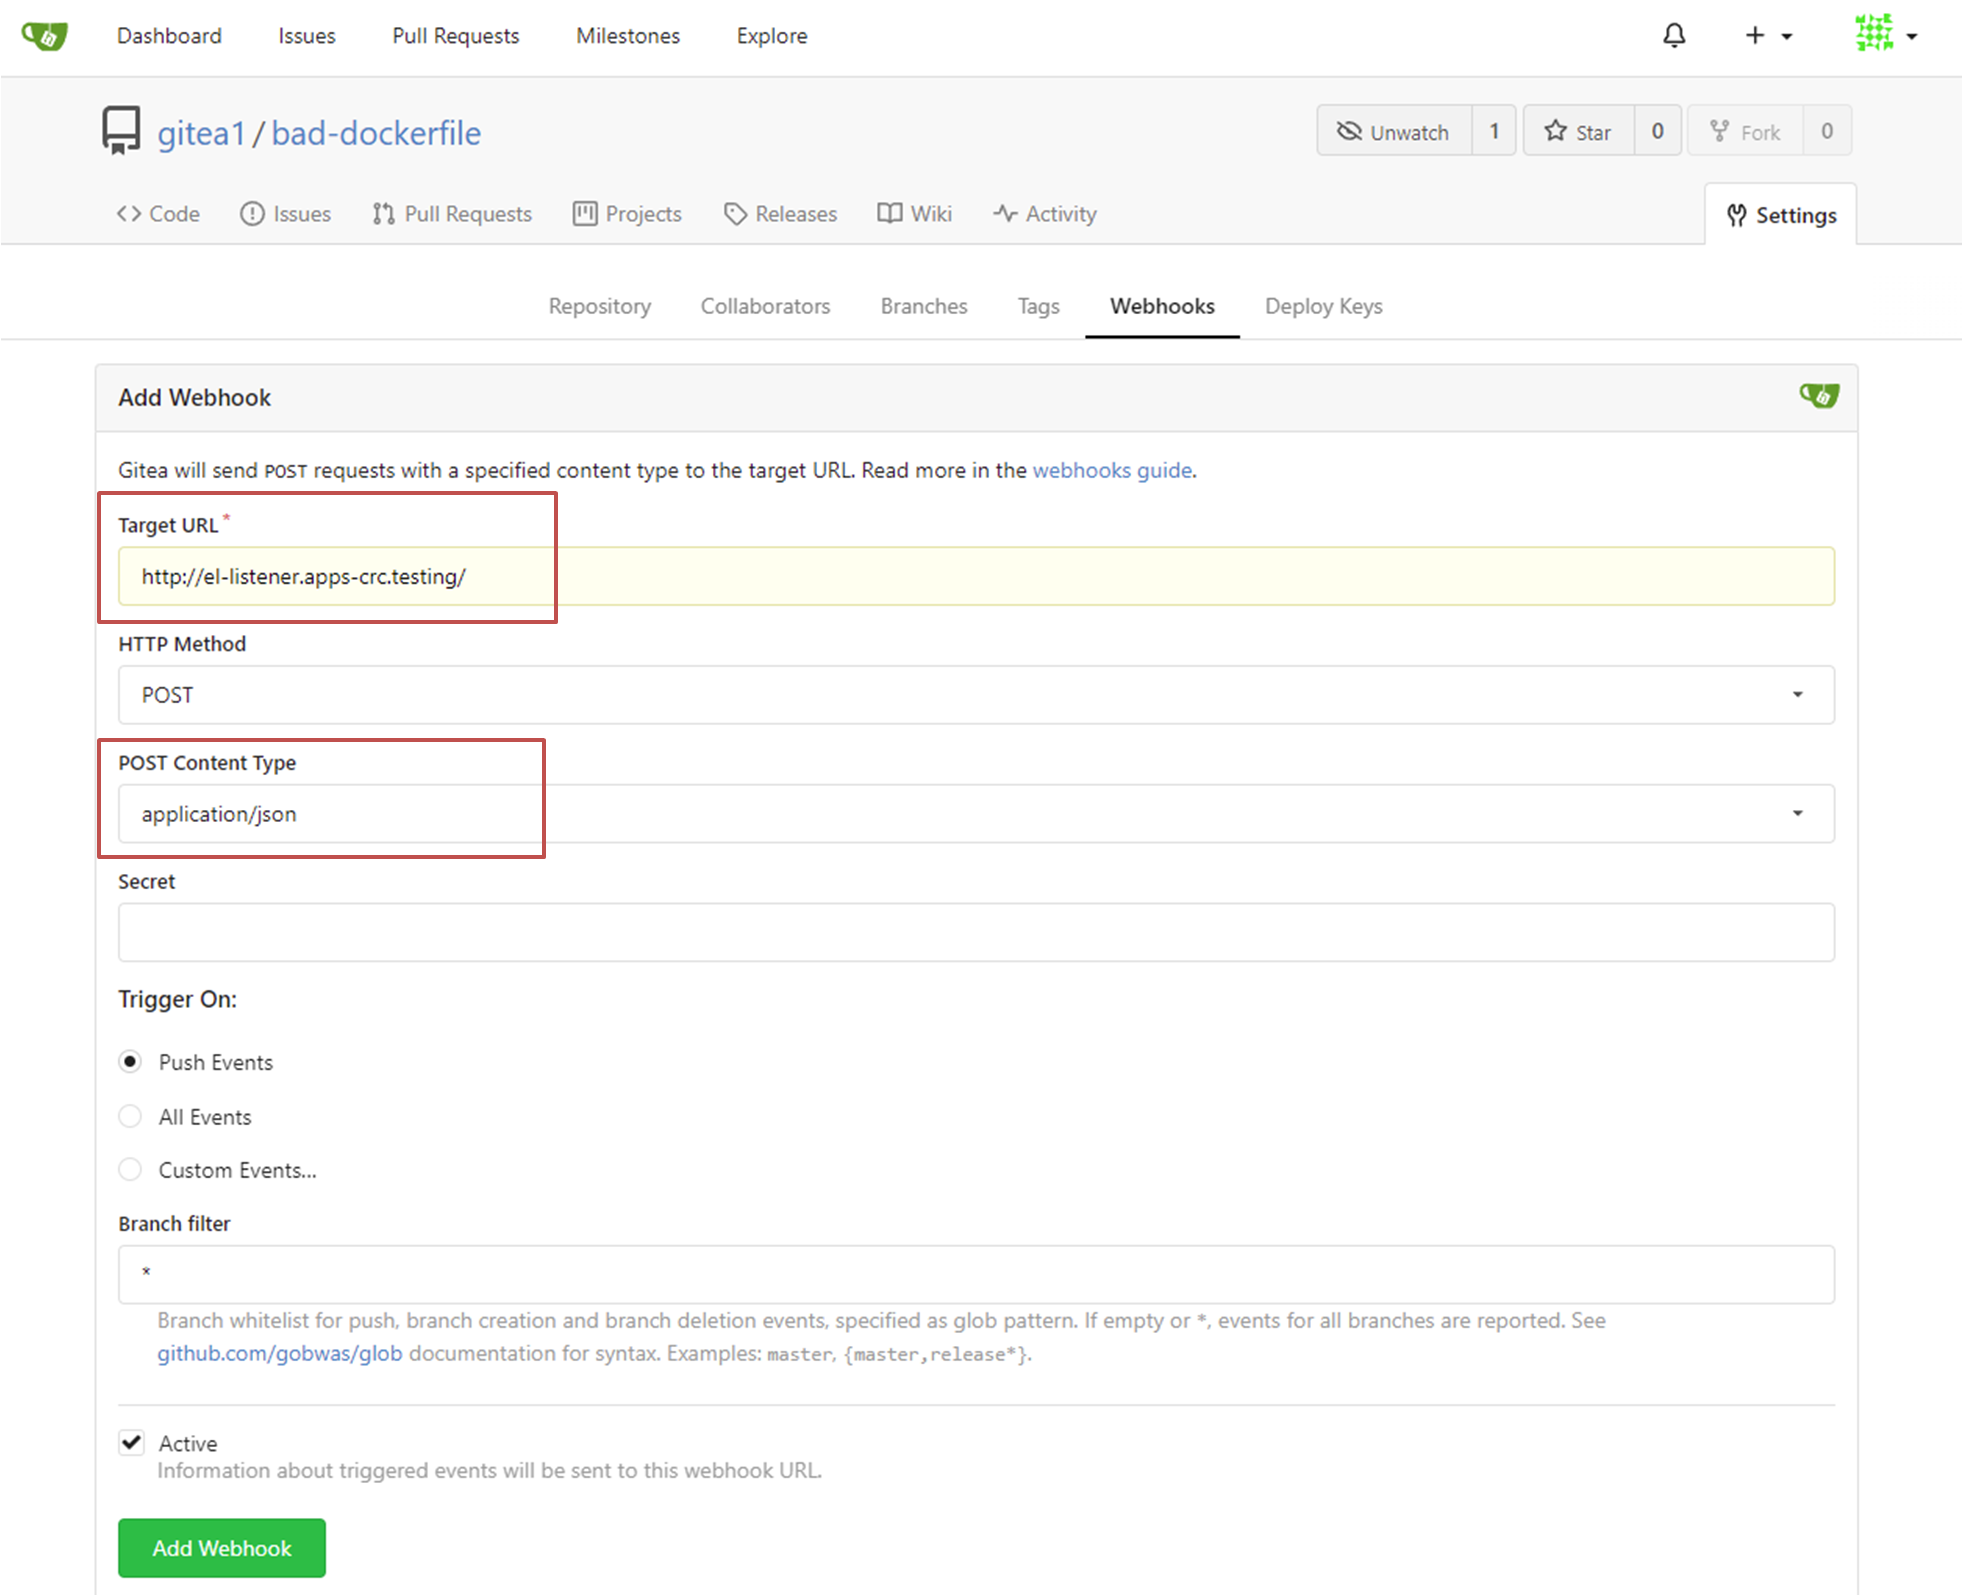
Input your EventListener URL into the "Target URL" field and ensure that "POST Content Type" is set to "application/json"
To uninstall any of the OpenShift resources run:
oc delete -f <resource_name>.yamlTo uninstall the DefectDojo application run:
helm list

helm uninstall <release_name>