Important: Unity Reference project is an experimental project. For early access, contact your Unity Sales partner.
The Unity Reference Project is a fully functional collaborative design review tool for 3D assets. It's a Unity project that you can build on to create your own custom viewer application. It also lets you take advantage of any improvements that Unity publishes to GitHub.
To connect and find support, join the Unity forum.
The Unity Reference Project is currently compatible with Unity Editor 2021.3.15f1 (LTS) and will occassionally be updated to support newer versions. Builds are tested on the following platforms:
- Windows
- MacOS (Intel and Apple Silicon)
- iOS
- Android
- WebGL
- Tethered VR headsets
- Unity Reference Project
The Unity Reference Project is a Unity project intended to be used as a starting point for building a collaborative 3D asset review tool. It can be built for many platforms, including WebGL, making it highly accessible and simple to share. The Unity Reference Project is designed to be highly customizable so you can add, remove, or change its features, tools, and UI; while still being able to pull in the latest updates with minimal conflicts.
This project lets you customize your application. For example, you can:
- Customize navigation modes.
- Localize your application.
- Add a view that you can toggle to troubleshoot performance.
- Customize the user interface and tools.
- Add and customize tools for VR.
It also leverages Unity services that make it easier to:
- Authenticate with your Unity account.
- List and select an asset from cloud storage.
- Stream a large 3D asset from cloud storage (vast support for 3D formats).
- Online multiplayer collaboration.
- Share a deep-link to an asset for others to view.
To open this Unity project on MacOS, you must have the Xcode command line tools installed.
- Open the
Terminalapp on MacOS - Enter the following command
xcode-select --install
- To get the Reference project, you can clone or download it.
Configuring Unity services typically involves signing into your Unity account and registering your application.
Important: The packages used in this project recently switched to services hosted on Azure. When you sign in, ensure the toggle next to the
Sign Inbutton saysUsing Azure. If you were using a release prior to version0.2.0then you will need to register a new App Id and upload your assets to be processed again.
- To sign in, go to the Digital Twin dashboard.
For your application to function effectively with Unity streaming services and deep linking, you must first create an App Id.
Important: If you do not set an App Id, your project will fail to build.
To create an App Id, follow these steps:
- Log into the Digital Twin dashboard and ensure you have selected "Using Azure".
- Select Developer Hub > Registered Applications.
- Select the + Register an application.
- Enter the application name in the App Name field.
- (Optional) Add a description for your application in the Description field.
- Select Create.
- Copy your
App Idto your clipboard.
To use the App Id, follow these steps:
- Open the Unity Reference Project in the Unity Editor.
- Go to Edit > Project Settings > Unity Cloud > App Registration.
- Paste your
App Idin the App Id field. - Select Refresh to update the application data in the Unity Cloud Portal.
Before you can view assets in the Unity Reference Project, you must upload them to the portal.
To access assets in a different organization, change organizations in the upper-right of the dashboard page.
To upload an asset:
- In the Digital Twin dashboard, select + New.
- Name the asset.
- Drag your 3D asset and its dependent files into the upload area.
- Select Create.
Once the asset finishes processing, you can stream through the Unity Reference Project.
Once you have downloaded the project, follow these steps:
- Check that you have installed the 2021 LTS Unity Editor.
- To add the project to the Unity Hub, select Open.
- Select the folder called ReferenceProject in the downloaded repository.
Note: The first time you open the project, Unity will import all assets, including packages it depends on, which will take longer than usual.
- Set your App Id.
- Open the
Mainscene (Assets/_Application/Scenes/Main.unity).
To enable VR navigation, follow these steps:
- Activate the OpenXR plug-in by going to Edit > Project Settings > XR Plug-in Management.
- Ensure that Initialize XR on Startup is unchecked.
- Your VR hardware must be connected prior to running the app in order to be detected.
- (Optional) To launch the app in VR, use the
MainVRscene found inAssets/_VR/_Applications/Scenes.
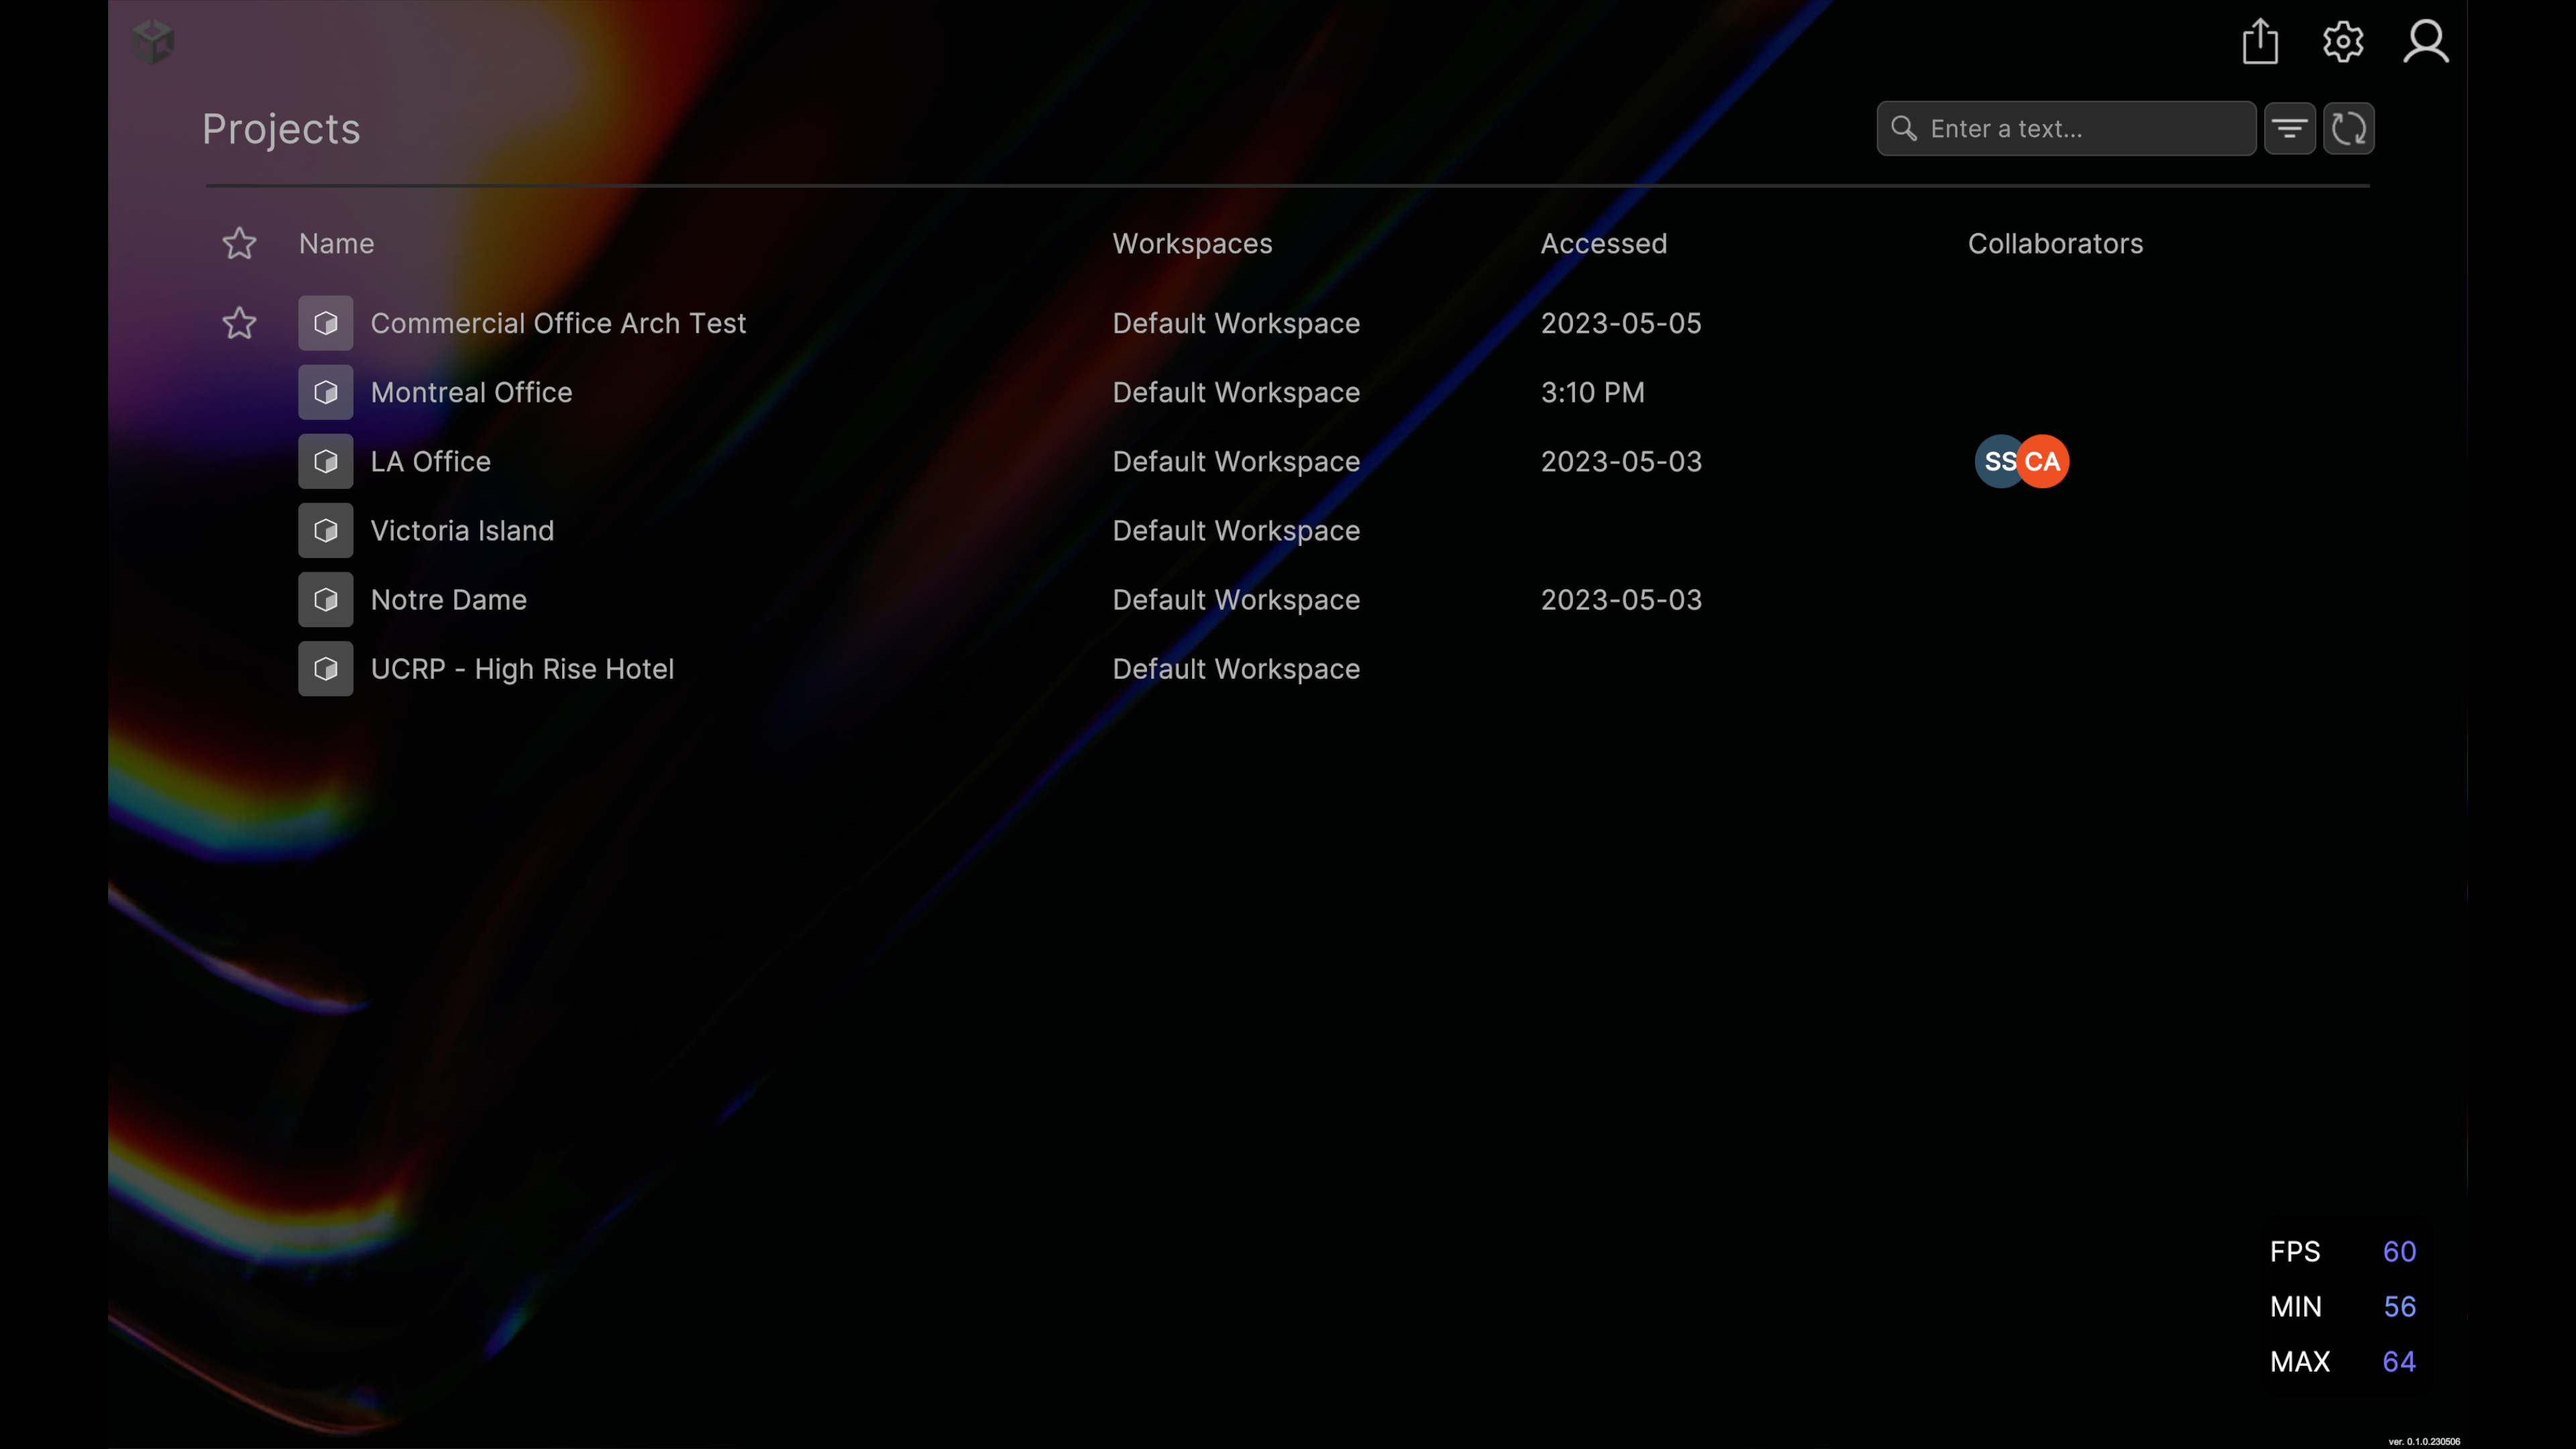
After you run the Main scene, you must sign in.
- To open an asset in the viewer, select it from the list.
- To move the camera, you can do any of the following:
- select
- touch
- drag-and-drop
- zoom in and out
- scroll
- pinch
- To change the navigation mode, select the icon in the lower-left corner.
- To return to your asset list, select the folder icon in the upper-left corner.
- If you need to access personal settings, select the cog icon in the top-right corner. From there, you can change between English and French localization or toggle the display of frame rate information.
- To sign out of your Unity account, select the avatar icon in the upper-right corner.
To correctly stream your asset, you need to set your App Id.
Report bugs in the Unity Reference Project using GitHub Issues. Report Unity Editor bugs using the Unity bug submission process.
For legal information or third-party license information, see LICENSE.md.
Thank you for taking a look at the project! To help us improve and provide greater value, please consider providing feedback on our forum about your experience with the Unity Reference Project. Thank you!


