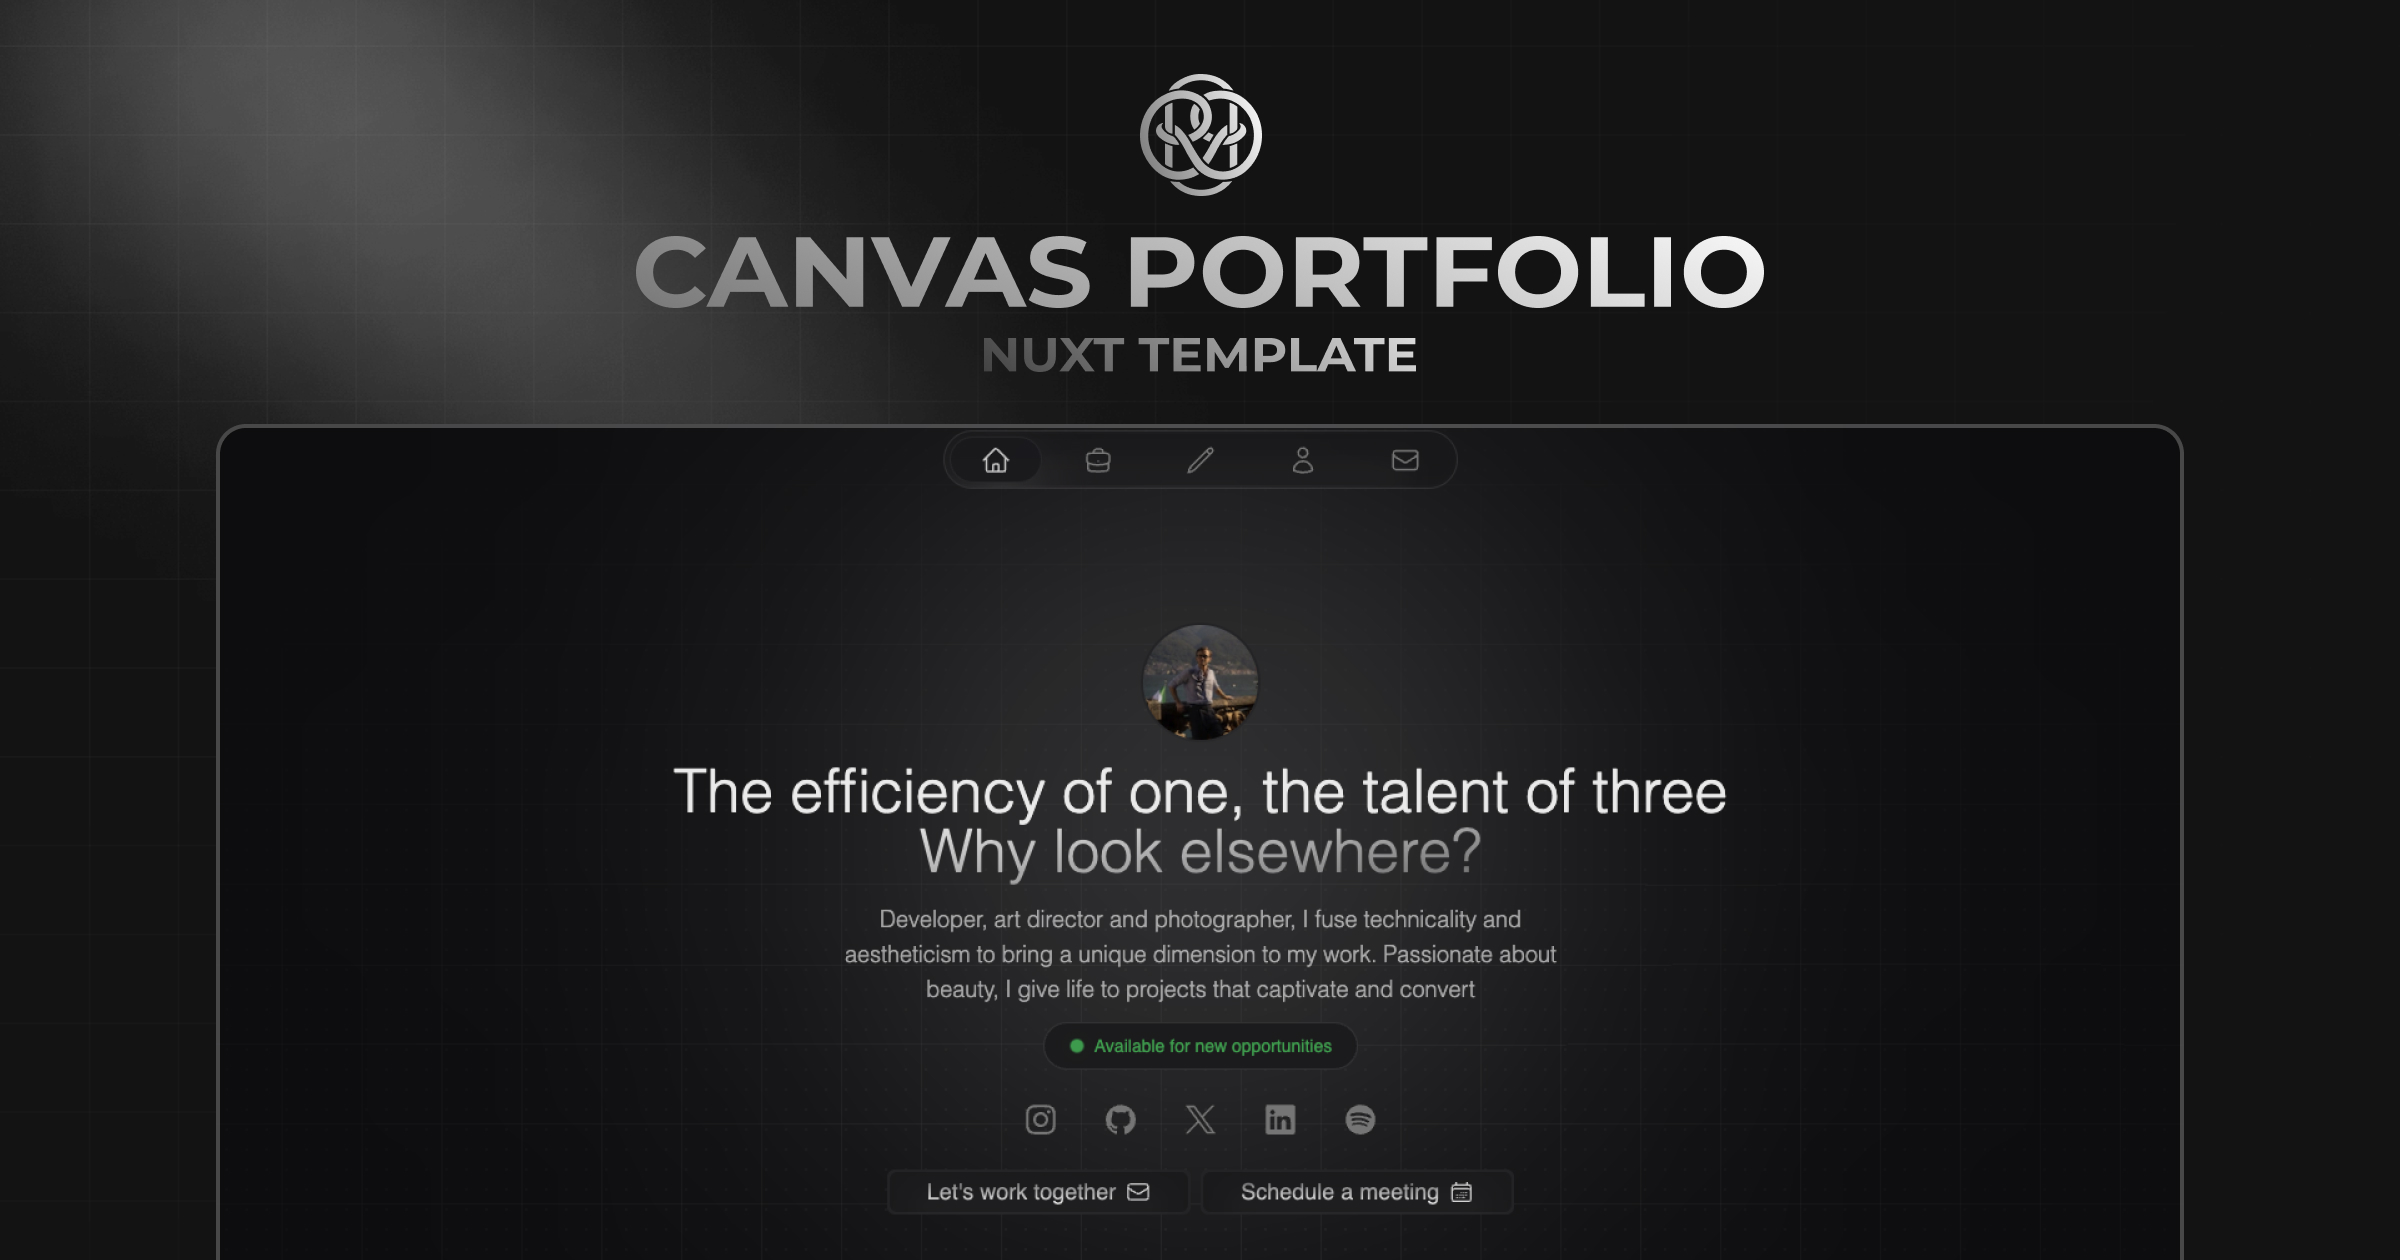
This is a fully customizable portfolio template built with Nuxt.js and Tailwind CSS. Use it to showcase your work, testimonials and other information to your clients.
You can see a live demo at canvas.hrcd.fr.
- Fully Nuxt Content driven with the content driven mode on
- Full and simple Nuxt Studio editor support
- Built-in Awesome Component & Layout
- NuxtUI for some UI components
- Tailwind CSS
- Working contact form with Resend
- Nuxt i18n for multi-language support
- Open Graph Image support with Nuxt OG Image
- Nuxt Robots for auto-generate robots.txt
- ESLint with official Nuxt configuration (ESLint v9 with Flat config)
- Full typescript support
- Optimized images with Nuxt Image
- Vue Composition Collection (Vueuse)
- Fully responsive on all modern browsers
- Professional and minimal design
- Easy to customize
- Auto generated sitemap
- Clone this repository if you have access or download it from the store
git clone git@github.com:HugoRCD/canvas.git- Install dependencies
bun install- Start development server
bun dev- Generate static project
bun generate- Start production server
bun startThis portfolio uses Nuxt Content to manage the content. Here's how you can modify it:
First check the app.config.ts file to change the global configuration of the portfolio, there is a lot of stuff you can change here.
- Navigate to the
content/2.articlesdirectory. - Here, you'll find Markdown files for each article. To modify an article, simply open its Markdown file and make your changes.
- To add a new article, create a new Markdown file in this directory. The name of the file will be used as the URL slug for the article.
- Navigate to the
content/1.works/directory. - Here, you'll find Markdown files for each article. To modify an article, simply open its Markdown file and make your changes.
- To add a new project, add a new JSON file in this directory.
To change the featured works on the homepage, simply add the featured: true key to front matter of the markdown file.
Simply go to the content/ directory and edit any of the Markdown or JSON files to modify the content.
This portfolio uses Resend to handle the contact form. To set it up, follow these steps:
- Get your api key from Resend here your api key
- Add your api key in the
.envfile - change the
fromkey in thesendEmailroute in theserver/api/folder, you can customize everything you want in this route - That's it, you're good to go!
To change the main open graph image, go to the app.config.ts file and change the openGrapImage key.
For the blog open graph image, go to the content/articles directory and change the image key in the Markdown file of the article.
To start contributing, you can follow these steps:
- First raise an issue to discuss the changes you would like to make.
- Fork the repository.
- Create a branch using conventional commits and the issue number as the branch name. For example,
feat/123orfix/456. - Make changes following the local development steps.
- Commit your changes following the Conventional Commits specification.
- If your changes affect the code, run tests using
bun run test. - Create a pull request following the Pull Request Template.
- To be merged, the pull request must pass the tests/workflow and have at least one approval.
- If your changes affect the documentation, make sure to update it.
- If your changes affect the code, make sure to update the tests.
- Wait for the maintainers to review your pull request.
- Once approved, the pull request will be merged in the next release !
Local development
- Clone this repository
- Install latest LTS version of Node.js
- Enable Corepack using
corepack enable - Install dependencies using
bun install - Start development server using
bun dev - Open http://localhost:3000 in your browser
Published under the APACHE license.
Made by @HugoRCD and community 💛
🤖 auto updated with automd (last updated: Mon Jun 24 2024)


