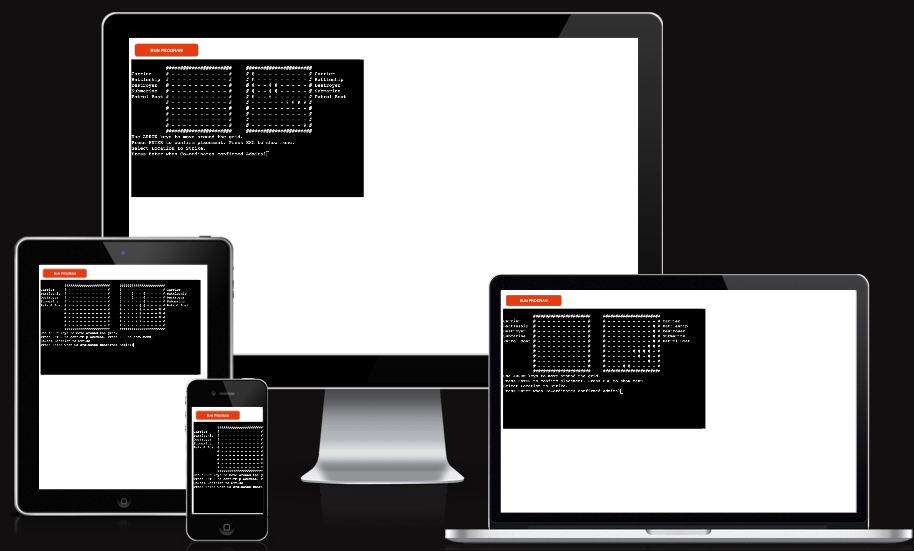
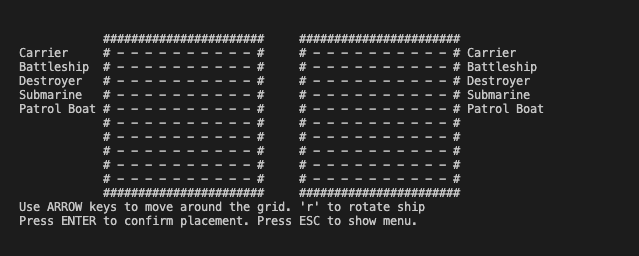
Battleships is a python terminal application that allows the user play the classic battleship game with advanced ai algorithm.
Users can start game with random placement of ships, or manually place the ship to the users defined positions on the board.
- Open this link or copy it from here:
https://pp3-battleships.onrender.com/, paste it into your browser's address bar, and press enter. - When the page is loaded, click the "RUN PROGRAM" button.
- Navigate through the menu options using the arrow keys on your keyboard, press enter to choose an option.
- Start game with random ship placement or manually place ships.
- Then, you will take turns to find and hit enemy ships.
- Enemy will make move after your turn
- Game ends when either the computer or player fleet have been sunk.
- As a first-time visitor, I want the instructions to be simple so I am able to understand the main purpose of the application.
- As a first-time visitor, I want to be able to see the instructions on how to use the application so i can play the game.
- As a user, I want to be able to manually place my ships to make the game more challenging.
- As a user, I want to be able to play against a difficult opponent so i can improve my game play.
The user can see the main menu with options to start the application or exit.
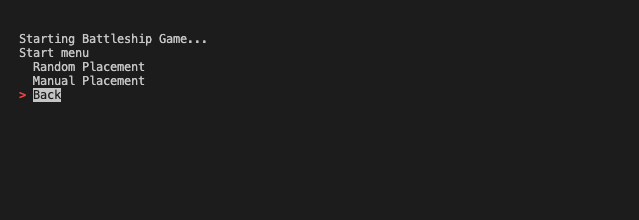
When start is selected the user will be displayed a message stating 'Starting Battleship Game...' with two new options random placement or manual placement
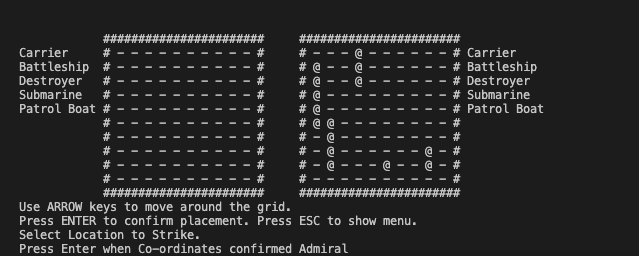
The game will start with random placement for both computer and player ships
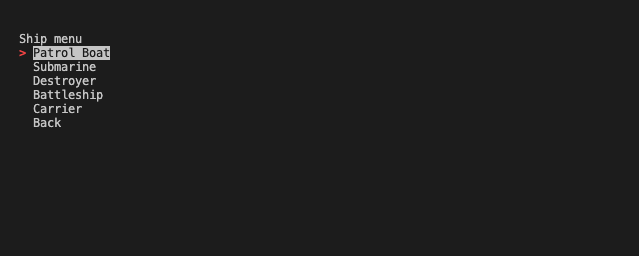
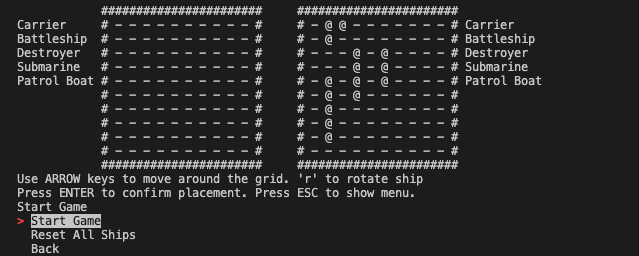
New menu option for all ships to be placed on board, user to select each ship and manual place in desired location
When user select a ship from the options the board will be displayed and user can move ship on board
Once user has placed all ships on the board they will be provided with a new menu to start game or reset all ships
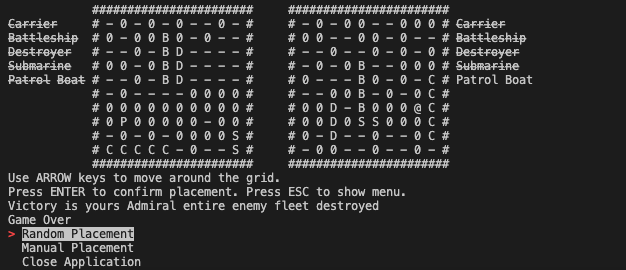
Once the game has ended with the player winning or losing they will be presented with a menu to replay by selecting one of the two placement option or closing the application
The last option in the main menu is the "Exit". Here, the user can exit the application and see the game closing message.
- Python: The main language used to develop the application.
- JavaScript: The language used by the Code Institute to run the mock terminal in the browser.
- HTML: The language used by the Code Institute to create the layout needed to run the mock terminal in the browser.
- random: used to generate random numbers.
- numpy: used to generate a 2d array used to represent the grid.
- time: sleep function from the time library was used to make the type animation for the message displays.
- blessed: used to manipulate the terminal output.
- simple-term-menu: used to create the terminal menu for the application.
- Git: used to manage the application source code.
- GitHub: used to host the application source code.
- Visual Studio Code: used to edit the application source code.
- Chrome: used to run the application in the browser.
- Draw.io: used to create the flowchart.
-
AI sequence move stuck in infinite loop as larger ship near edge
- Fix AI move for ship placement parallel next to edge or parallel adjacent to board edge by checking for unused successful hits in opposite direction
-
AI move was incorrectly placed
- Fix computer move as inverted col, row tuple
-
Random ship placement was placed on inverted axis
- Fix random displacement for row and col by inverting ship size tuple.
-
Fix node display to show 'X' when used and occupied node
- Added logical if statement with and operand to include both used and occupied boolean expressions
-
Fix user validation bug when held repeatedly press same key
- Update message output to normal print function
-
No unsolved bugs
The application was tested manually during the whole development process. Visual Studio Code terminal was used to run the application locally, and the mock terminal provided by the Code Institute was used to run the application in the browser.
| Feature | Expected Outcome | Testing Performed | Result | Pass/Fail |
|---|---|---|---|---|
| Main Menu - Start | show menu for user option to start game | press enter when Start selected | Starting message displays then Start menu loads | Pass |
| Main Menu - Exit | Close terminal application | press enter when Exit selected | closing game message displayed then application closes | Pass |
| Random Placement option | Start battleships game with random placement of ships | press enter when Random Placement selected | Battleship game starts | Pass |
| Manual Placement | Show menu of ships to place on board | press enter when Manual Placement selected | Ship menu loads | Pass |
| Patrol Boat option | display board with ship size 1 to be placed | press enter when Patrol Boat selected | board with ship size 1 able to move on game board | Pass |
| Submarine option | display board with ship size 2 to be placed | press enter when Submarine selected | board with ship size 2 able to move on game board | Pass |
| Destroyer option | display board with ship size 3 to be placed | press enter when Destroyer selected | board with ship size 3 able to move on game board | Pass |
| Battleship option | display board with ship size 4 to be placed | press enter when Battleship selected | board with ship size 4 able to move on game board | Pass |
| Carrier option | display board with ship size 5 to be placed | press enter when Carrier selected | board with ship size 5 able to move on game board | Pass |
| Start Game options | show menu for user option after all ships placed | All ships placed on board | Start Game menu displayed | Pass |
| Start Game Menu - Start Game | Start battleships game with user placed ships | Press enter when Start Game selected | Battleships game starts | Pass |
| Start Game Menu - Reset All Ships | Display Ship Menu options | Press enter when Reset All Ship selected | Ship menu options displayed | Pass |
| Back menu options - All | Display previous menu | Press enter when Back selected | Previous menus displayed | Pass |
| ESC or q pressed during menu - All | Run last menu option command | Press ESC or q | Last menu option executed | Pass |
| Ship placement controls | Arrow keys to move and r to rotate ship | pressed arrow keys and r key | Ship move in direction of arrow key and rotated when r pressed | Pass |
| Confirm Ship placement | Place ship on game board by pressing ENTER | pressed ENTER in desired placement | Board displayed ship placed | Pass |
| User game movement | Arrow keys to move on enemy board | pressed arrow keys | selected node move in direction of arrow key | Pass |
| Confirm hit location - Miss | Confirm hit location on board by pressing ENTER | pressed ENTER in desired location | Board displayed hit location as 0 | Pass |
| Confirm hit location - Hit | Confirm hit location on board by pressing ENTER | pressed ENTER in desired location | Board displayed hit location as X | Pass |
| Ship Sunk - All ship nodes hit | Display ship initial when sunk | All ship nodes hit | Board displayed Ship initials | Pass |
| Selecting previously used node | Message displayed prompting user to select new location | Press enter on used location | Message printed to terminal prompting new location selection | Pass |
| Moving ship in occupied nodes | unable to move ship in current direction and inform user | Move ship to occupied node | Selected ship unable to move in direction and message displayed | Pass |
| Moving ship out of board bounds | unable to move ship in current direction and inform user | Move ship off board | Selected ship unable to move in direction and message displayed | Pass |
| Rotate ship in occupied nodes | unable to rotate ship and inform user | Rotate ship to occupied node | Selected ship unable to rotate and message displayed | Pass |
| Rotate ship out of board bounds | unable to rotate ship and inform user | Rotate ship off board | Selected ship unable to rotate and message displayed | Pass |
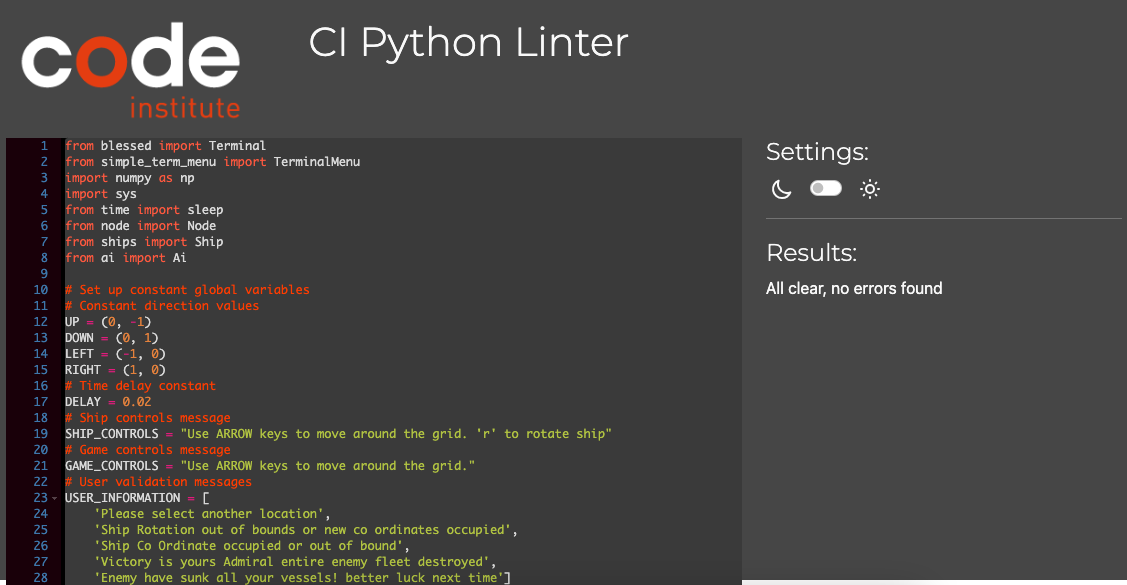
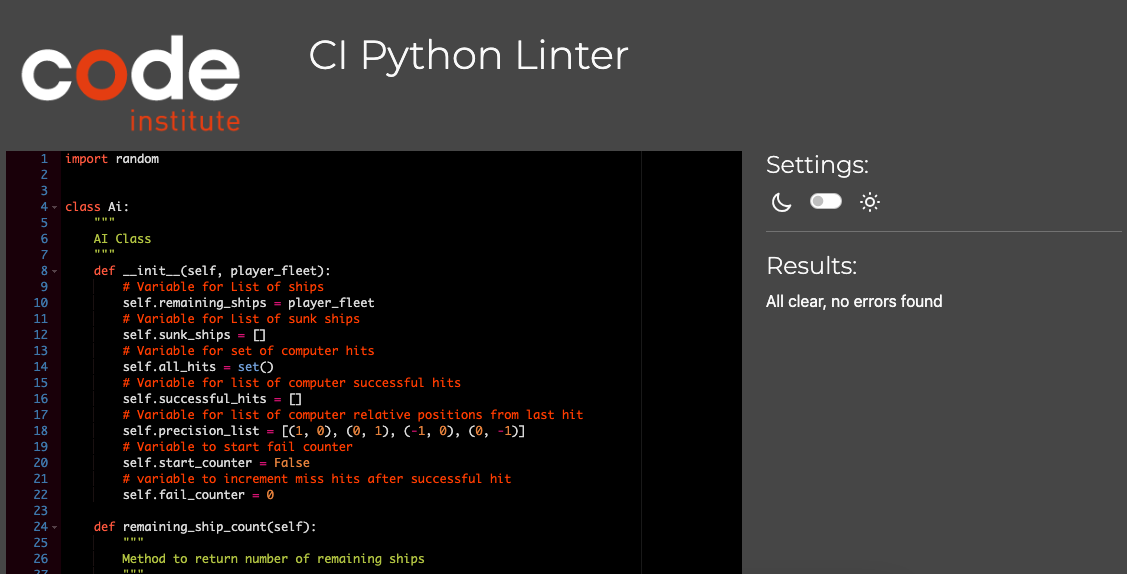
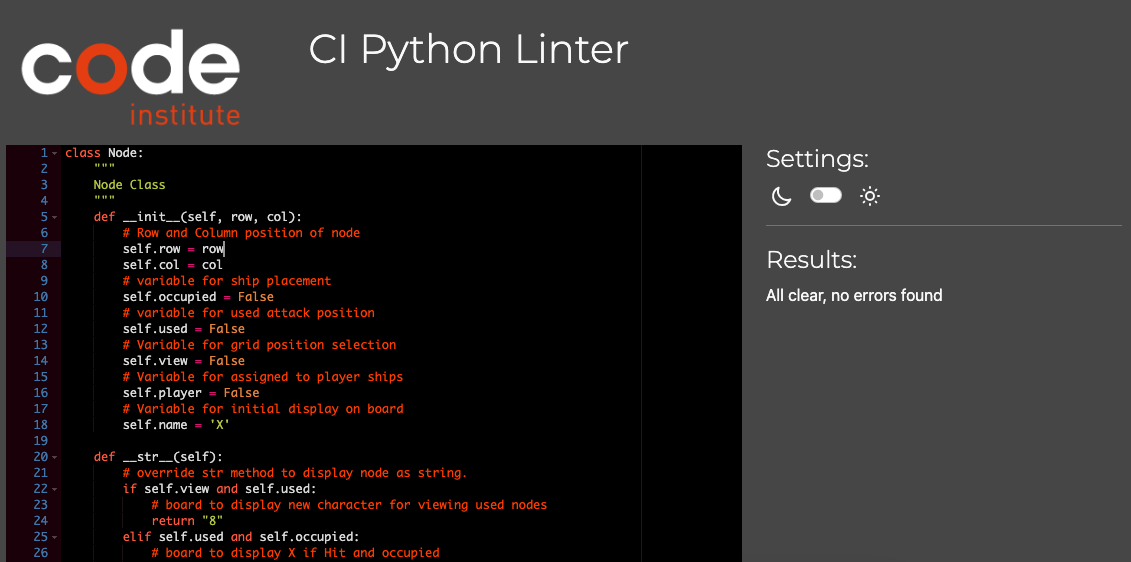
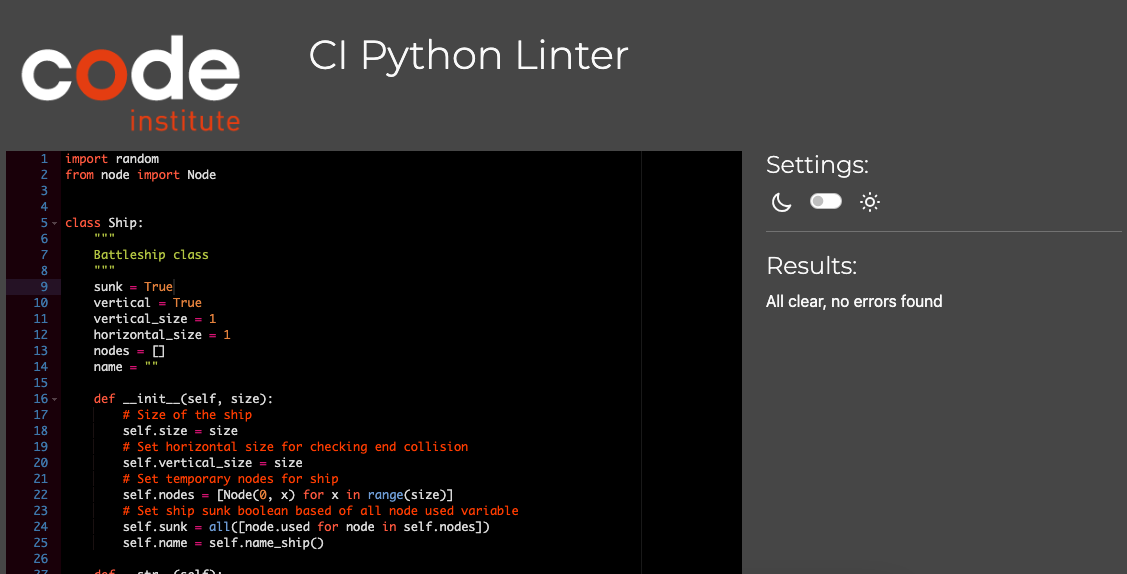
CI PEP8 online validator was used to check the code for meeting PEP8 requirements. No warnings or errors were found. The results of the validator are in the screenshots below.
run.py:
ai.py:
node.py:
ships.py:
The application was deployed to Render and can be accessed from the following link: Battleships
The steps to deploy the application to Heroku are:
-
Create a Heroku account if you don't have one.
-
In the dashboard, go to the "Apps" tab.
-
Click on the "New" button and choose "Create a new app".
-
Enter a name for the app.
-
Choose a region.
-
Click on the "Create" button.
-
Open the app you created and go to the "Settings" tab.
-
At the "Config Vars" section, click on the "Add" button and enter the following:
- key:
PORT - value:
8000
- key:
-
At the "Buildpacks" section, click on the "Add" button and choose:
- Python
- Node.js The order of the buildpacks is important.
-
After that, click on the "Deploy" tab.
-
At the "Deployment method" section, choose GitHub and connect your GitHub account.
-
Then, you need to choose the repository you want to deploy.
-
Go down to the "Manual deploy" section, choose the branch you want to deploy, and click on the "Deploy branch" button.
-
The application will be deployed to Heroku. You can access it by clicking on the "View" button.
The steps to run the application locally on your machine are:
-
The application requires you to have Python 3 installed on your machine.
-
If you are using Windows, you can download Python 3 from Python website.
-
If you are using Linux, the Python 3 installation is probably already included in your distribution, but if not, you can install it by running the following command in your terminal:
- For Ubuntu or other Debian based distributions:
sudo apt-get install python3 - For Fedora or other Red Hat based distributions:
sudo yum install python3 - For Arch Linux based distributions:
sudo pacman -S python3 - Other installation instructions can be found here.
- For Ubuntu or other Debian based distributions:
-
If you are using macOS, you can download Python 3 from Python website.
-
-
Now, you need to download the application source code from GitHub.
-
Go to the GitHub repository, click on the "Download ZIP" button, and extract the zip file's contents to the folder where you want to place the application.
-
Or use the following command to download the application source code:
git clone https://github.com/Hussain-Naik/PP3-Battleships.git
-
-
Now, you need to install the dependencies.
- Navigate to the folder where you placed the application source code and run the following command:
pip3 install -r requirements.txt
- Navigate to the folder where you placed the application source code and run the following command:
-
Now, you can run the application on your machine by running the following command:
python3 run.py
-
Create a new Render account if you don't already have one here Render.
-
Create a new application on the following page here New Render App, choose Webserver:
-
Select the GitHub option and connect the application to the repository you created.
-
Search for the repository you created and click "Connect."
-
Create name for the application
-
Select the region where you want to deploy the application.
-
Select branch to deploy.
-
Select environment.
-
Render build command:
pip install --upgrade pip && pip3 install -r requirements.txt && npm install -
Render start command:
node index.js -
Select Free plan.
-
Click on "Advanced" settings.
-
Add the following environment variables:
- Key: PORT Value: 8000
- Key: PYTHON_VERSION Value: 3.10.7
-
Click "Create Web Service."
-
Wait for the completion of the deployment.
- Aleksei Konovalov great guidance and mentor throughout project, as the battleship concept revolved round a node elements to make the board and ship fragments.
