You can now place all your items in a relative layout, and use this library to manage and design your items from code.
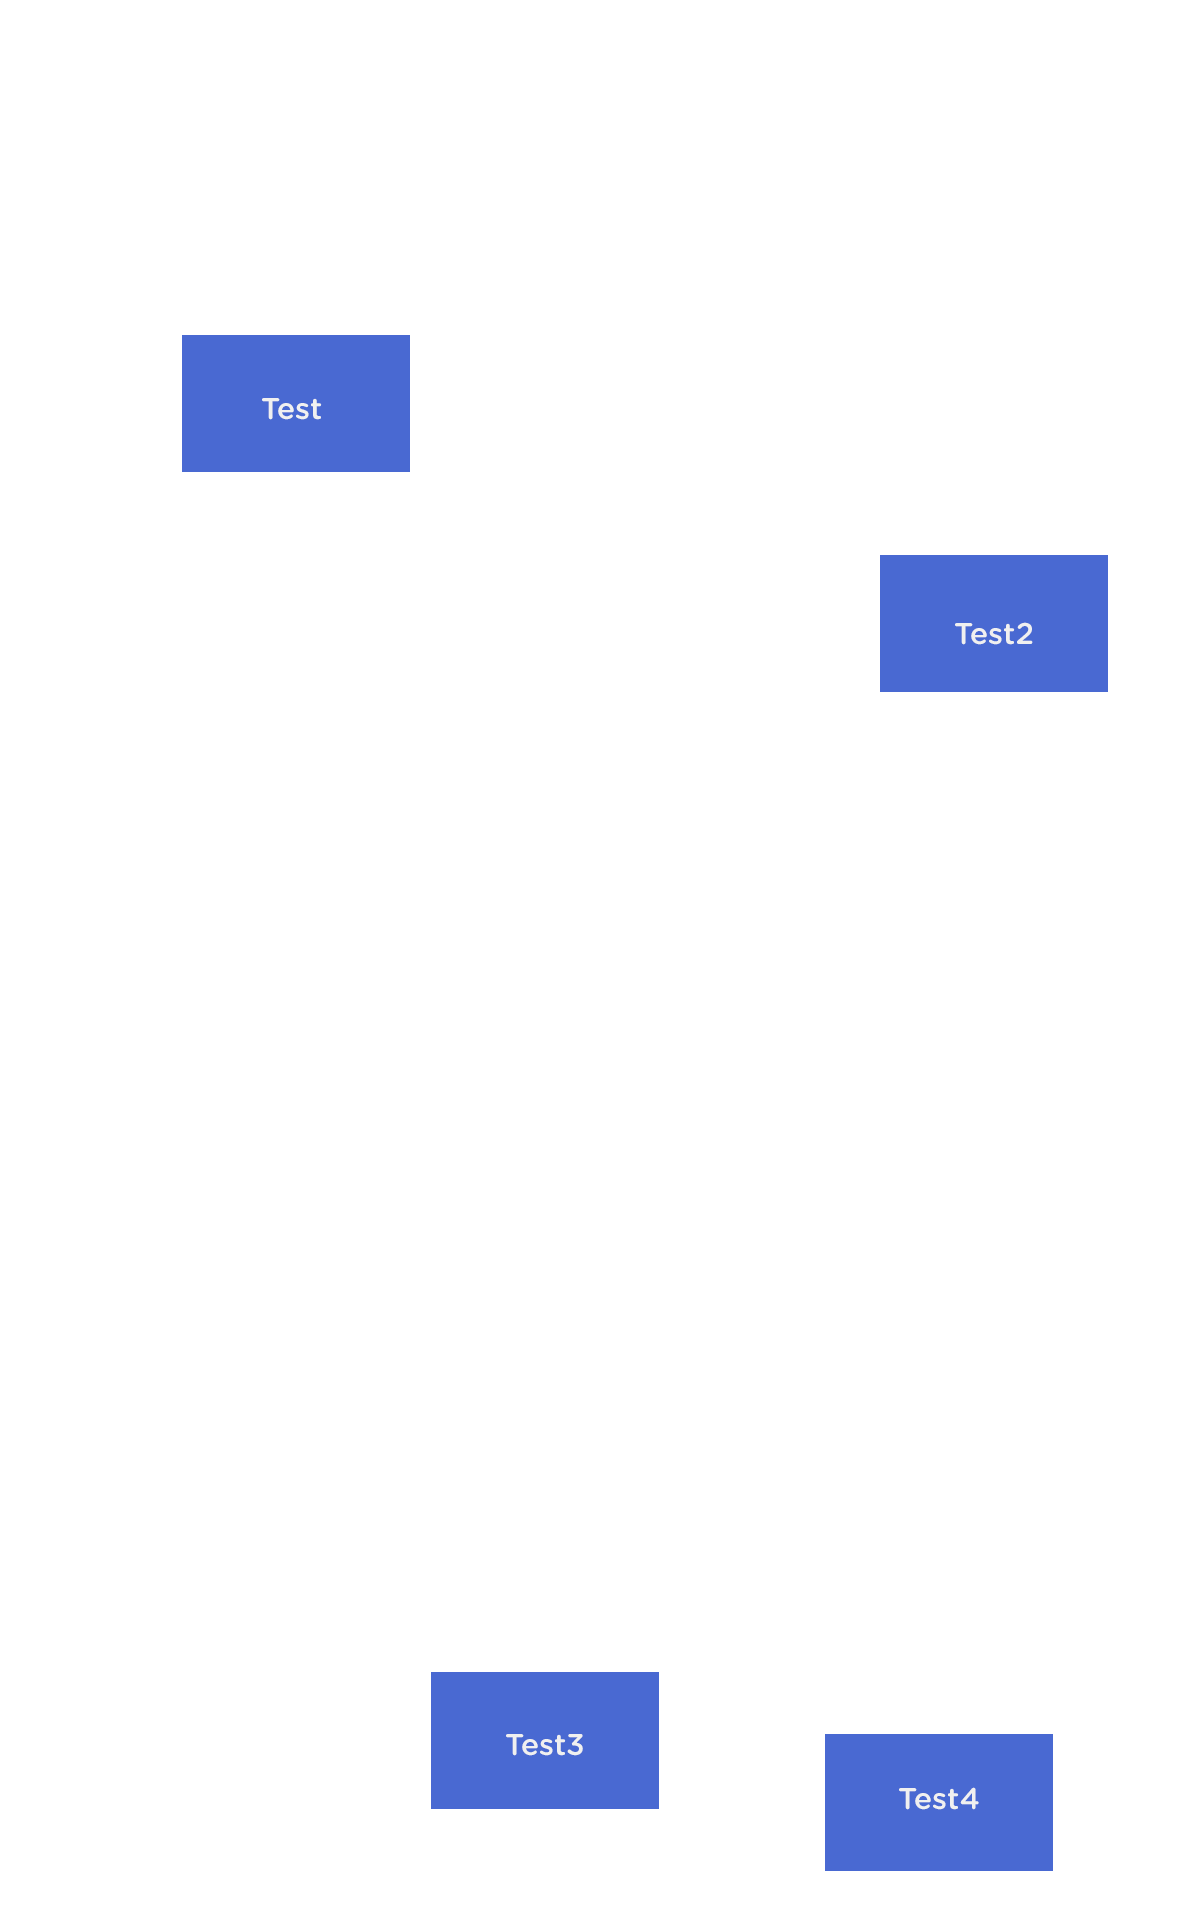
Photshop image without grid, designed with 4 buttons.
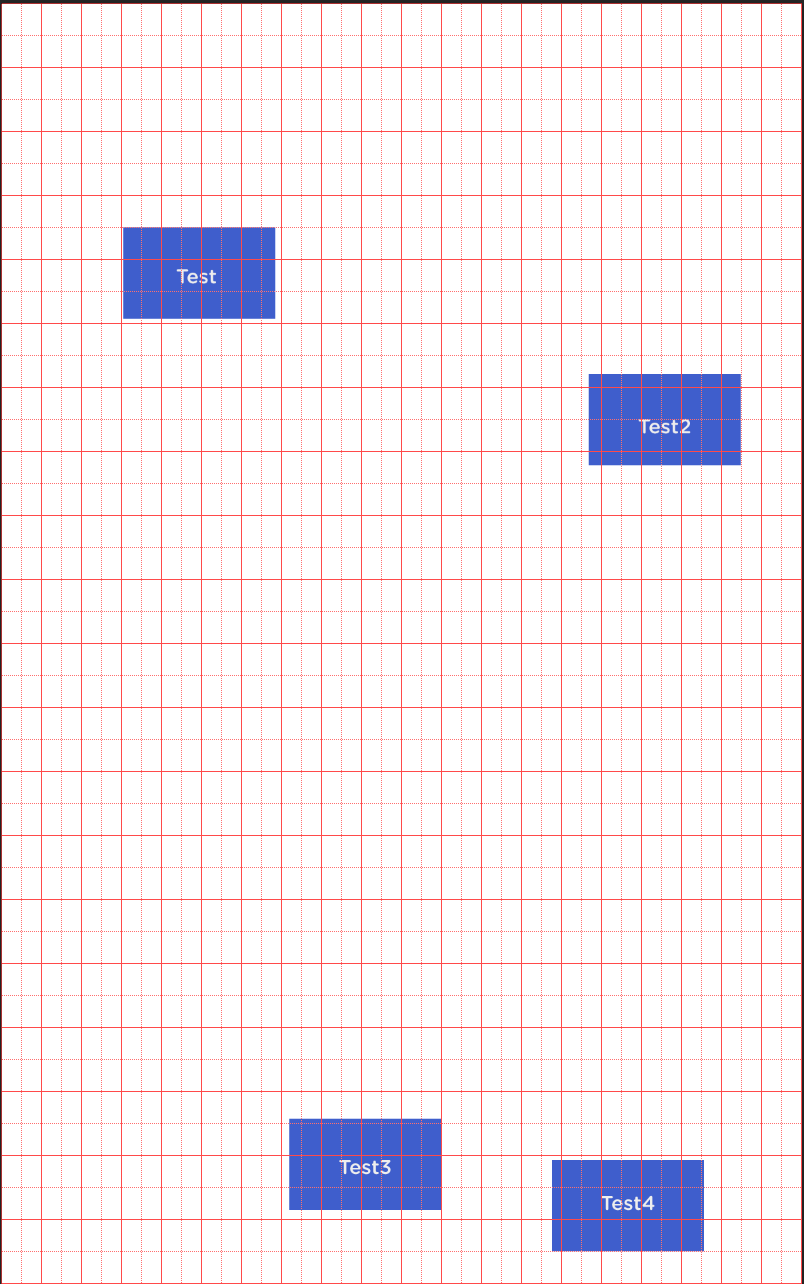
same photoshop image with grid units, each grid unit is 5% of screen size, for exemple button "test" has 3.1 GRID units from left, and 3.5 GRID units from top, same for all buttons.
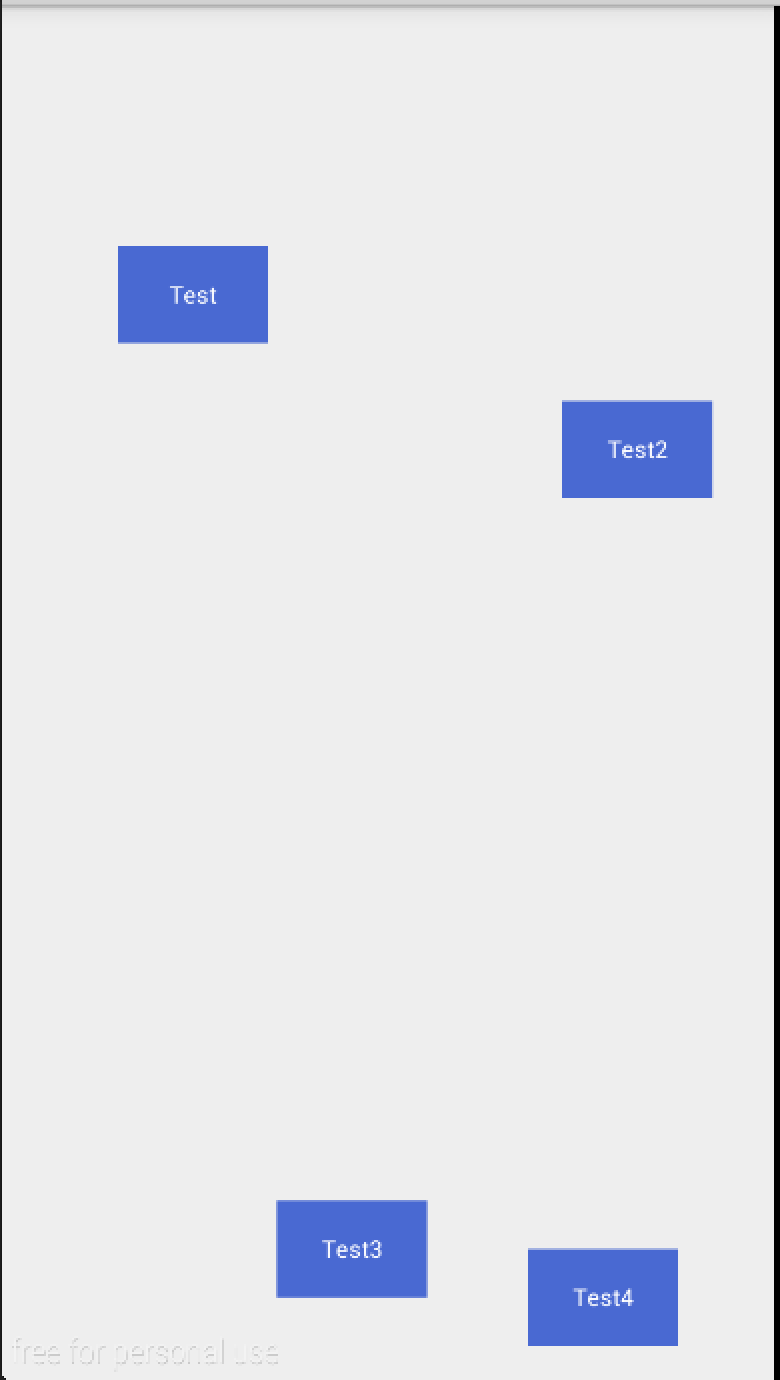
then when using grid-android-designer, just drop all your views in one relative layout, and the magic will show!
setWithTitleBar set if with or without status bar.
onLayoutCreate method you should override to manage views positions.
setTextSize change text size of the buttons, textview, and editText.
setViewWidthHeight change view width and height.
setMargin set margin for a view.
topRight set position of view x grid Units from top and right.
rightBottom set position of view x grid Units from right and bottom.
leftTop set position of view x grid Units from left and top.
leftBottom set position of view x grid Units from left and bottom.
Just extend Screen class from grid-android-designer, and override the onLayoutCreate method.
In onLayoutCreate, you can change size, and adjust layouts.
@Override
public void onLayoutCreate() {
    super.onLayoutCreate();

    setViewWidthHeight(R.id.button1, 3.9f, 1.4f); // 3.9 Grid unit for width, and 1.4 grid units for height.
    setViewWidthHeight(R.id.button2, 3.9f, 1.4f);
    setViewWidthHeight(R.id.button3, 3.9f, 1.4f);
    setViewWidthHeight(R.id.button4, 3.9f, 1.4f);

    //change text size also.
    setTextSize(R.id.button1, SP * 0.6f);
    setTextSize(R.id.button2, SP * 0.6f);
    setTextSize(R.id.button3, SP * 0.6f);
    setTextSize(R.id.button4, SP * 0.6f);

    leftTop(R.id.button1, 3.0f, 3.5f); // 3.0 grid units from left, and 3.5 grid units from top.
    topRight(R.id.button2, 5.75f, 1.6f);
    leftBottom(R.id.button3, 7.1f, 1.2f);
    rightBottom(R.id.button4, 2.5f, 0.5f);
}
Please don't hesitate to collaborate and upgrade this library. Fork, and send pull requests.