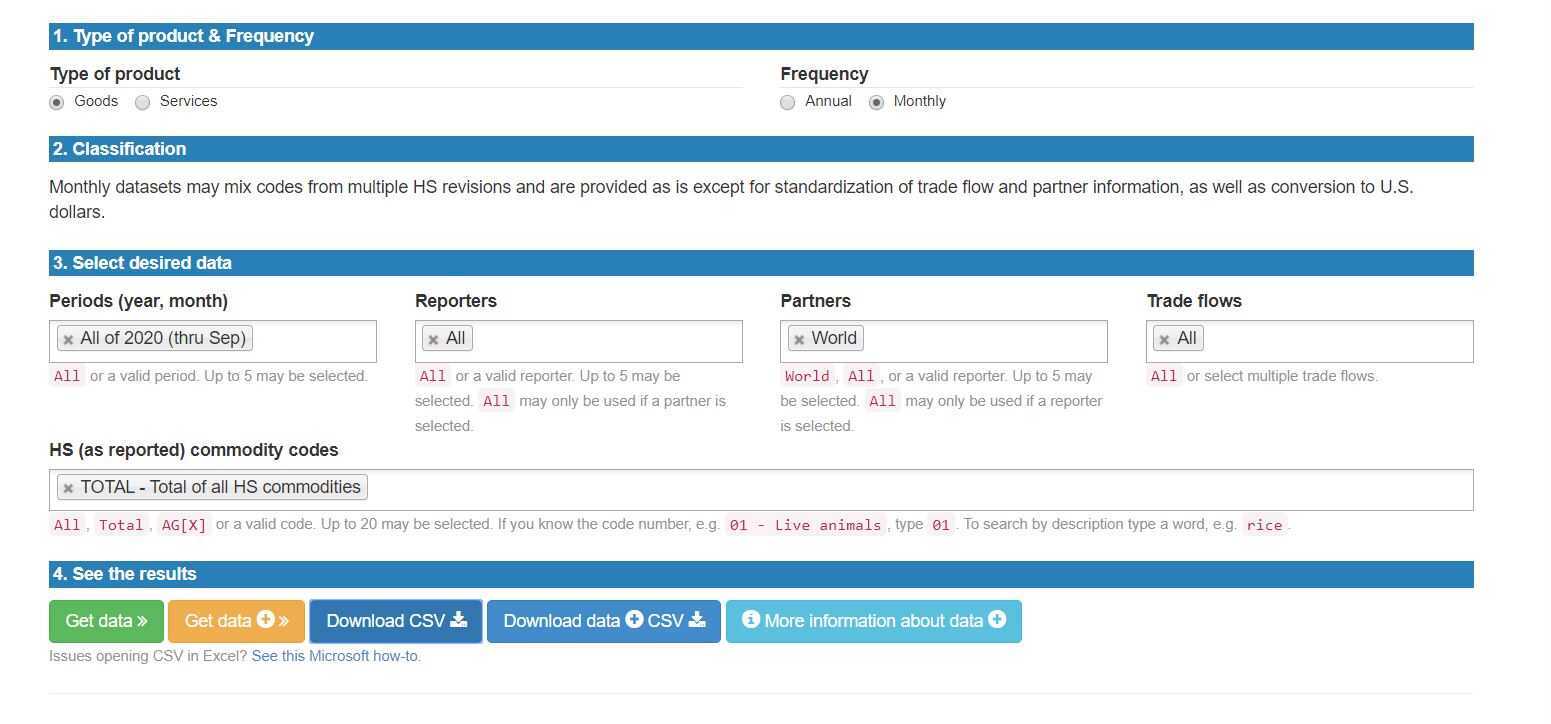
Link to the dataset: https://comtrade.un.org/data/
In order to install the environment in a way that works for everyone in the same way, I suggest the following setup:
- Visual Studio Code
- A virtual environment of some kind
- Python Version 3.7.9
On Windows, you have to launch the following command in Powershell or Cmd to create a virtual environment:
python3 -m venv ./venv
This will create a folder ./venv in the current folder. This folder will contain
an instance of Python3 and Pip that will be used to install all the necessary
stuff for this project, without the need for polluting your global python environment.
However, the virtual environment is not active by default.In VSCode, after you install the virtual environment, every time you open a new terminal window, it will automatically (hopefully) activate the virtual environment for you.
If it doesn't do it, on Powershell or Cmd you have to launch:
\env\Scripts\activate.bat
This will allow you to use the virtual environment in your current terminal
session. From this point on, every python or pip command will be executed
using the python binaries in the venv folder.
After installing the virtual environment and activating it, it's time to install
all the dependencies required for this project. To do this, there's a requirements.txt
file that lists all dependencies needed. Of course, you don't have to install them
by hand.
To install the requirements, you have to launch:
pip install -r requirements.txt
This will automatically install and update your dependencies in your virtual environment. Please, run this every time you pull from master!
Fortunately for us, Python Notebooks can be used in VSCode without additional
configuration. Creating a jupyter notebook is as simple as creating a new file
with the .ipynb extension, and once opened, it will allow you to use
the Python Notebook without any issues.
To use the scripts that have been preconfigured, these are the first lines that you have to include in your very first cell of your notebook:
import os, sys
currentdir = os.path.dirname(os.path.realpath(os.path.abspath("")))
scriptsdir = os.path.dirname(currentdir)
if scriptsdir not in sys.path:
    sys.path.append(scriptsdir)

from customscripts import configuration
from customscripts import utils

# Common imports

import numpy as np
import scipy as sp
import pandas as pd
import seaborn as sns
import matplotlib.pyplot as plt
.
├── dataset # This is where the datasets will live
├── docs    # Some of the documentation pictures will go here
├── scripts # The scripts to generate or read files and dataframes will be here, and can be imported from any notebook
├── week1   # Every week's work will have inside of them each of the project's member directory name. Each week, we will create notebooks to better manage the the progress
│   ├── abi # Abidemi's directory
│   ├── adi # Adrian's directory
│   ├── man # Riemann's directory
│   └── sreejit # Sreejit's directory
├── week2
│   ├── abi
│   ├── adi
│   ├── man
│   └── sreejit
├── week3
│   ├── abi
│   ├── adi
│   ├── man
│   └── sreejit
├── week4
│   ├── abi
│   ├── adi
│   ├── man
│   └── sreejit
├── week5
│   ├── abi
│   ├── adi
│   ├── man
│   └── sreejit
├── week6
│   ├── abi
│   ├── adi
│   ├── man
│   └── sreejit
├── week7
│   ├── abi
│   ├── adi
│   ├── man
│   └── sreejit
├── week8
│   ├── abi
│   ├── adi
│   ├── man
│   └── sreejit
├── week9
│   ├── abi
│   ├── adi
│   ├── man
│   └── sreejit
└── week10
    ├── abi
    ├── adi
    ├── man
    └── sreejit
