In this code pattern, we will learn how to use IBM MQ along with App Connect and transform data to communicate with a Legacy Application.
When you have completed this code pattern, you will understand how to:
- Use IBM MQ to create queues and push messages to them.
- Use App Connect on cloud to create seamless integrations between applications and services.

-
App A sends a message to MQ using Rest API.
-
App Connect Flow picks up message from Queue and converts JSON request into XML Request and puts to another queue for App C to consume.
-
App C fetches the message from request queue, parses it and sends a XML Response to Response Queue
-
App Connect Flow picks response from Queue and transforms XML to JSON and puts to another queue for App A to consume.
-
App A fetches response from queue and displays data.
Clone the Use-IBM-MQ-and-App-Connect-on-Cloud-to-transform-data repo locally. In a terminal, run:
git clone https://github.com/IBM/Use-IBM-MQ-and-App-Connect-on-Cloud-to-transform-data.git-
Create a free IBM MQ service here.
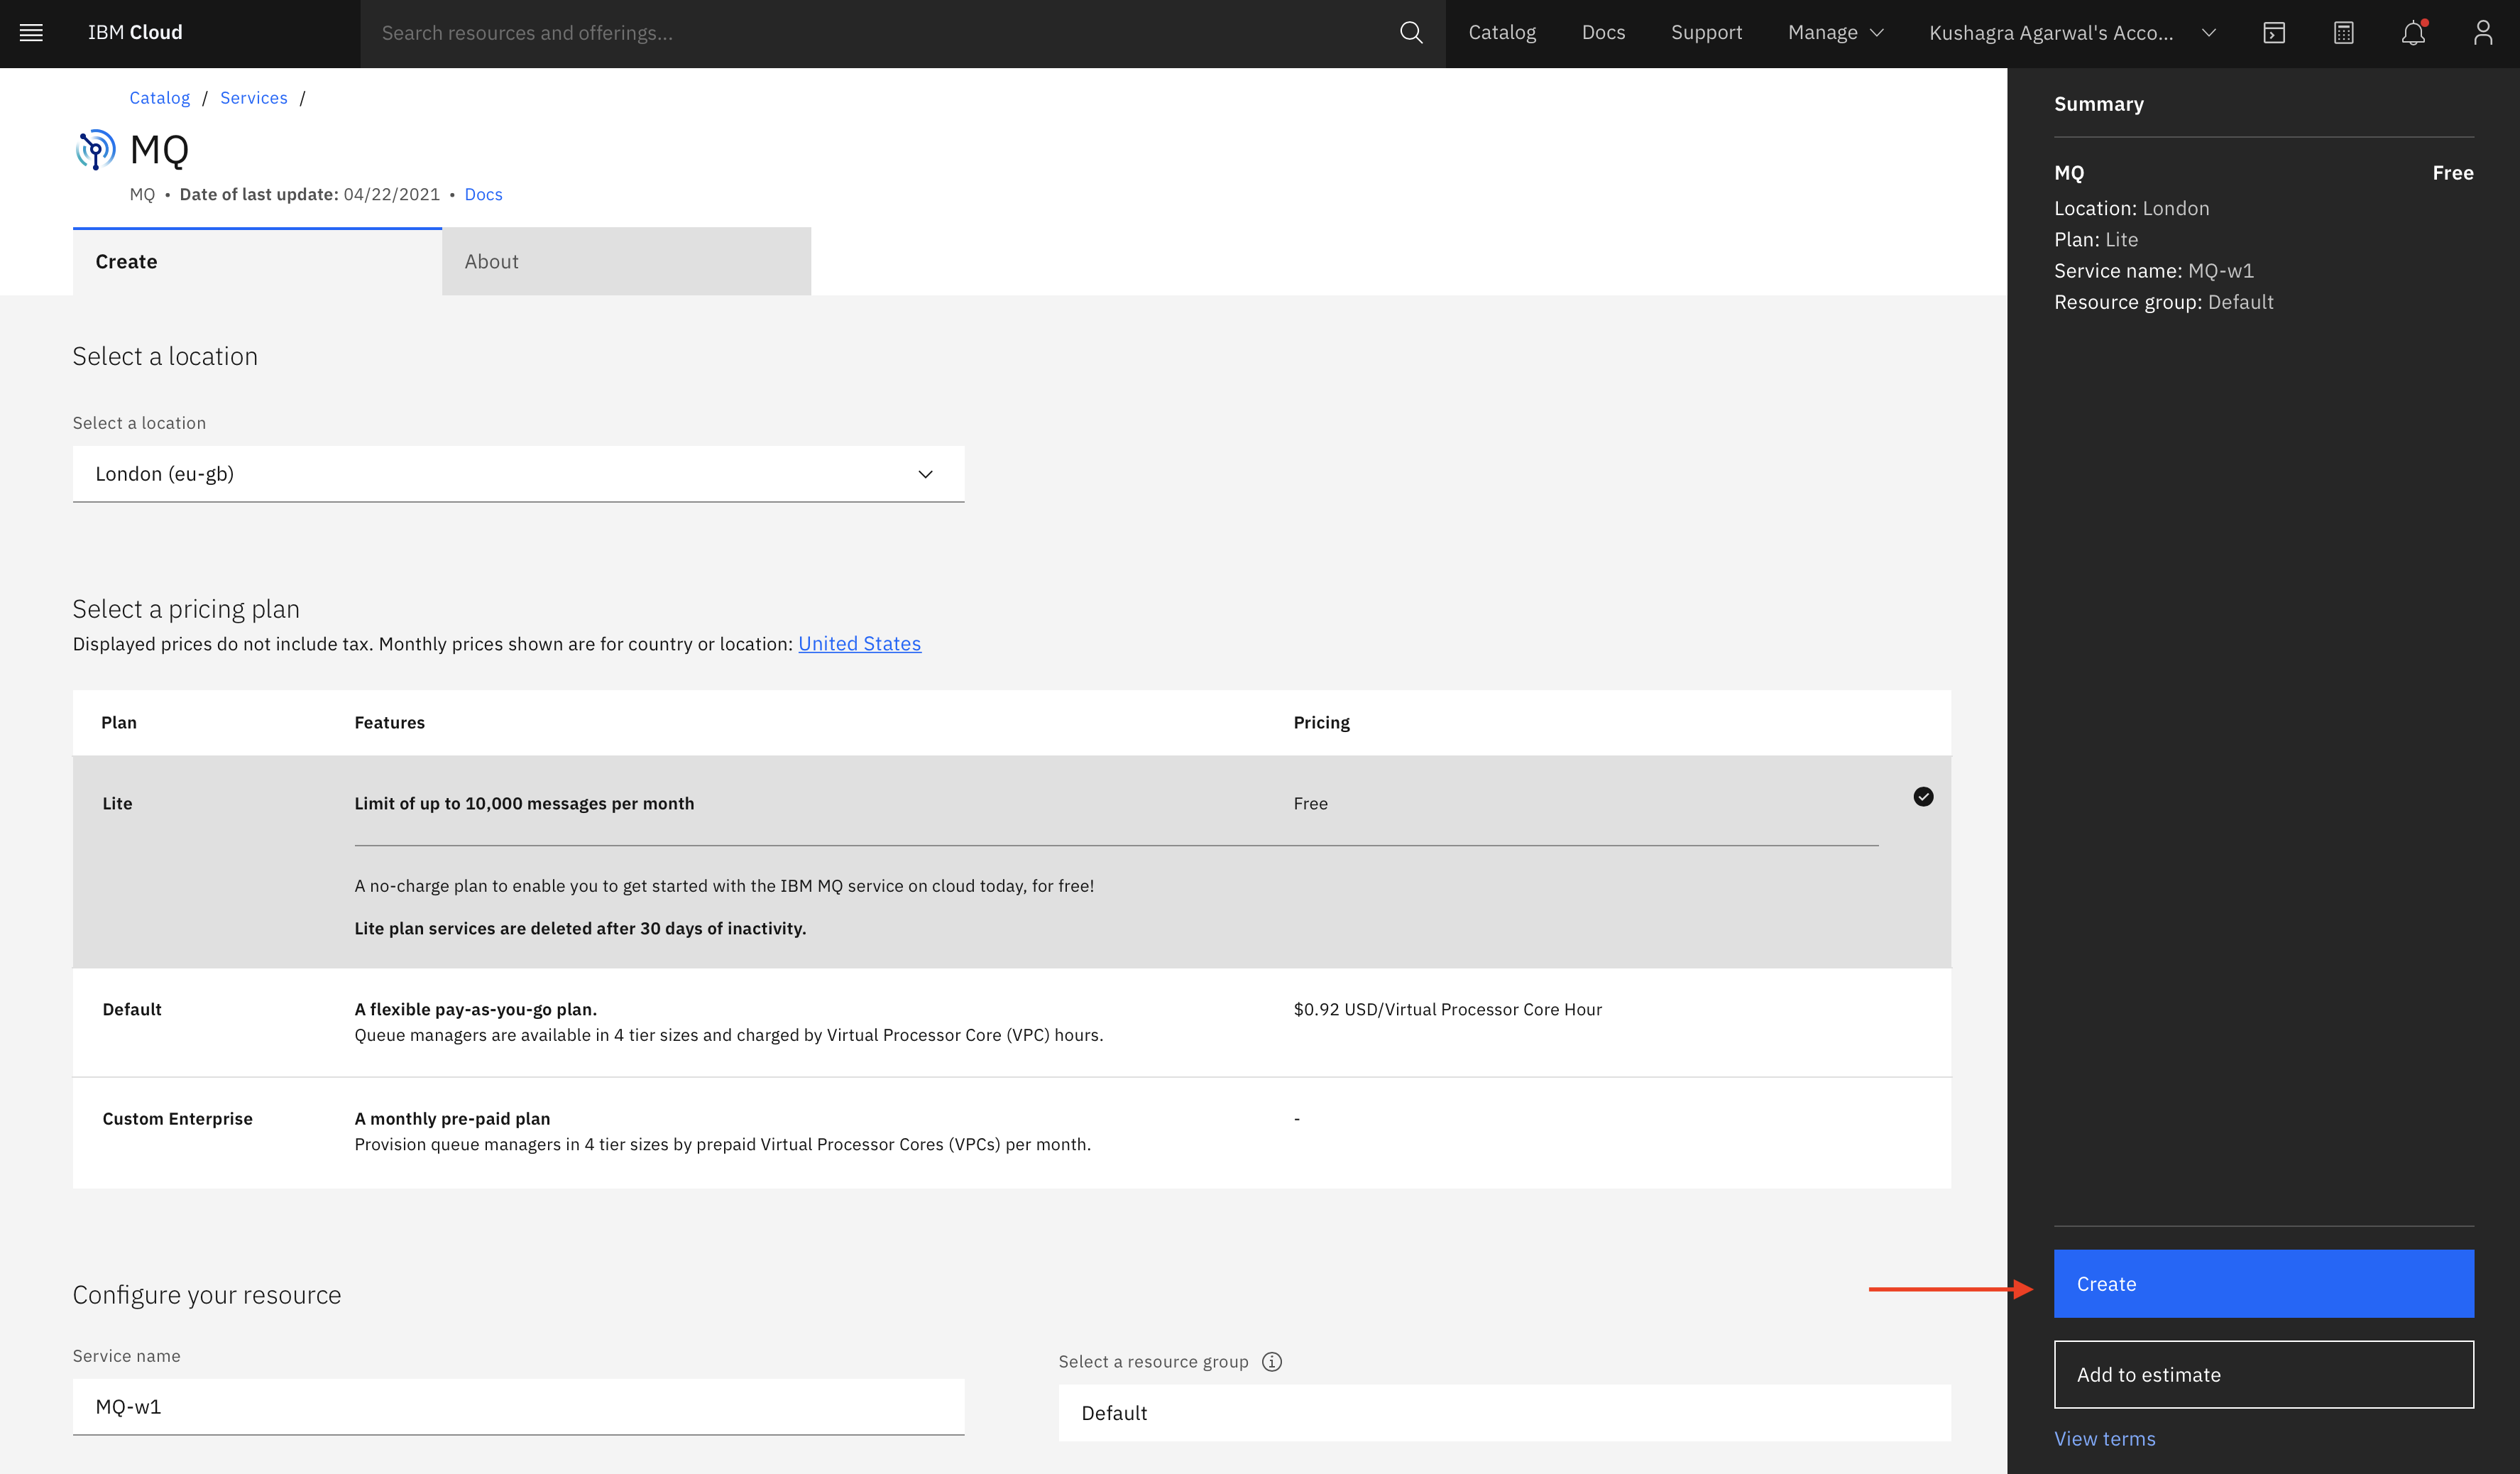
-
Create new User Credentials by selecting
User credentialsand clickingAdd.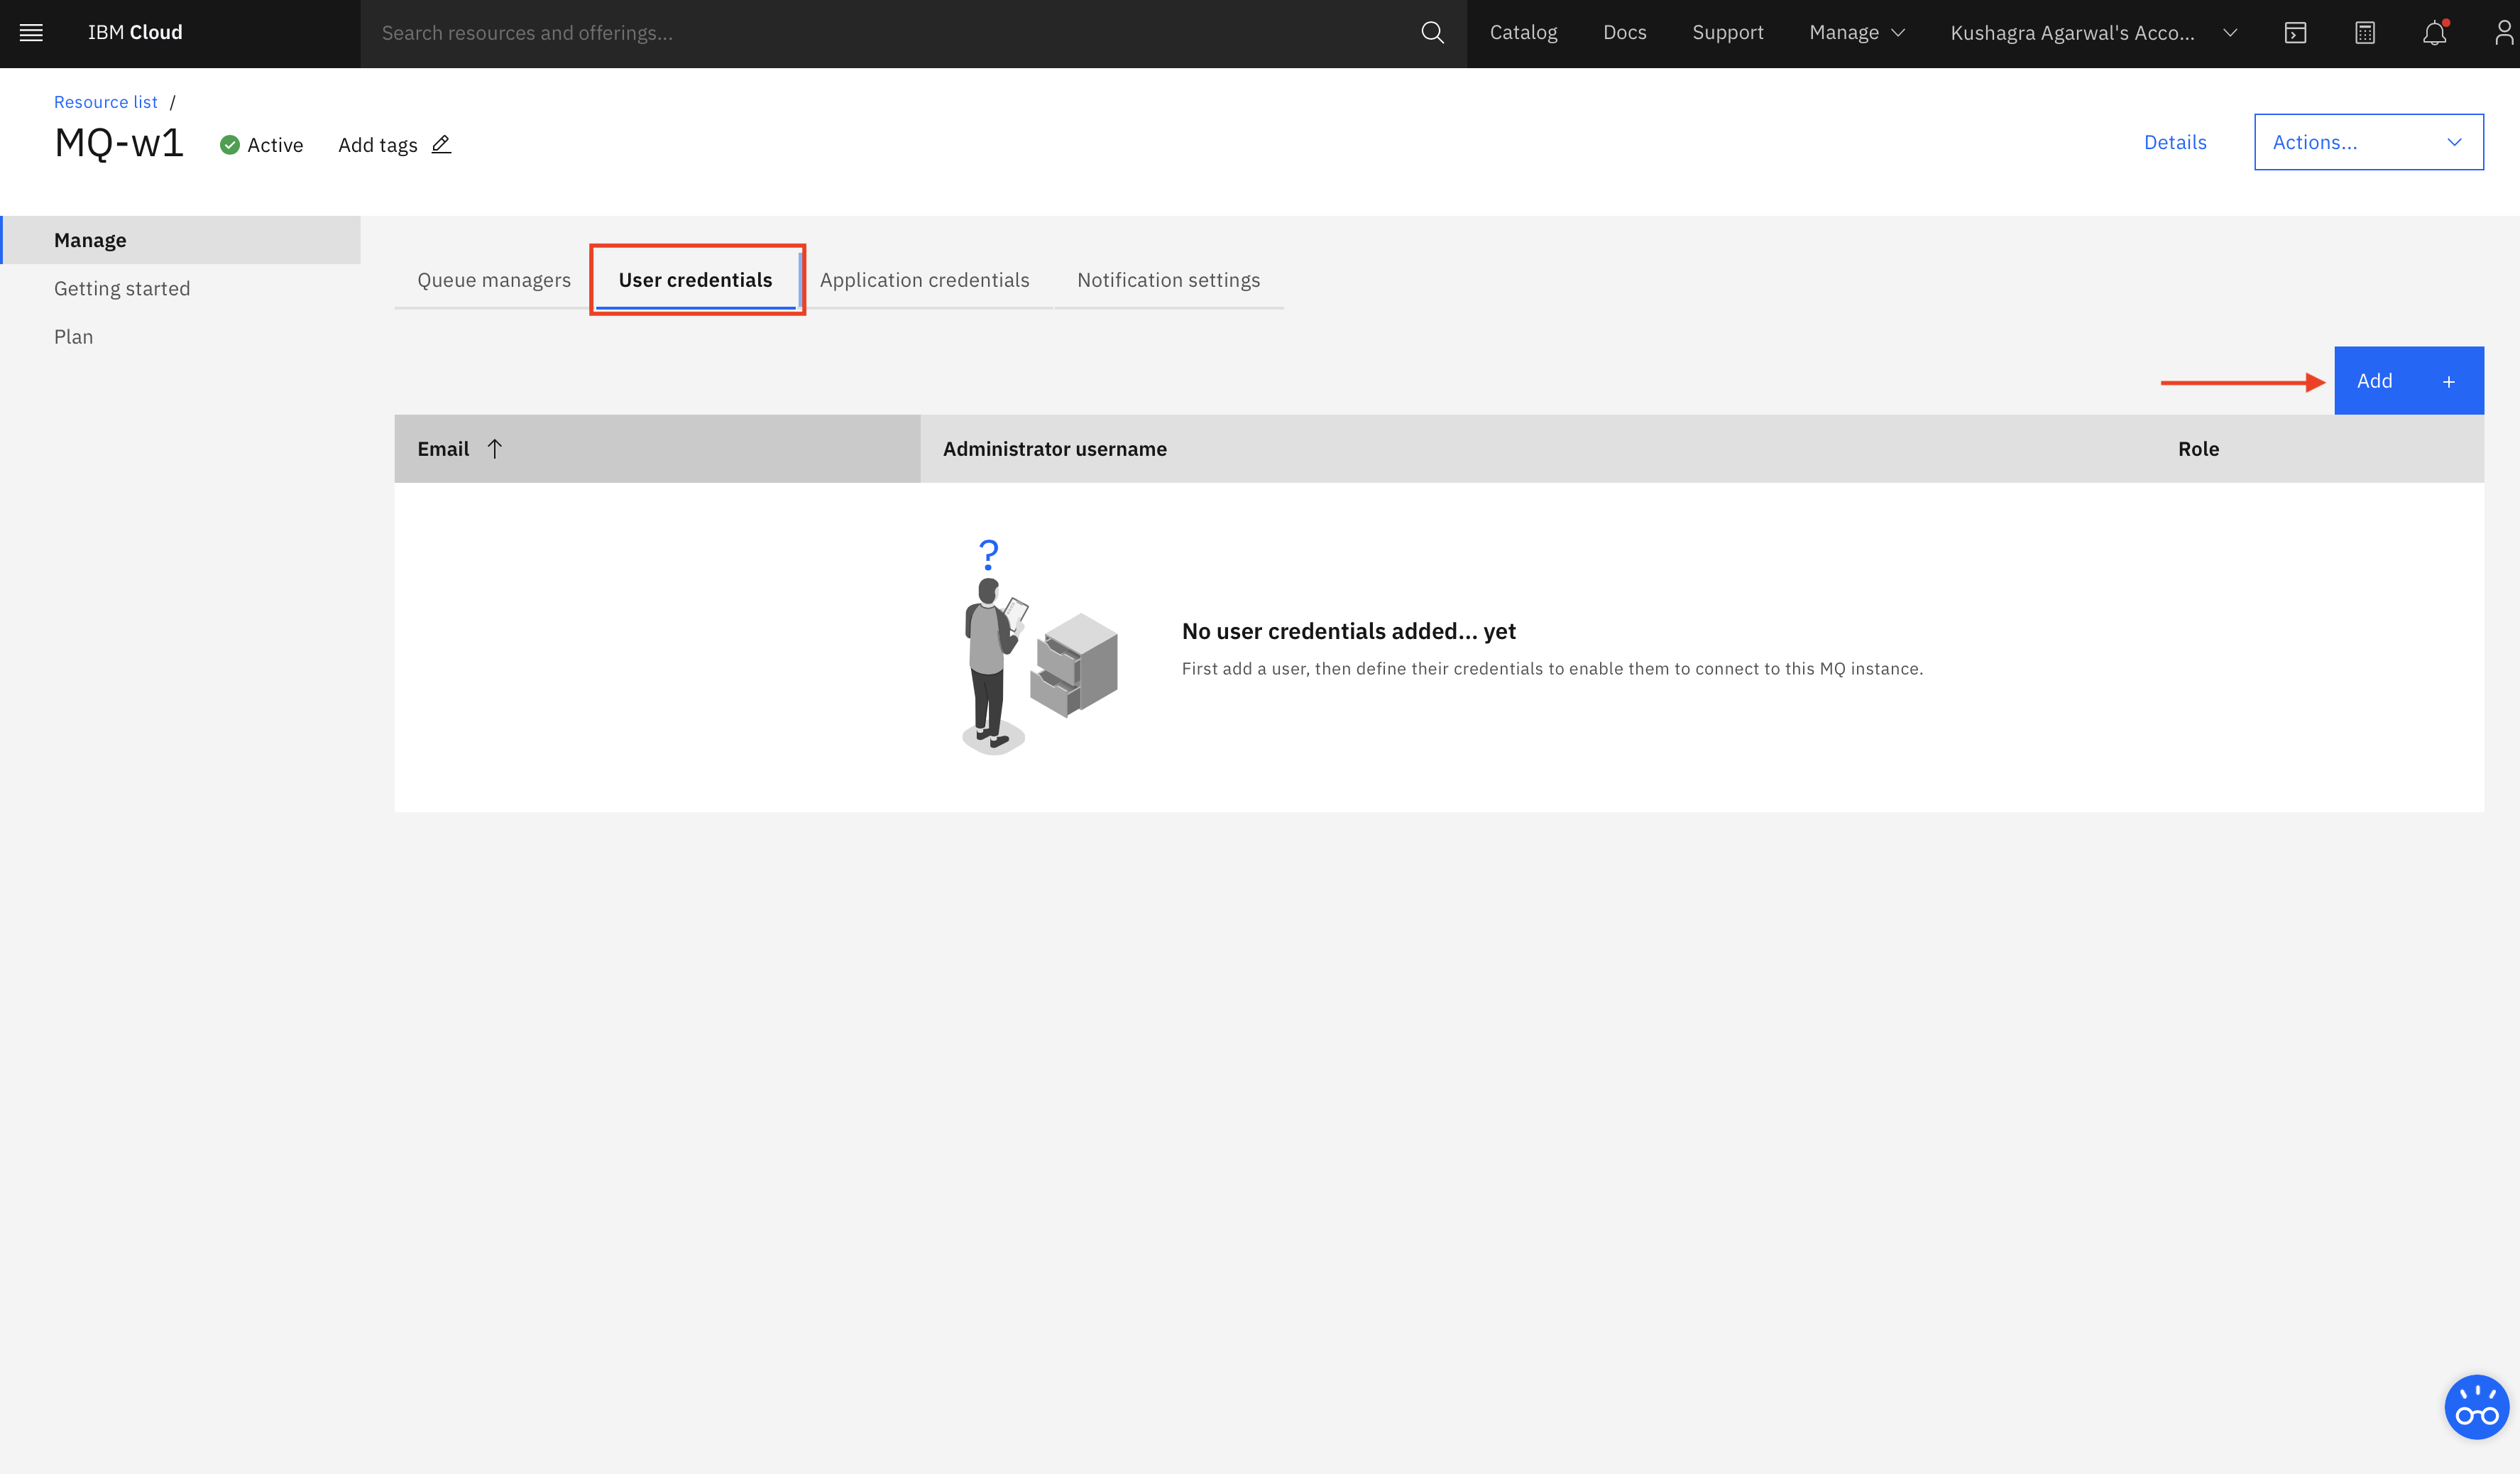
-
Enter your IBM Cloud Email and hit
Add Credentials.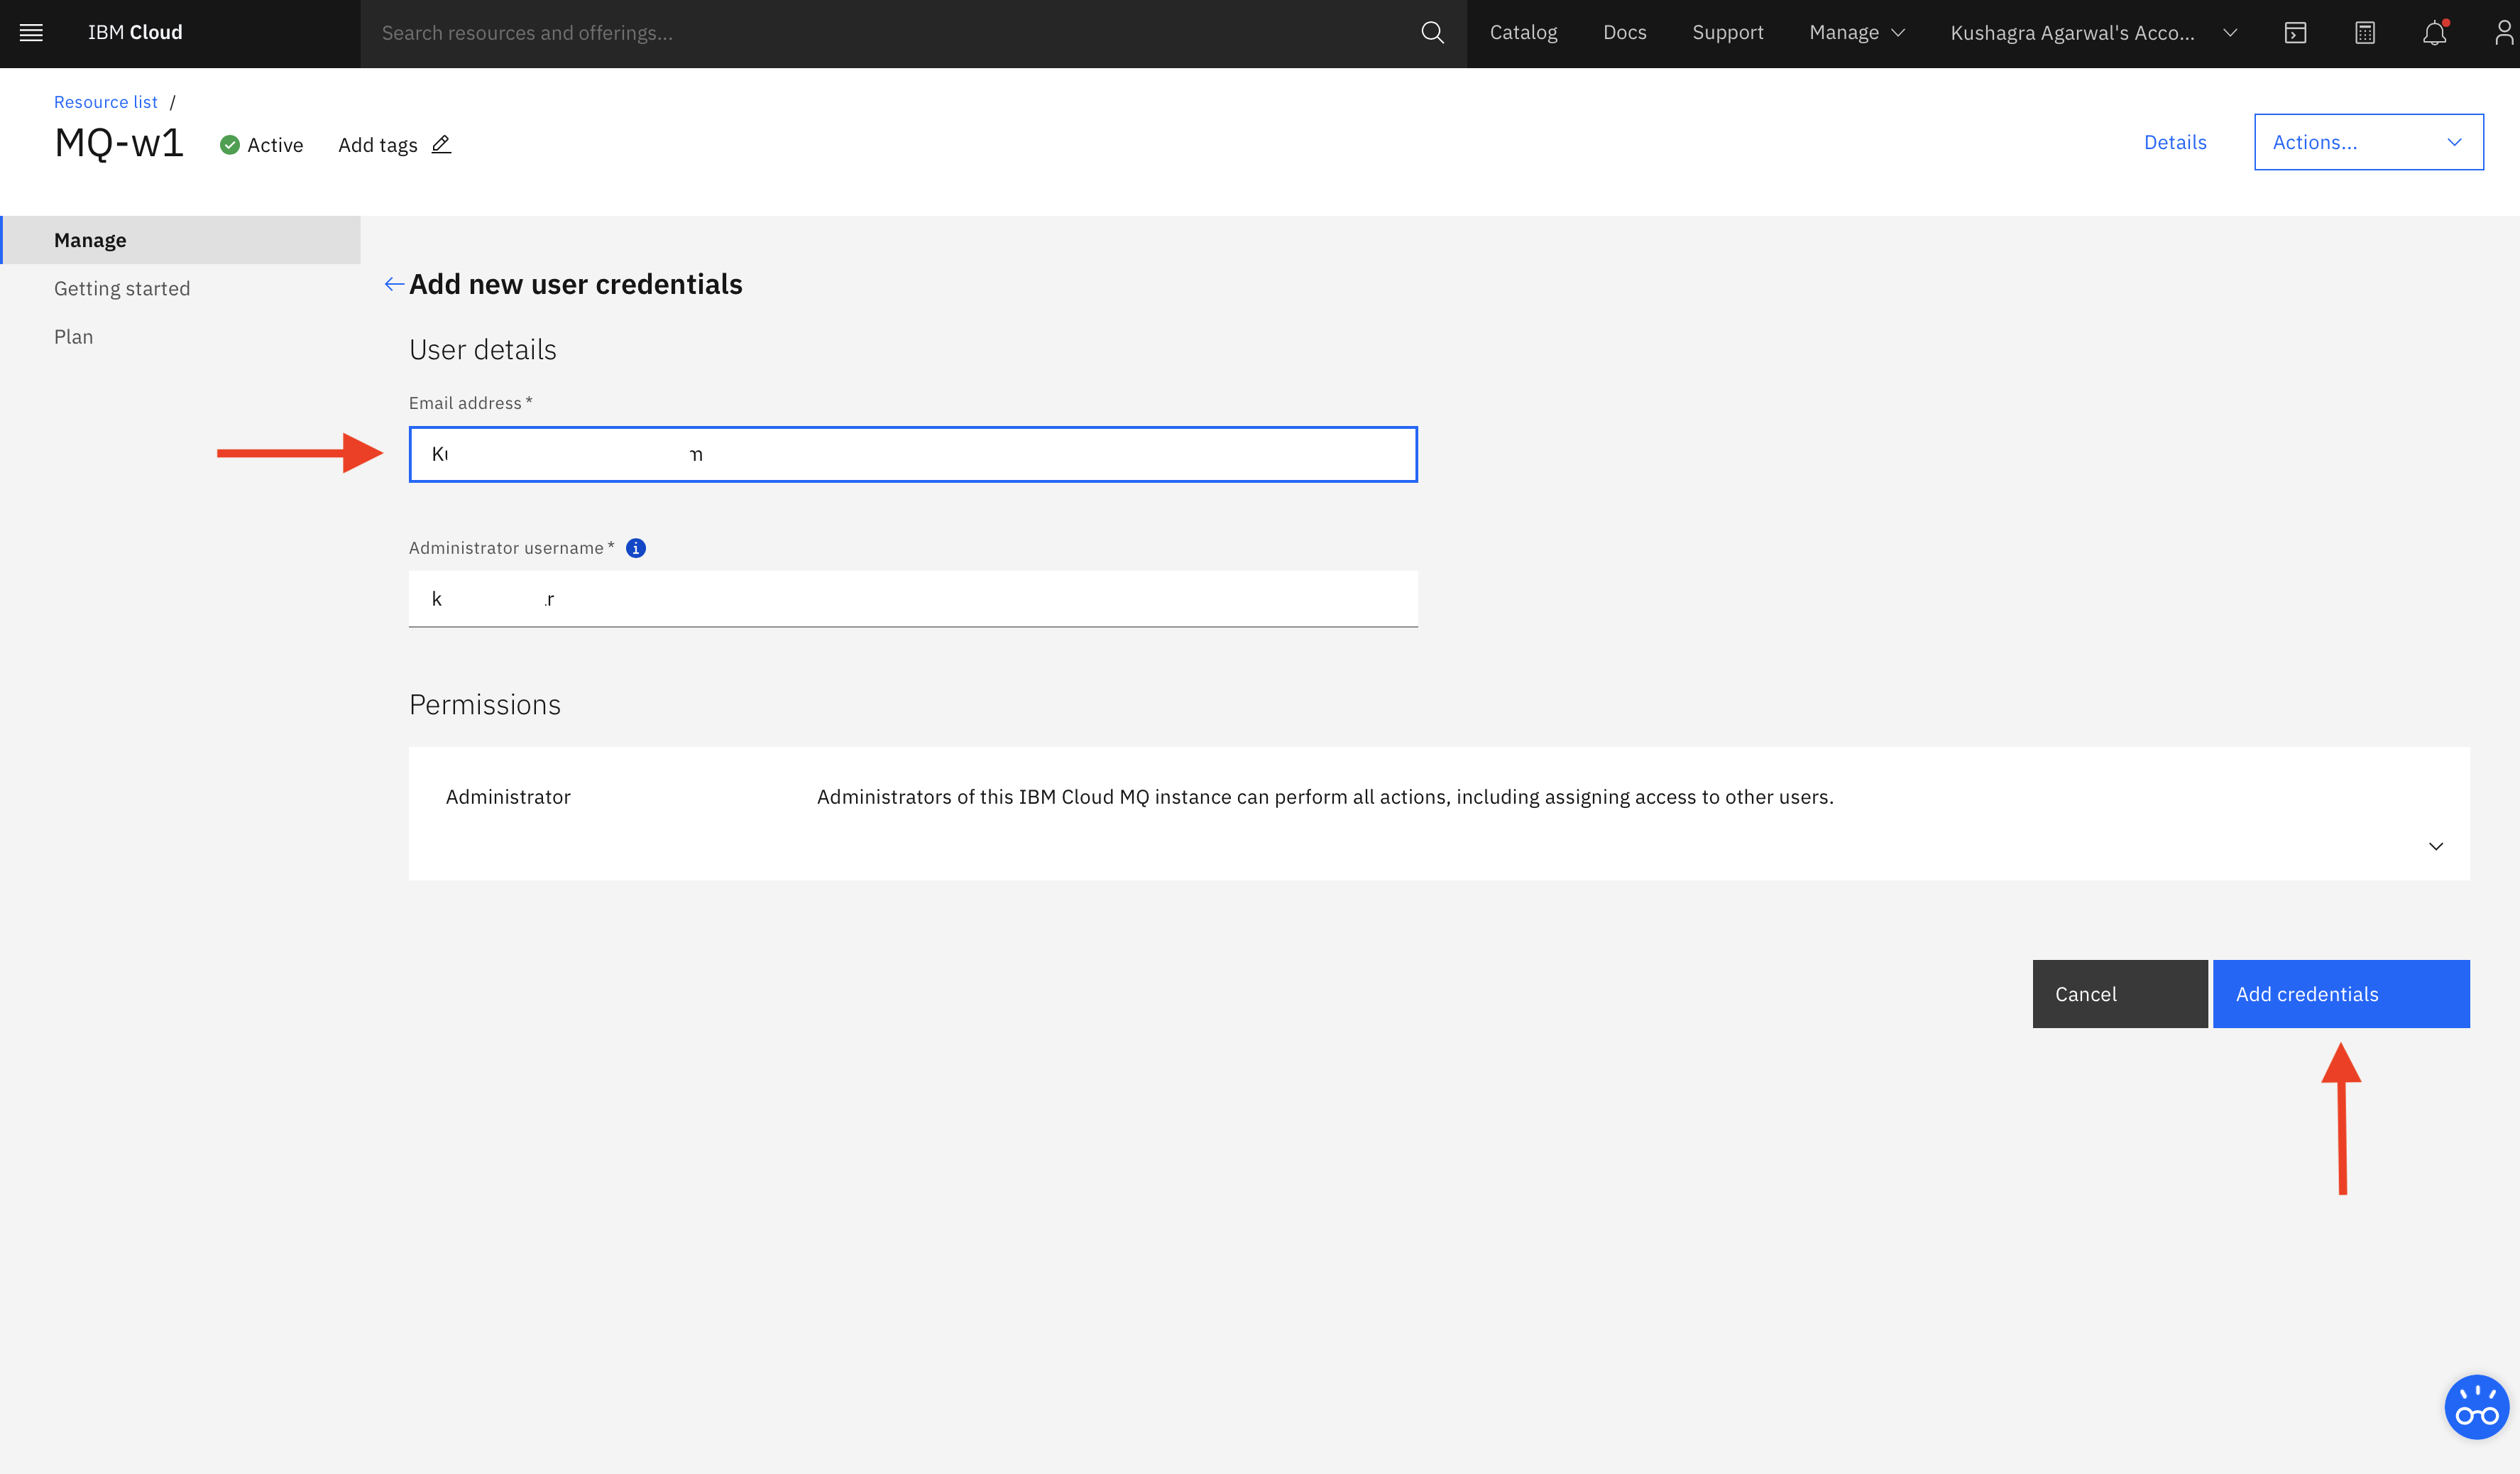
-
Create new Application Credentials by selecting
Application credentialsand clickingAdd.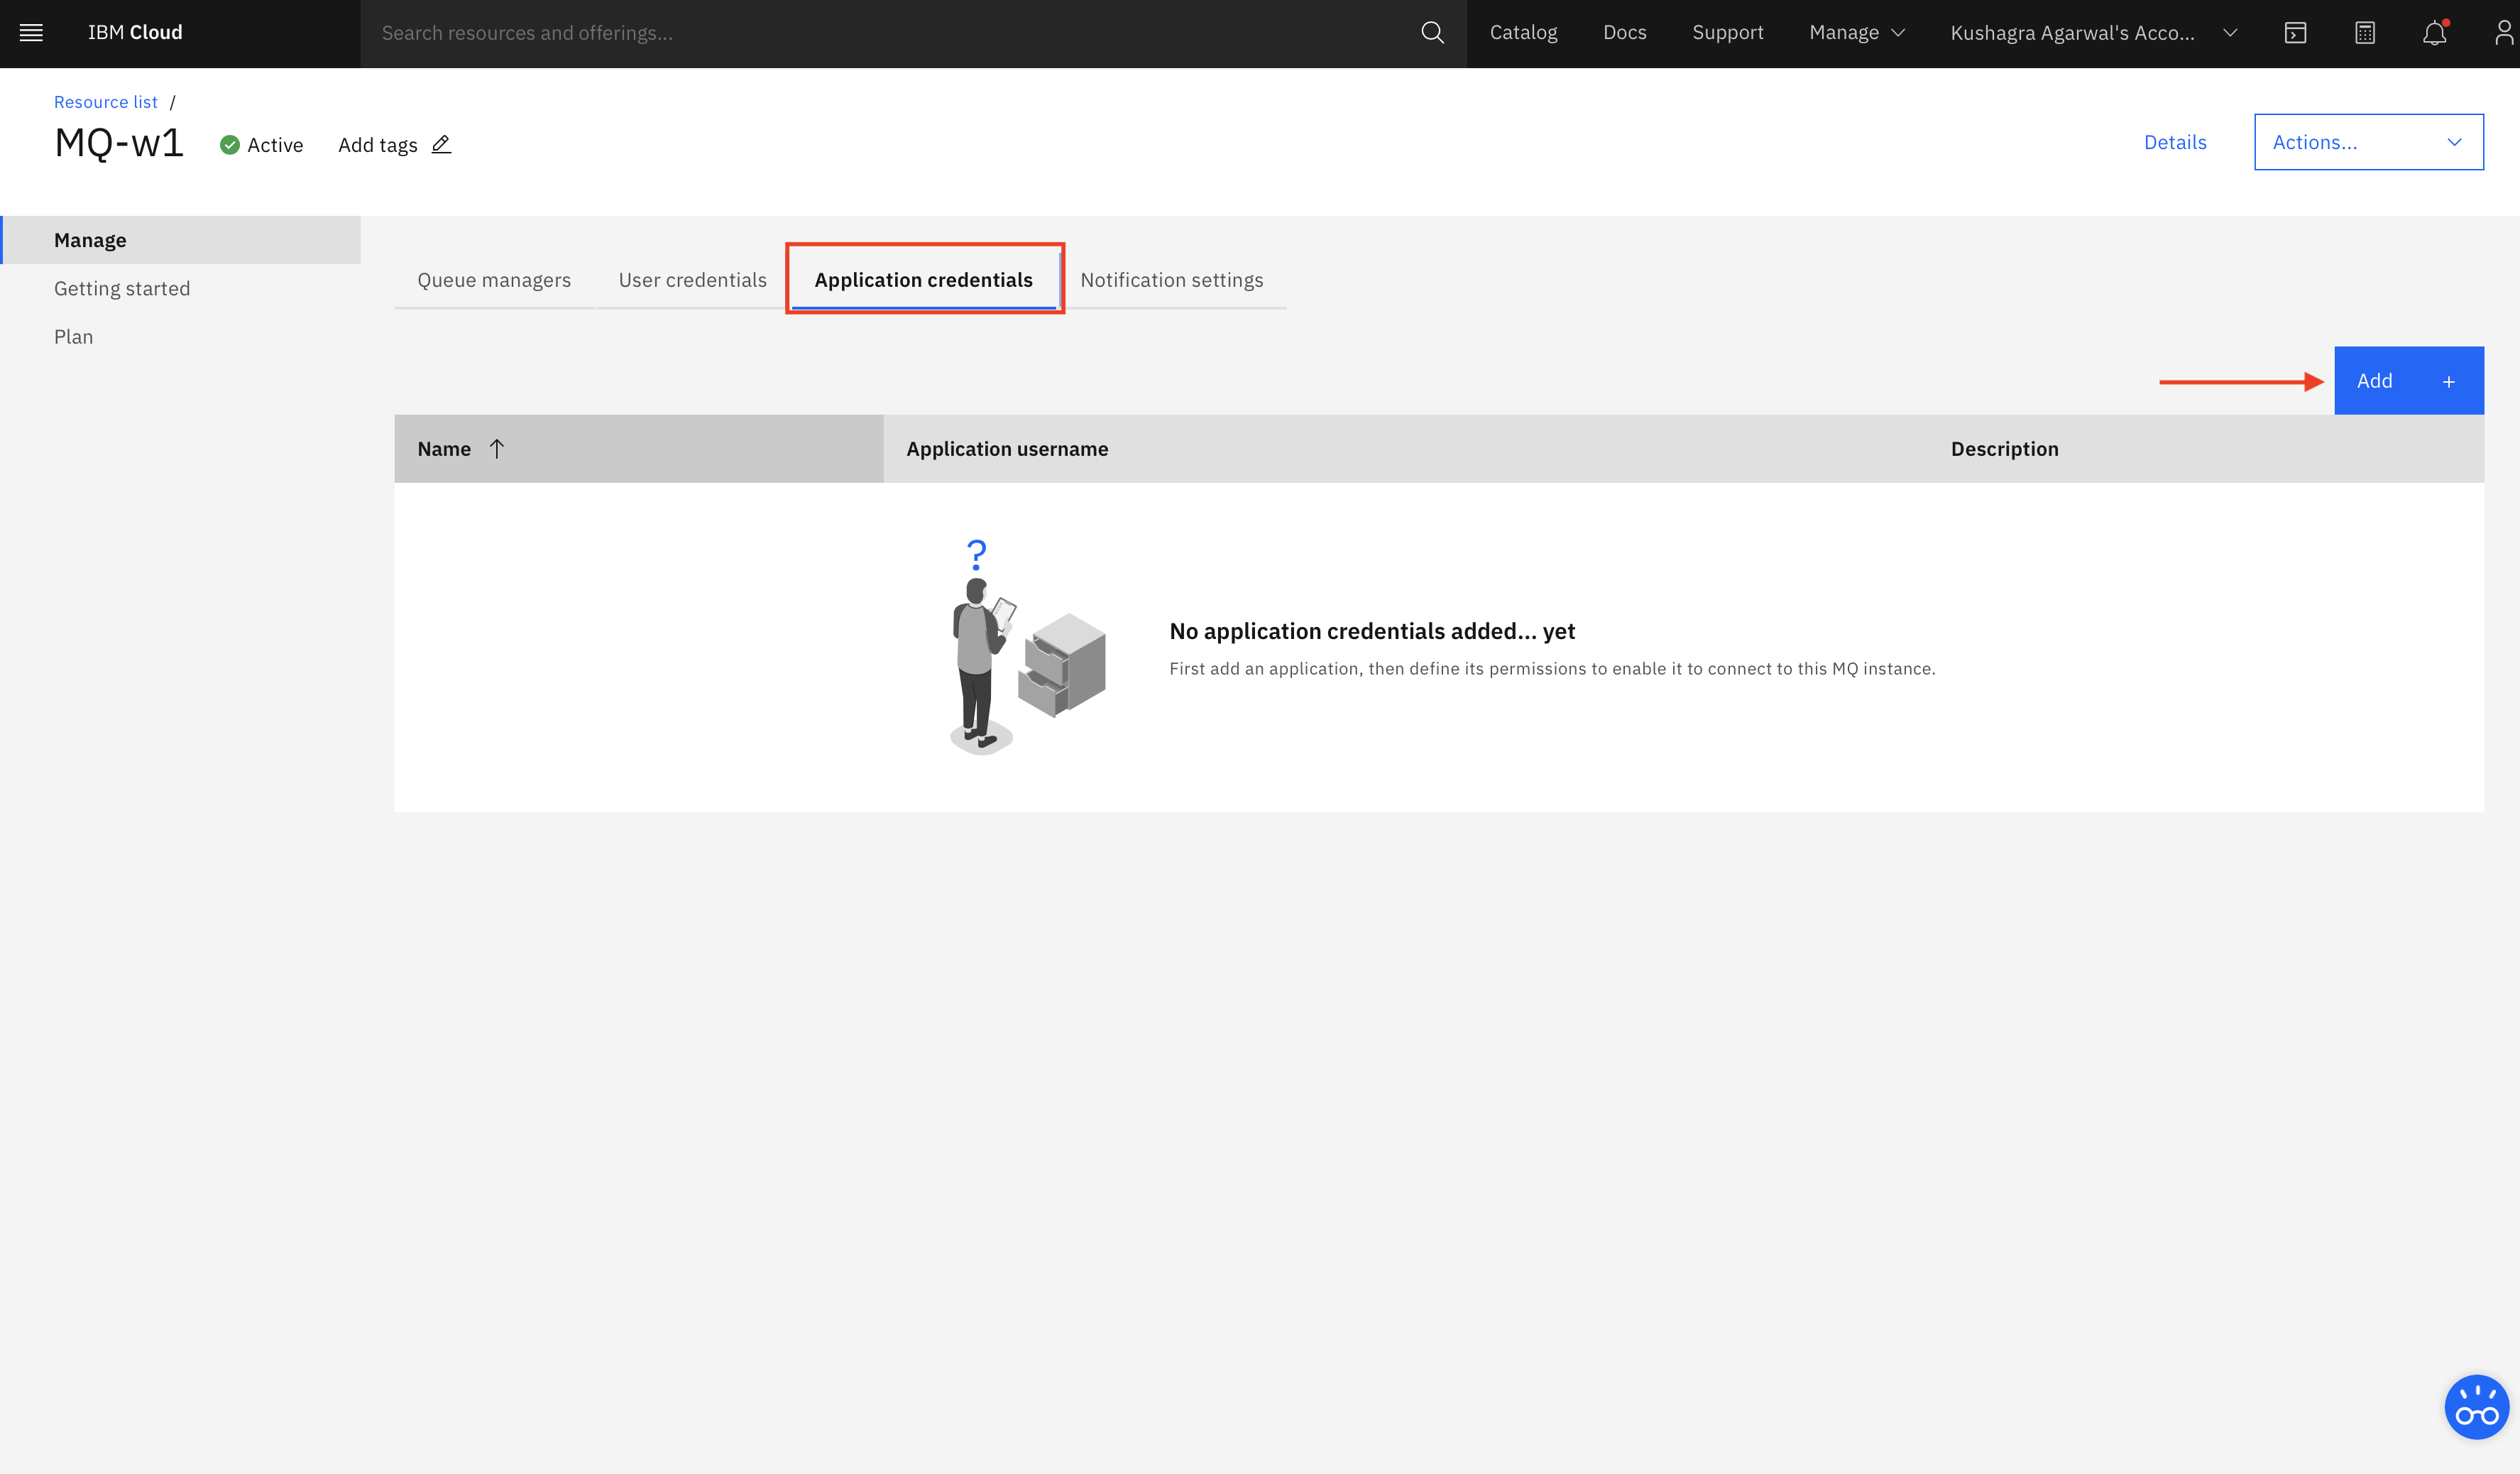
-
Enter a name for the credentials and hit
Add and generate Key.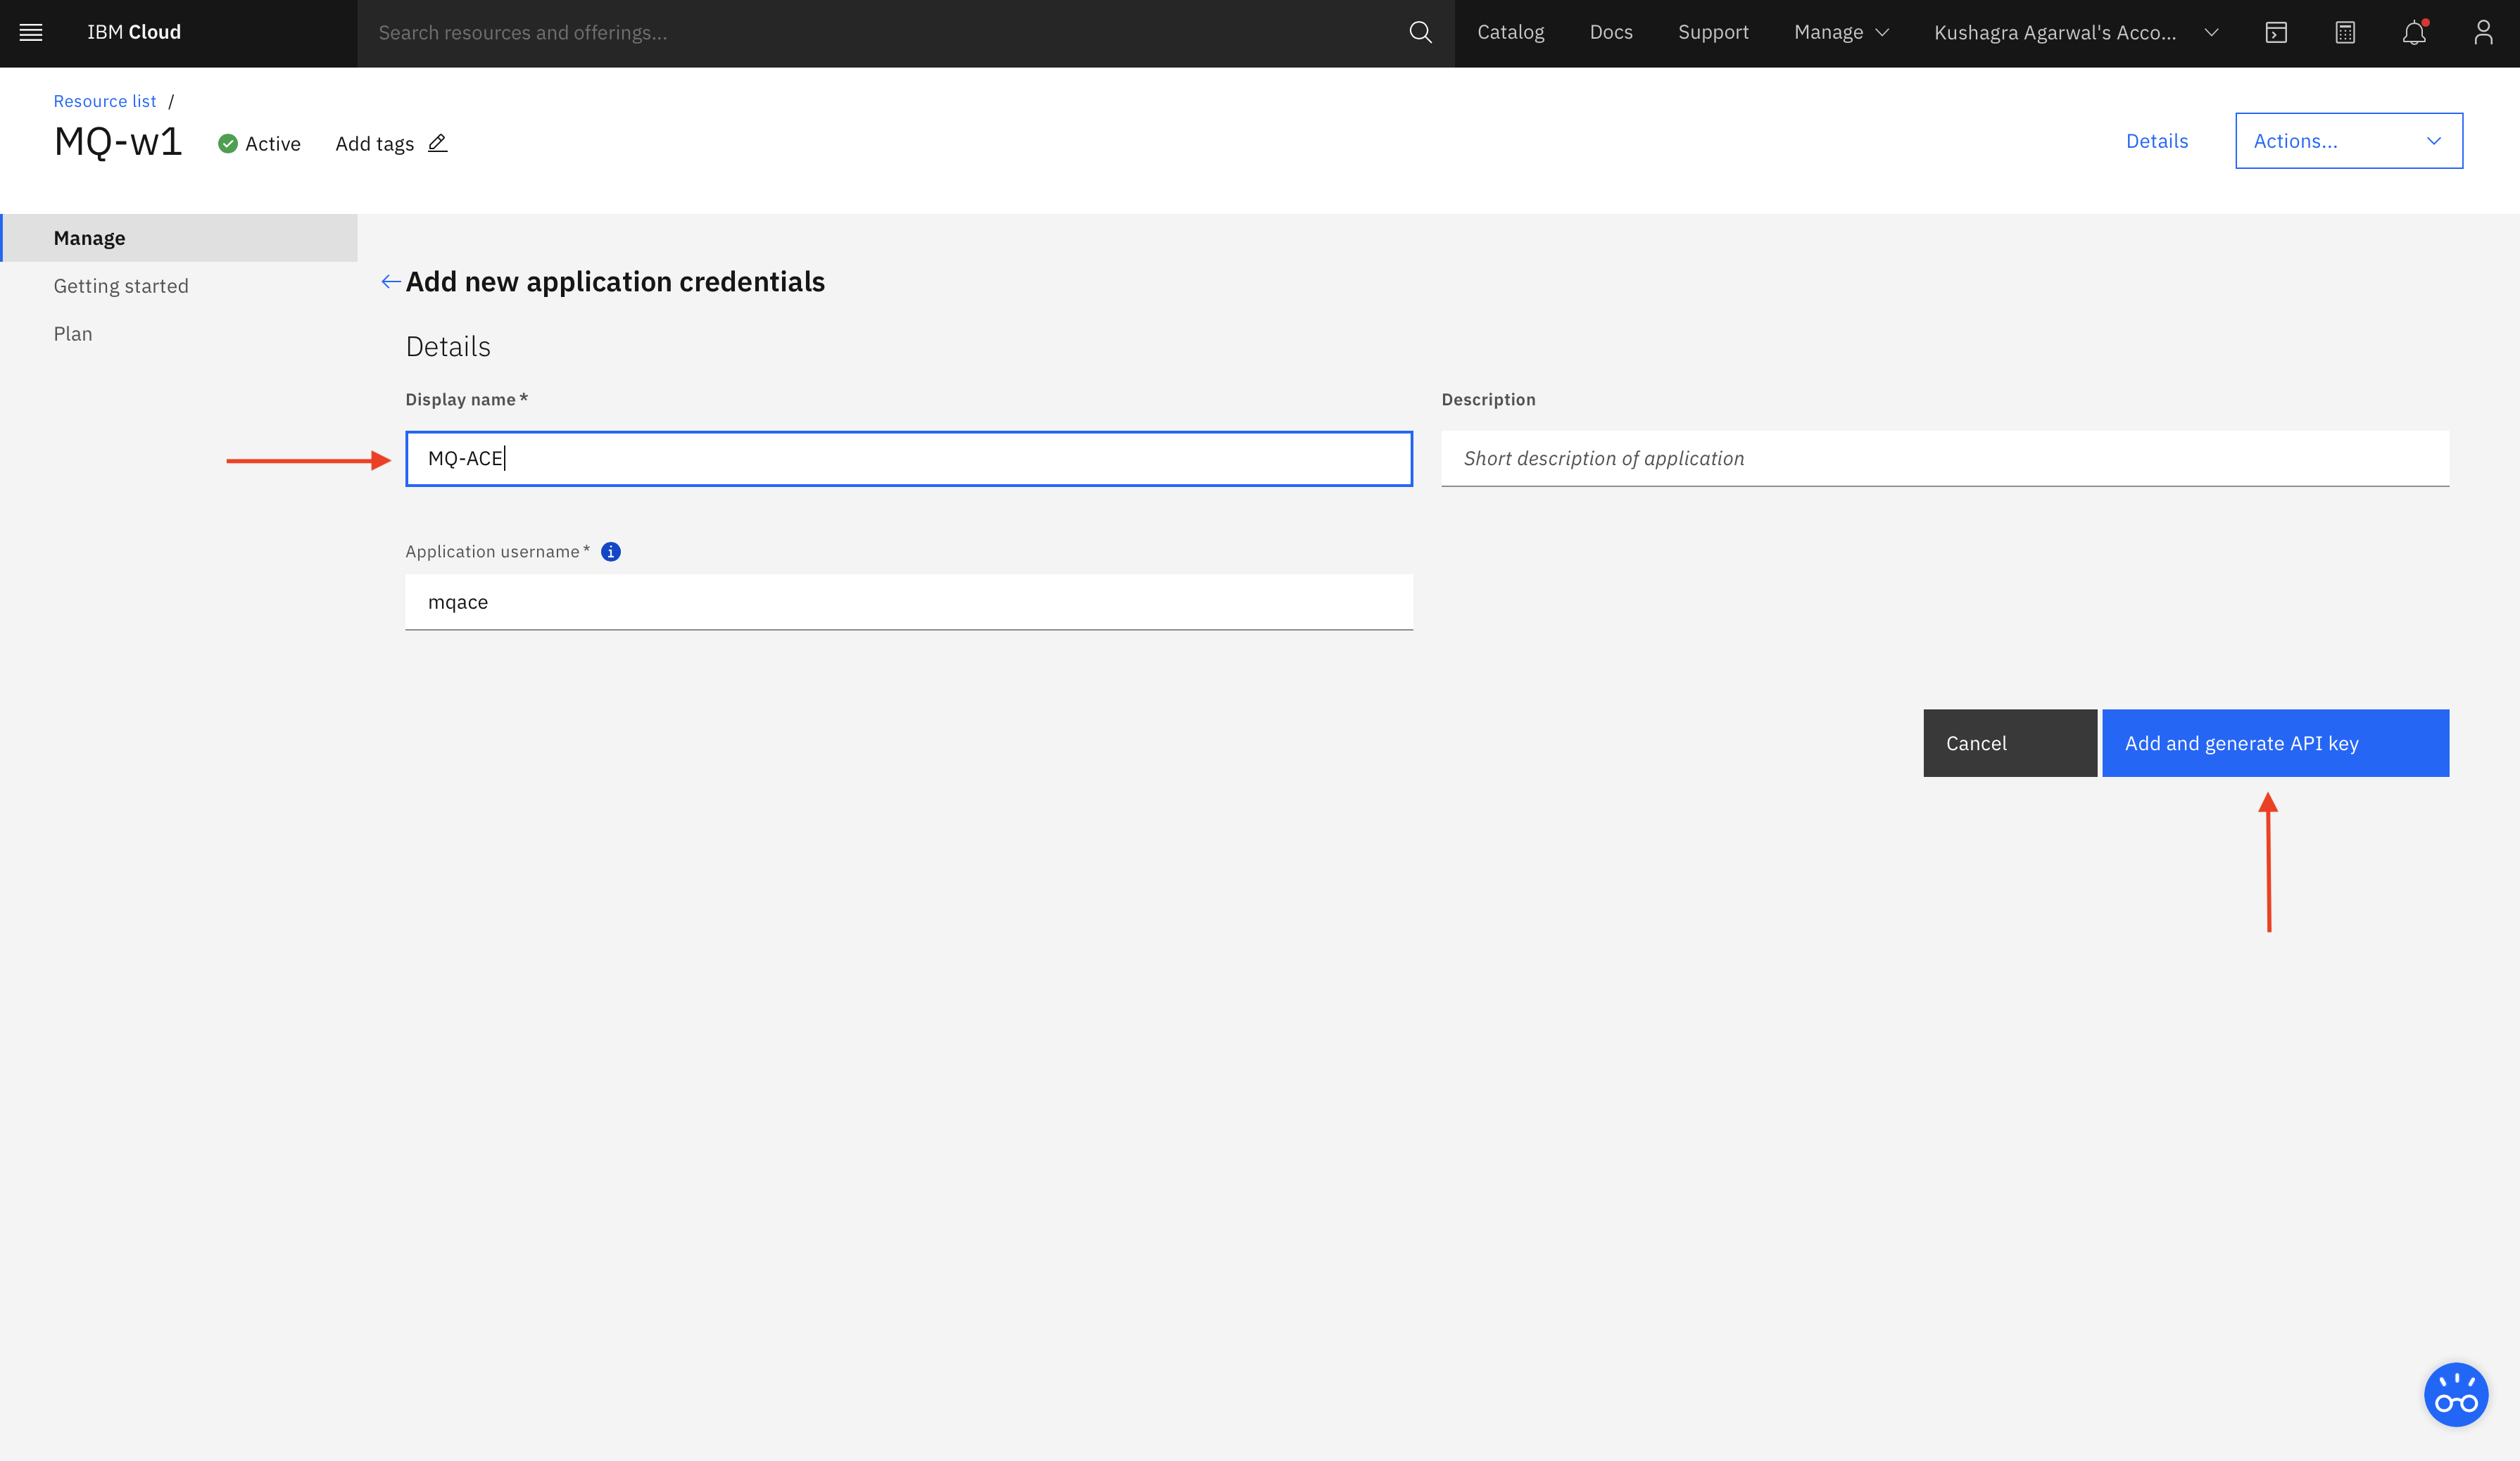
-
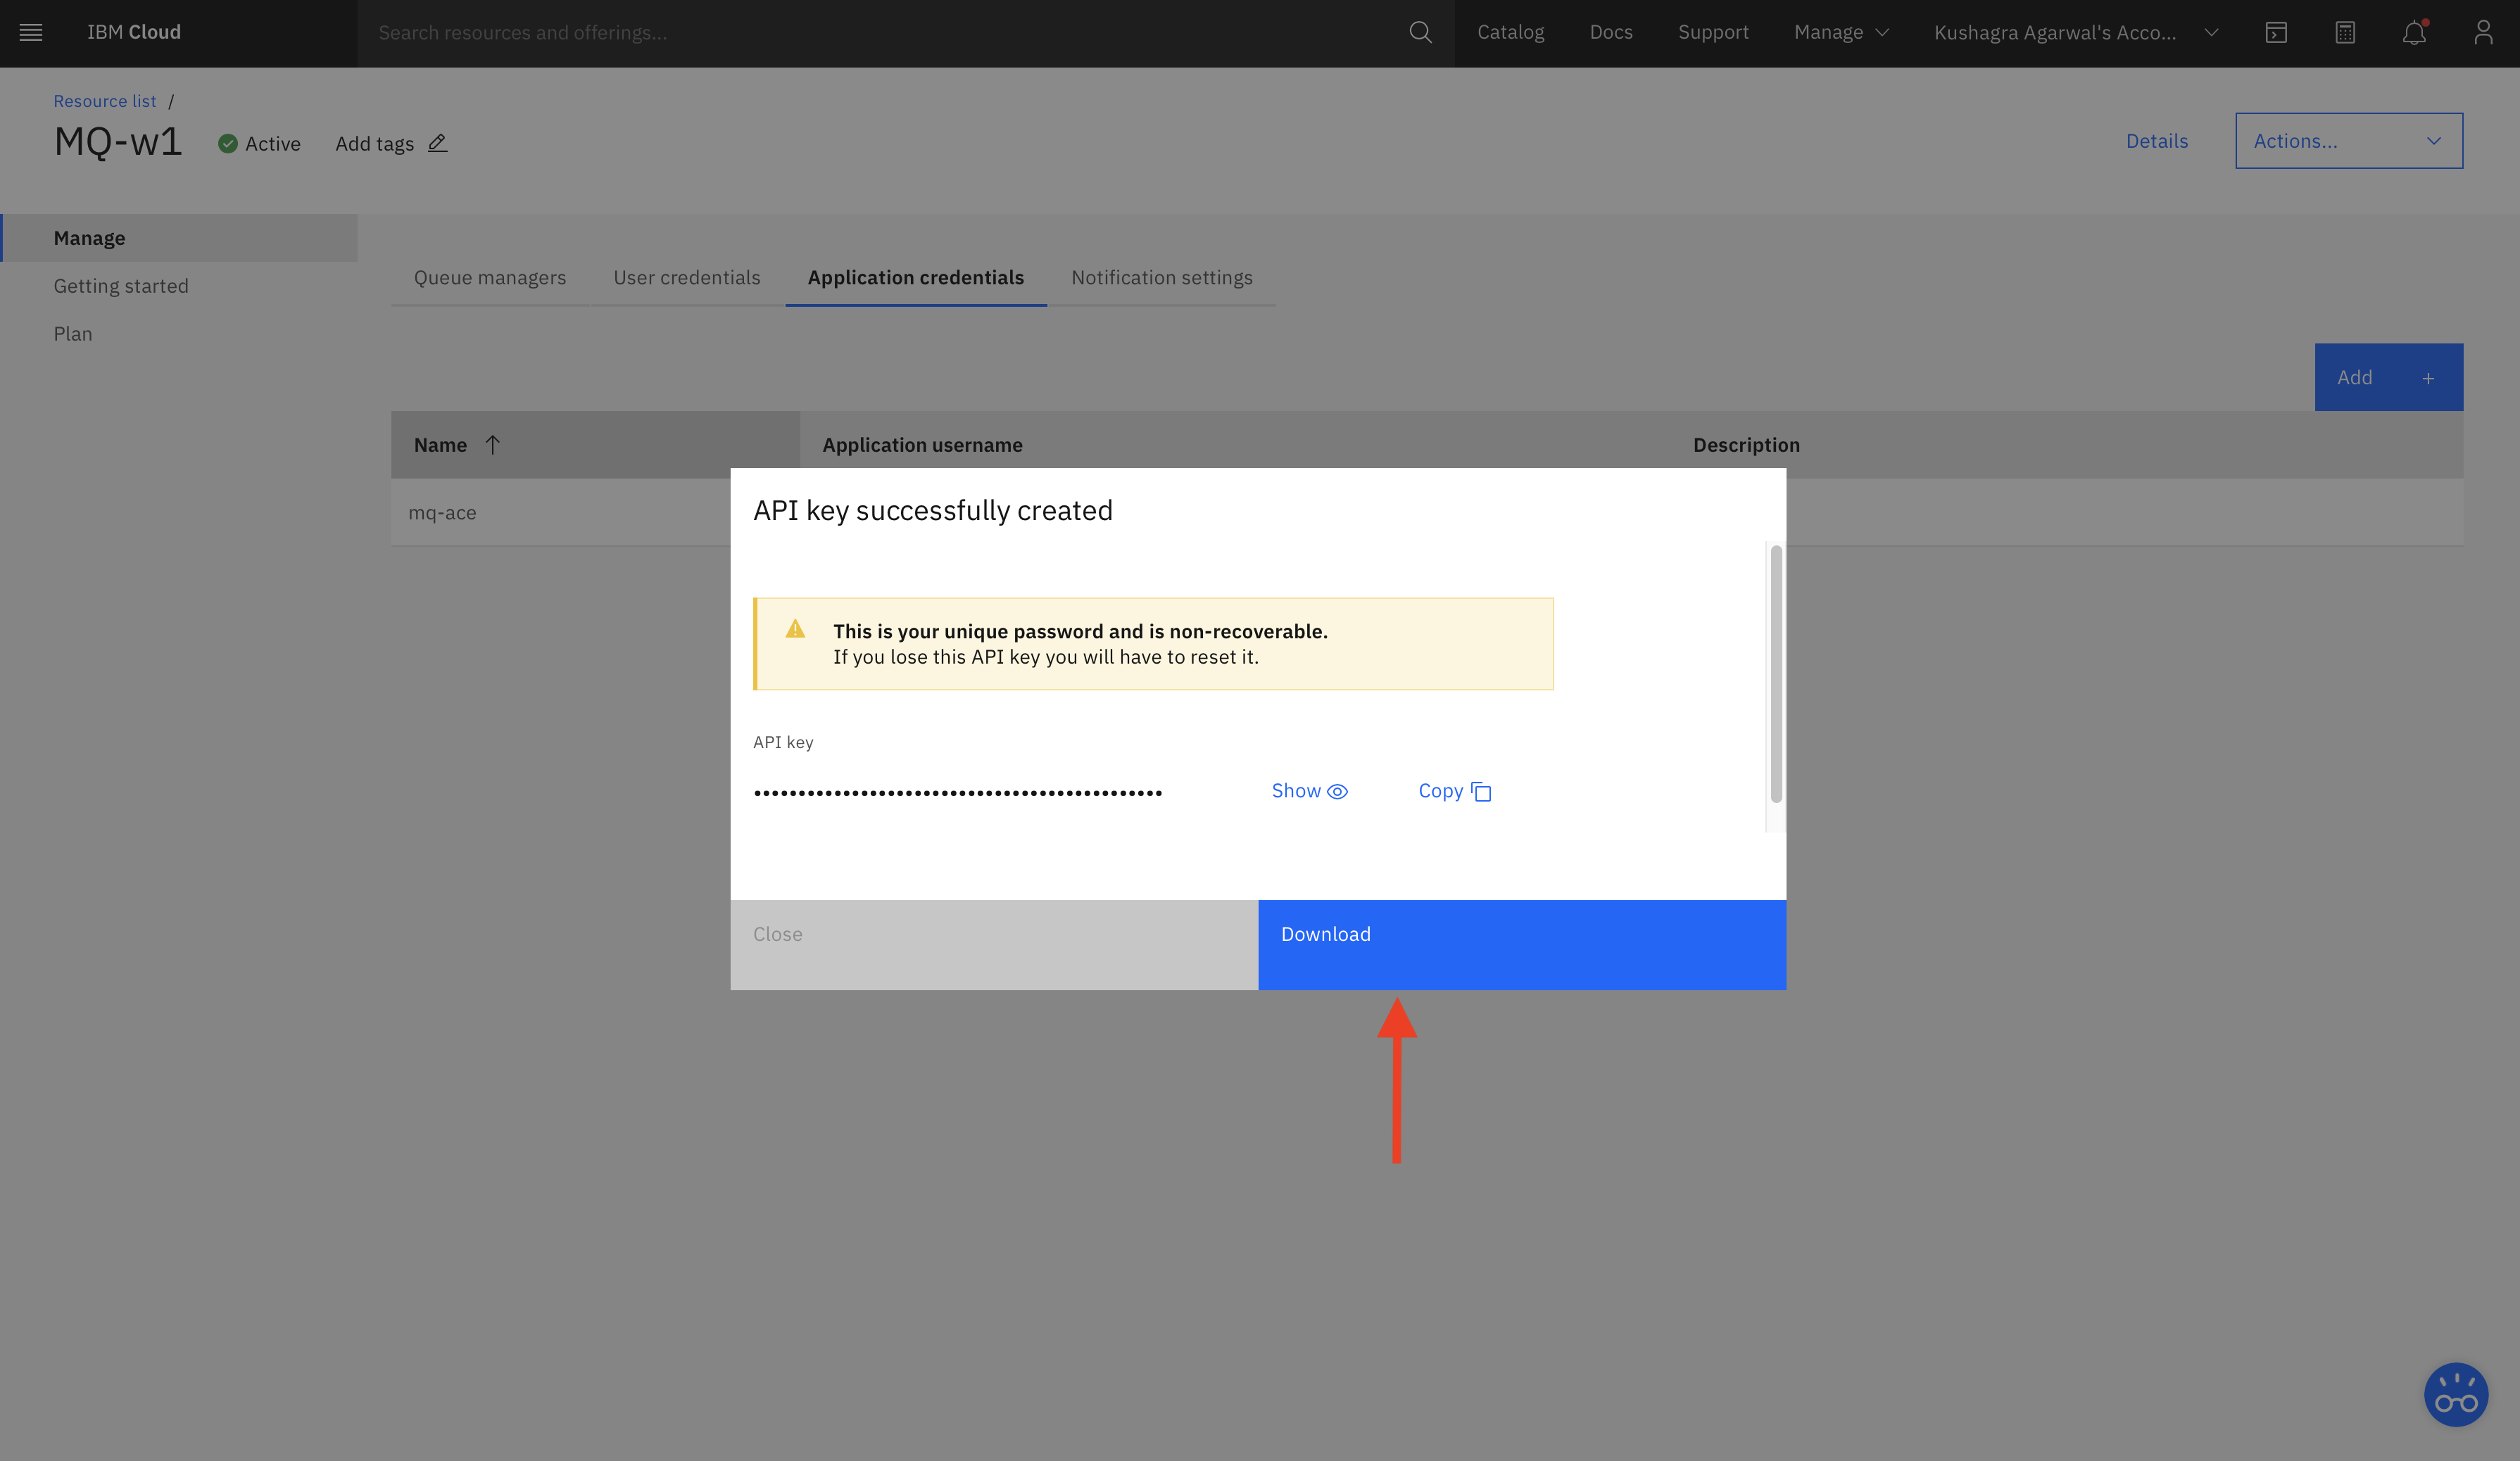
Upon successful creation you will see a prompt as shown in the picture. Download your credentials and store them as you will not be able to see them later on the console.


-
Now create a new queue manager by selecting
Queue Managersfrom the nav bar and hitCreate. -
Enter the queue manager name and click
Create.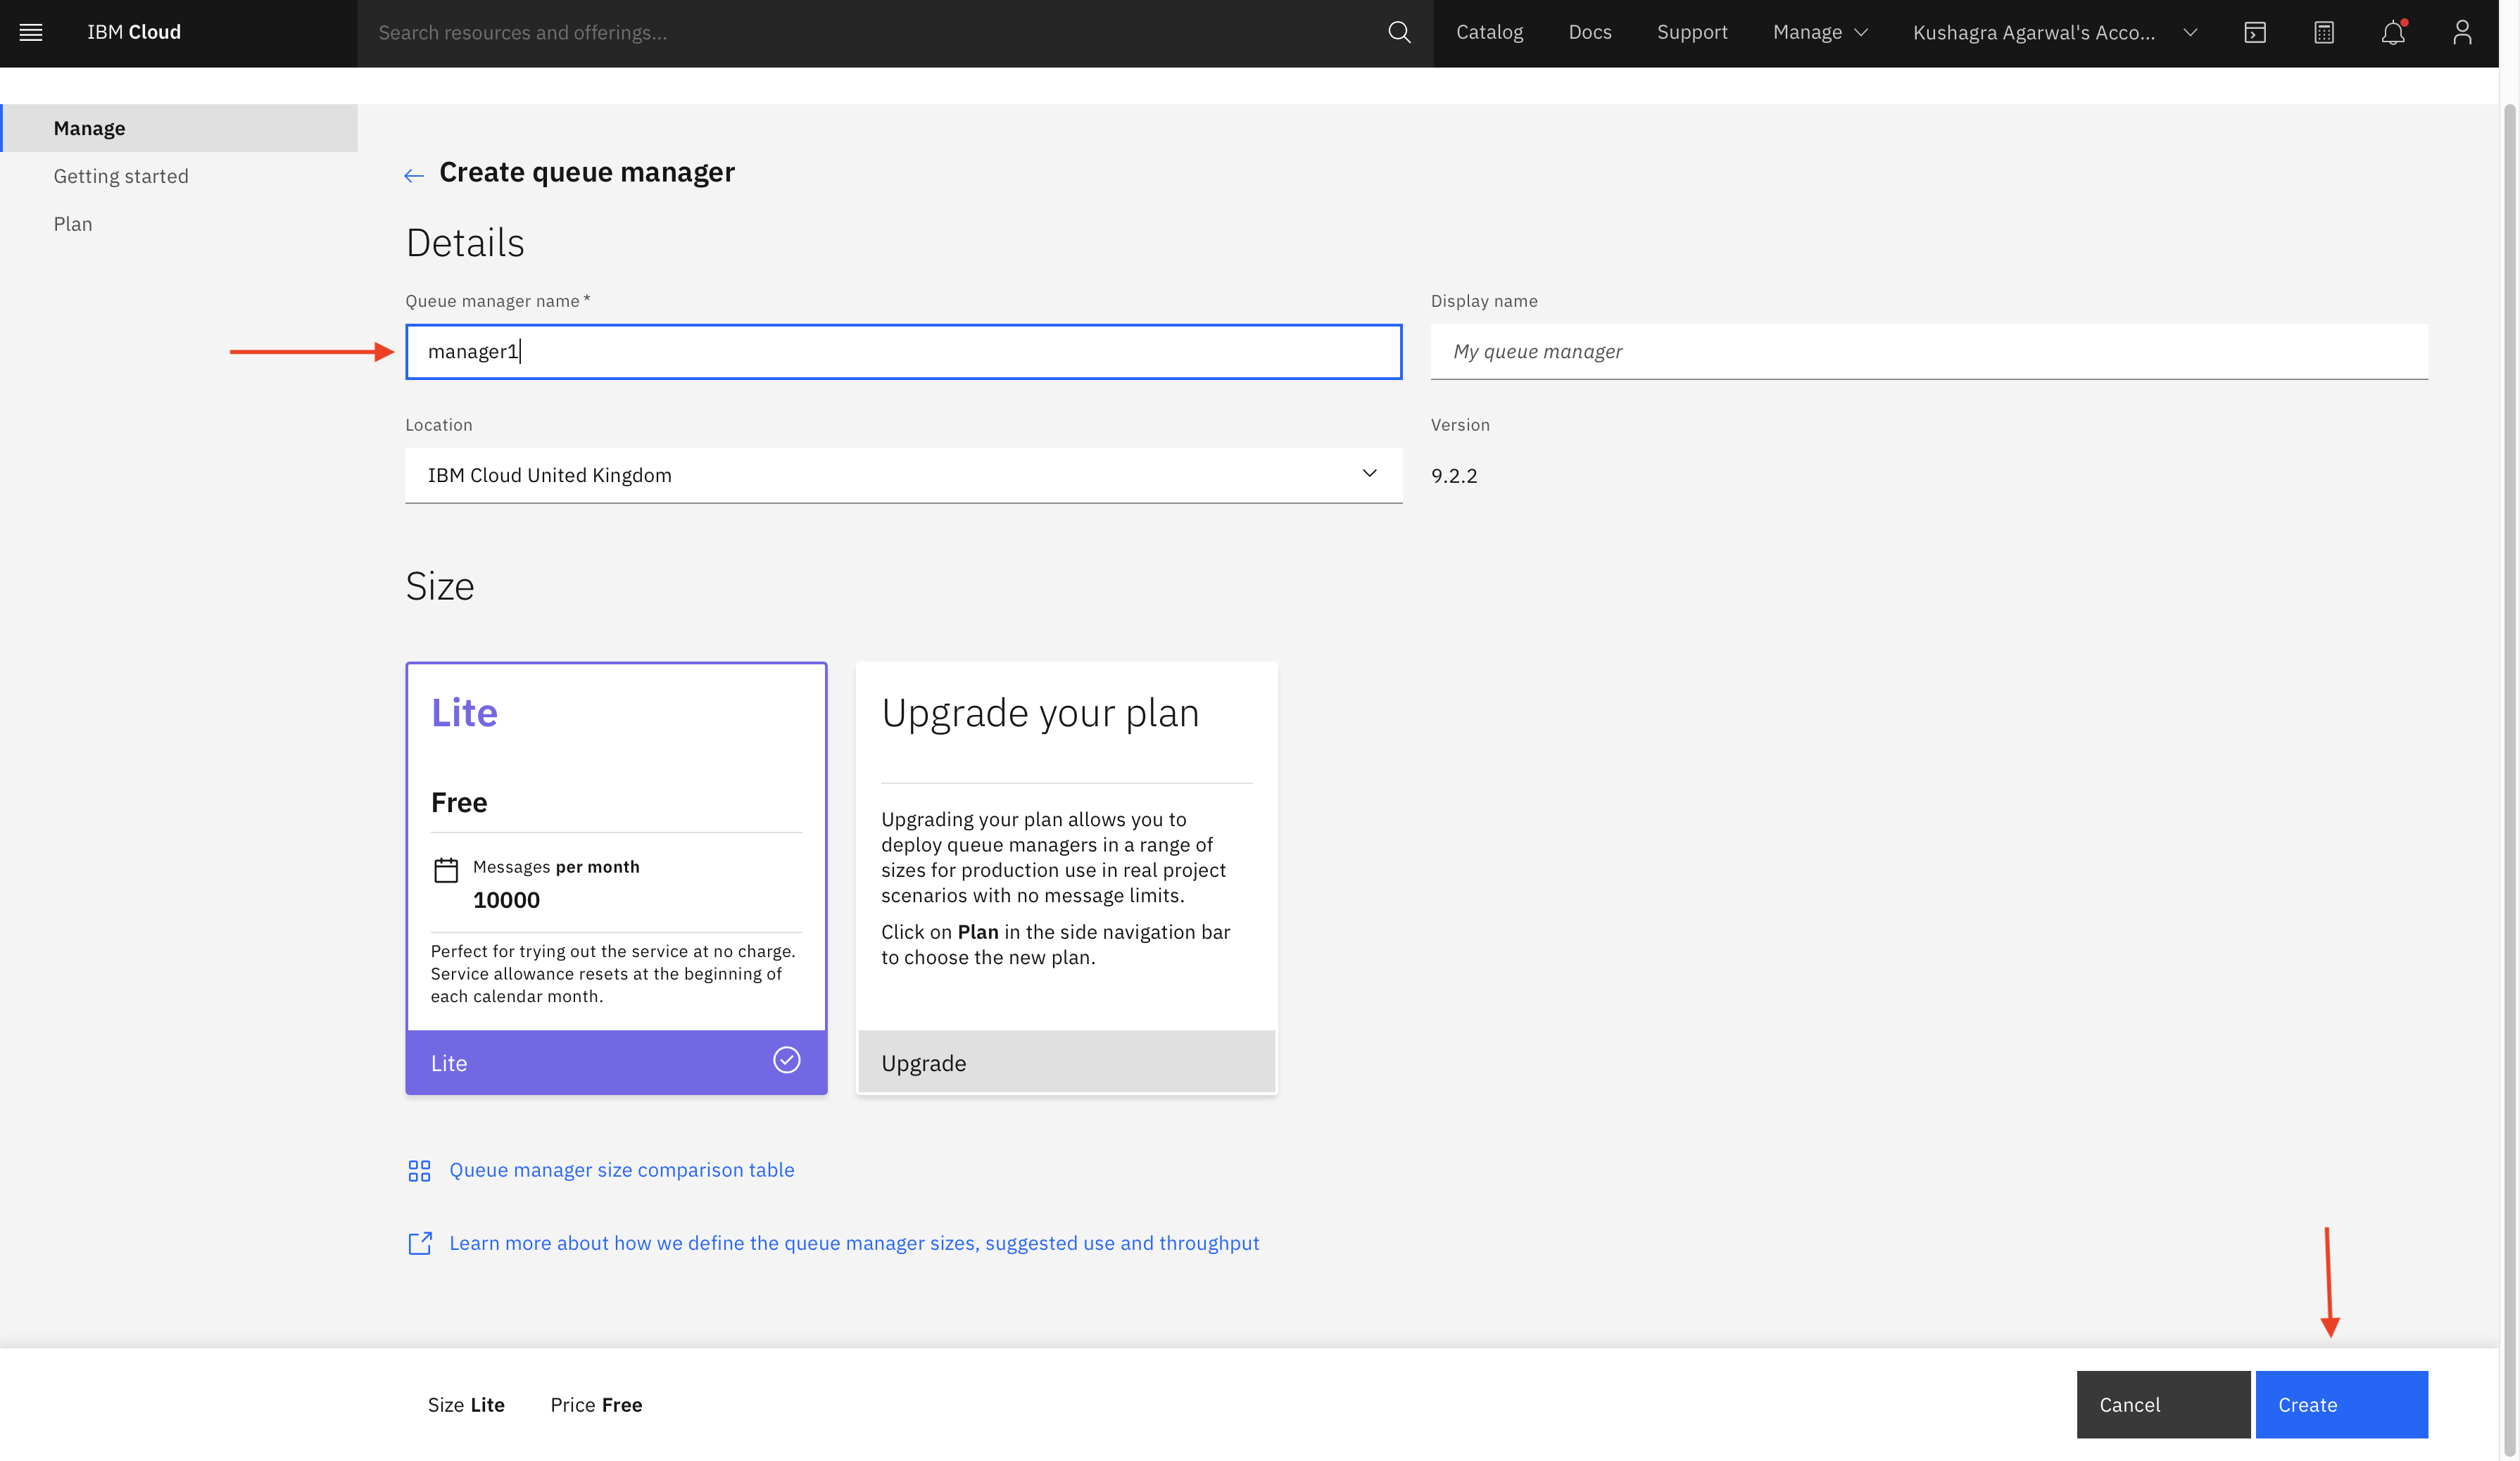

Note: Queue Manager will take about 10 minutes to initialize. Till then you can continue the next steps from here and continue these steps later.
-
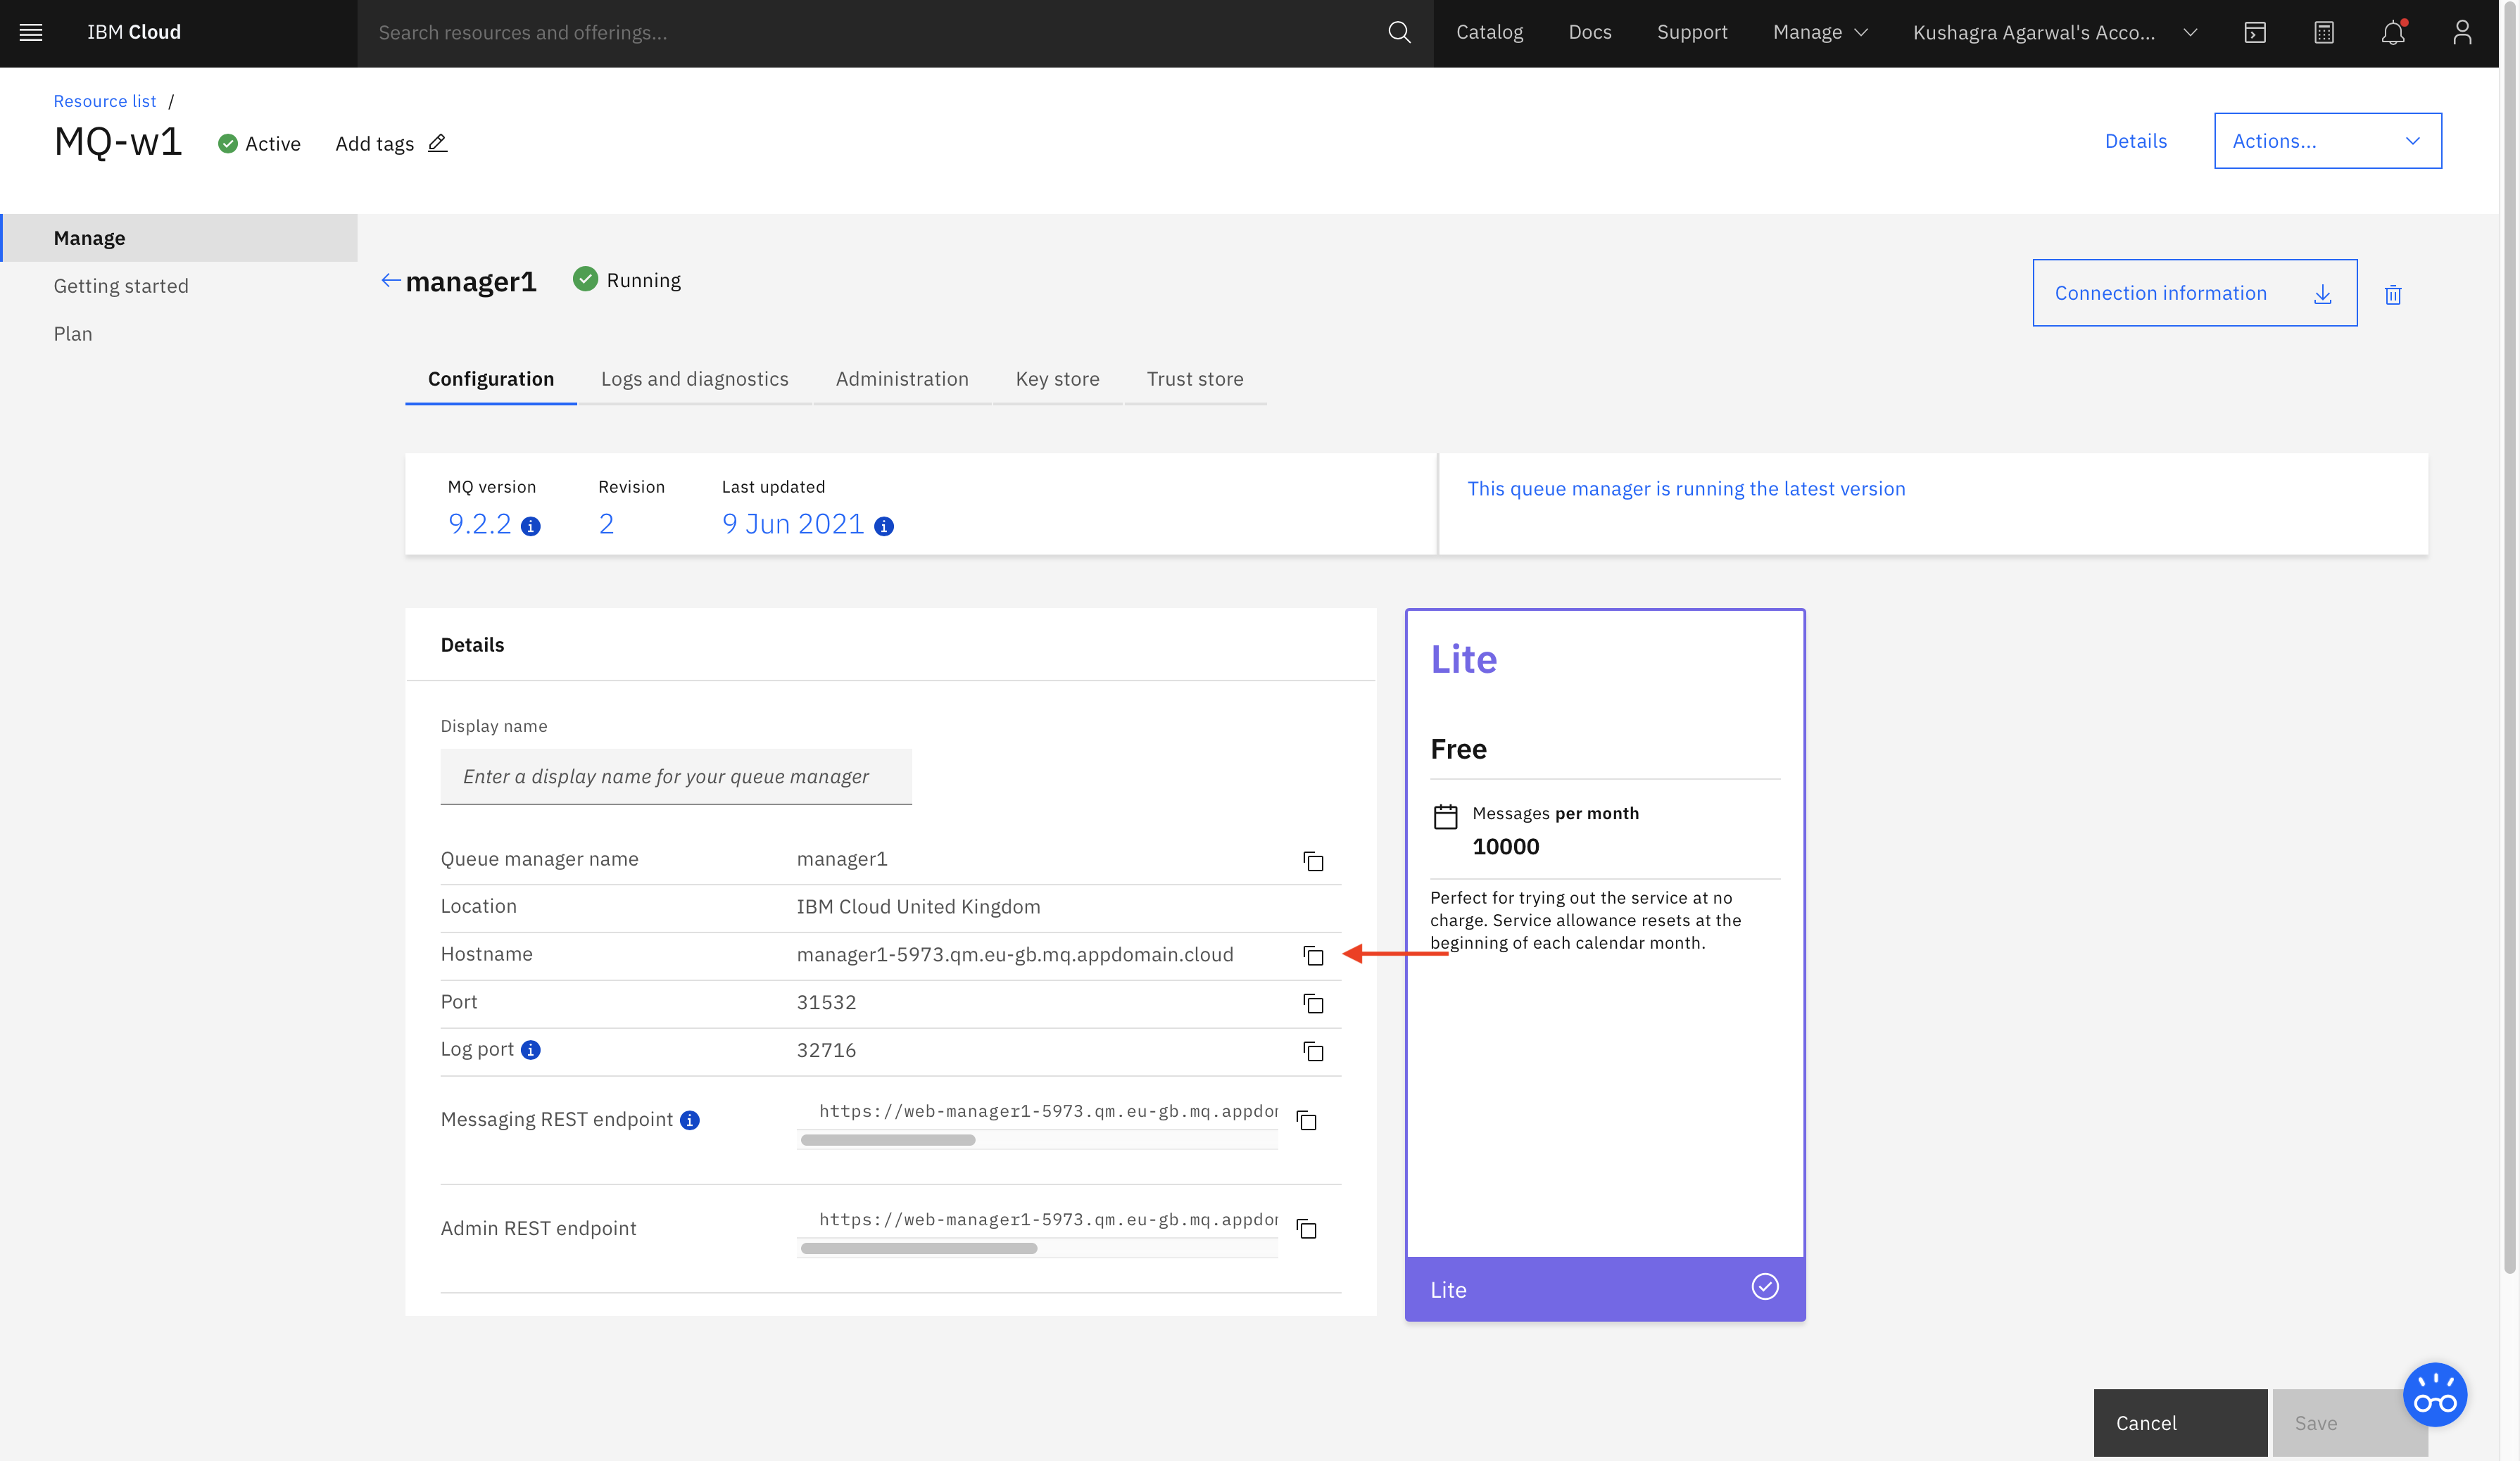
After Queue Manager is deployed, click it to see the Manager console. Copy the credentials and make a note of it as we will need it later.
-
After this click
Administrationand clickLaunch MQ Console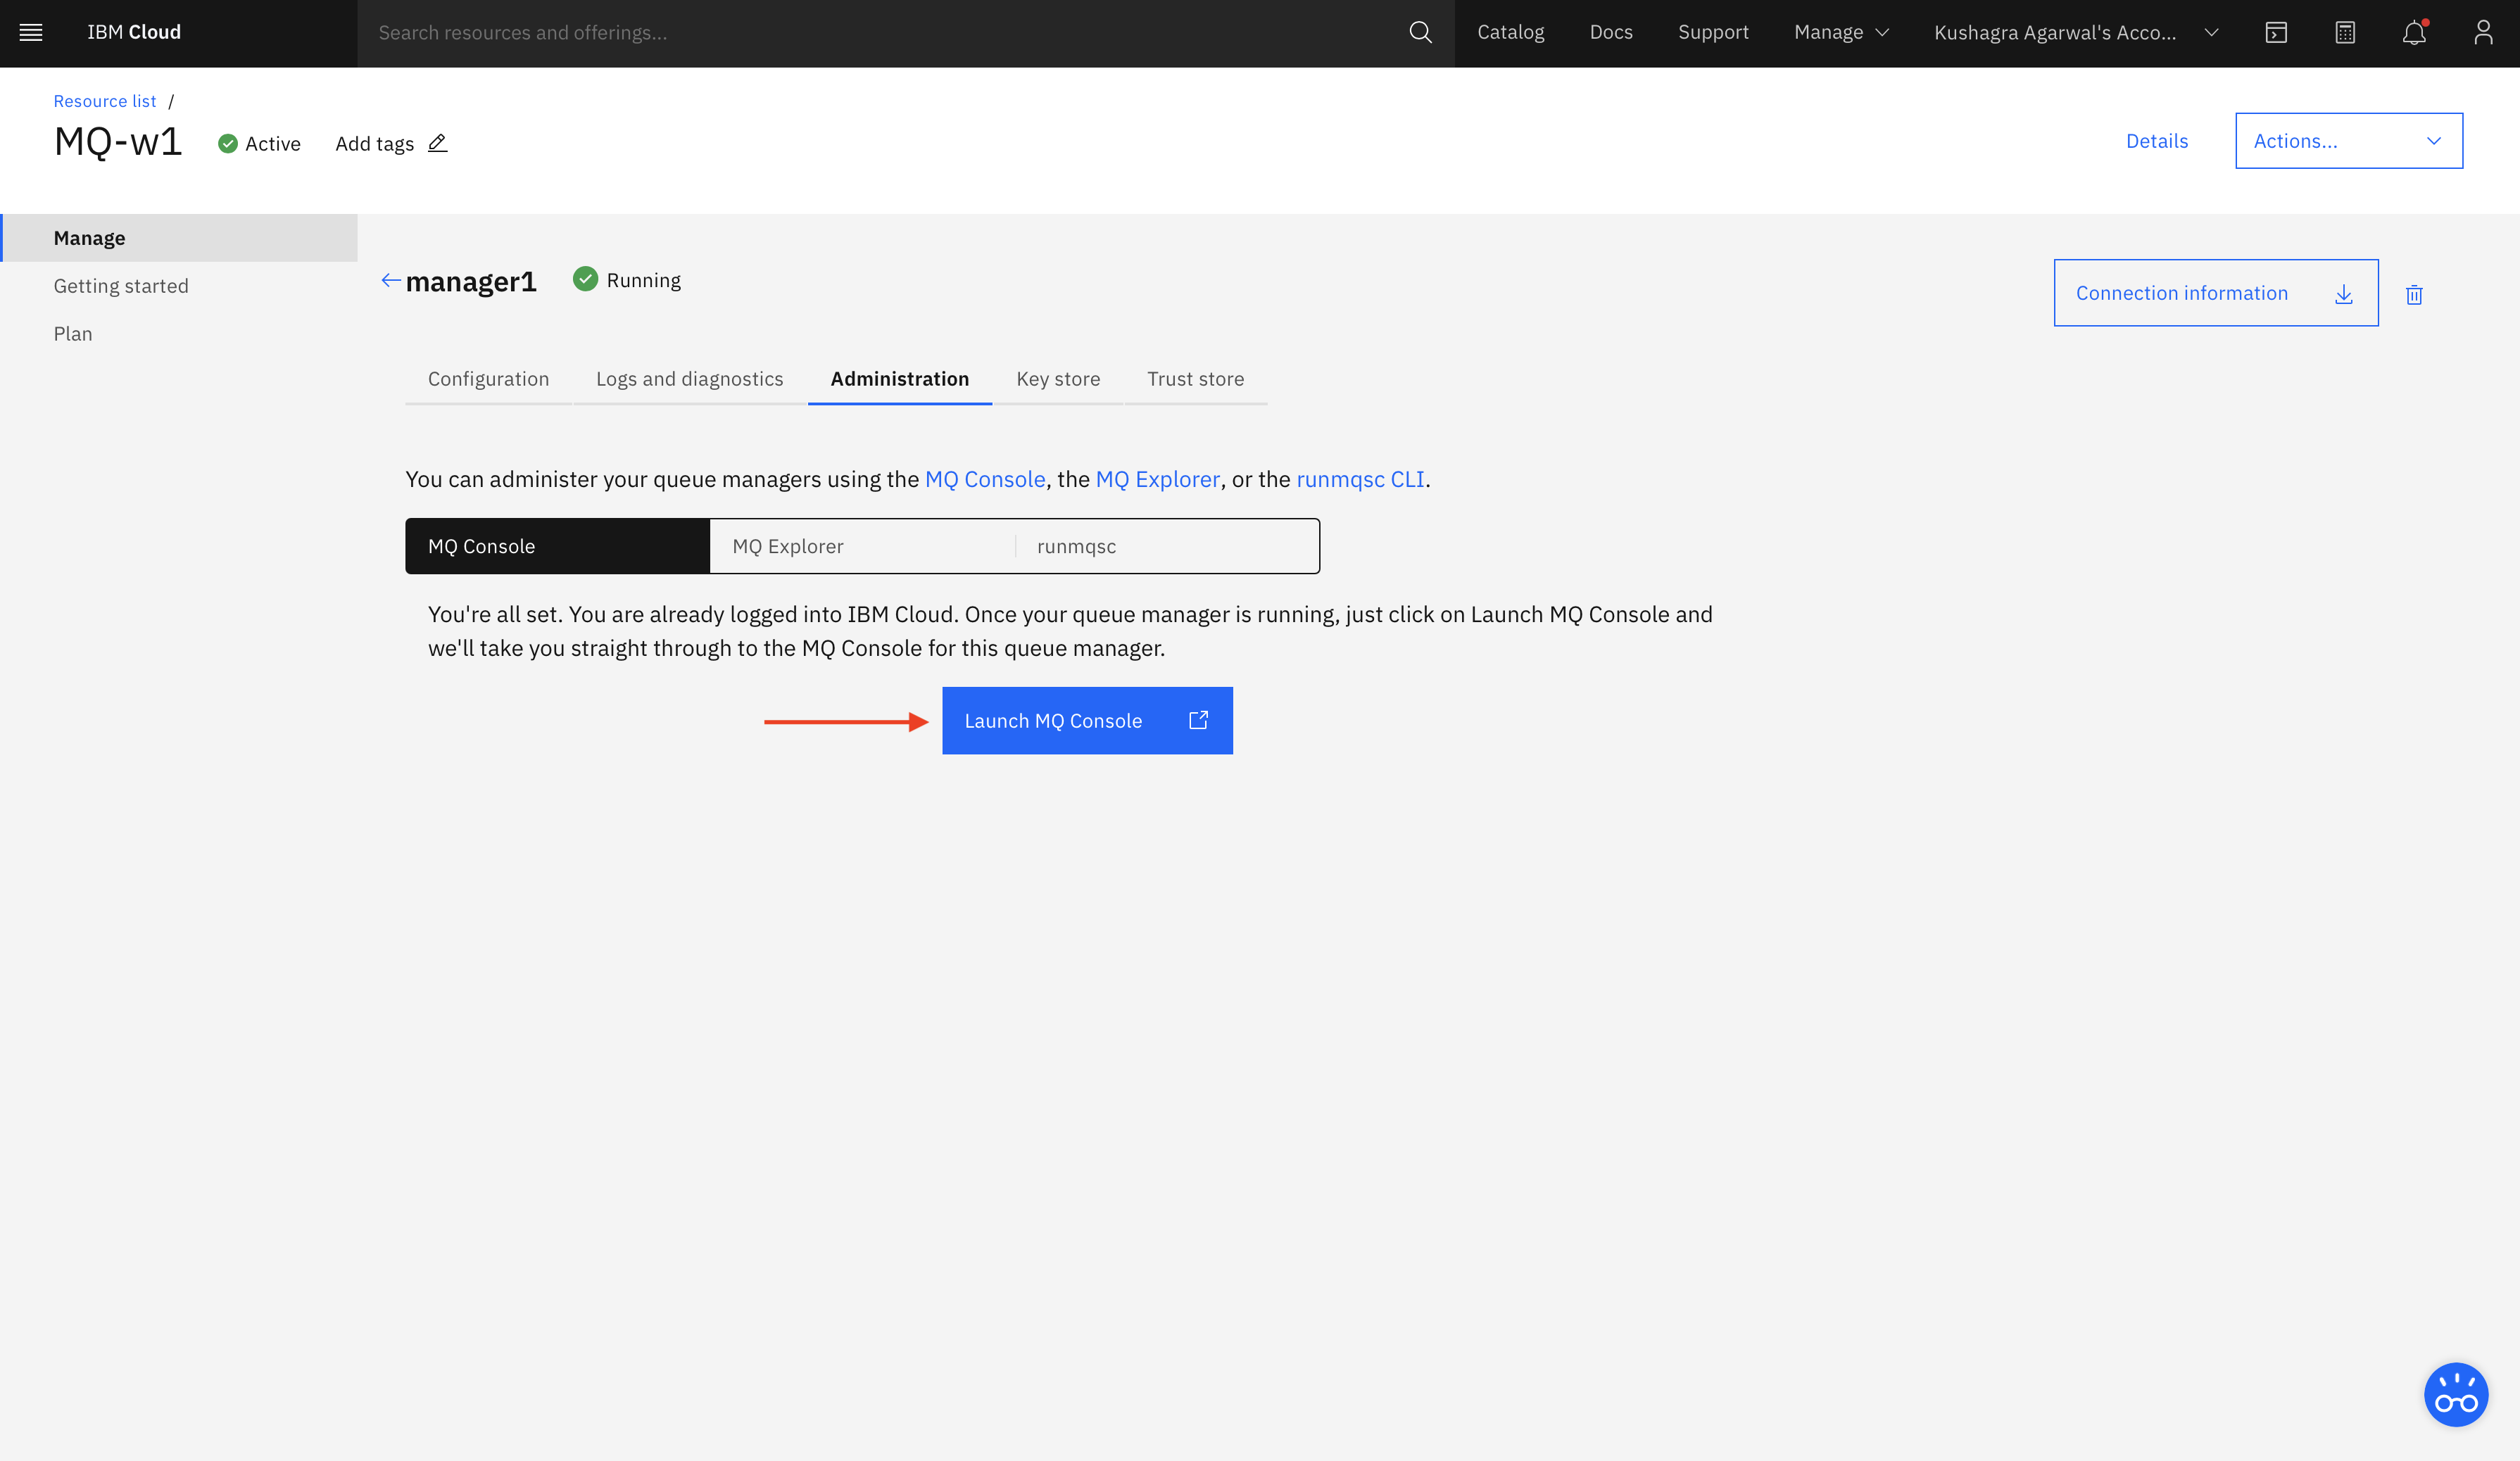
-
Once Inside MQ Console, Navigate to Manage > Communication > App Channels and click the three dots next to
CLOUD.APP.SVRCONNand selectView Configuration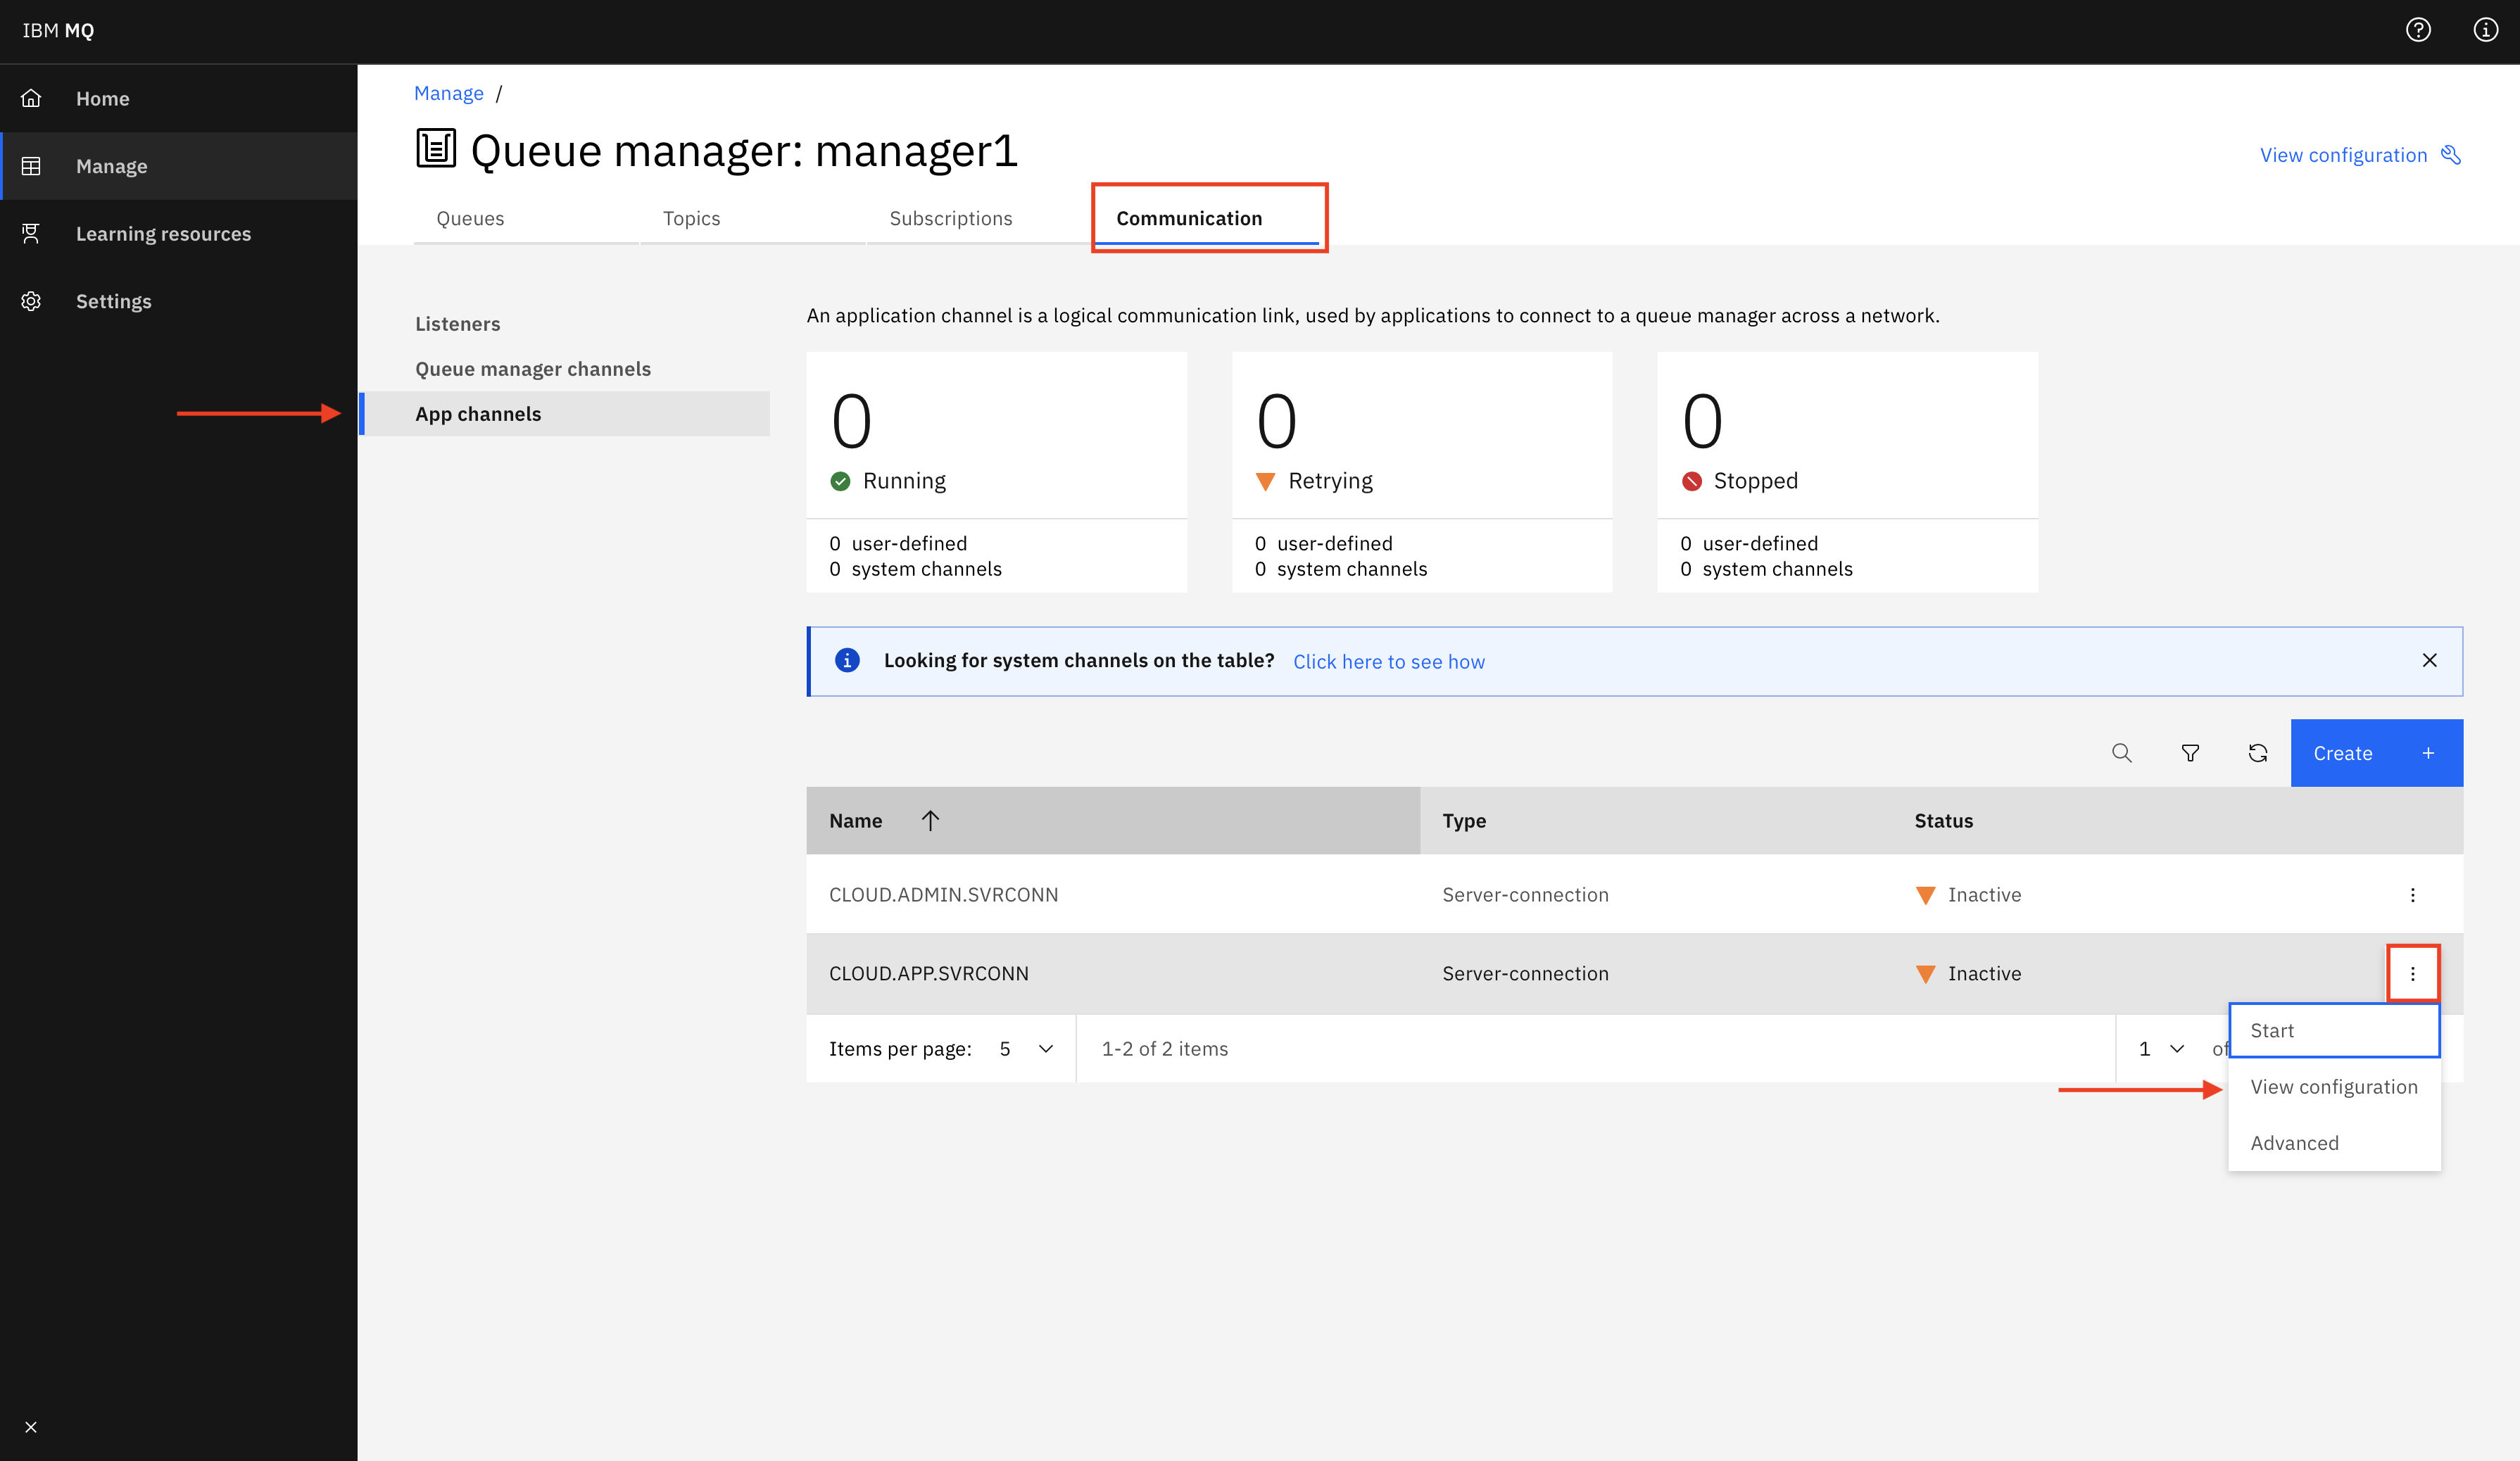
-
Press
Editand scroll down toSSL, and enterTLS_RSA_WITH_AES_128_CBC_SHA256as theSSL cipher specand pressSave.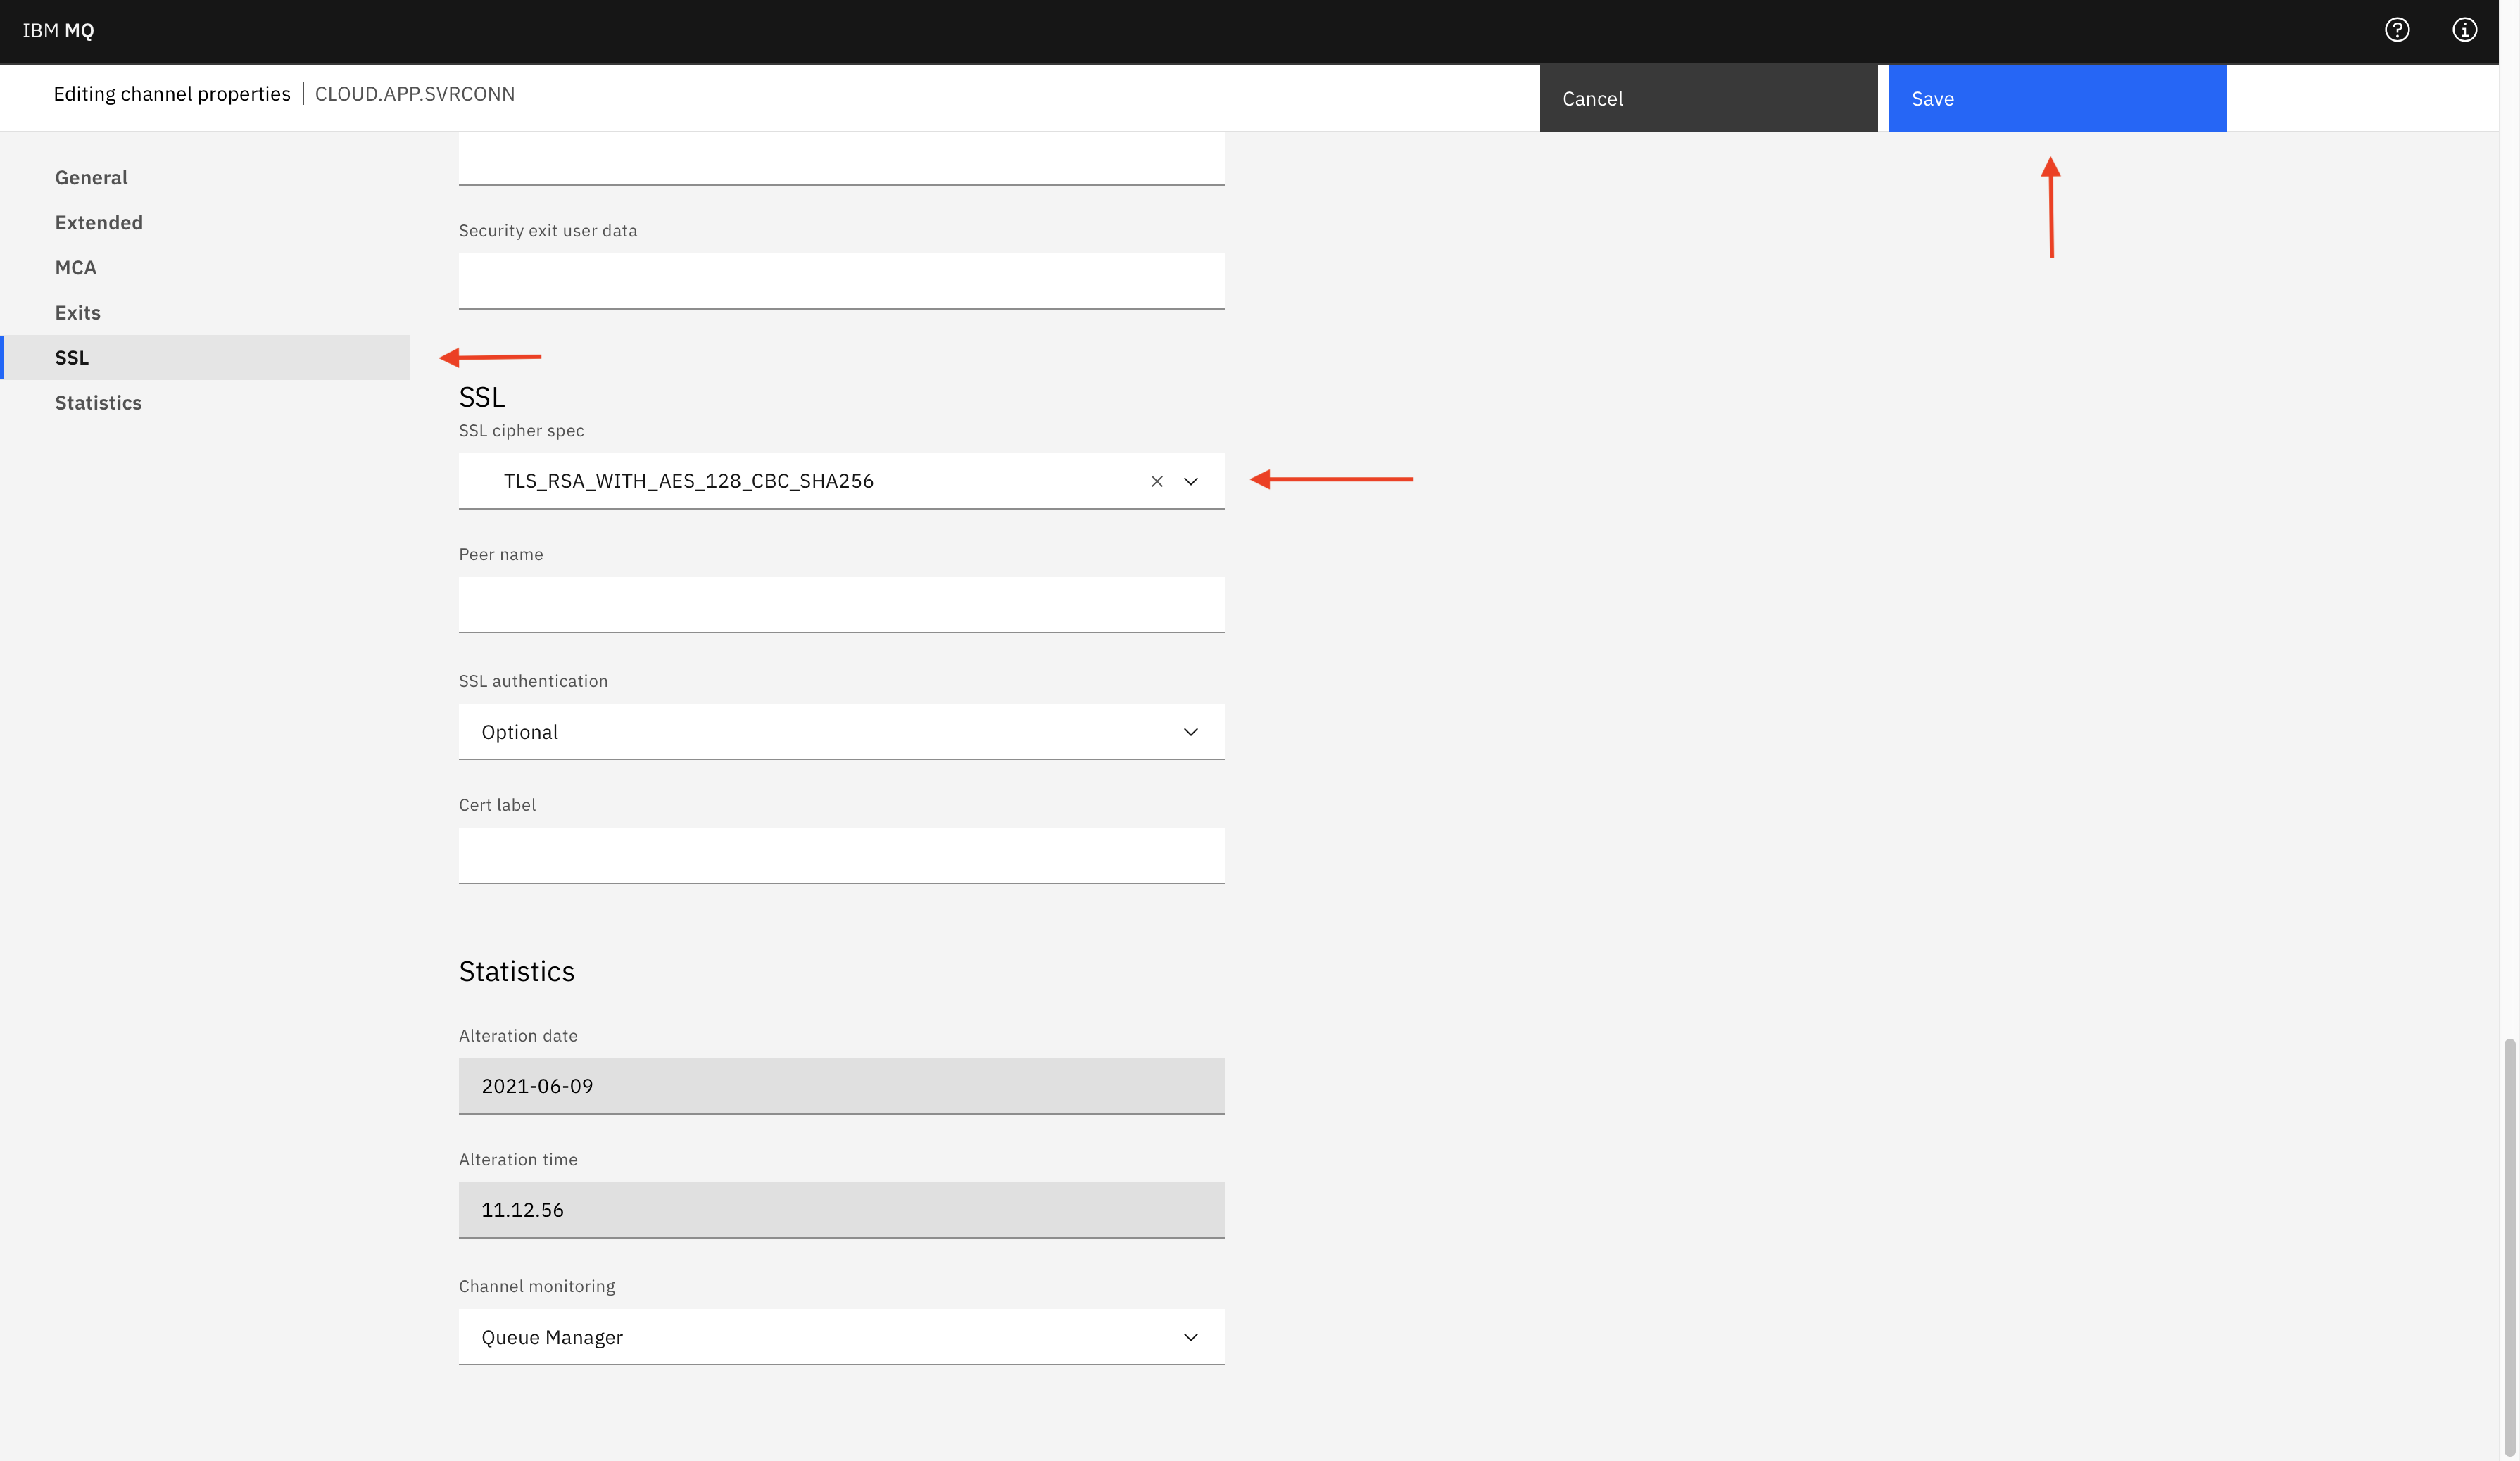


For this Code Pattern we need 4 queues. By default they are named inputA, outputA, inputC, outputC. You can set the queue names as per your choice but you'll have to set the environment accordingly.
-
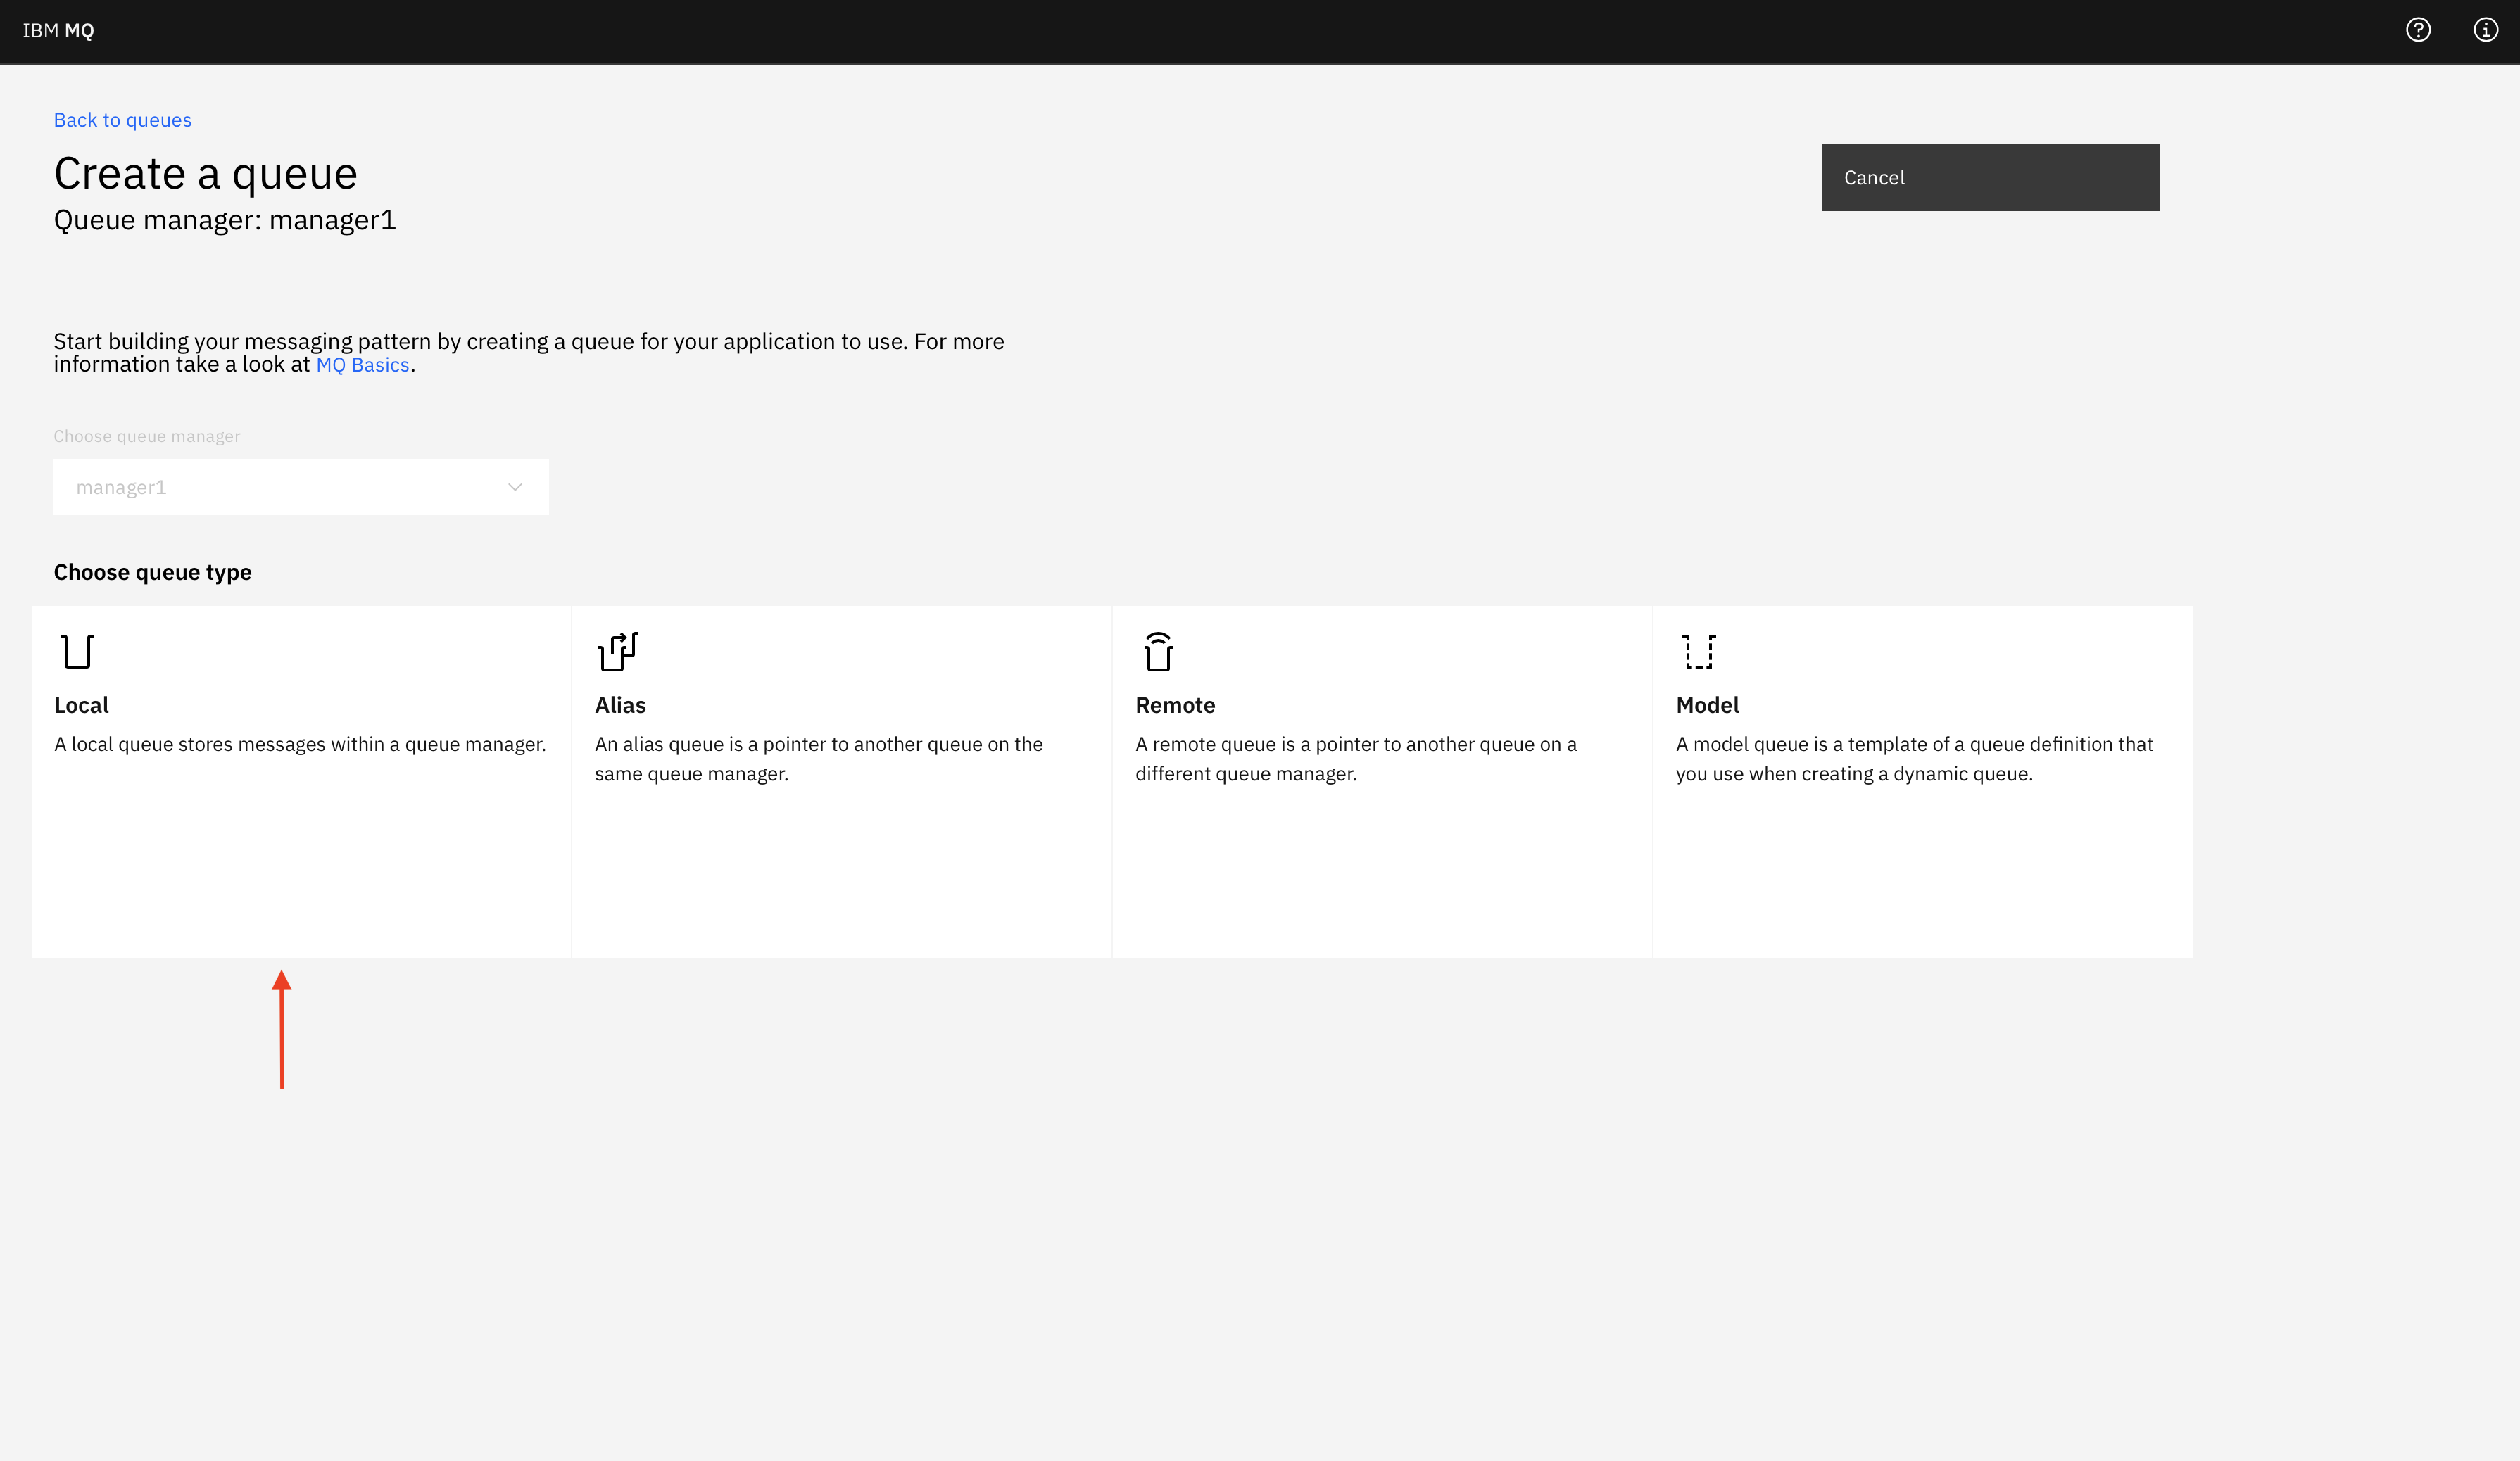
In the MQ Console, Create a new Queue by navigating to
Manageand pressingCreate.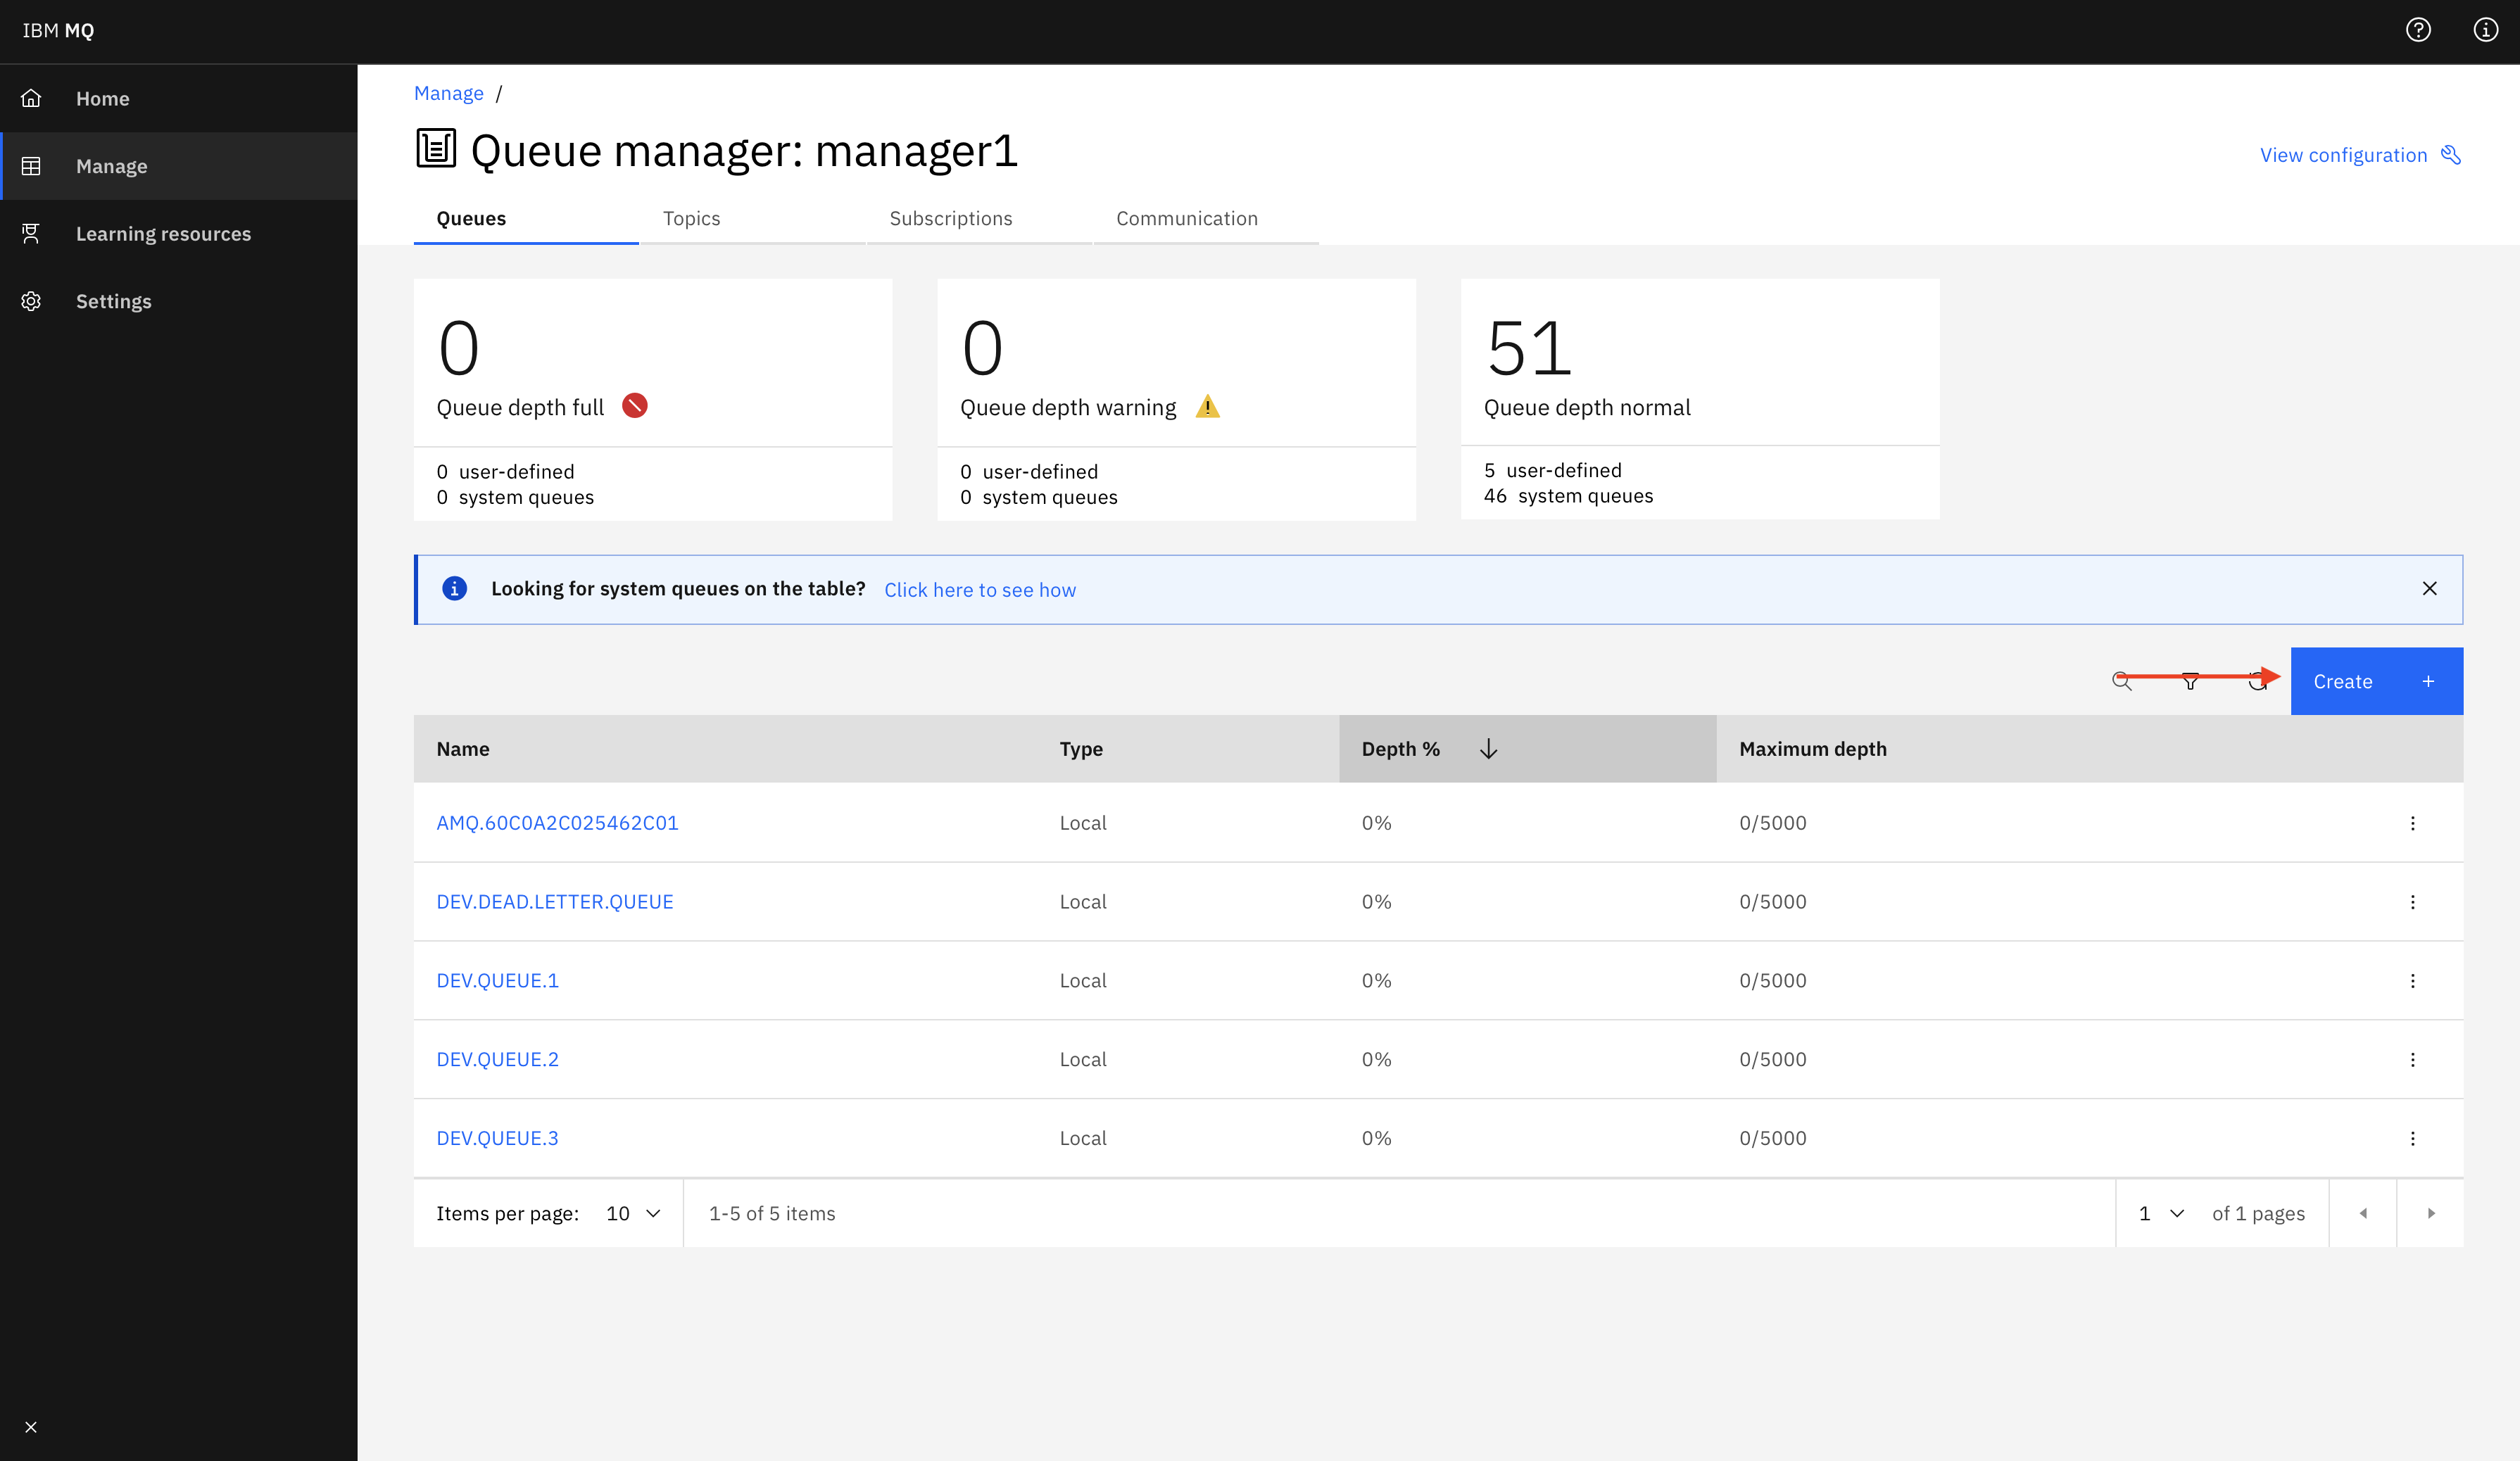
-
Select Local.
-
Input name and press
Create.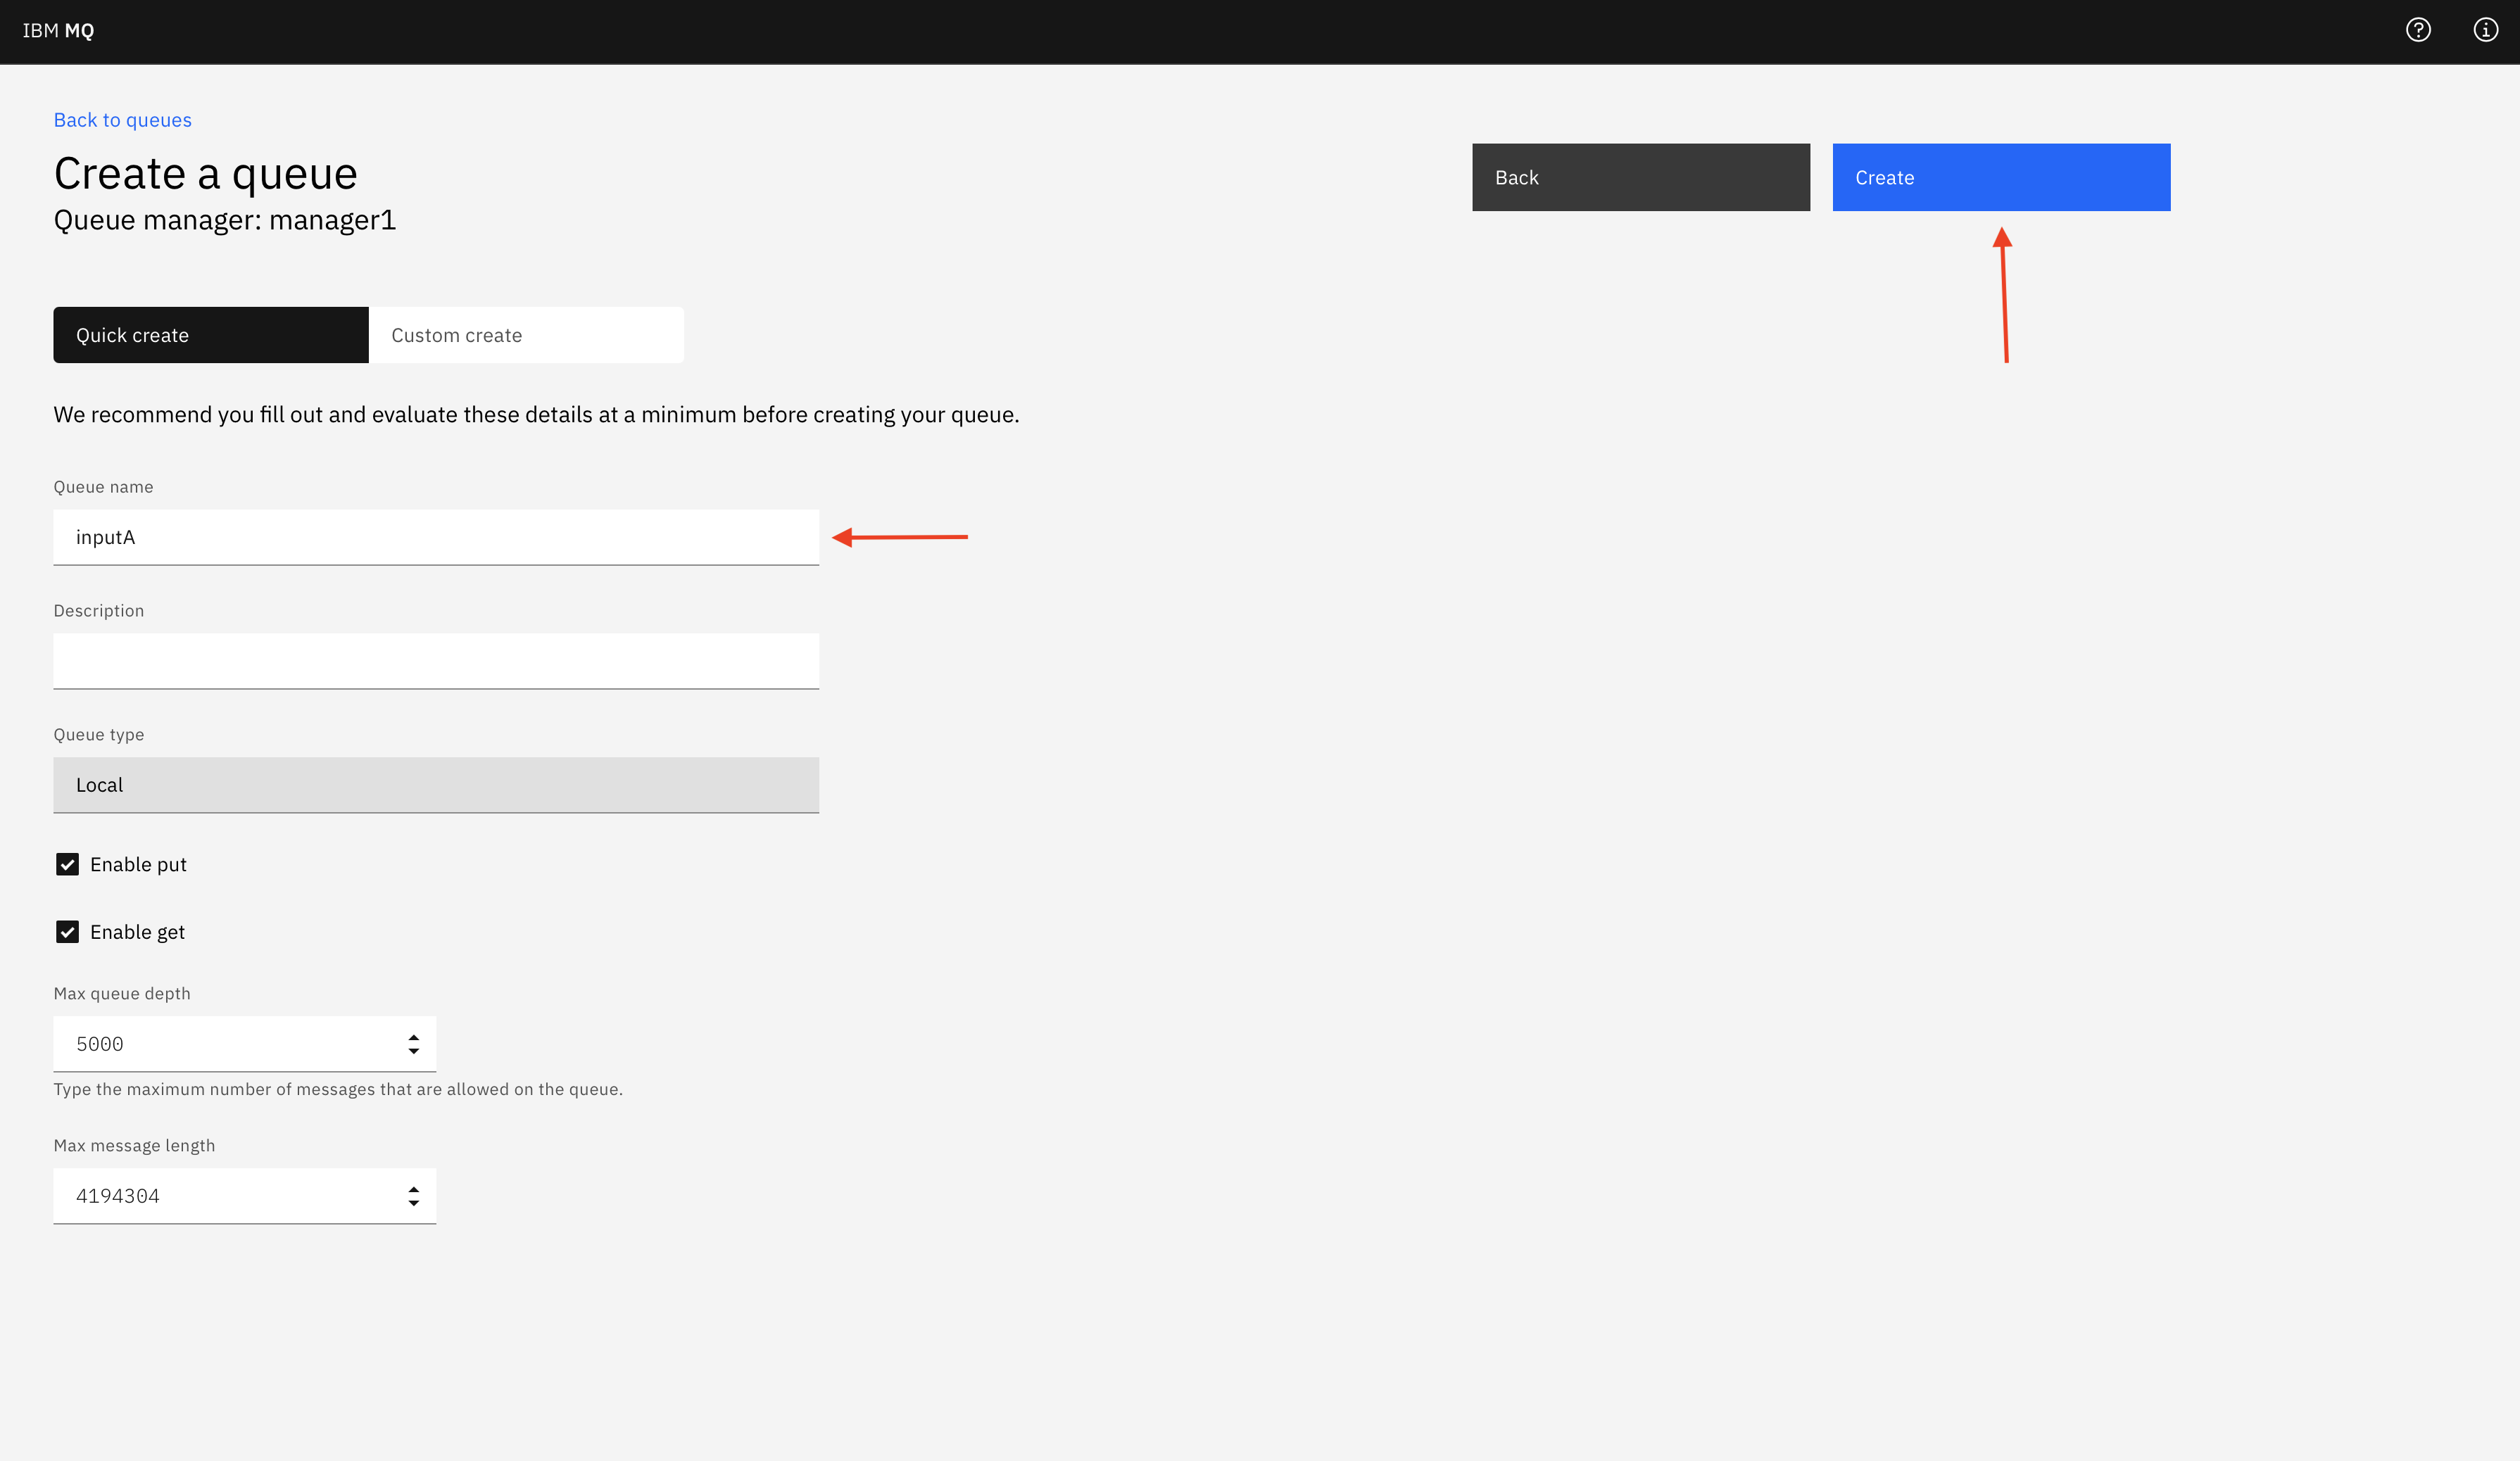
-
Click 3 dots at the side of newly created queue and select
View Configuration.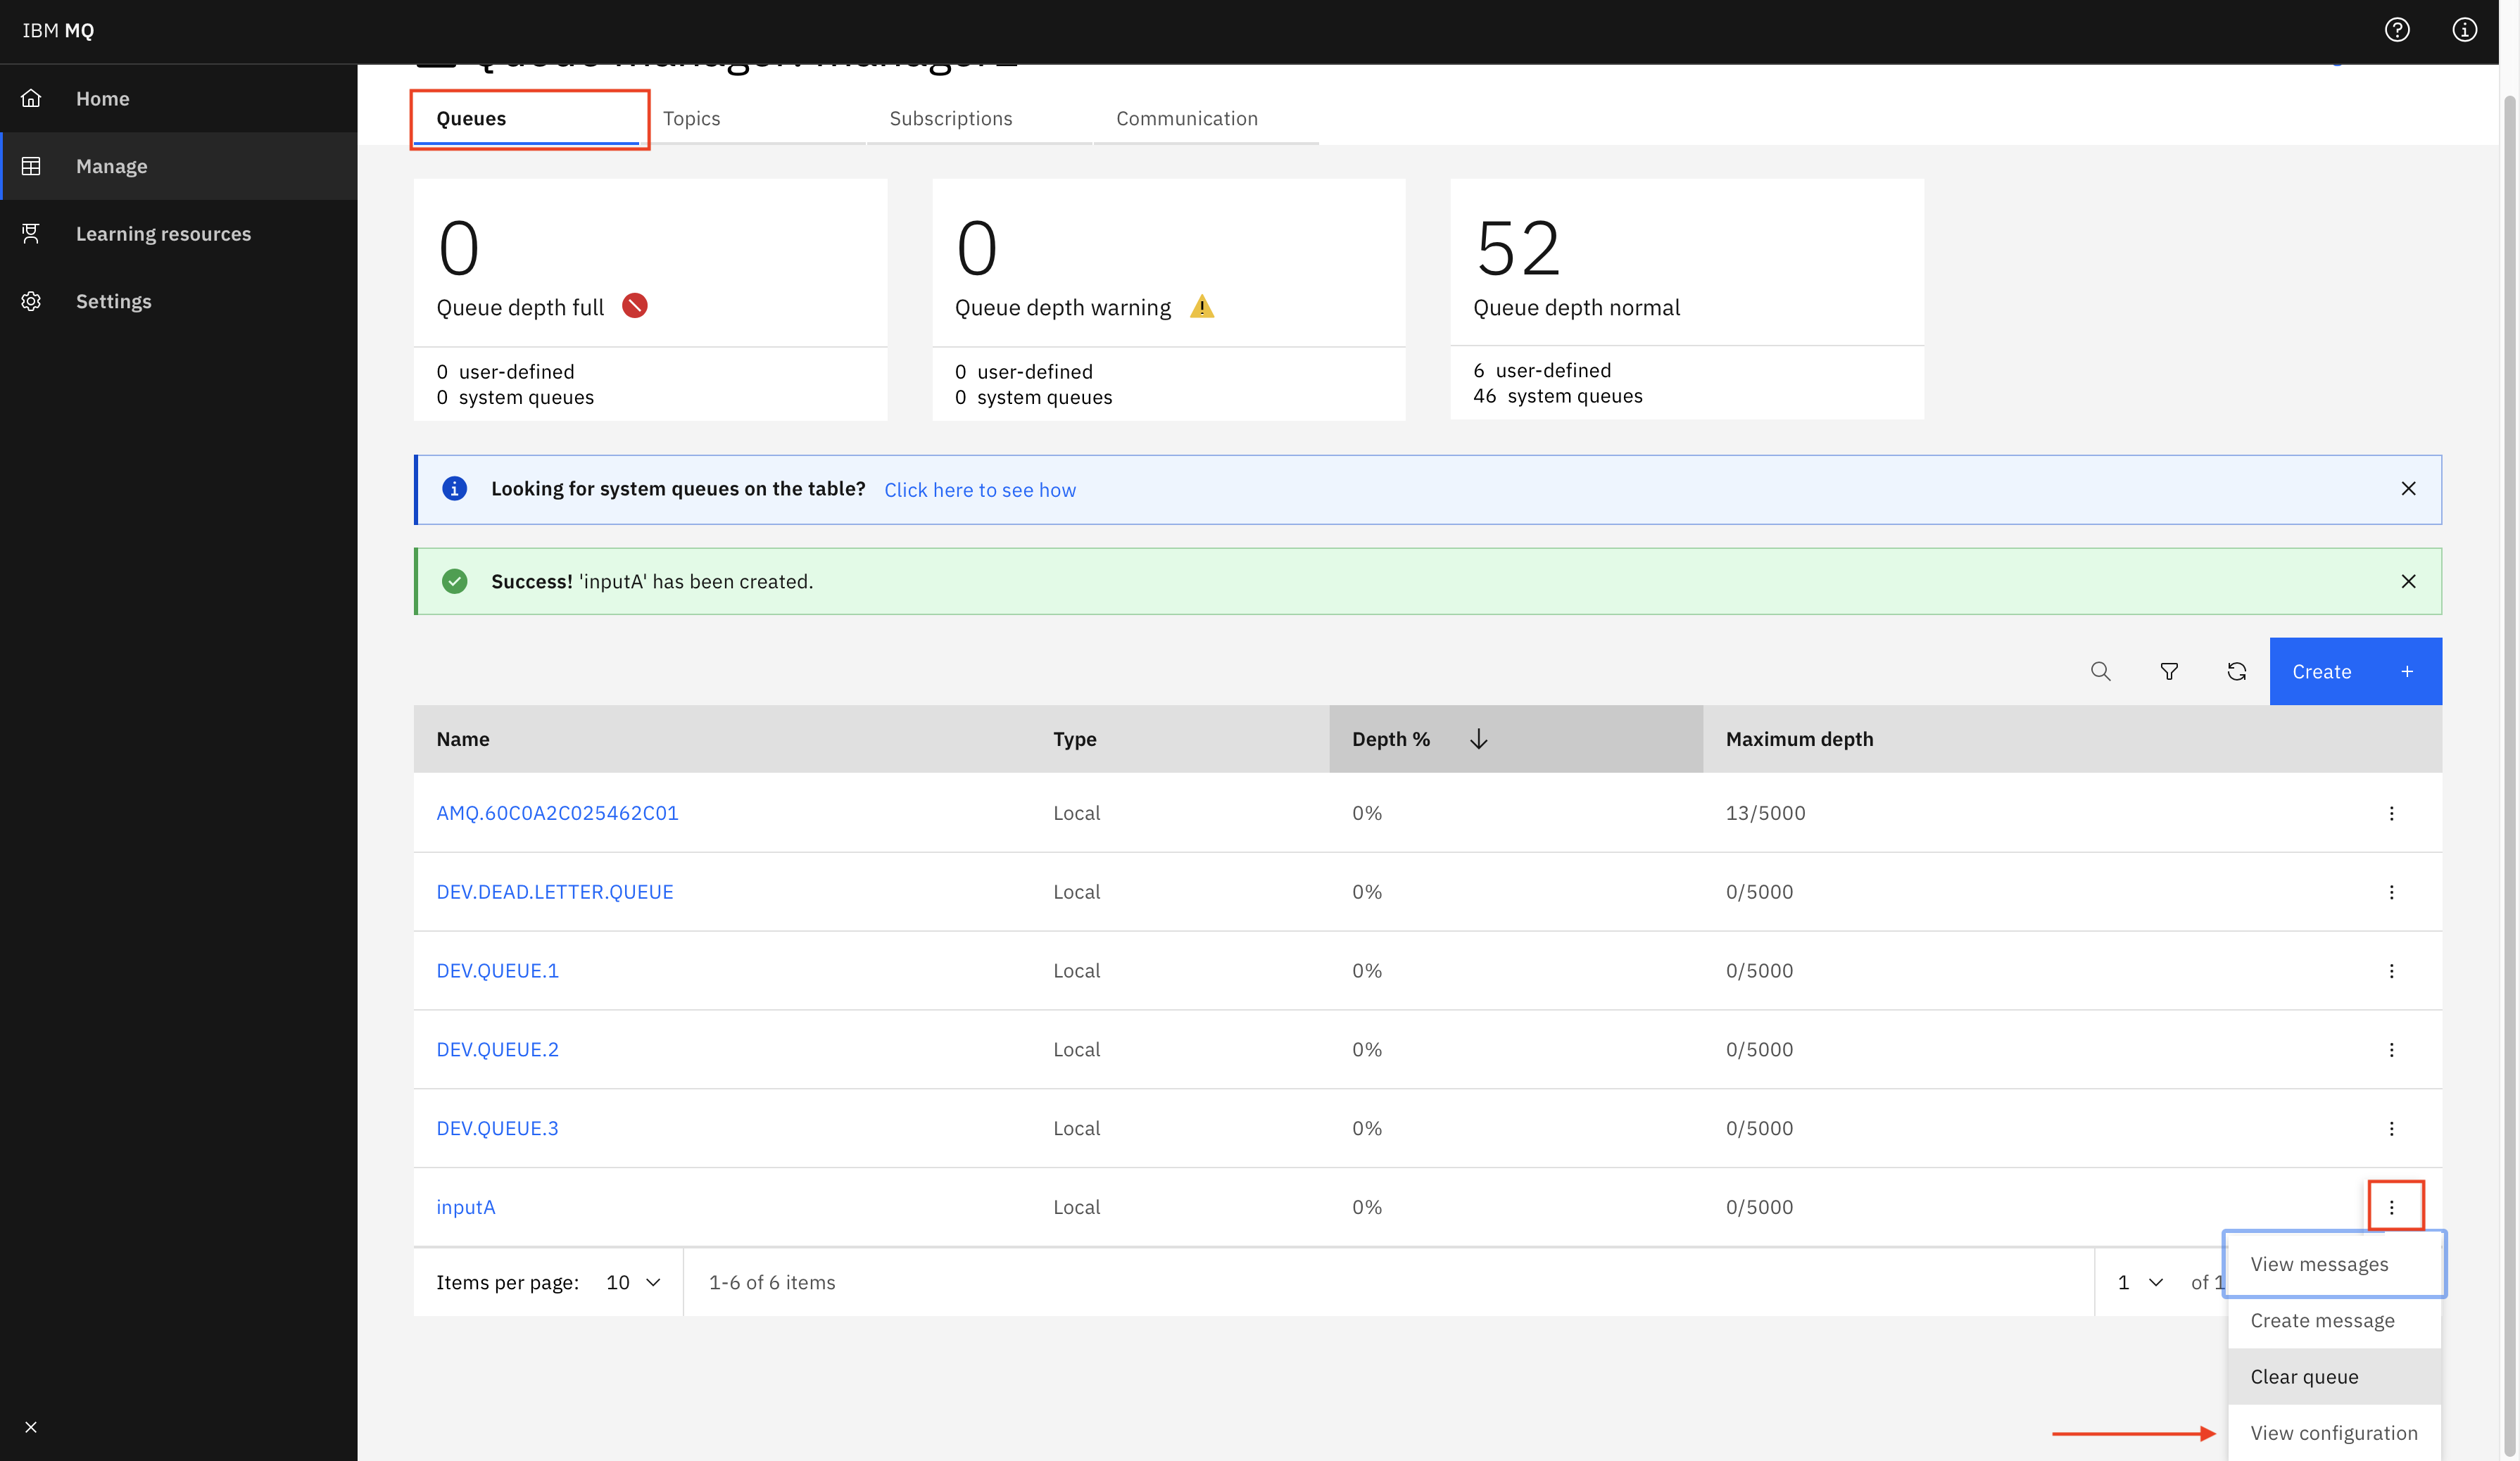
-
Navigate to Security and click
Add.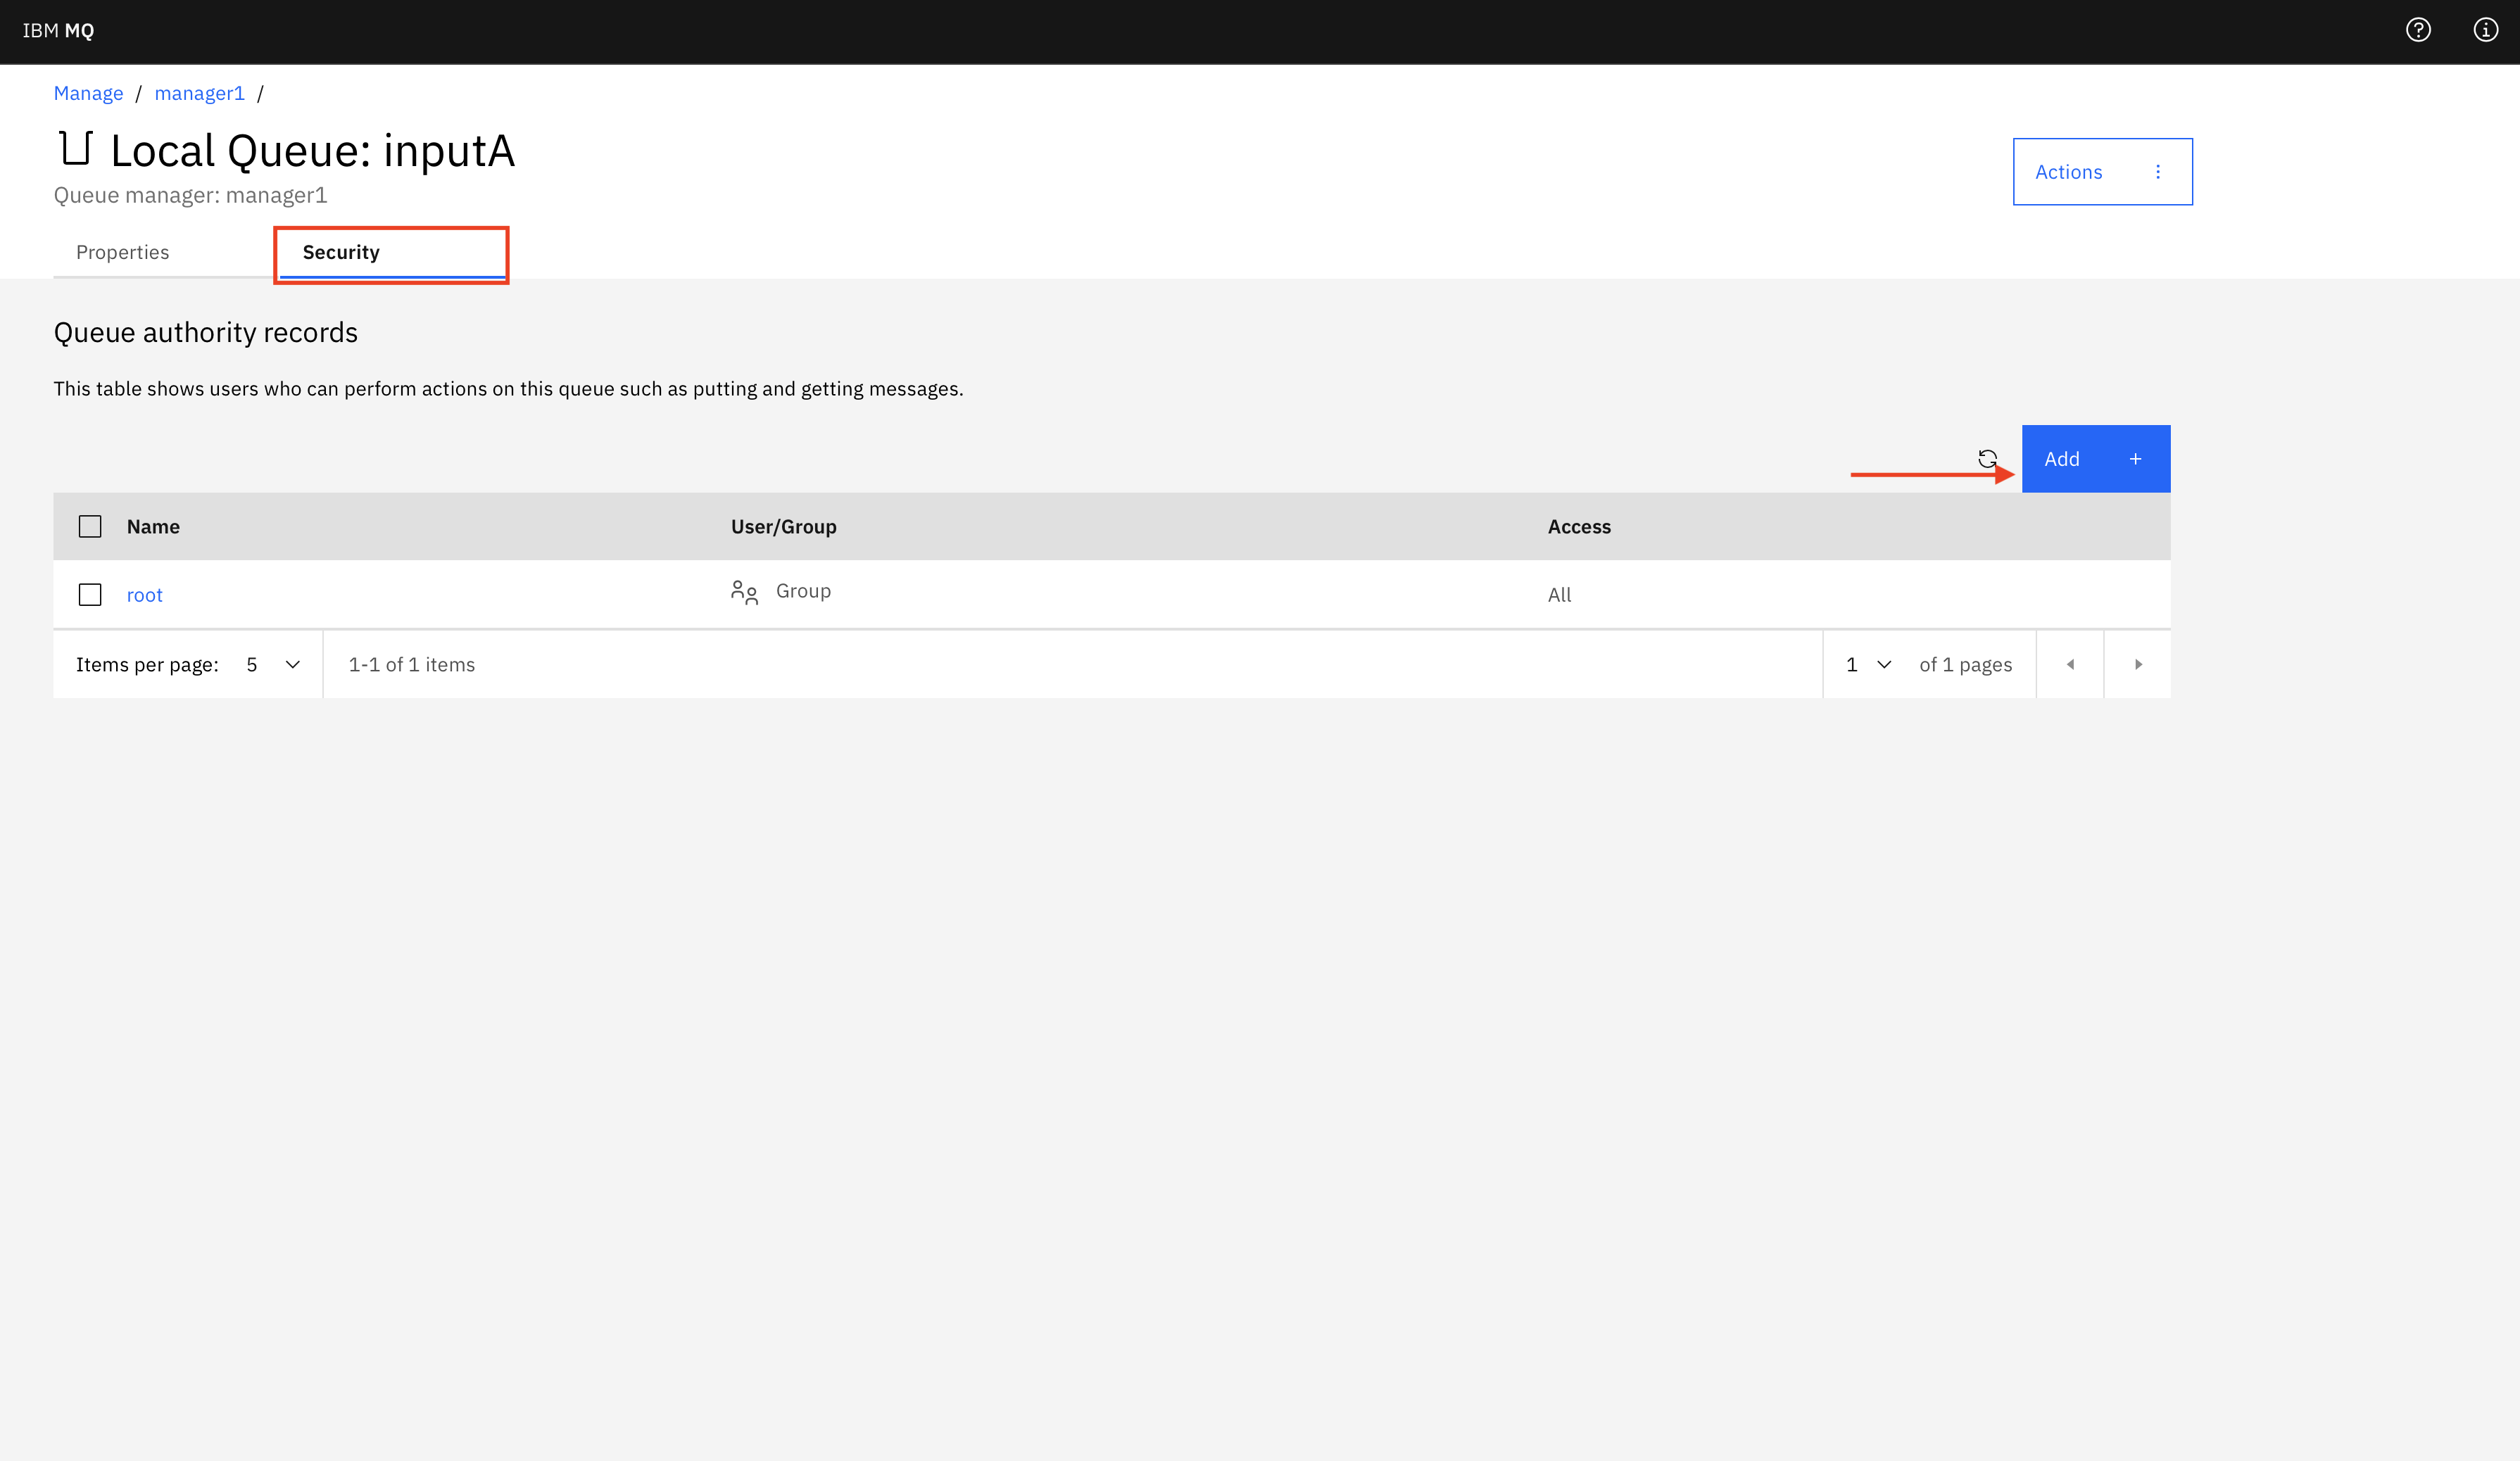
-
Select Group from first dropdown and enter the name for the application credentials in the text box and check all the permissions and press
Add.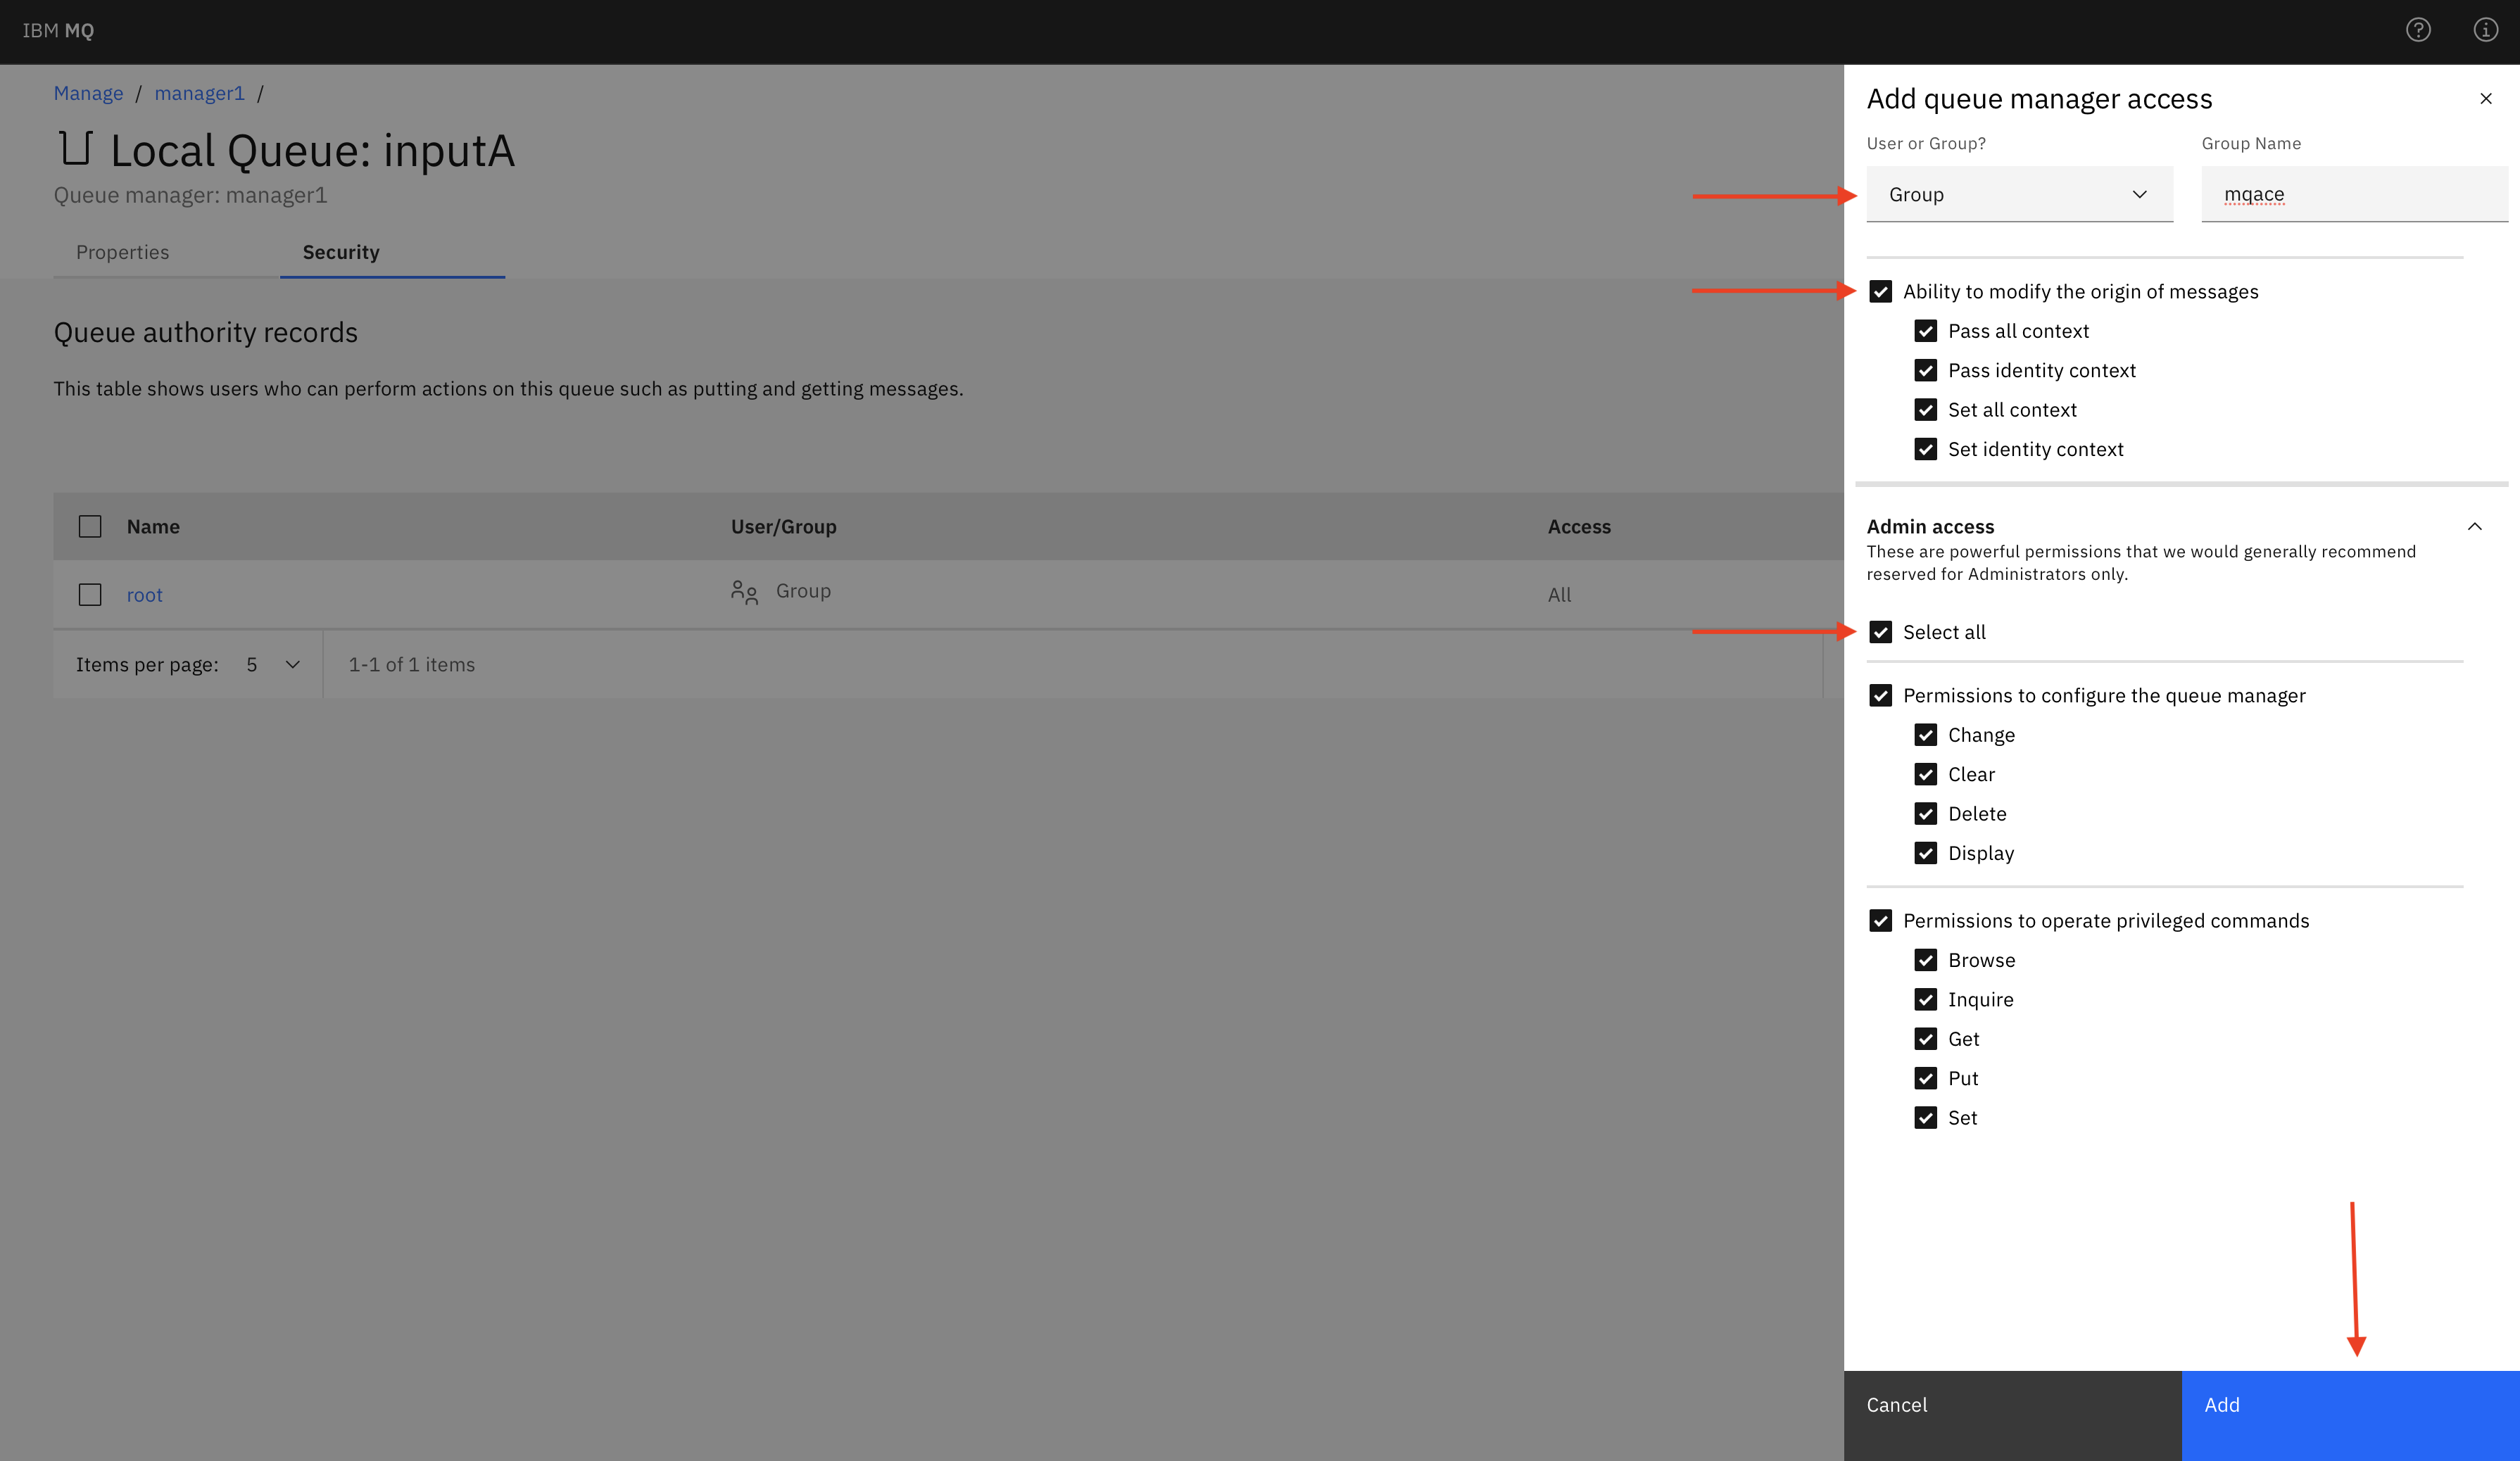
-
Now Repeat step 2.3 and create remaining Queues.


-
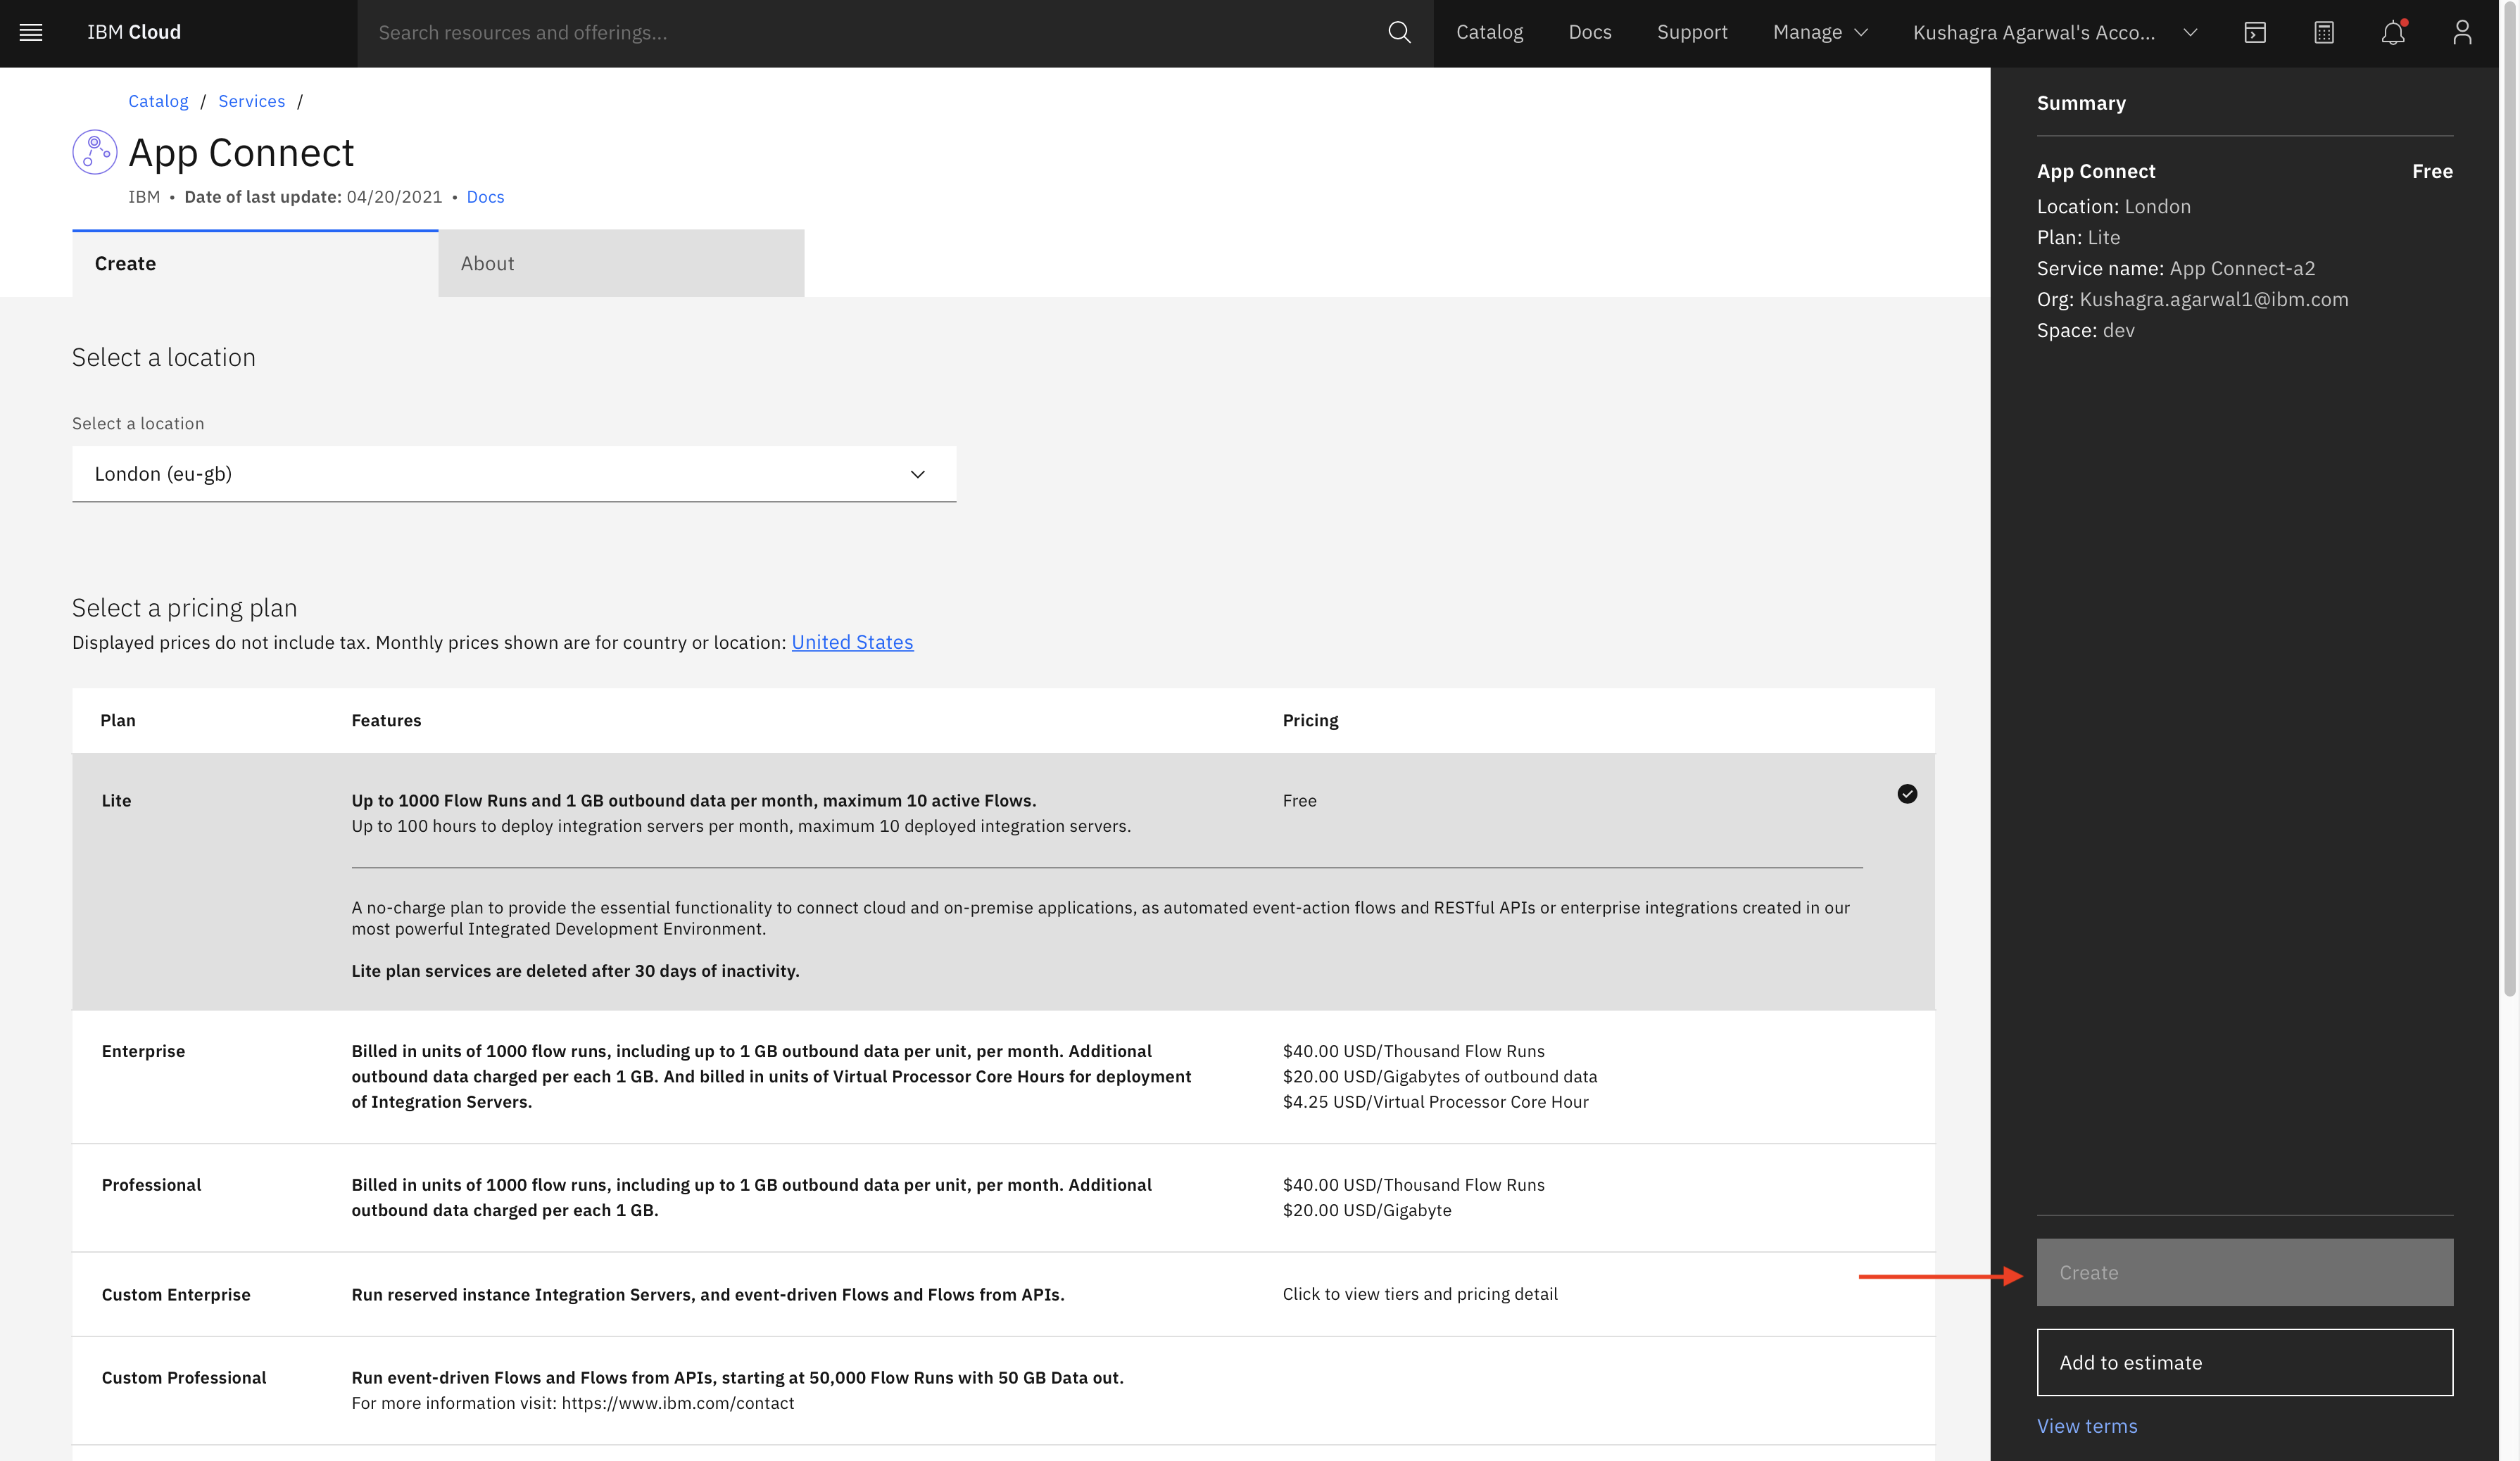
Create a free IBM App Connect on Cloud service here.
-
From your newly created App Connect Service Dashboard, navigate to console by clicking
Launch App Connect.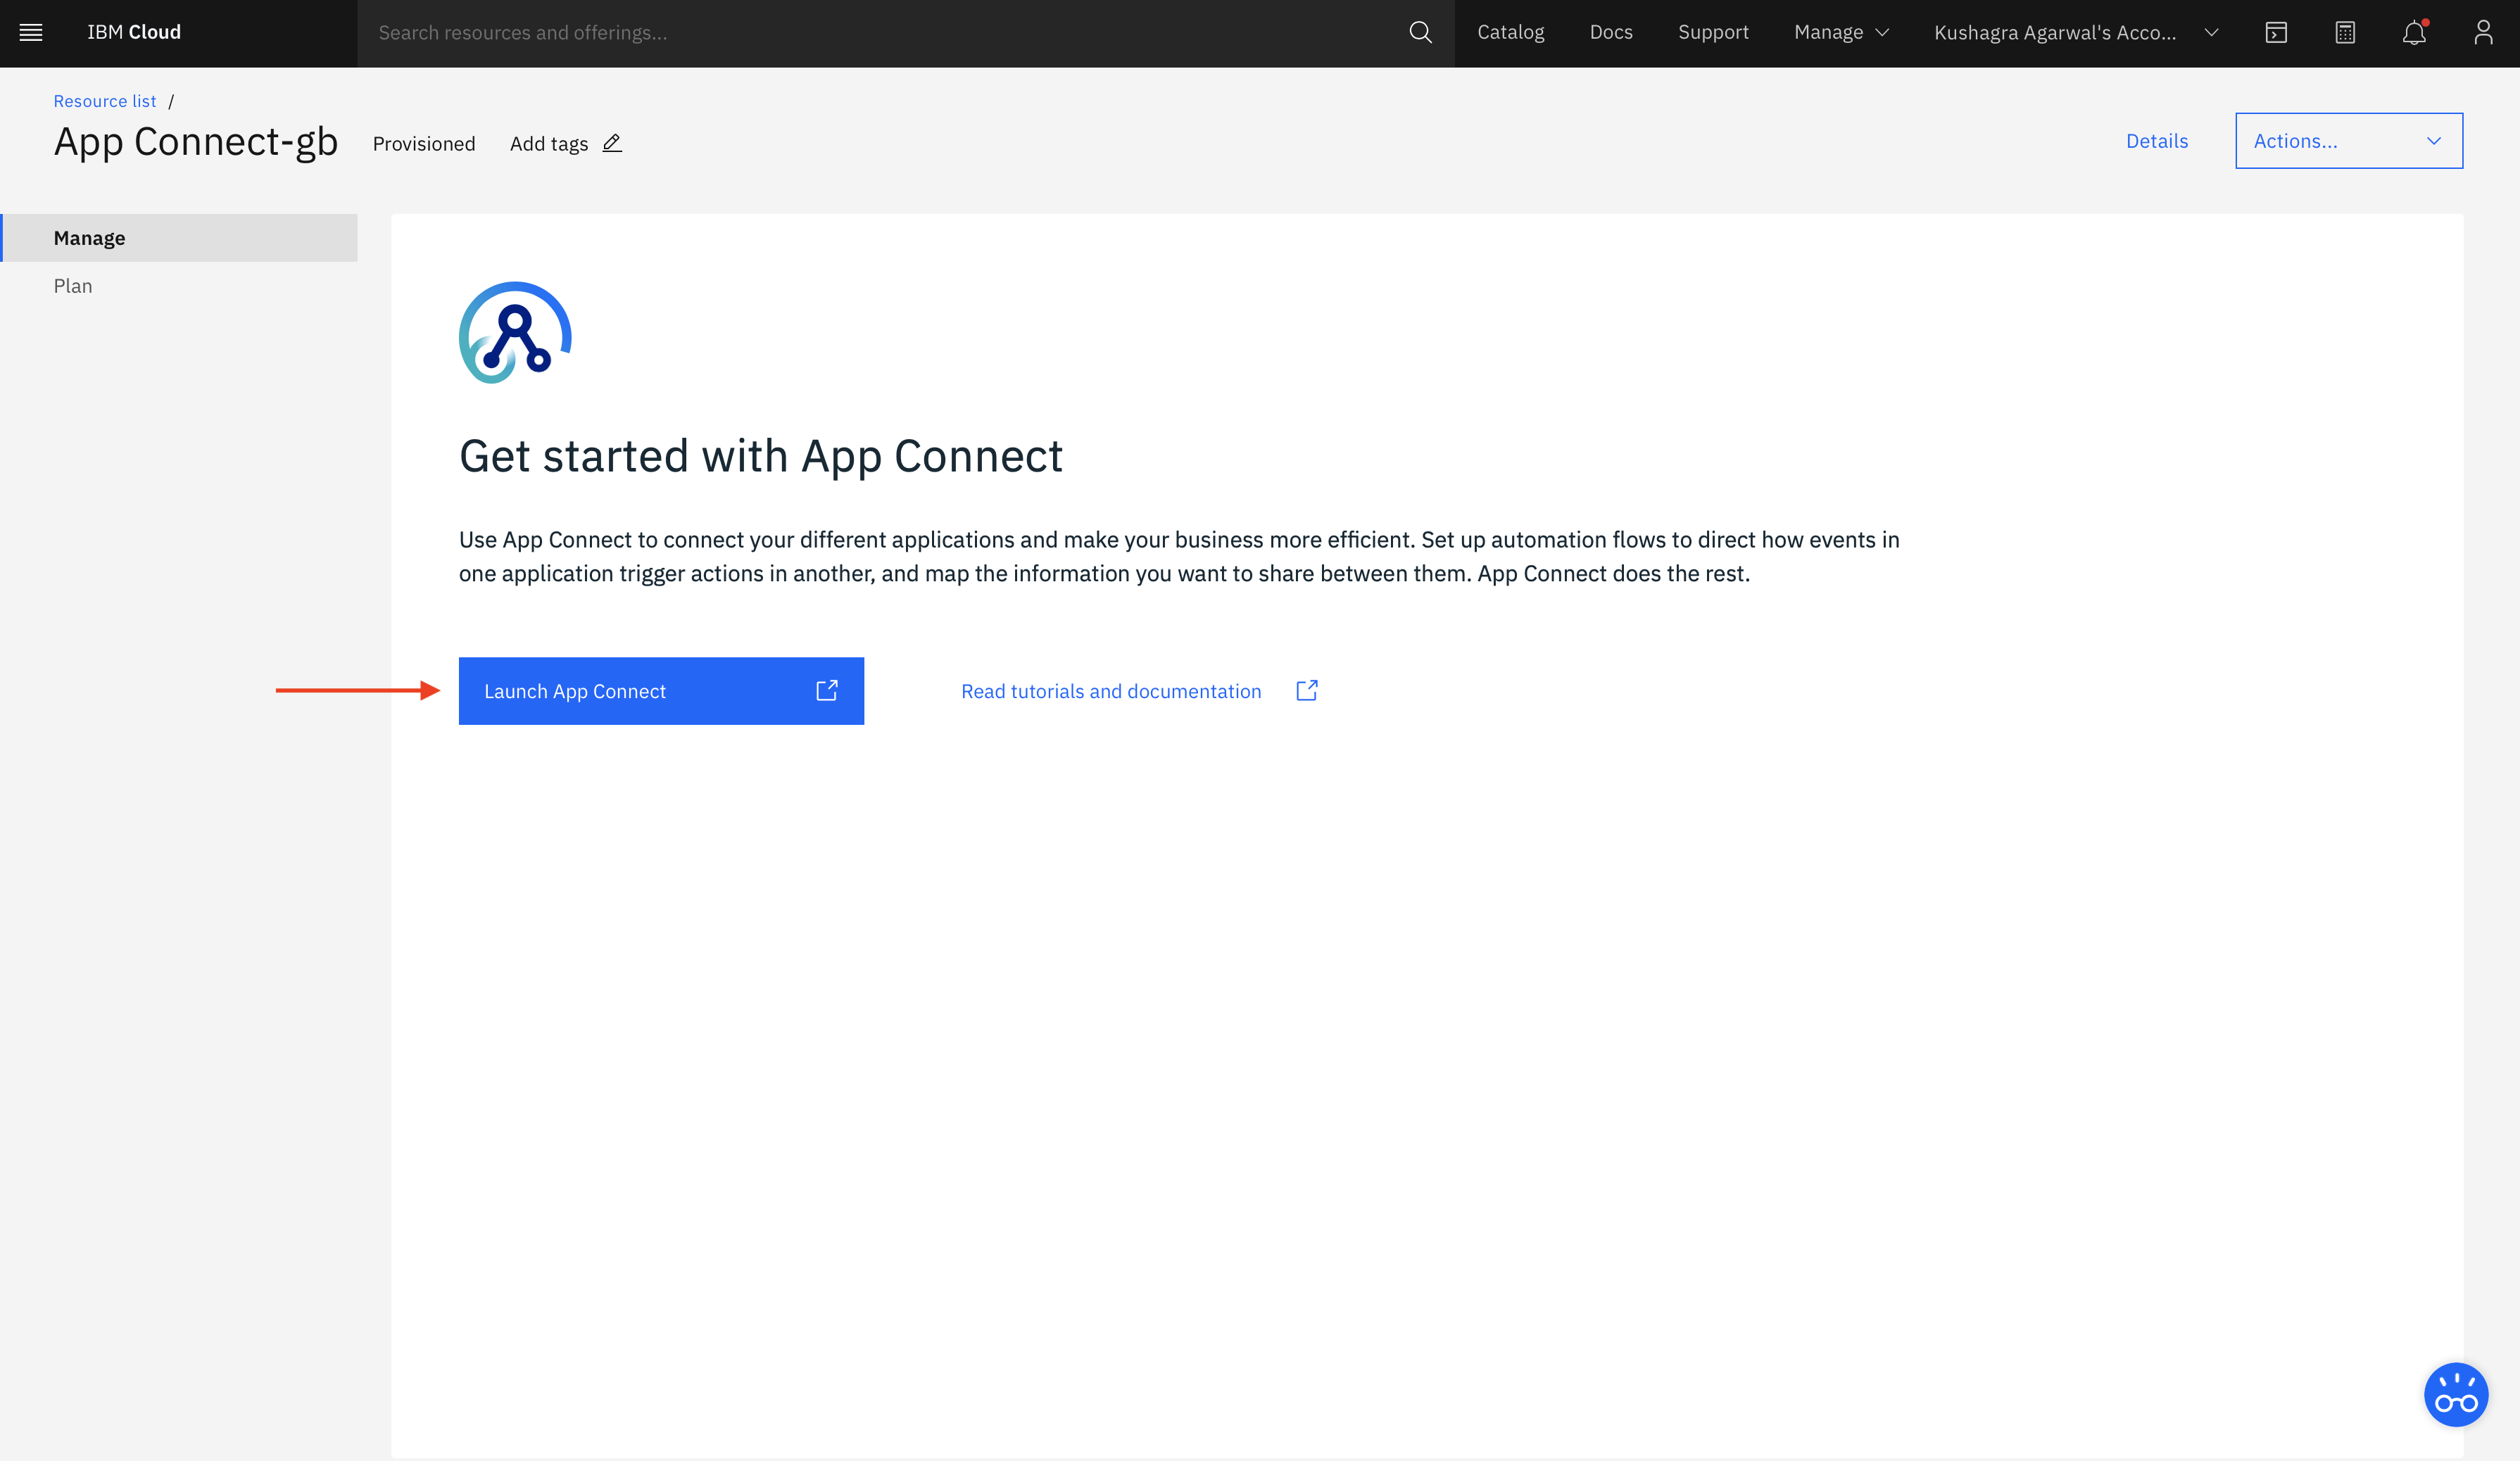
-
After entering App Connect Console select
catalogfrom side navigation bar, searchMQand clickConnect.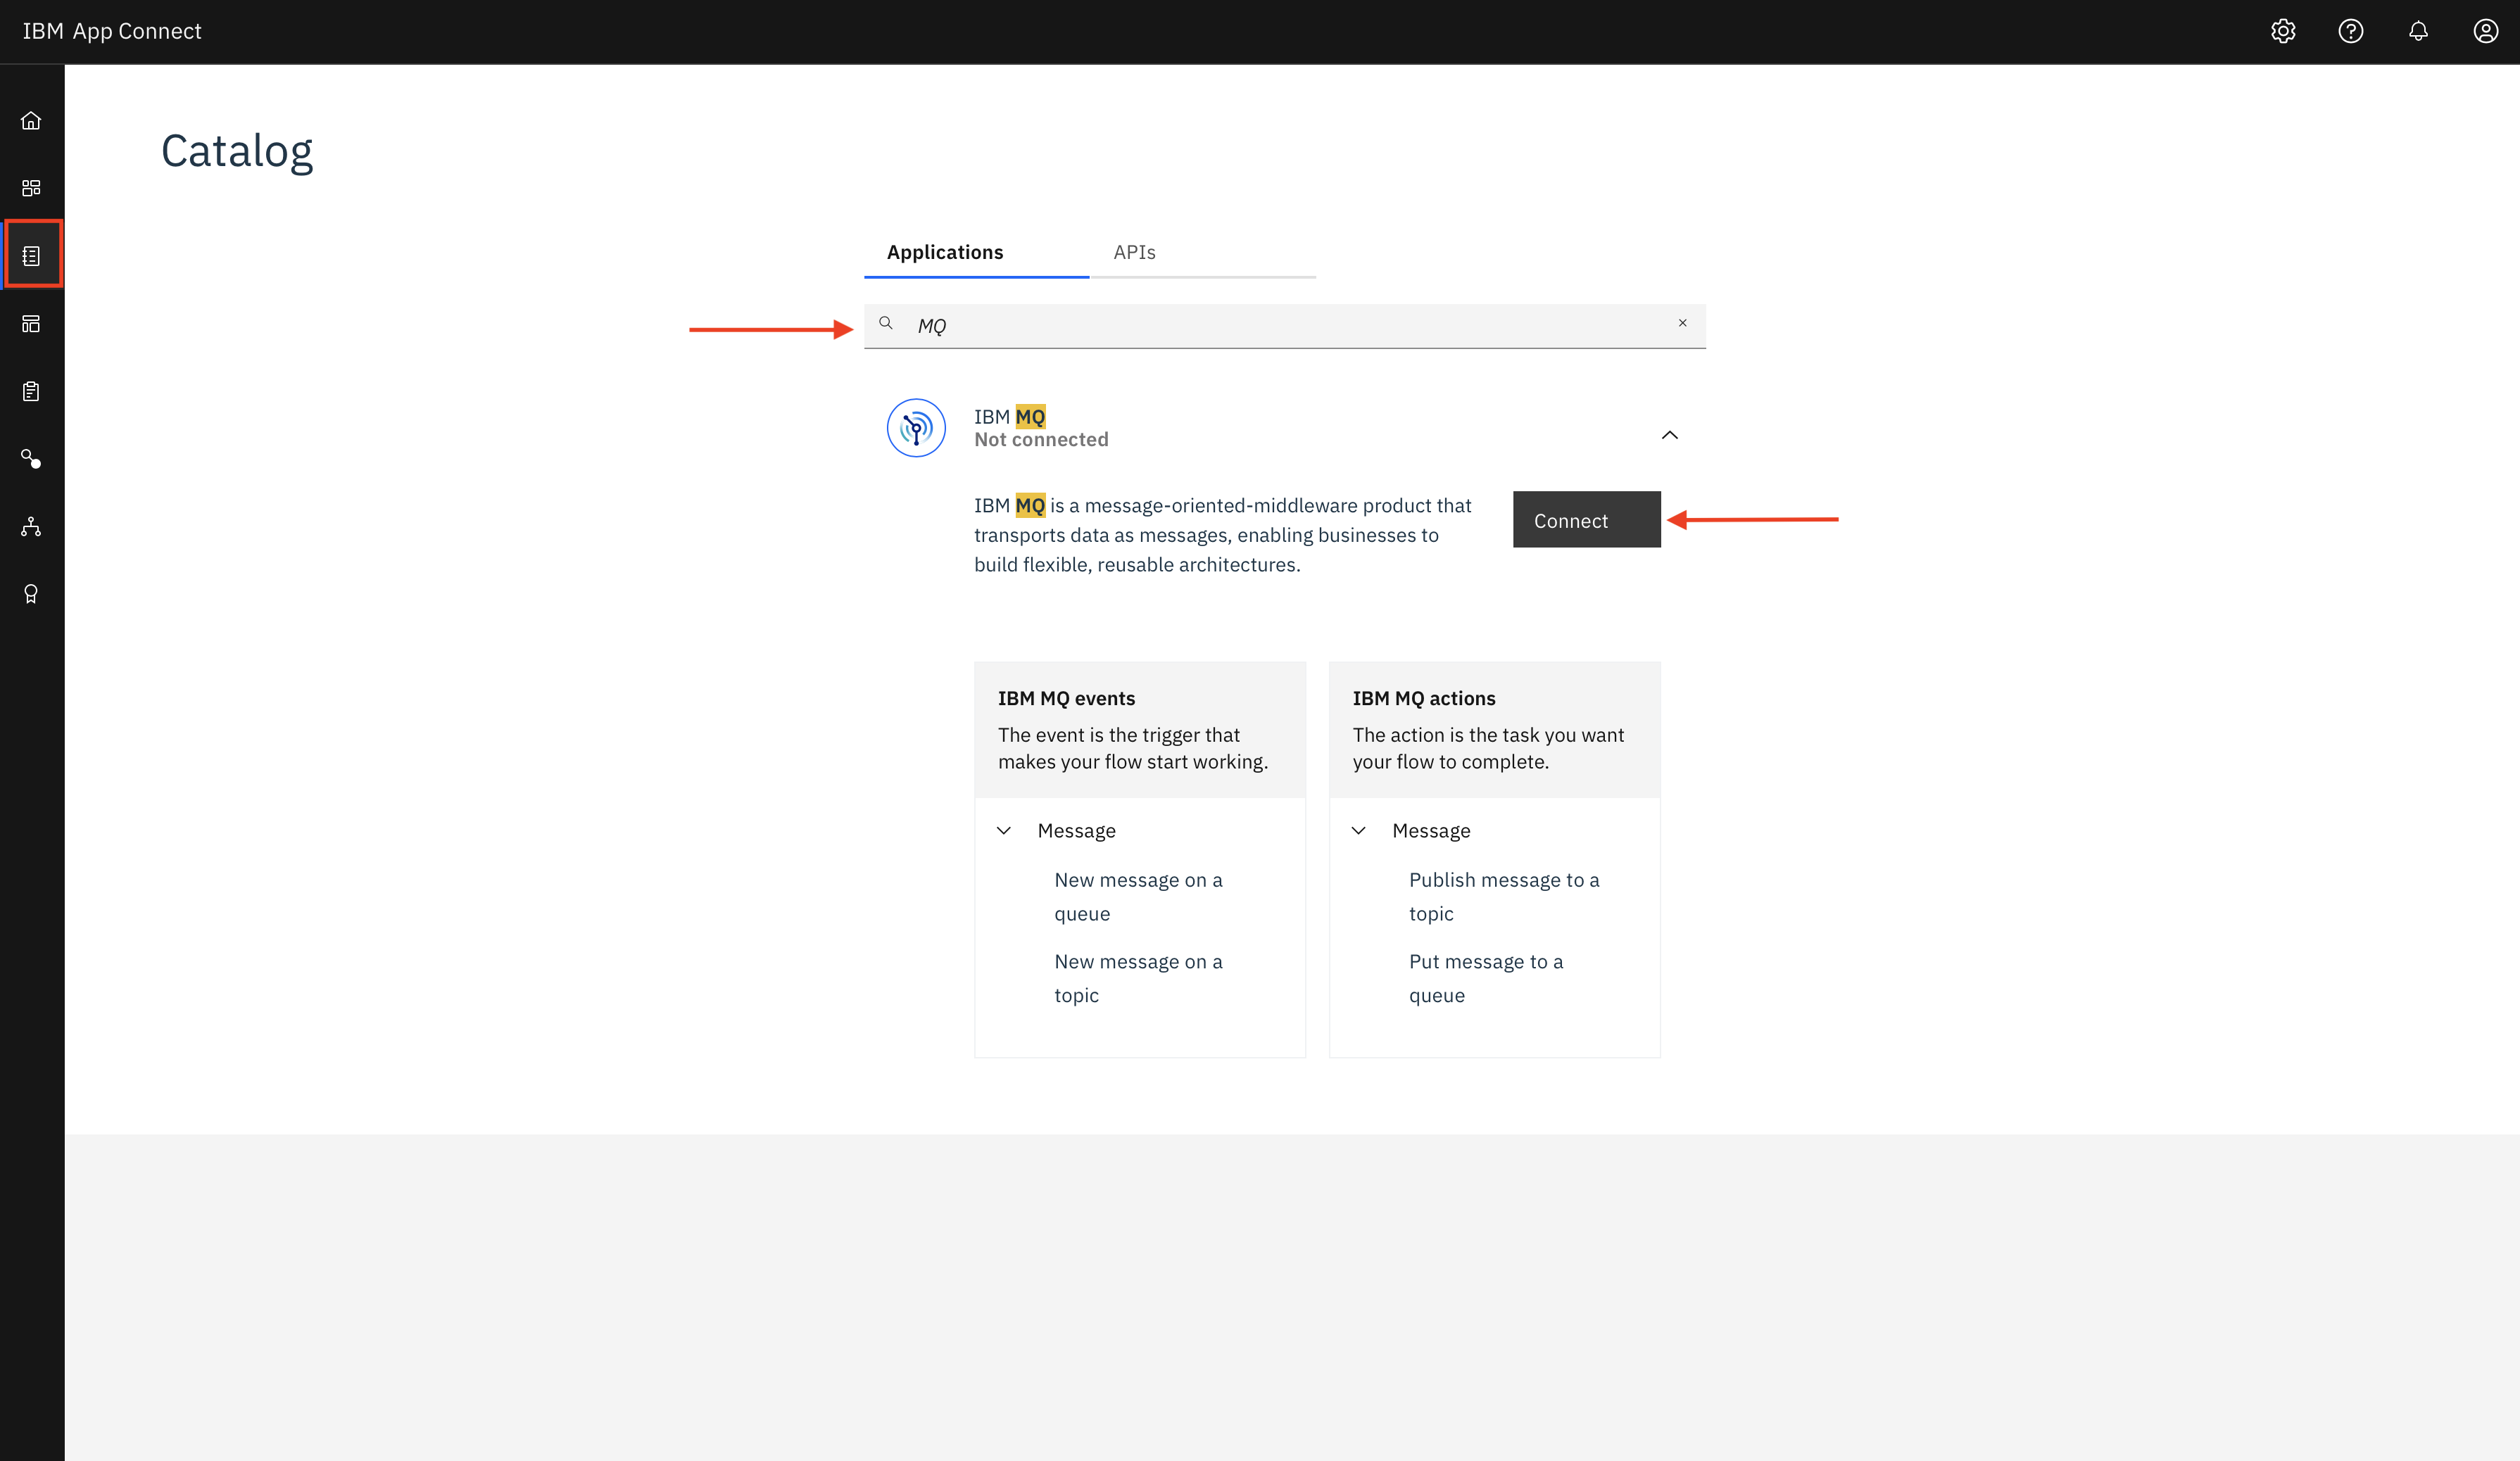
-
Enter your credentials as shown.
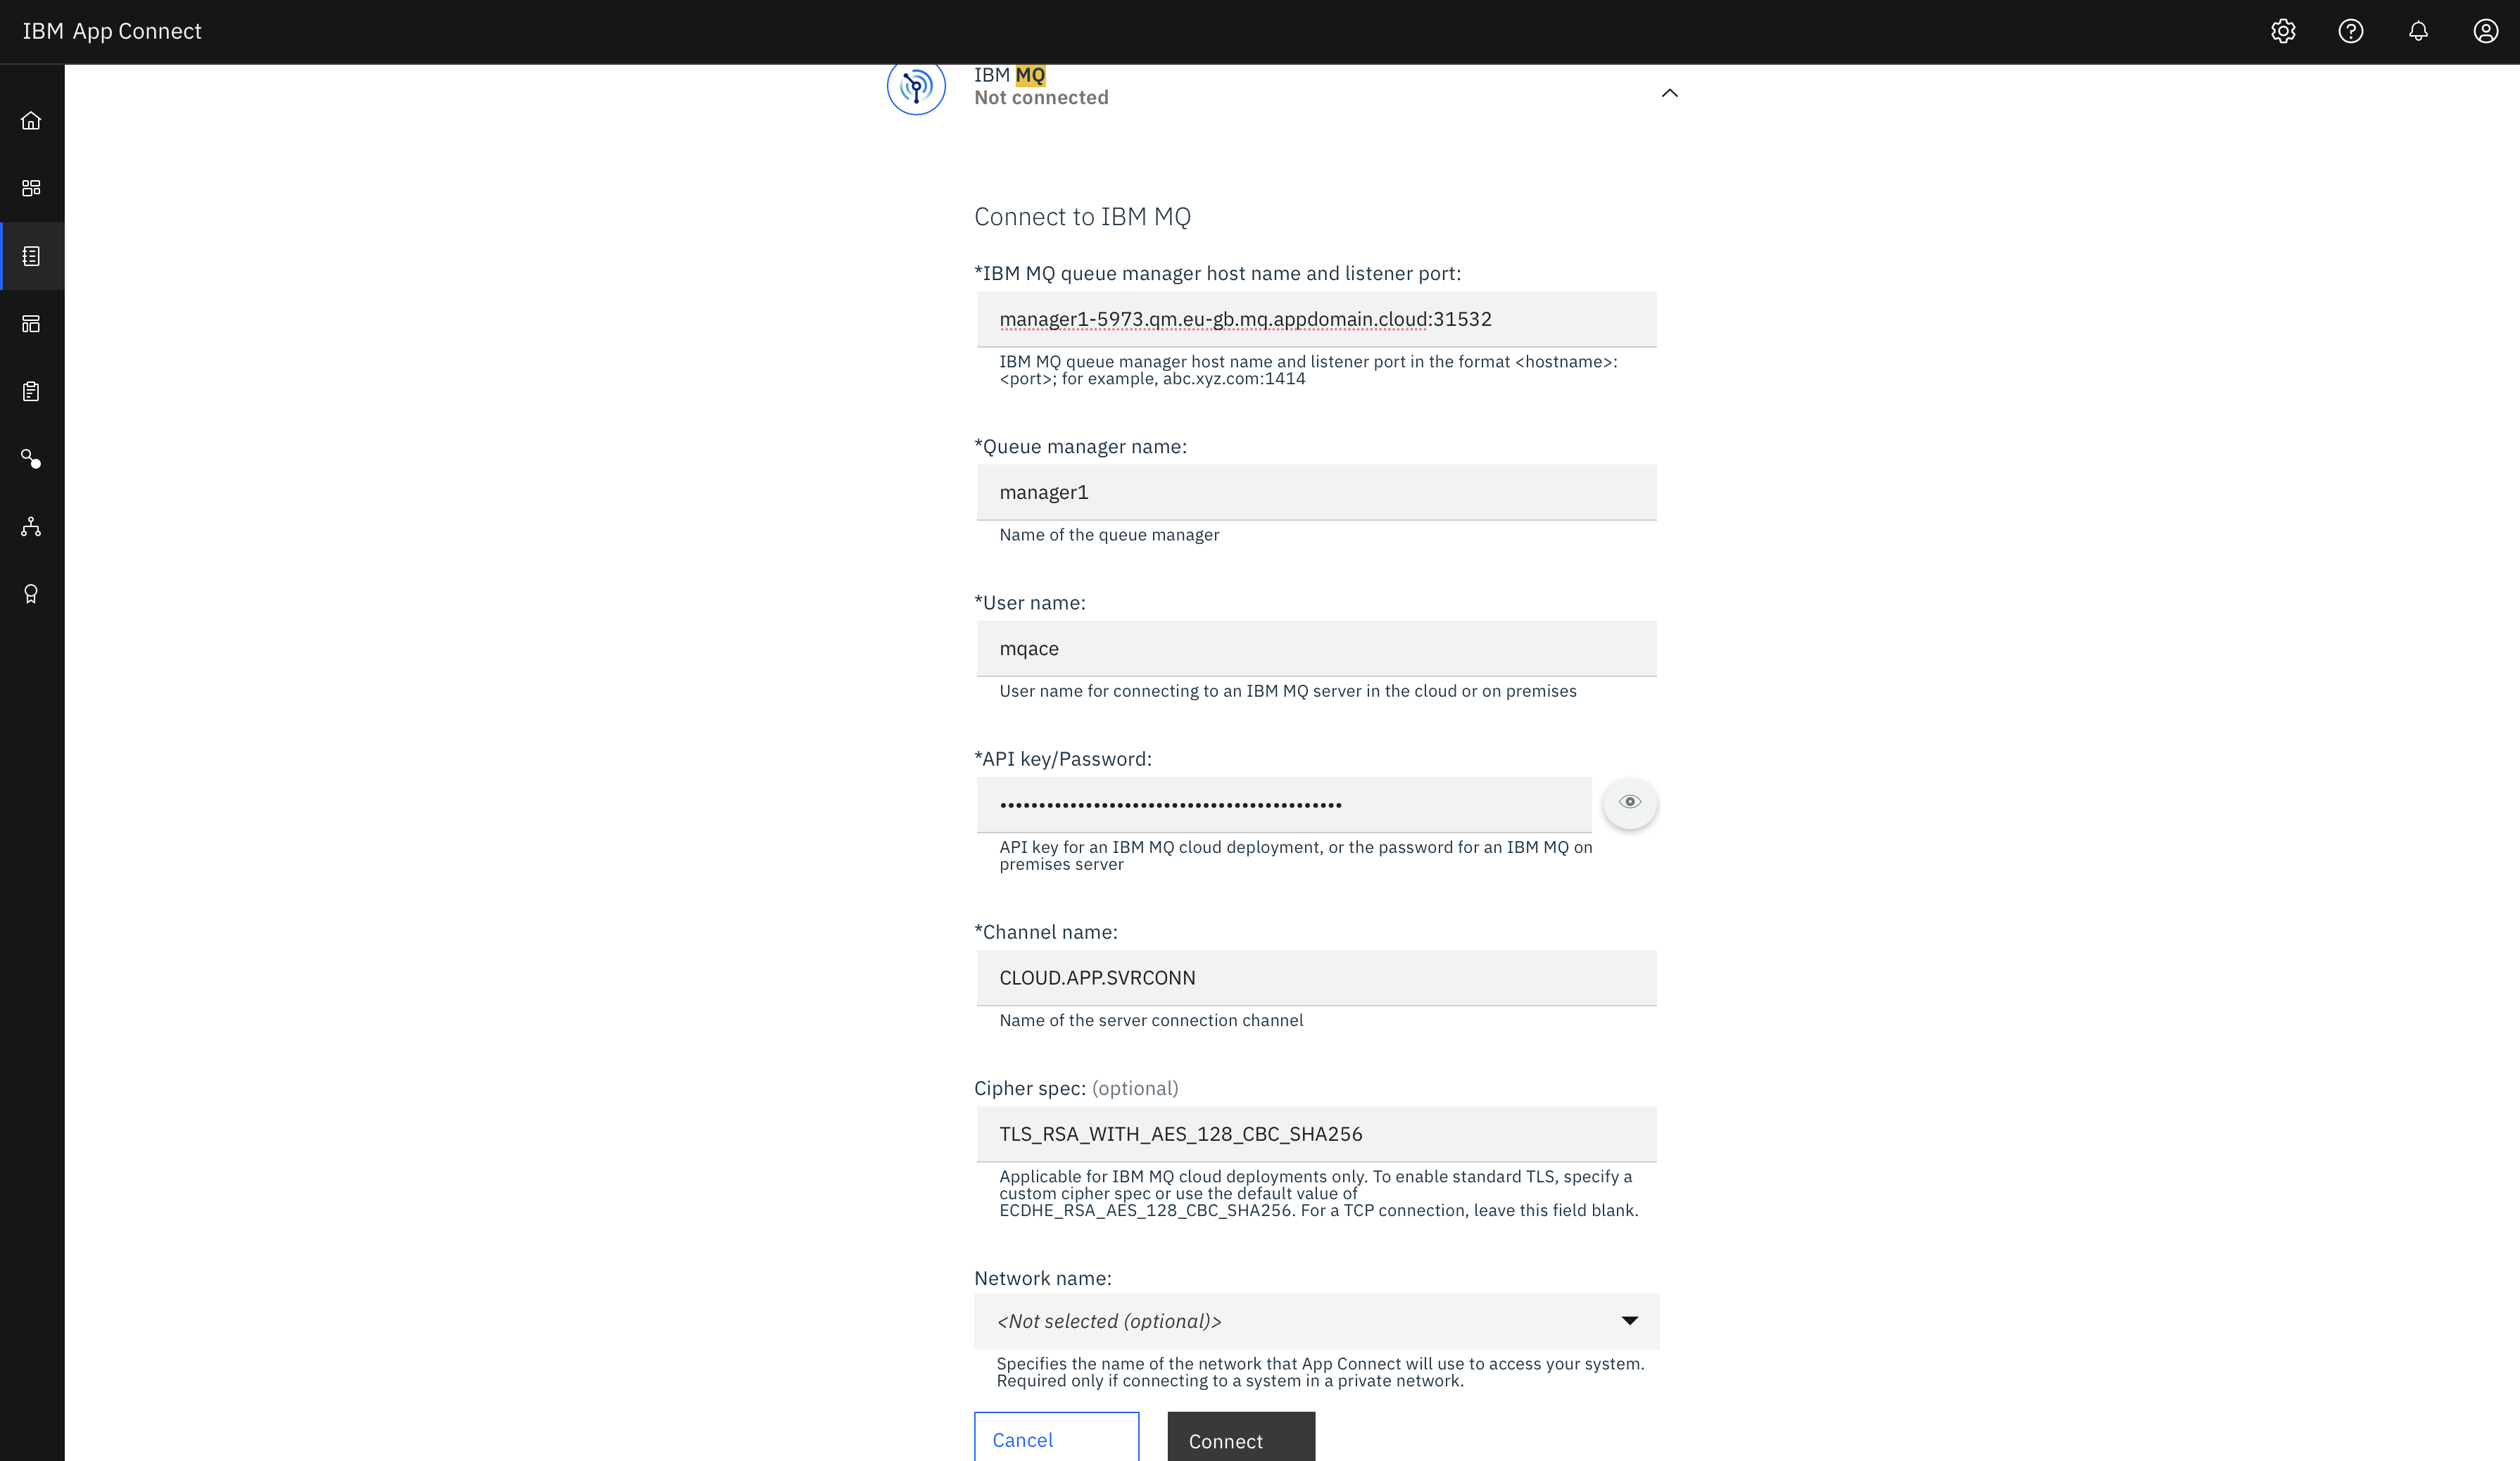
-
Go back to Console Home and Click on
Import a Flow.
-
Select the file
A to C.yamlfrom [here]('./App Connect Flows/A to C.yaml') and hitimport.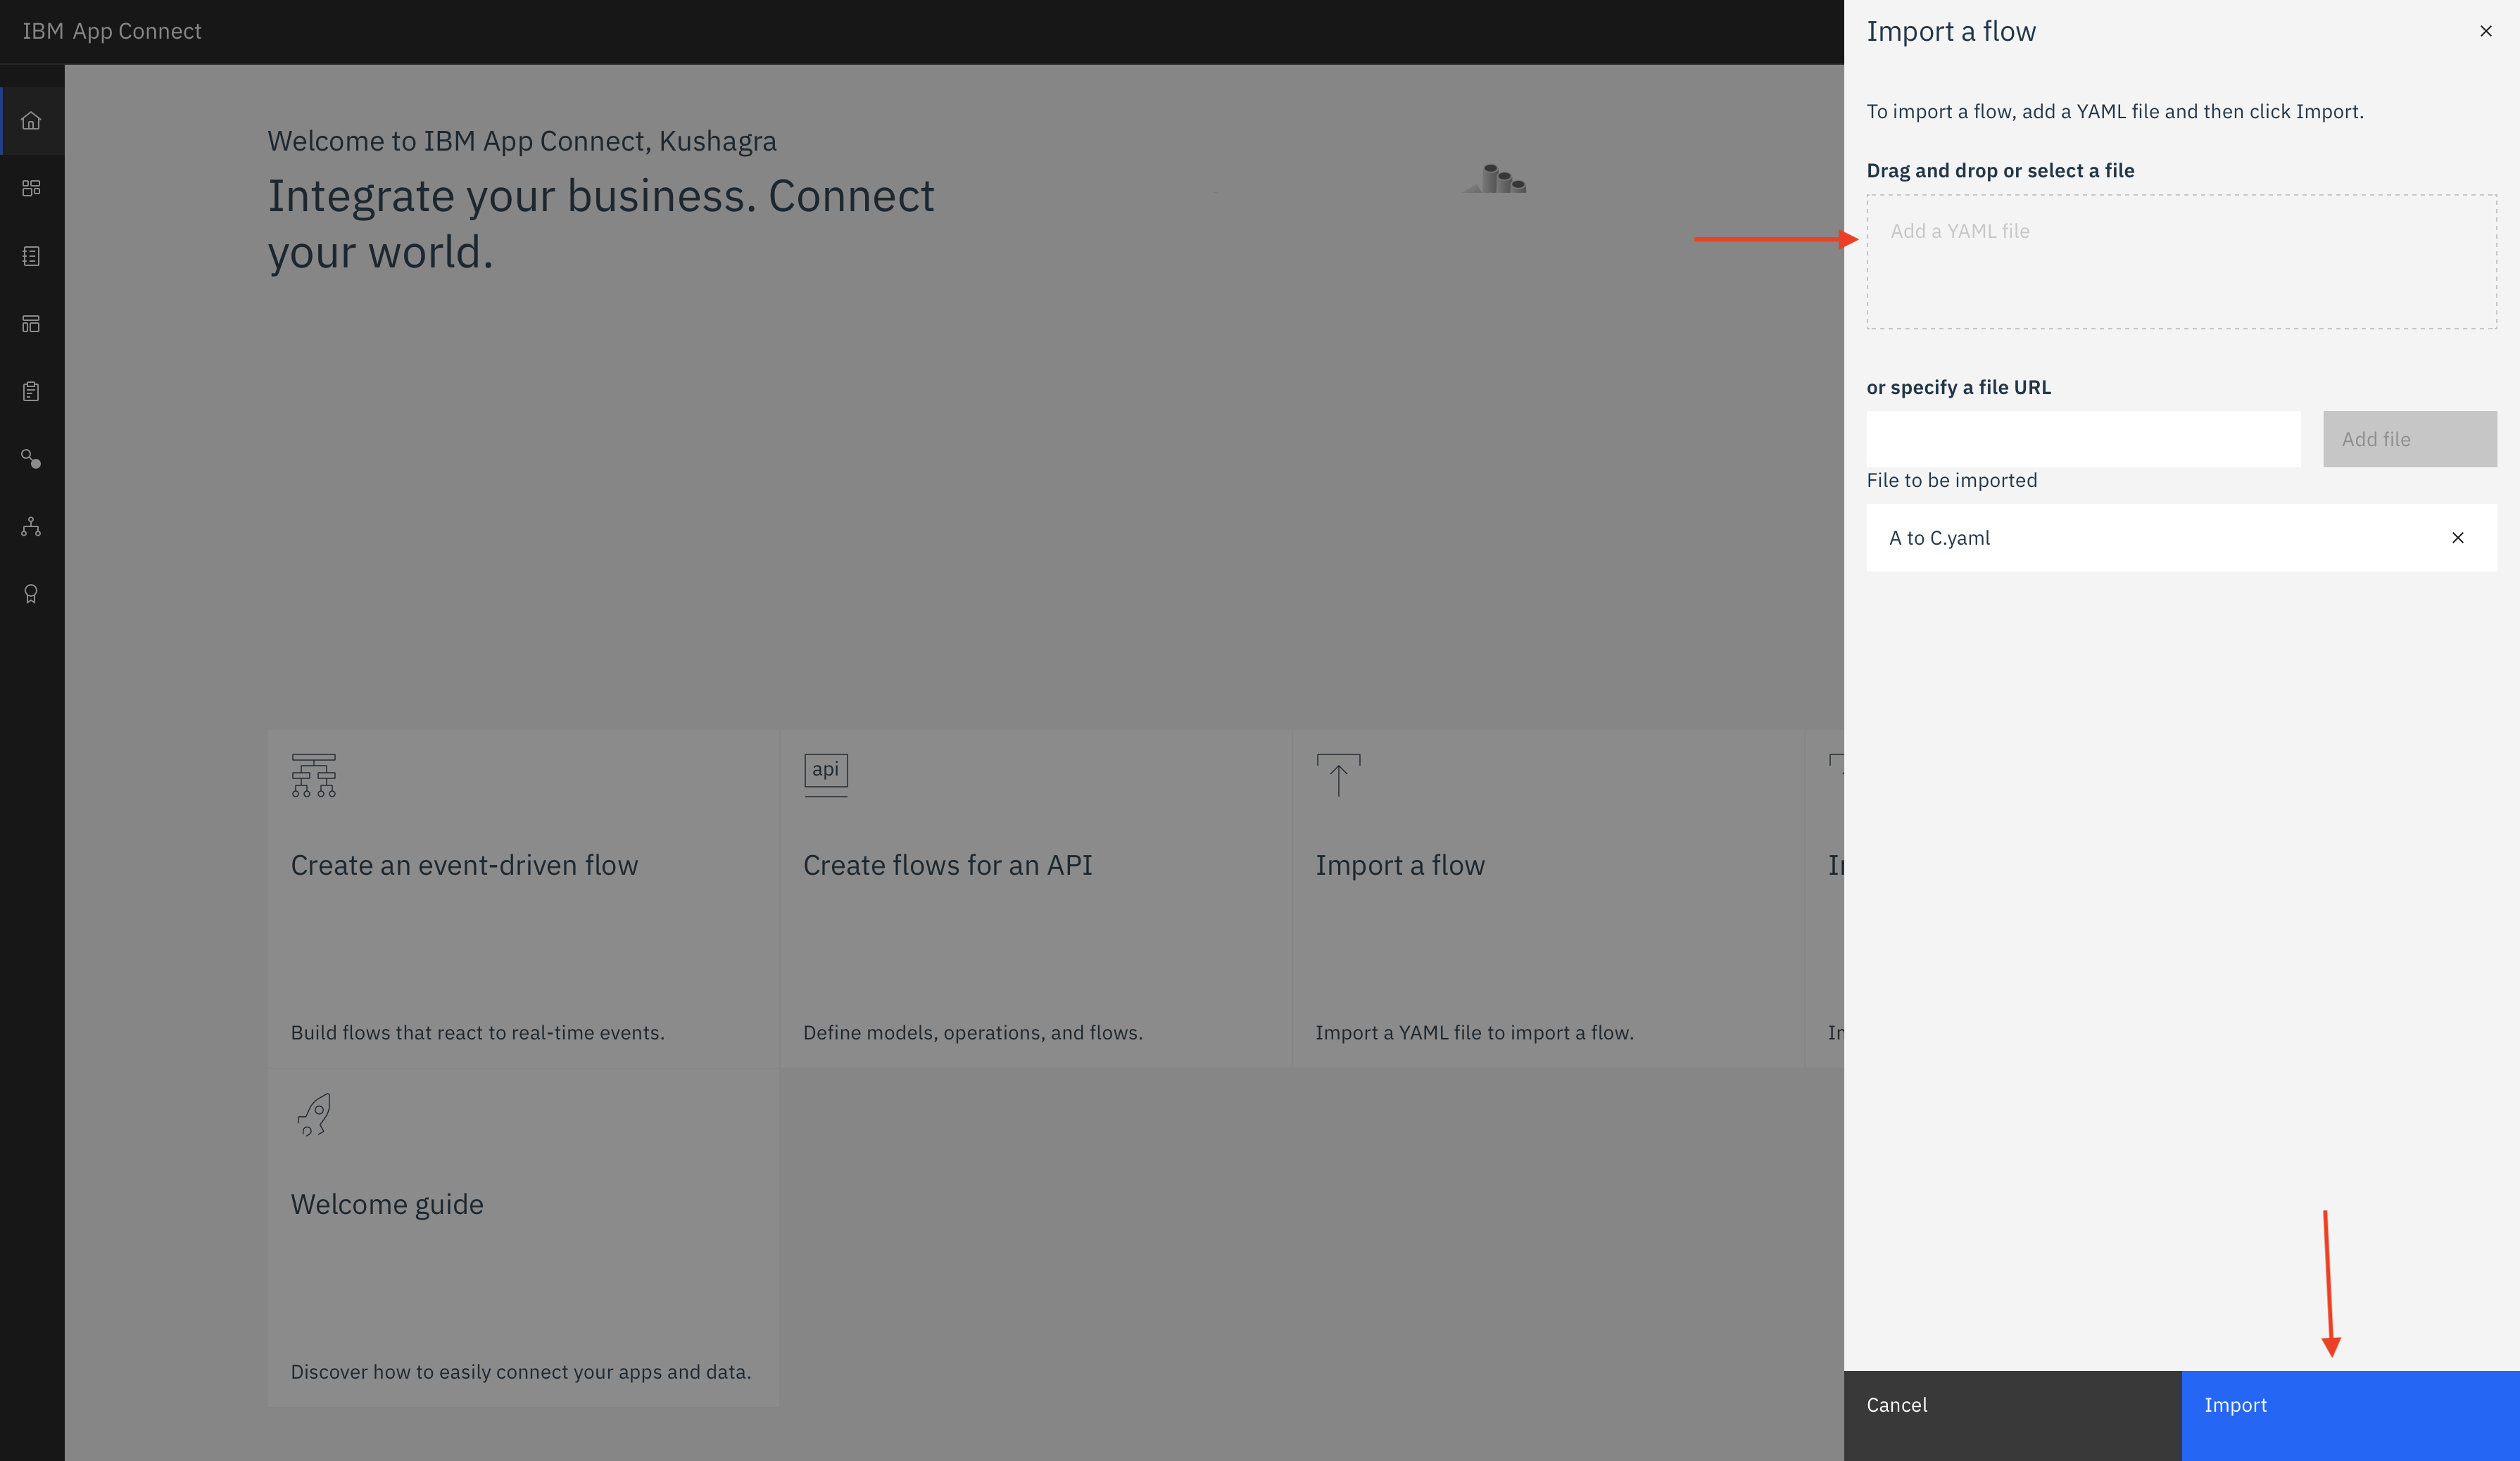
-
Click
Start Flowfrom the dropdown by selecting three dots as shown in the picture.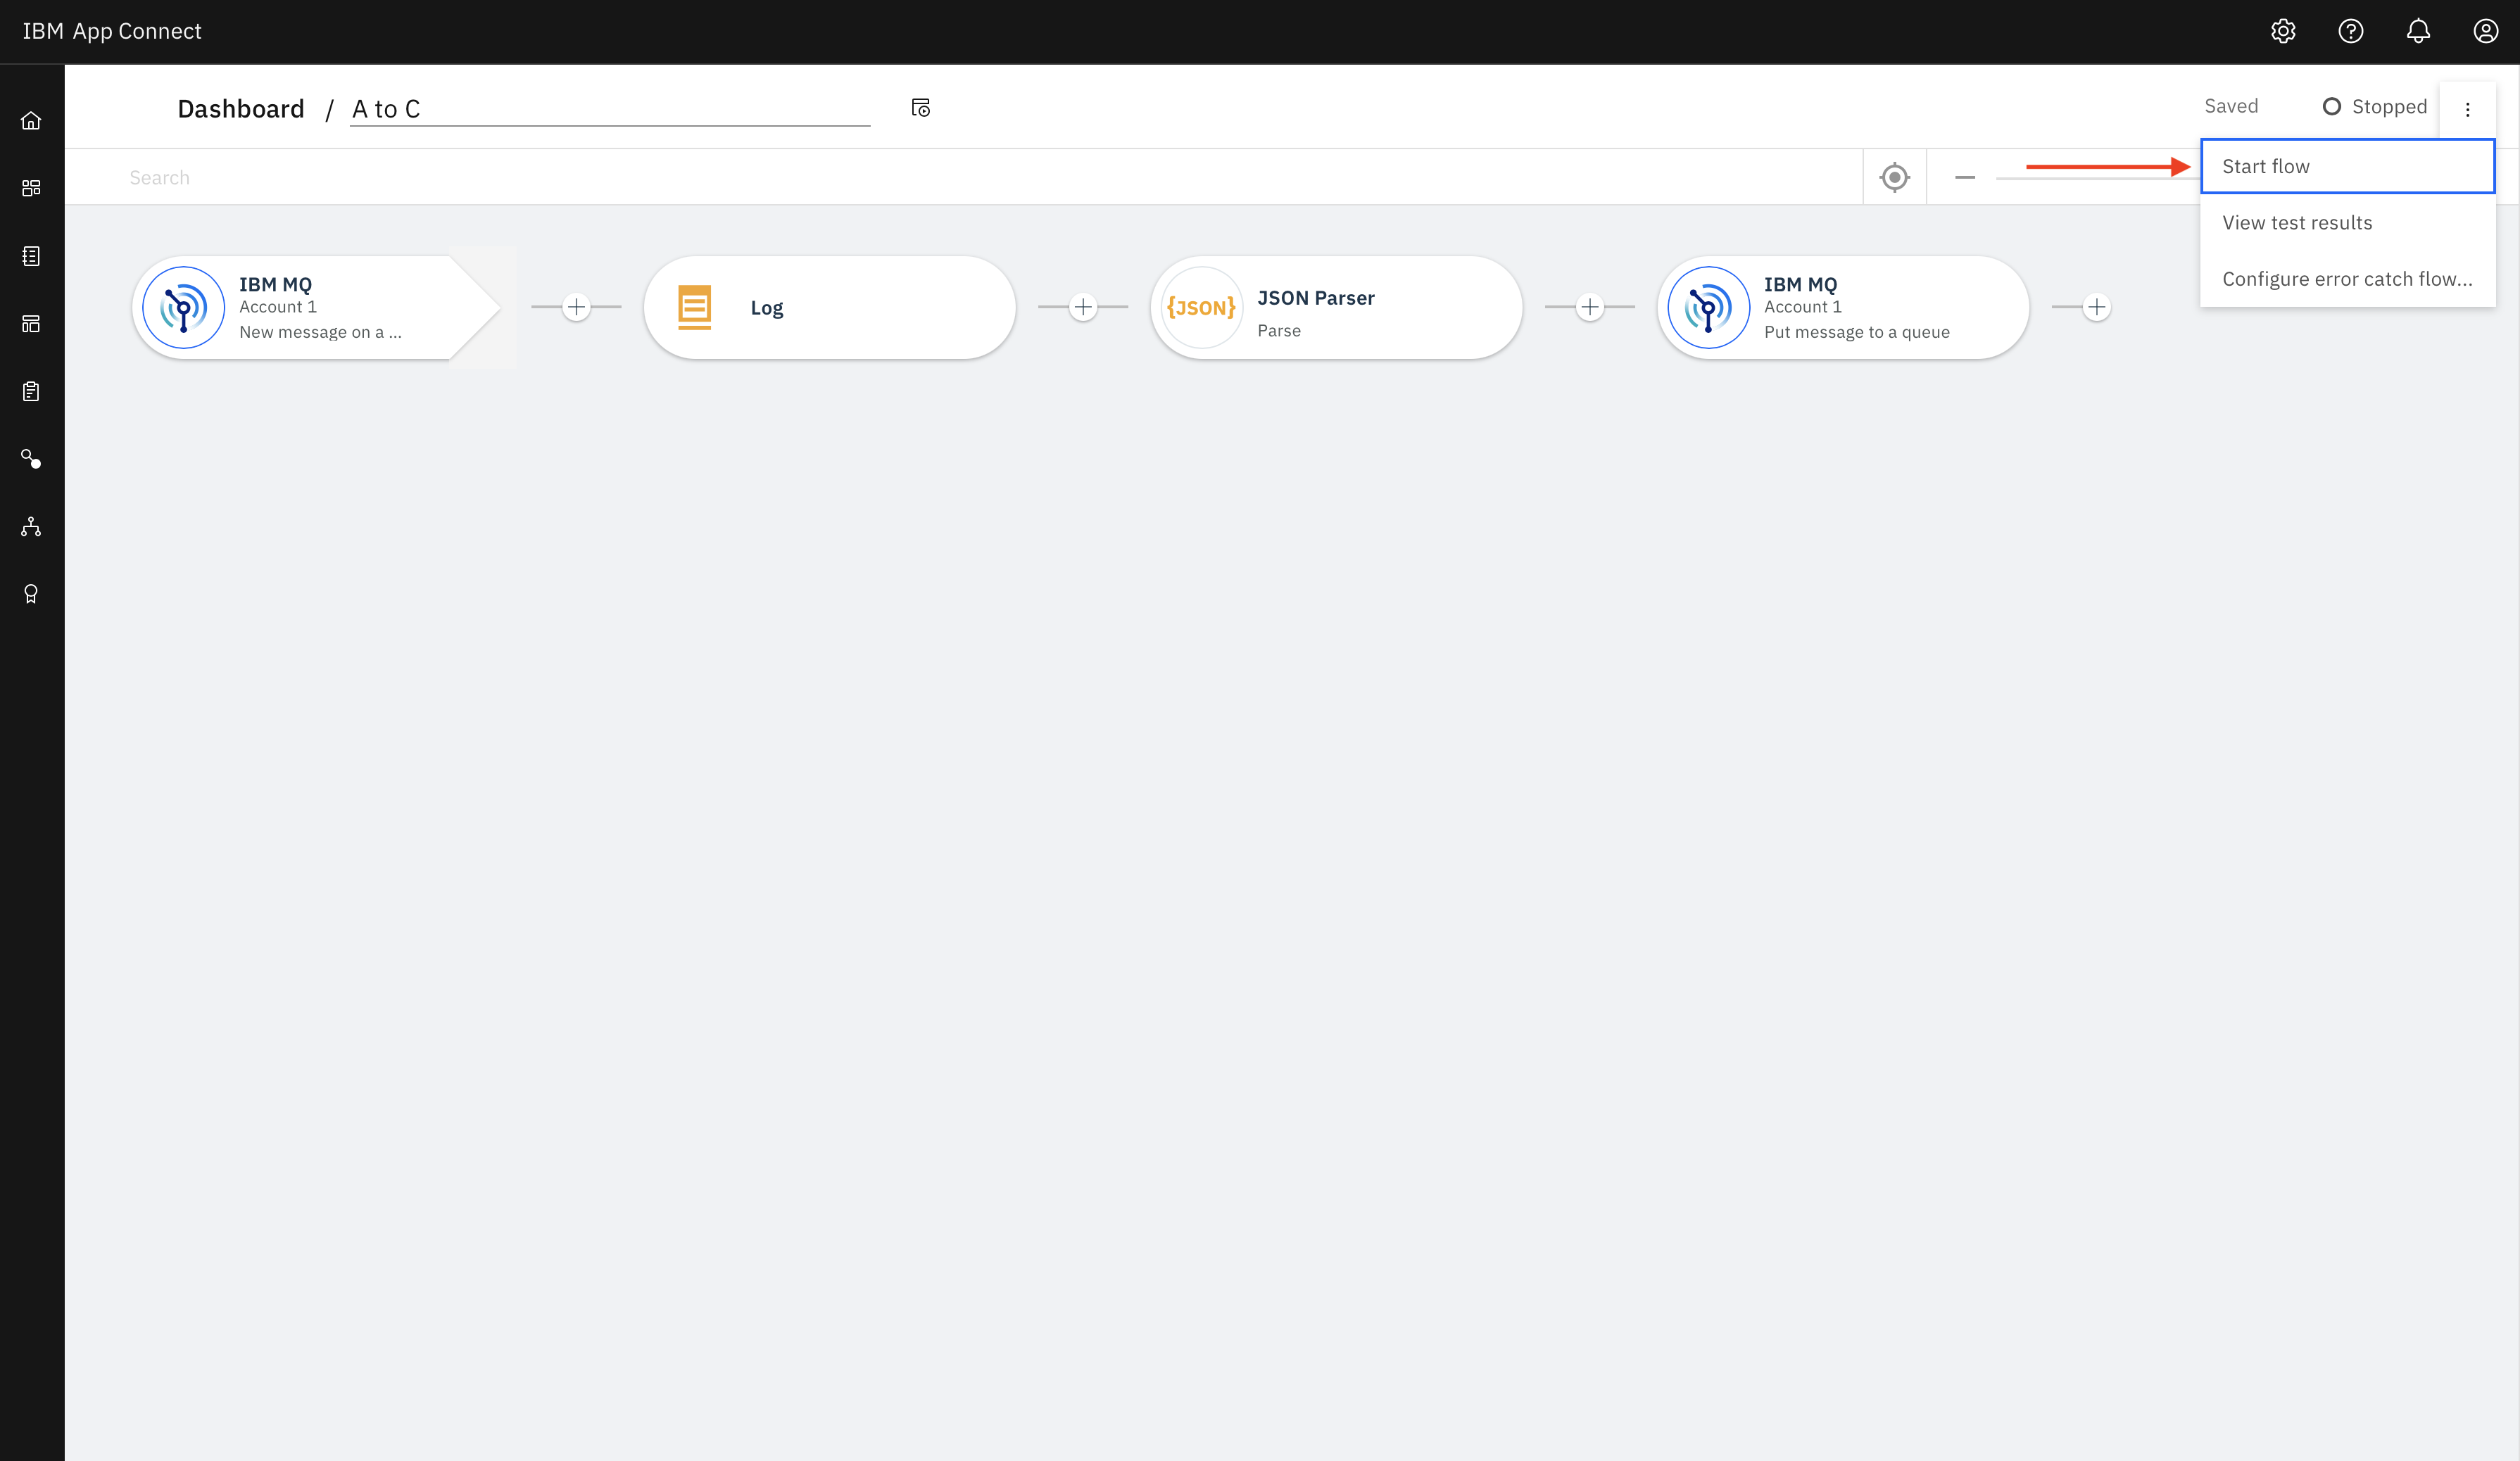


Note : If you have given custom names for queues, you will need to update them in the imported flows.
- Repeat the previous steps and import
C to A.yamlfrom [here]('./App Connect Flows/C to A.yaml') and hitimport.
- Navigate to directory
node-appand run the following command to install dependencies.
npm install- Navigate to directory
web-app-cand run the following command to install dependencies.
npm install- Open
.envfile inUse-IBM-MQ-and-App-Connect-on-Cloud-to-transform-datadirectory and update with your credentials.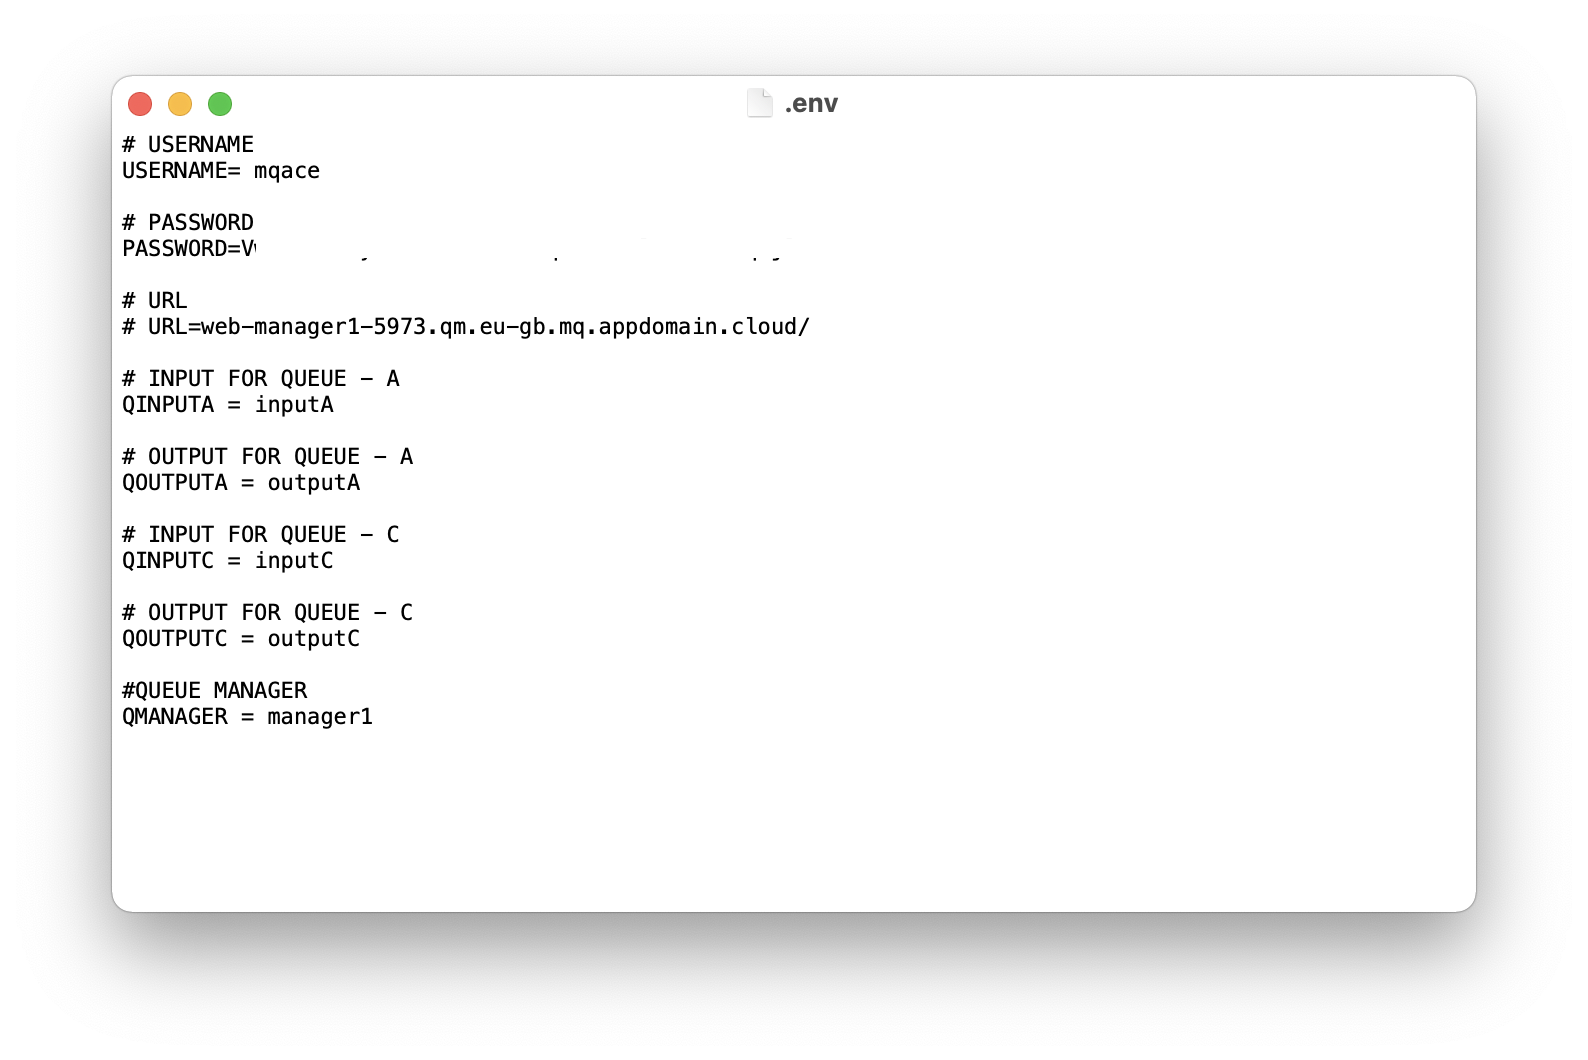

- Navigate to
node-web-appdirectory and run the following command.
node server.jsNote : A node server has now started on PORT:8080.
- In another Terminal navigate to
web-app-cdirectory and run the following command.
node server.js-
Now visit
localhost:8080to access the application.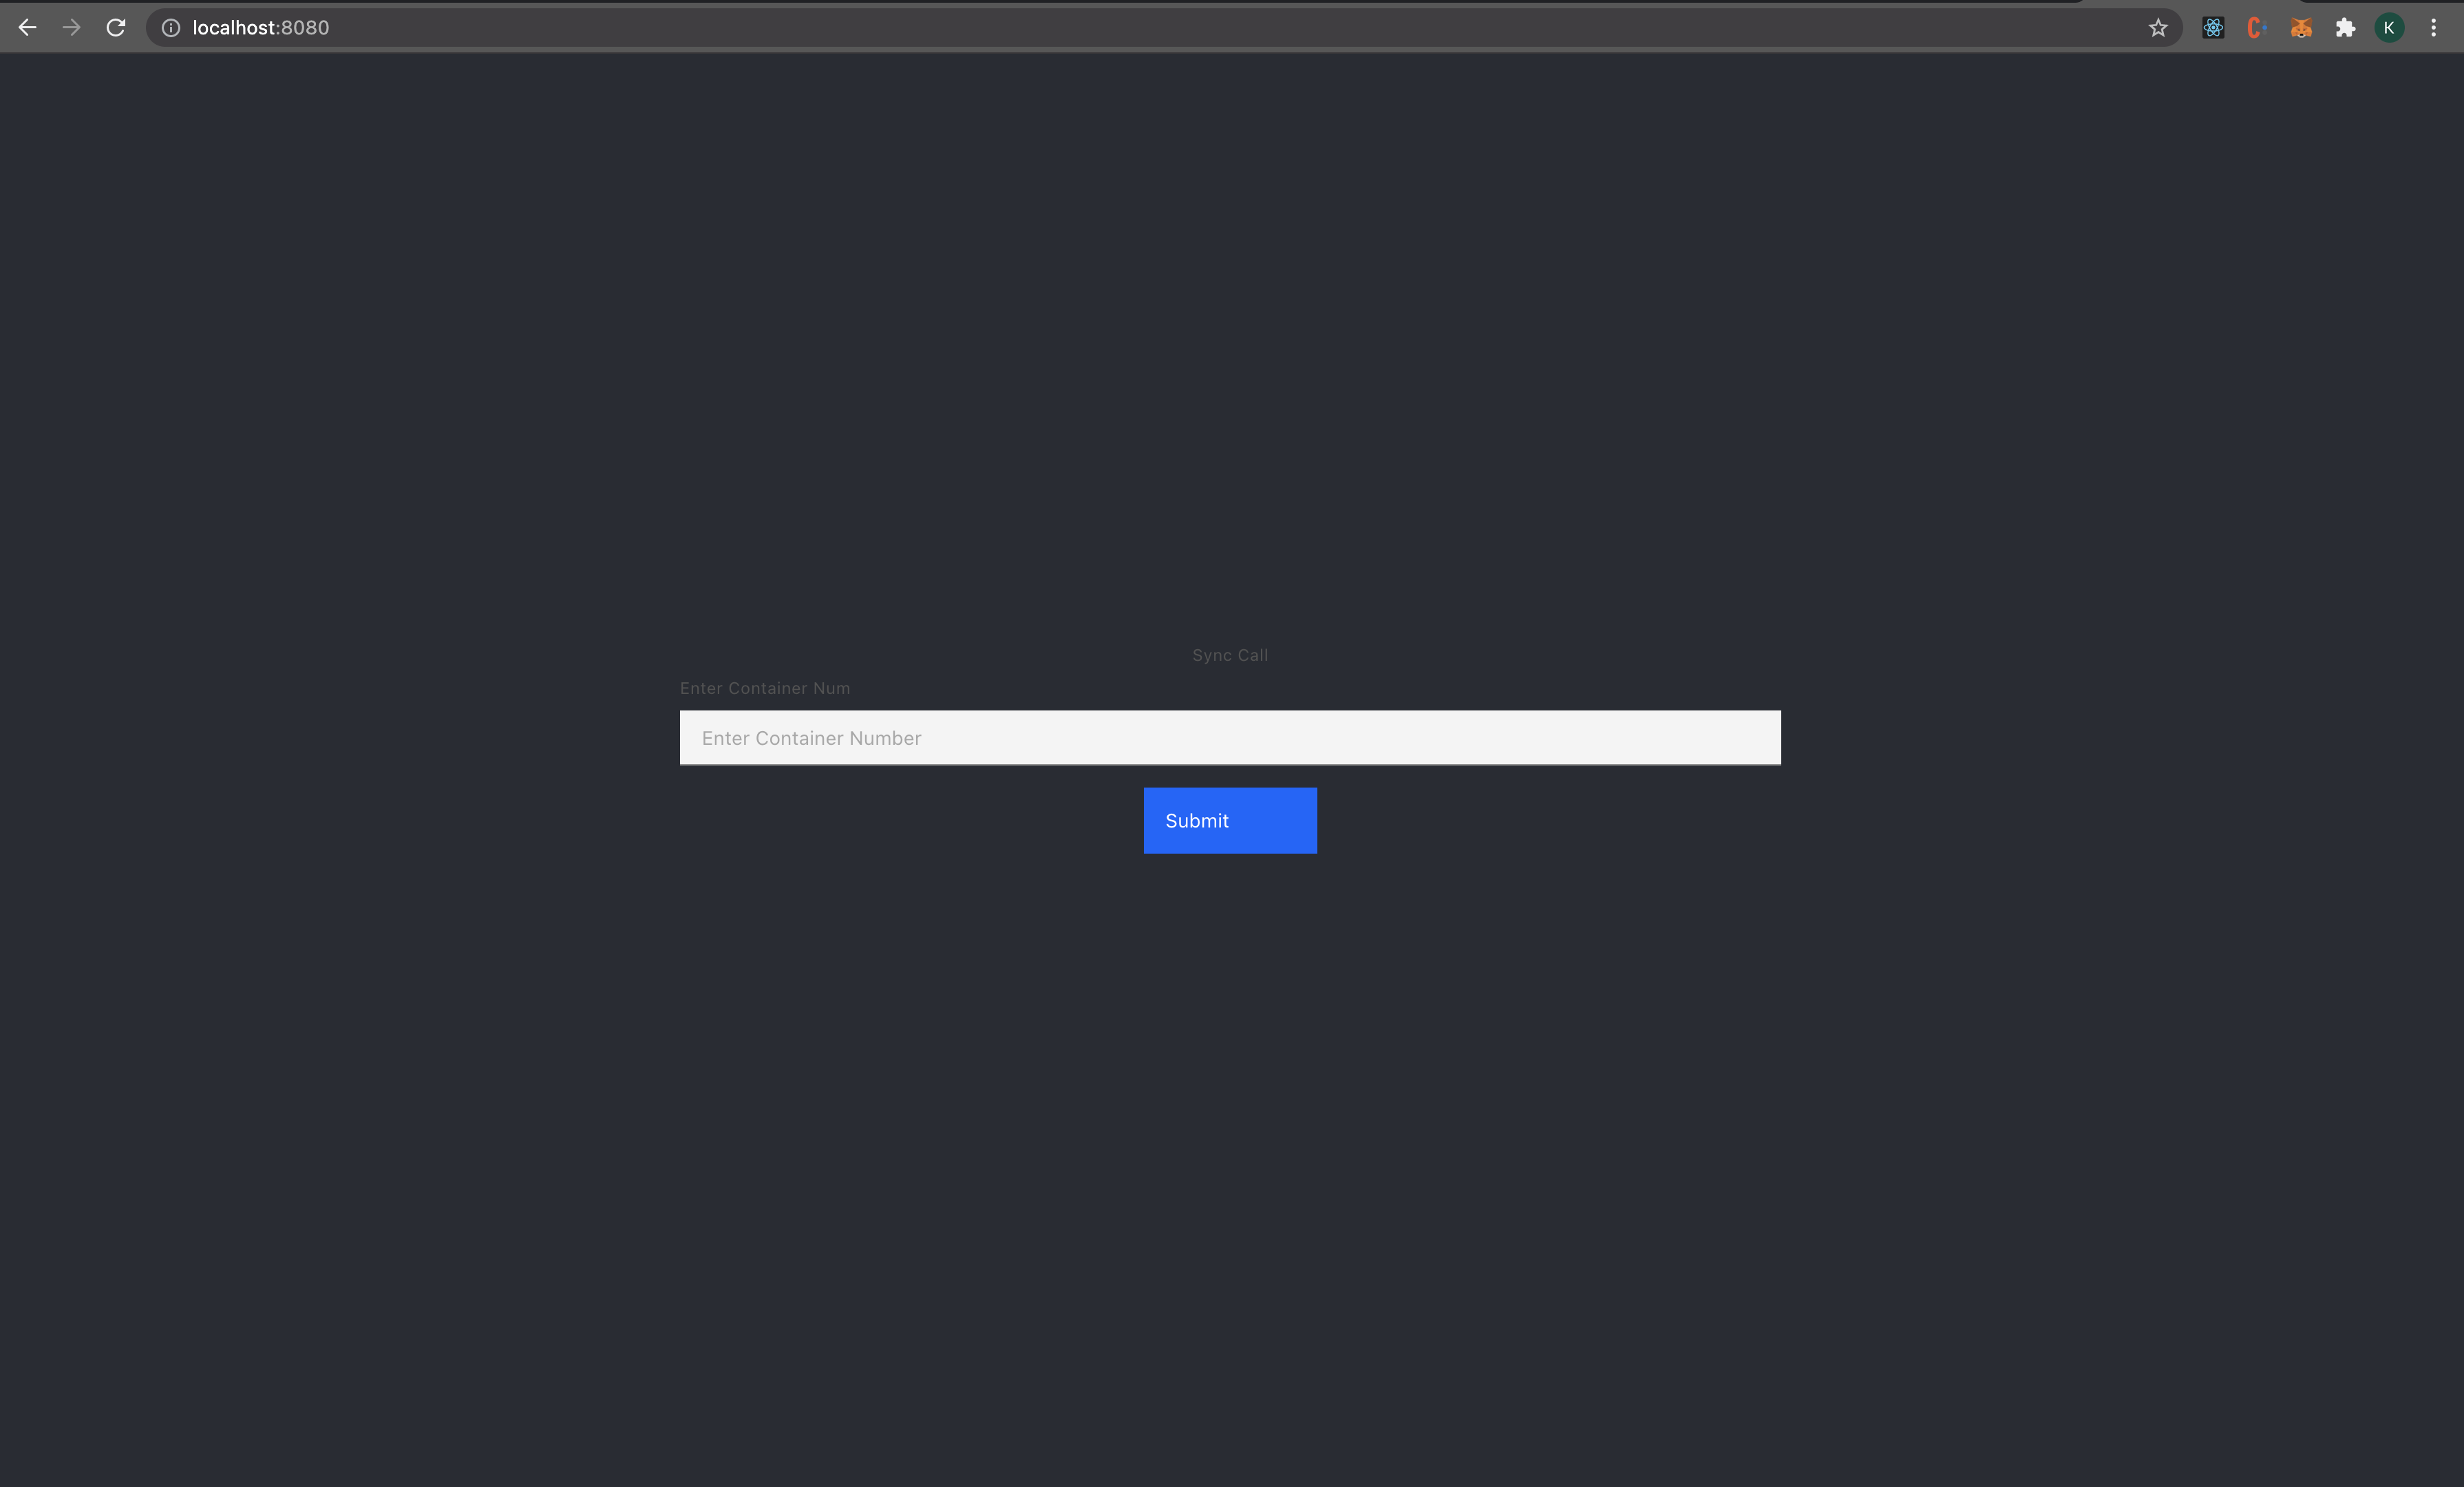
-
Enter
1as container number and wait for response.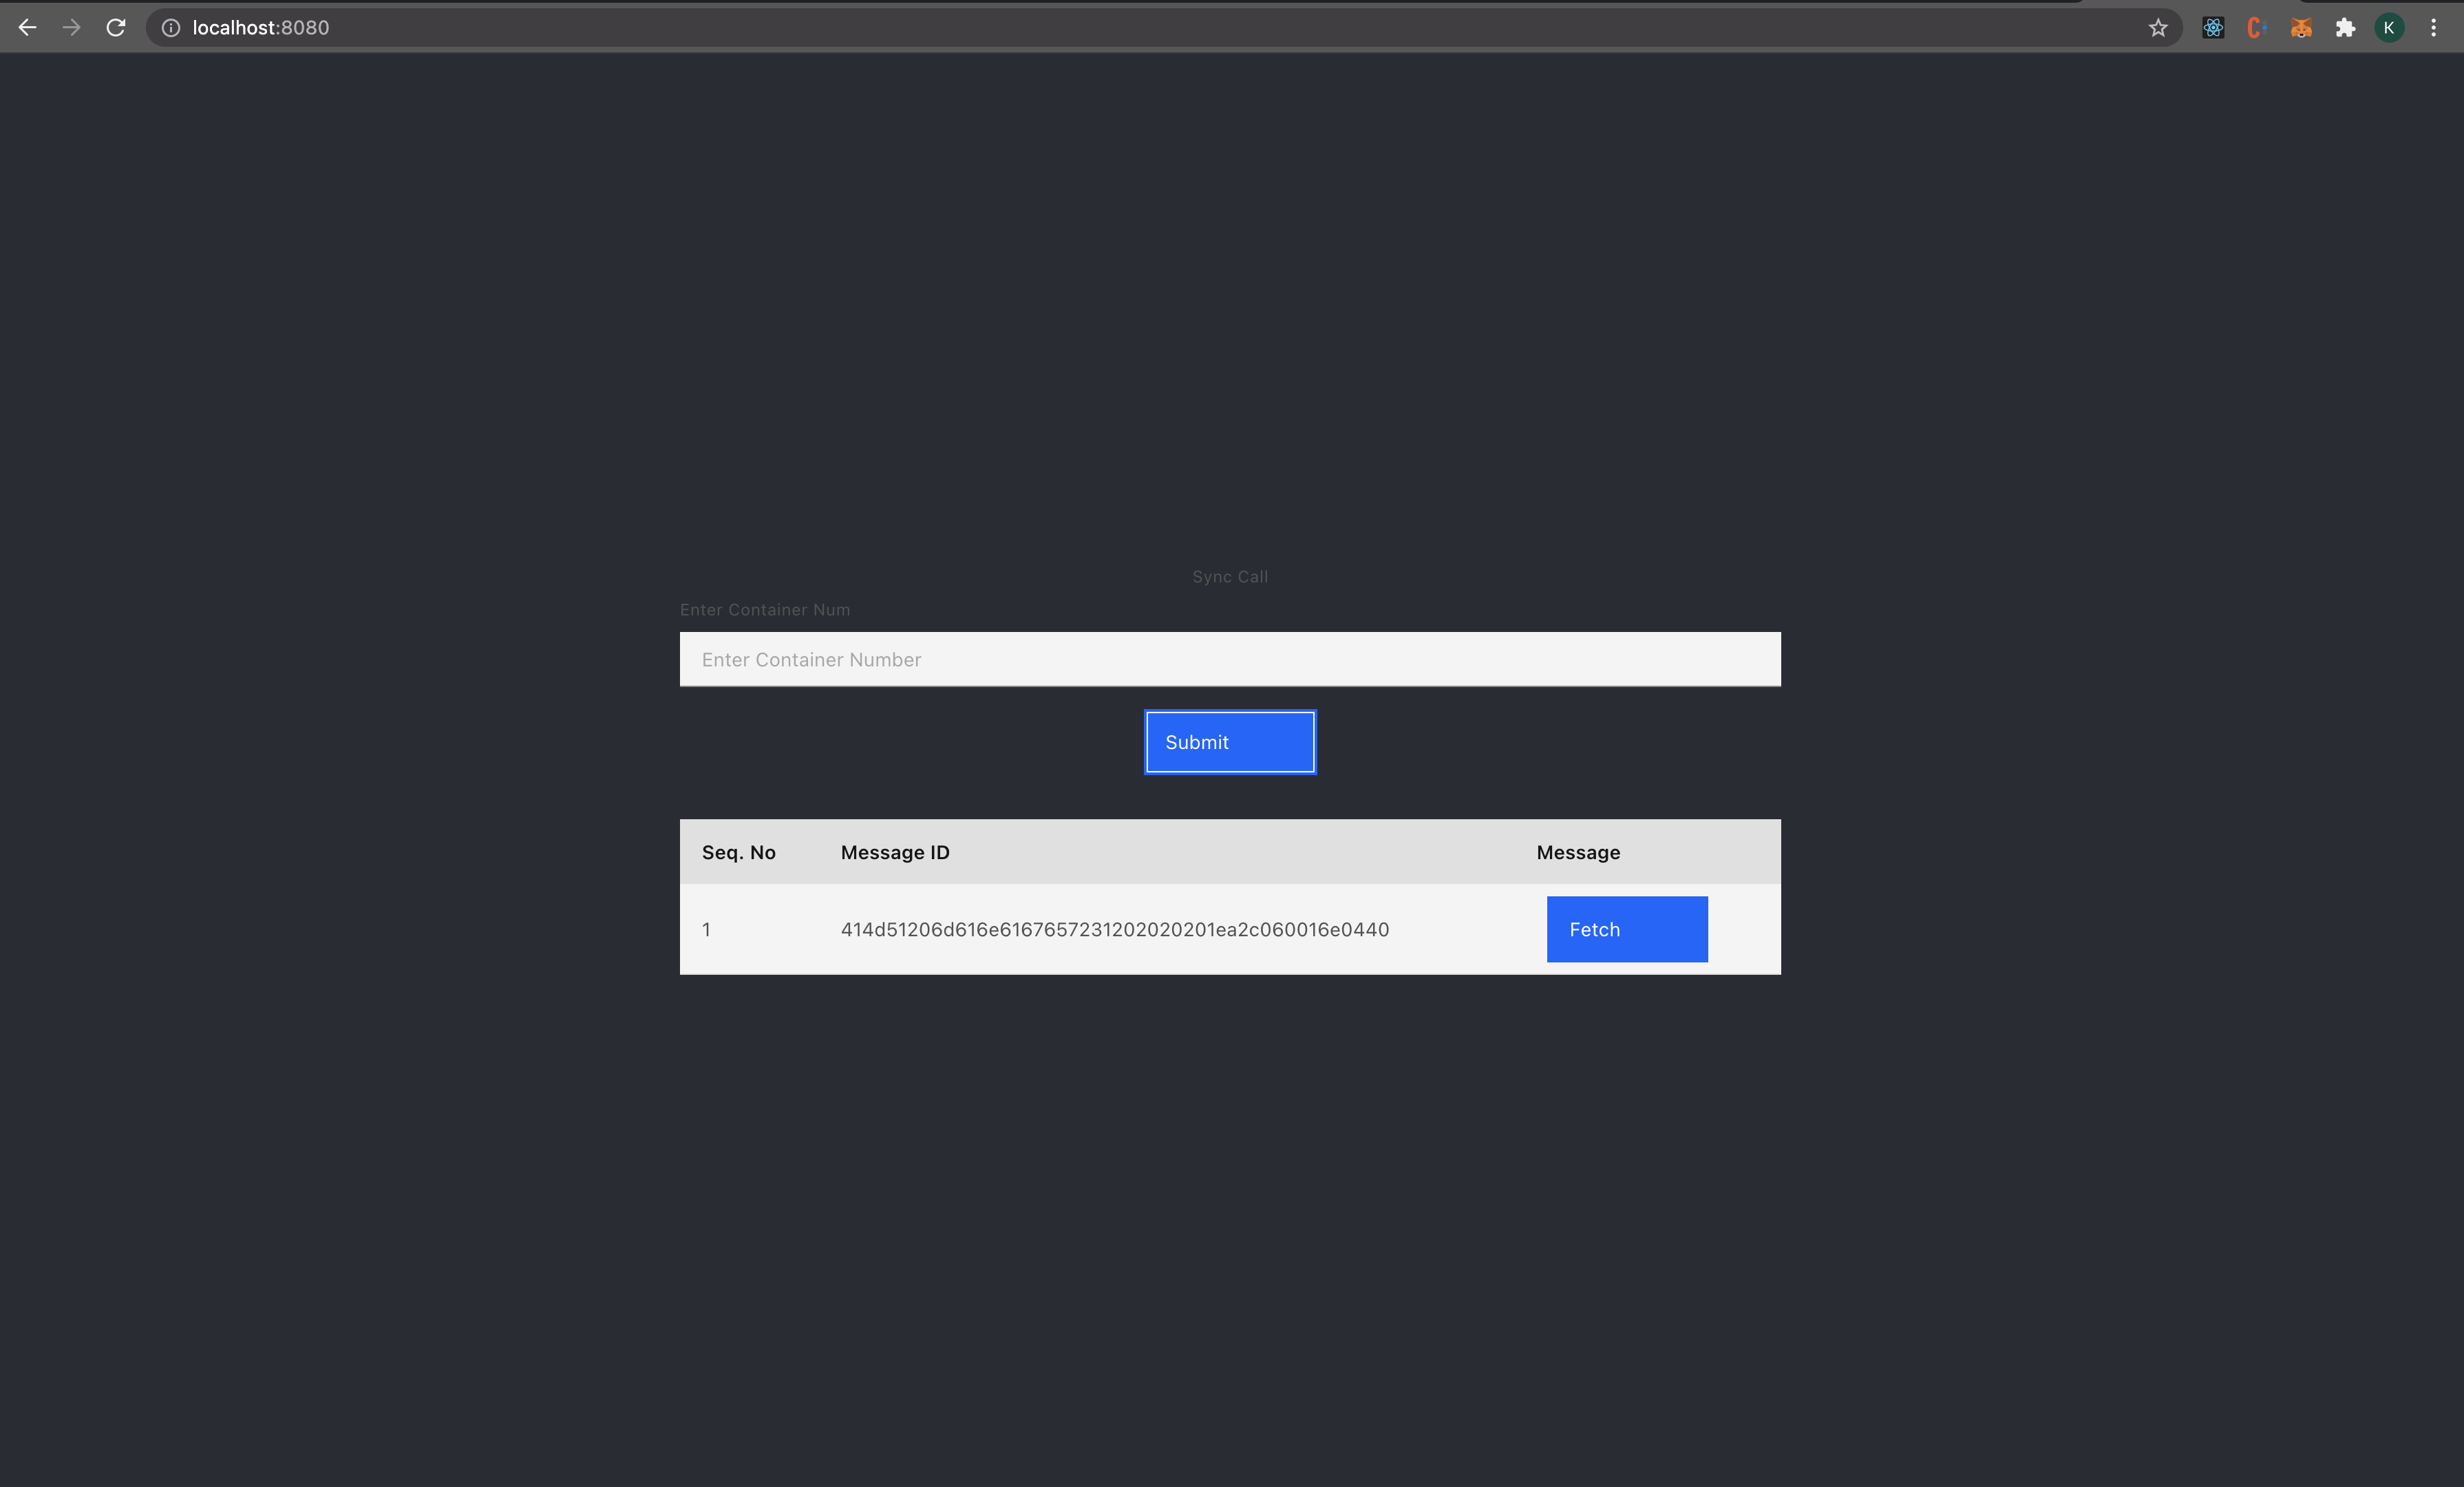
-
After 5-10 seconds Press
Fetchto display response.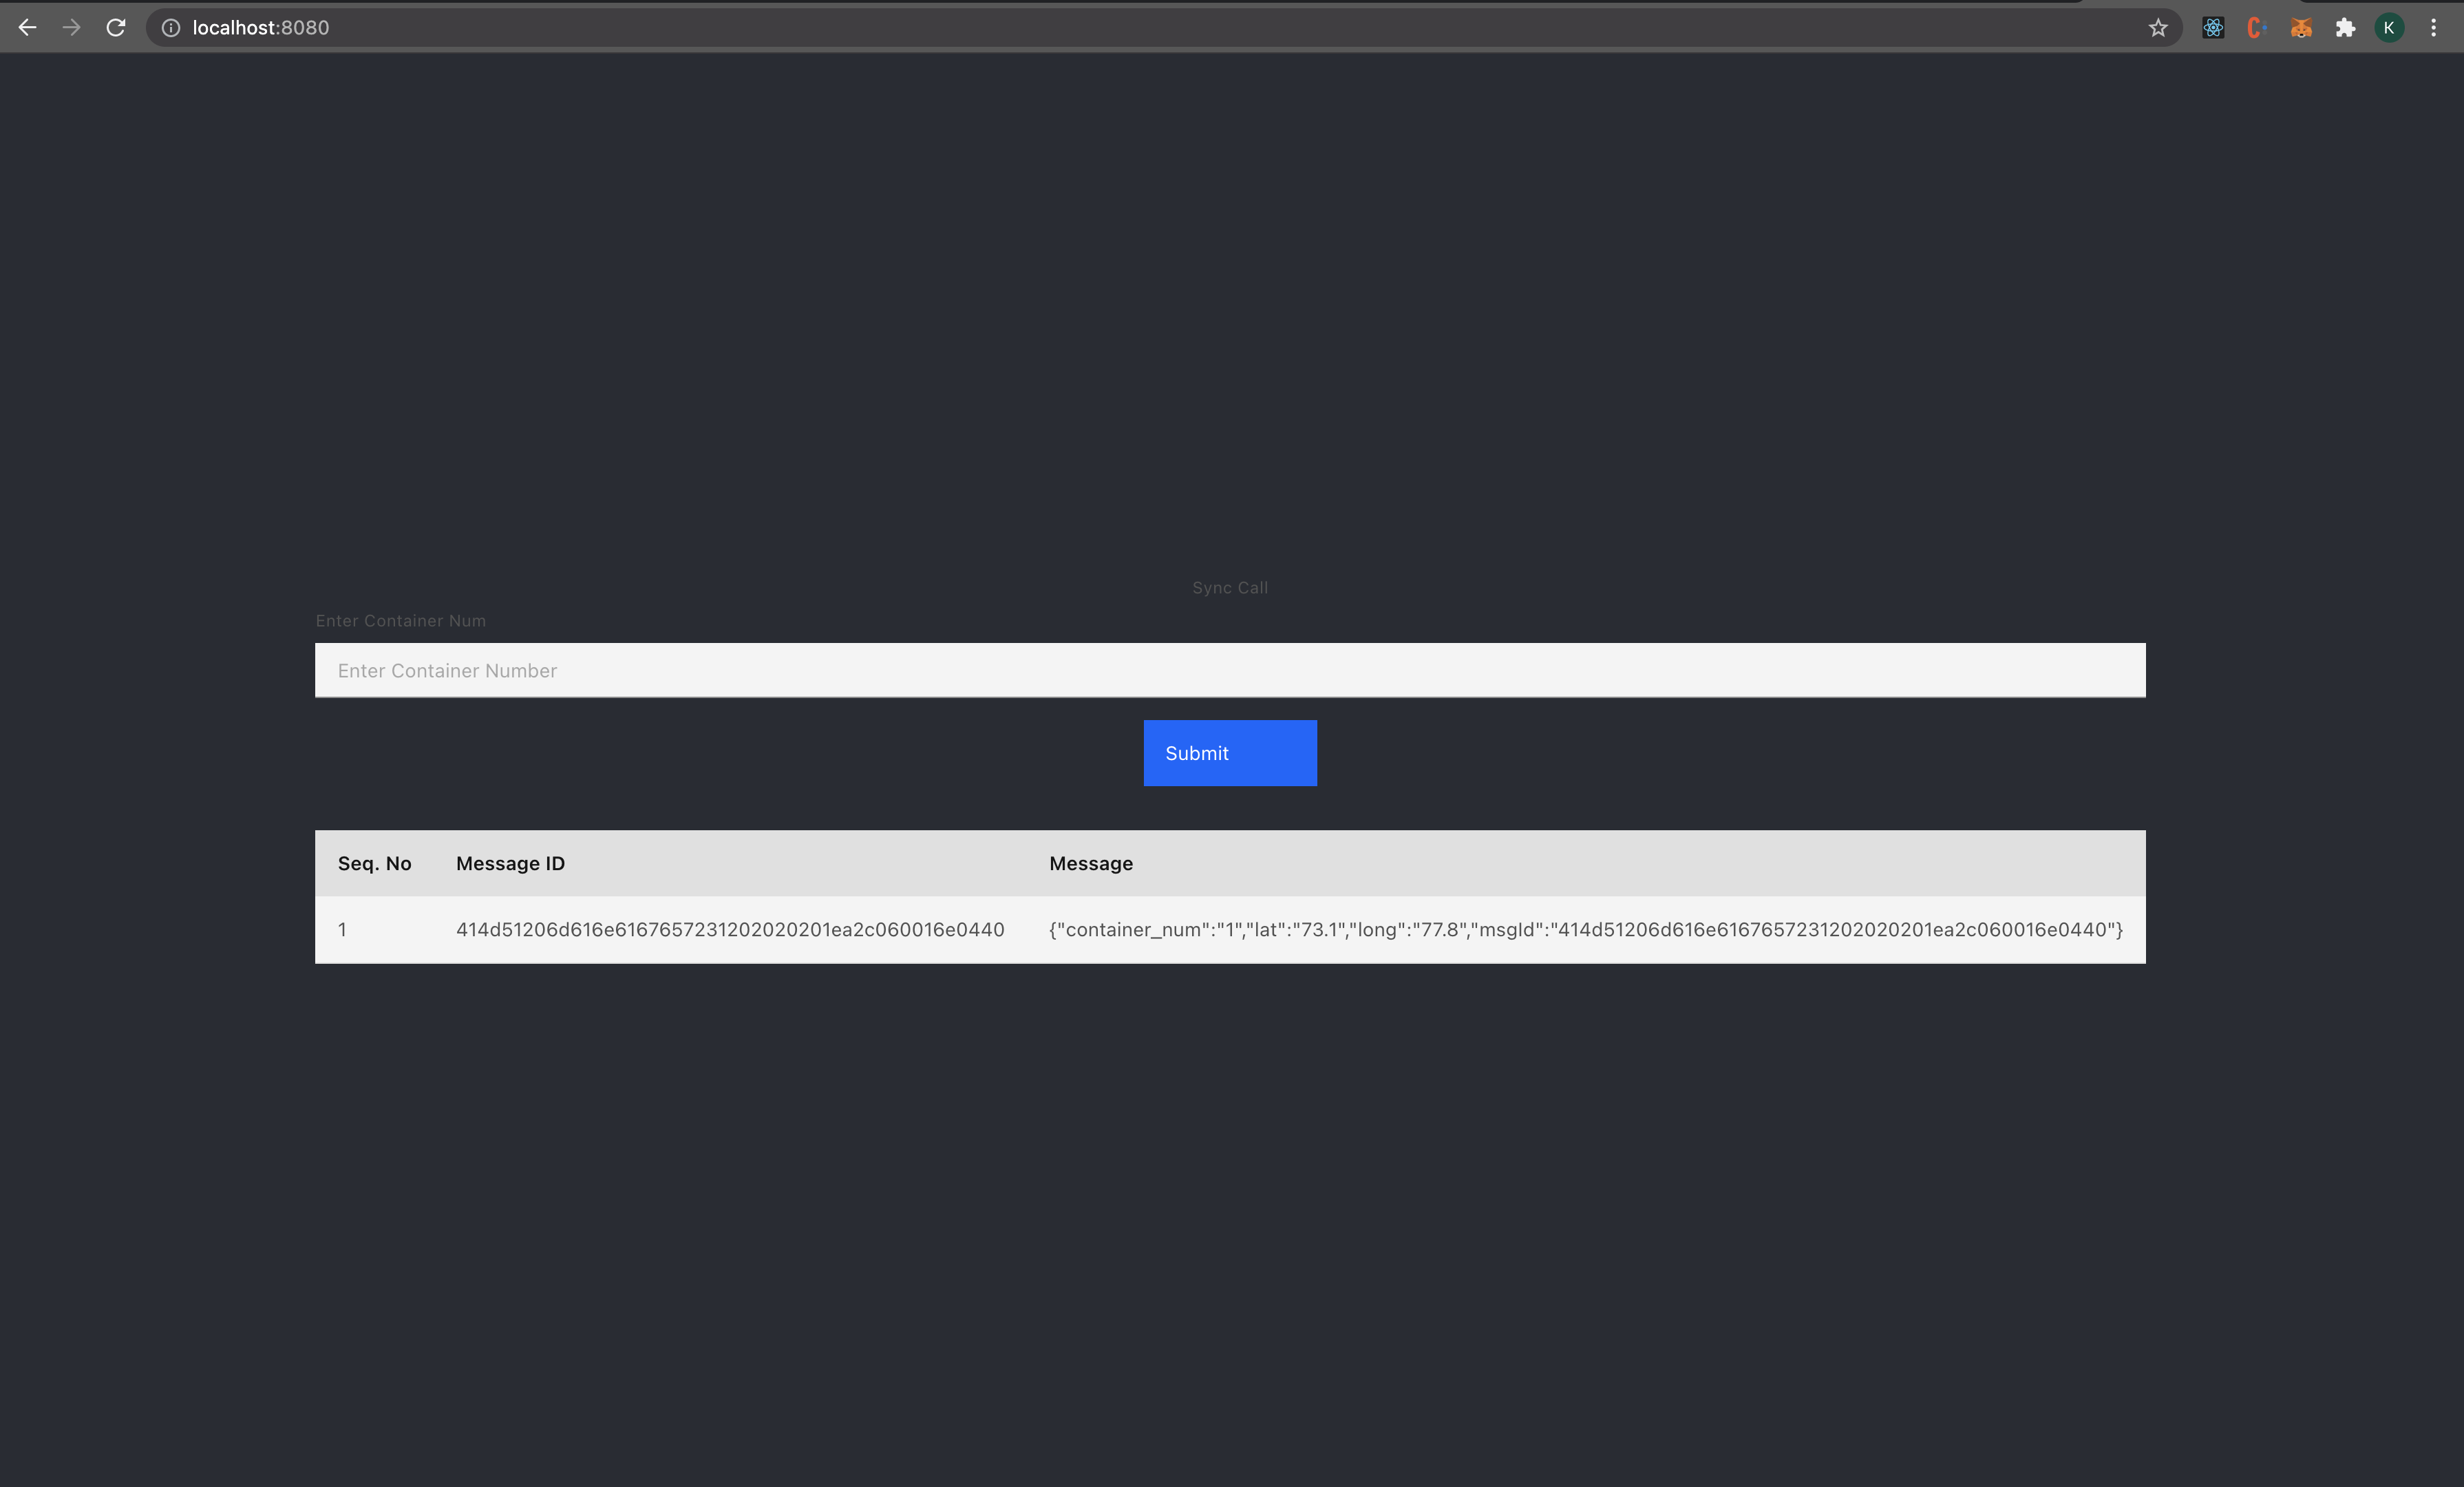


We used IBM MQ and App Connect to connect a modernized application with a legacy application and trsansfer data.
This code pattern is licensed under the Apache License, Version 2. Separate third-party code objects invoked within this code pattern are licensed by their respective providers pursuant to their own separate licenses. Contributions are subject to the Developer Certificate of Origin, Version 1.1 and the Apache License, Version 2.