Deep learning models used to perform classification tasks, are upper bounded by the number of images available in the training data. Data augmentation is often used to synthetically generated more data, looking very similar to the original data. GAN (Generative Advesarial Networks) are some state of the art models used for generating synthetic real-looking images.
Fashion MNIST is a 10-class classification dataset which is a drop-in replacement for MNIST digit classification dataset. Plenty of deep learning models are trained for performing classification on Fashion MNIST dataset (https://developer.ibm.com/patterns/train-a-model-on-fashion-dataset-using-tensorflow-with-ffdl/). The performance of these classifiers could be improved, if the training dataset could be augmented with more images.
Consider, Deep Convolutional GAN (DCGAN) model which is a GAN for generating high quality fashion MNIST images. The DCGAN model is as shown below:
Fig. 1: Deep Convolutional GAN model (DCGAN) for generating fashion images
Let's try to implement the DCGAN model.
- The PyTorch implementation of the model would roughly contain 150 lines of code (https://github.com/pytorch/examples/blob/master/dcgan/main.py)
- The Tensorflow implementation would require 500 lines of code (https://github.com/carpedm20/DCGAN-tensorflow/blob/master/model.py)
- Requires expertise in deep learning and Python libraries.
However, we propose a simple JSON representation of defining a GAN model, extending the modules explained in the previous section. The most simplistic realization of the DCGAN architecture is shown below:
{
    "generator":{
        "choice":"dcgan"
    },
    "discriminator":{
        "choice":"dcgan"
    },
    "data_path":"datasets/fmnist.p",
    "metric_evaluate":"MMD"
}
or, we could customize this architecture by using a DCGAN-Generator and a Vanilla-Discriminator, as follows:
{
   "generator":{
       "choice":"dcgan"
   },
   "discriminator":{
       "choice":"gan" #Just change the choice here!
   },
   "data_path":"datasets/fmnist.p",
   "metric_evaluate":"MMD"
} Fig. 2: Modularized GAN architecture to be able to design any generator-discriminator combination in PyTorch
- Python: Python is a programming language that lets you work more quickly and integrate your systems more effectively.
- Flask: A lightweight Python web application framework.
- PyTorch: An open source machine learning framework that accelerates the path from research prototyping to production deployment.
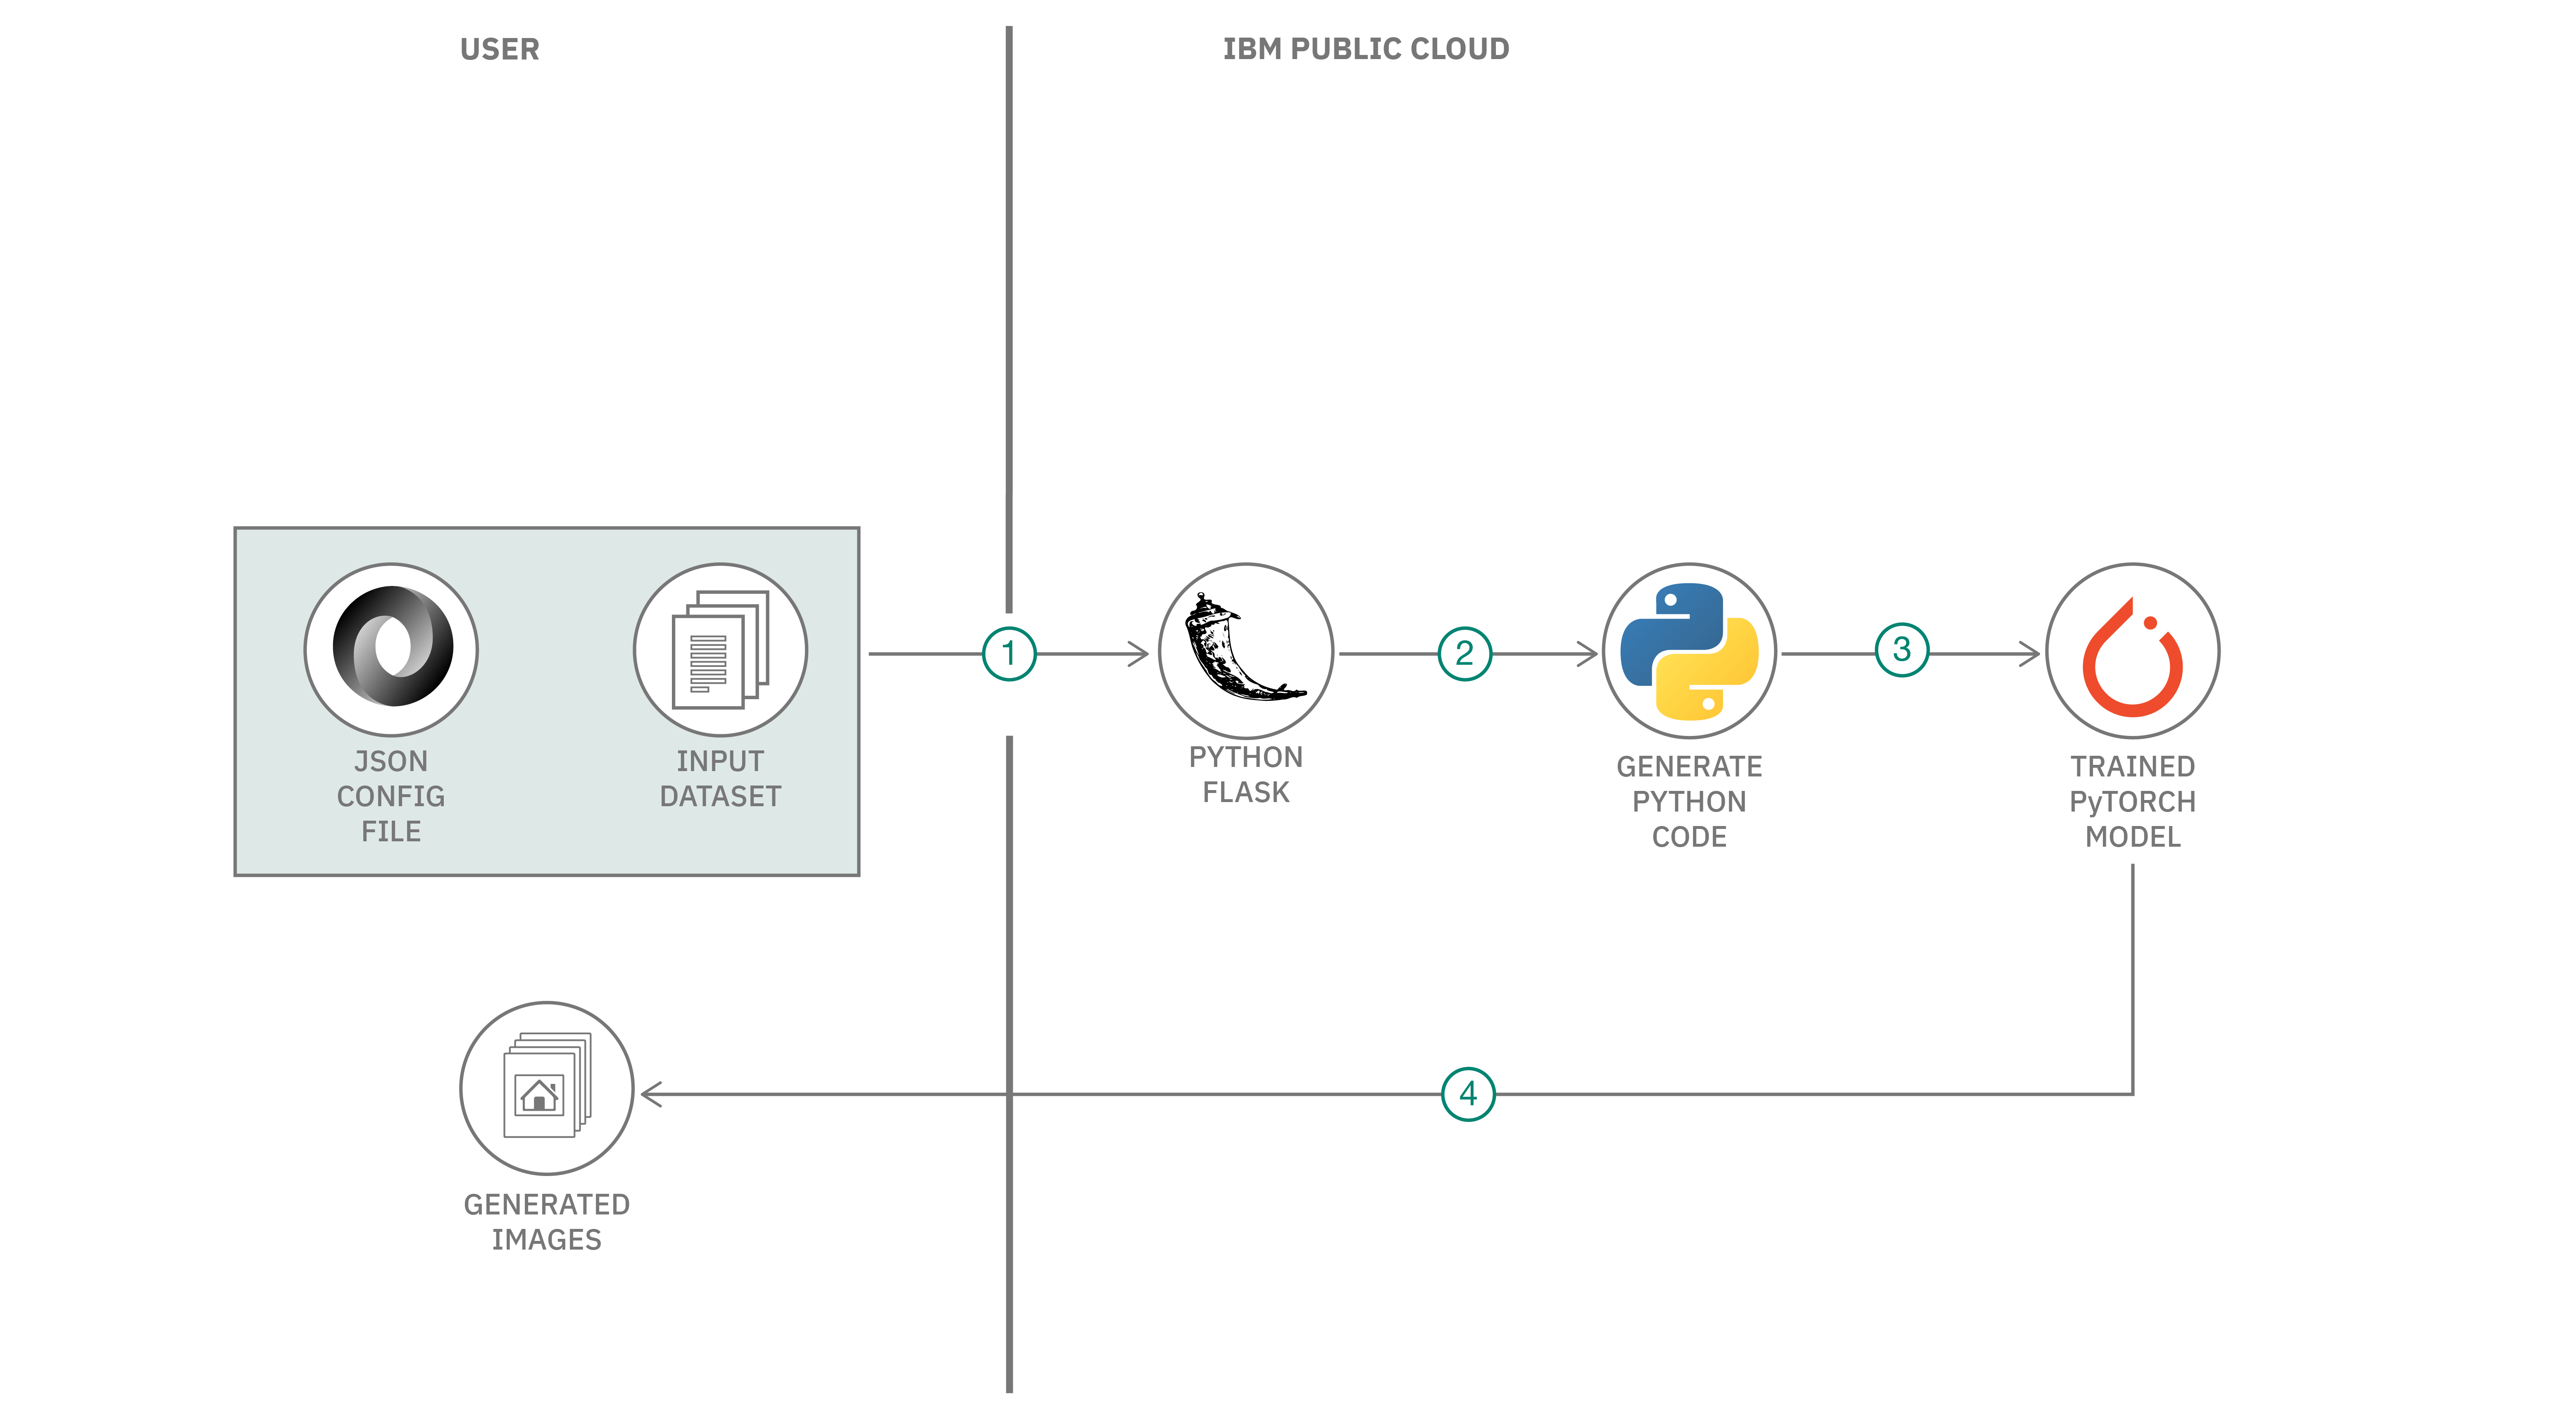
Follow these steps to setup and run this code pattern. The steps are described in detail below.
- Create an account with IBM Cloud
- Install IBM Cloud CLI
- Login to your IBM Cloud account using CLI
- Setup the IBM Cloud Target Org and Space
- Clone the Git Repo
- Create a GAN Config File
- Edit the Manifest File and ProcFile
- Push the App to a new Python Runtime in IBM Cloud
- Send the Config JSON file through a REST API Call
- Obtain the GAN Generated Images and Ouput
Sign up for IBM Cloud. By clicking on create a free account you will get 30 days trial account.
Download the latest installer for your specific OS and install the packge. To test the CLI, try running ibmcloud help in the terminal.
Set up the IBM Cloud CLI Endpoint:
ibmcloud api https://api.ng.bluemix.net
Login to the IBM Cloud account:
ibmcloud login
Setup the specific org, space, and resource group in which you would like to deploy the application.
ibmcloud target -o <org_name> -s <space_name> -g <resource_group_name>
Clone the entire code repository
```shell
$ git clone https://github.ibm.com/DARVIZ/gan-toolkit-code-patterns
$ cd gan-toolkit-code-patterns
```
The config file is a set of key-value pairs in JSON format. A collection of sample config files are provided here
The basic structure of the config json file is as follows,
    {
        "generator":{
            "choice":"gan"
        },
        "discriminator":{
            "choice":"gan"
        },
        "data_path":"datasets/dataset1.p",
        "metric_evaluate":"MMD"
    }
The detailed documentation of the config files are provided here
Edit manifest.yaml in your root folder with the following content,
applications:
 - name: <application-name>
   random-route: true
   buildpack: python_buildpack
   command: python app.py
   disk_quota: 2G
   memory: 4G
   timeout: 600
Note: The <application-name> has to be unique at the entire IBM Cloud level
Edit Procfile in your root folder with the path of your GAN config file,
web: python app.py
Also note that, this app is tested extensively for Python 3.6.8. If you want to play around with different buildpack versions of Python, edit the runtime.txt file,
python-3.6.8
ibmcloud app push
Note: The app requires atleast 2GB in memory quota (as mentioned in the manifest file). The maximum memory quota for a Lite account is 256 MB and can be increased to 2GB only by upgrading to a billable account.
The skeleton of the API call, through a CURL command would be as follows,
curl -X POST http://<application-name>.net/gan_model -F config_file=@<path-of-config-file>
Here is an example for the REST API call,
curl -X POST \
  http://gan-toolkit-all.mybluemix.net/gan_model -F config_file=@/agant/configs/gan_gan.json
Default input and output paths (override these paths in the GAN config file)
* `logs/` : training logs
* `saved_models/` : saved trained models
* `train_results/` : saved all the intermediate generated images
* `datasets/` : input dataset path
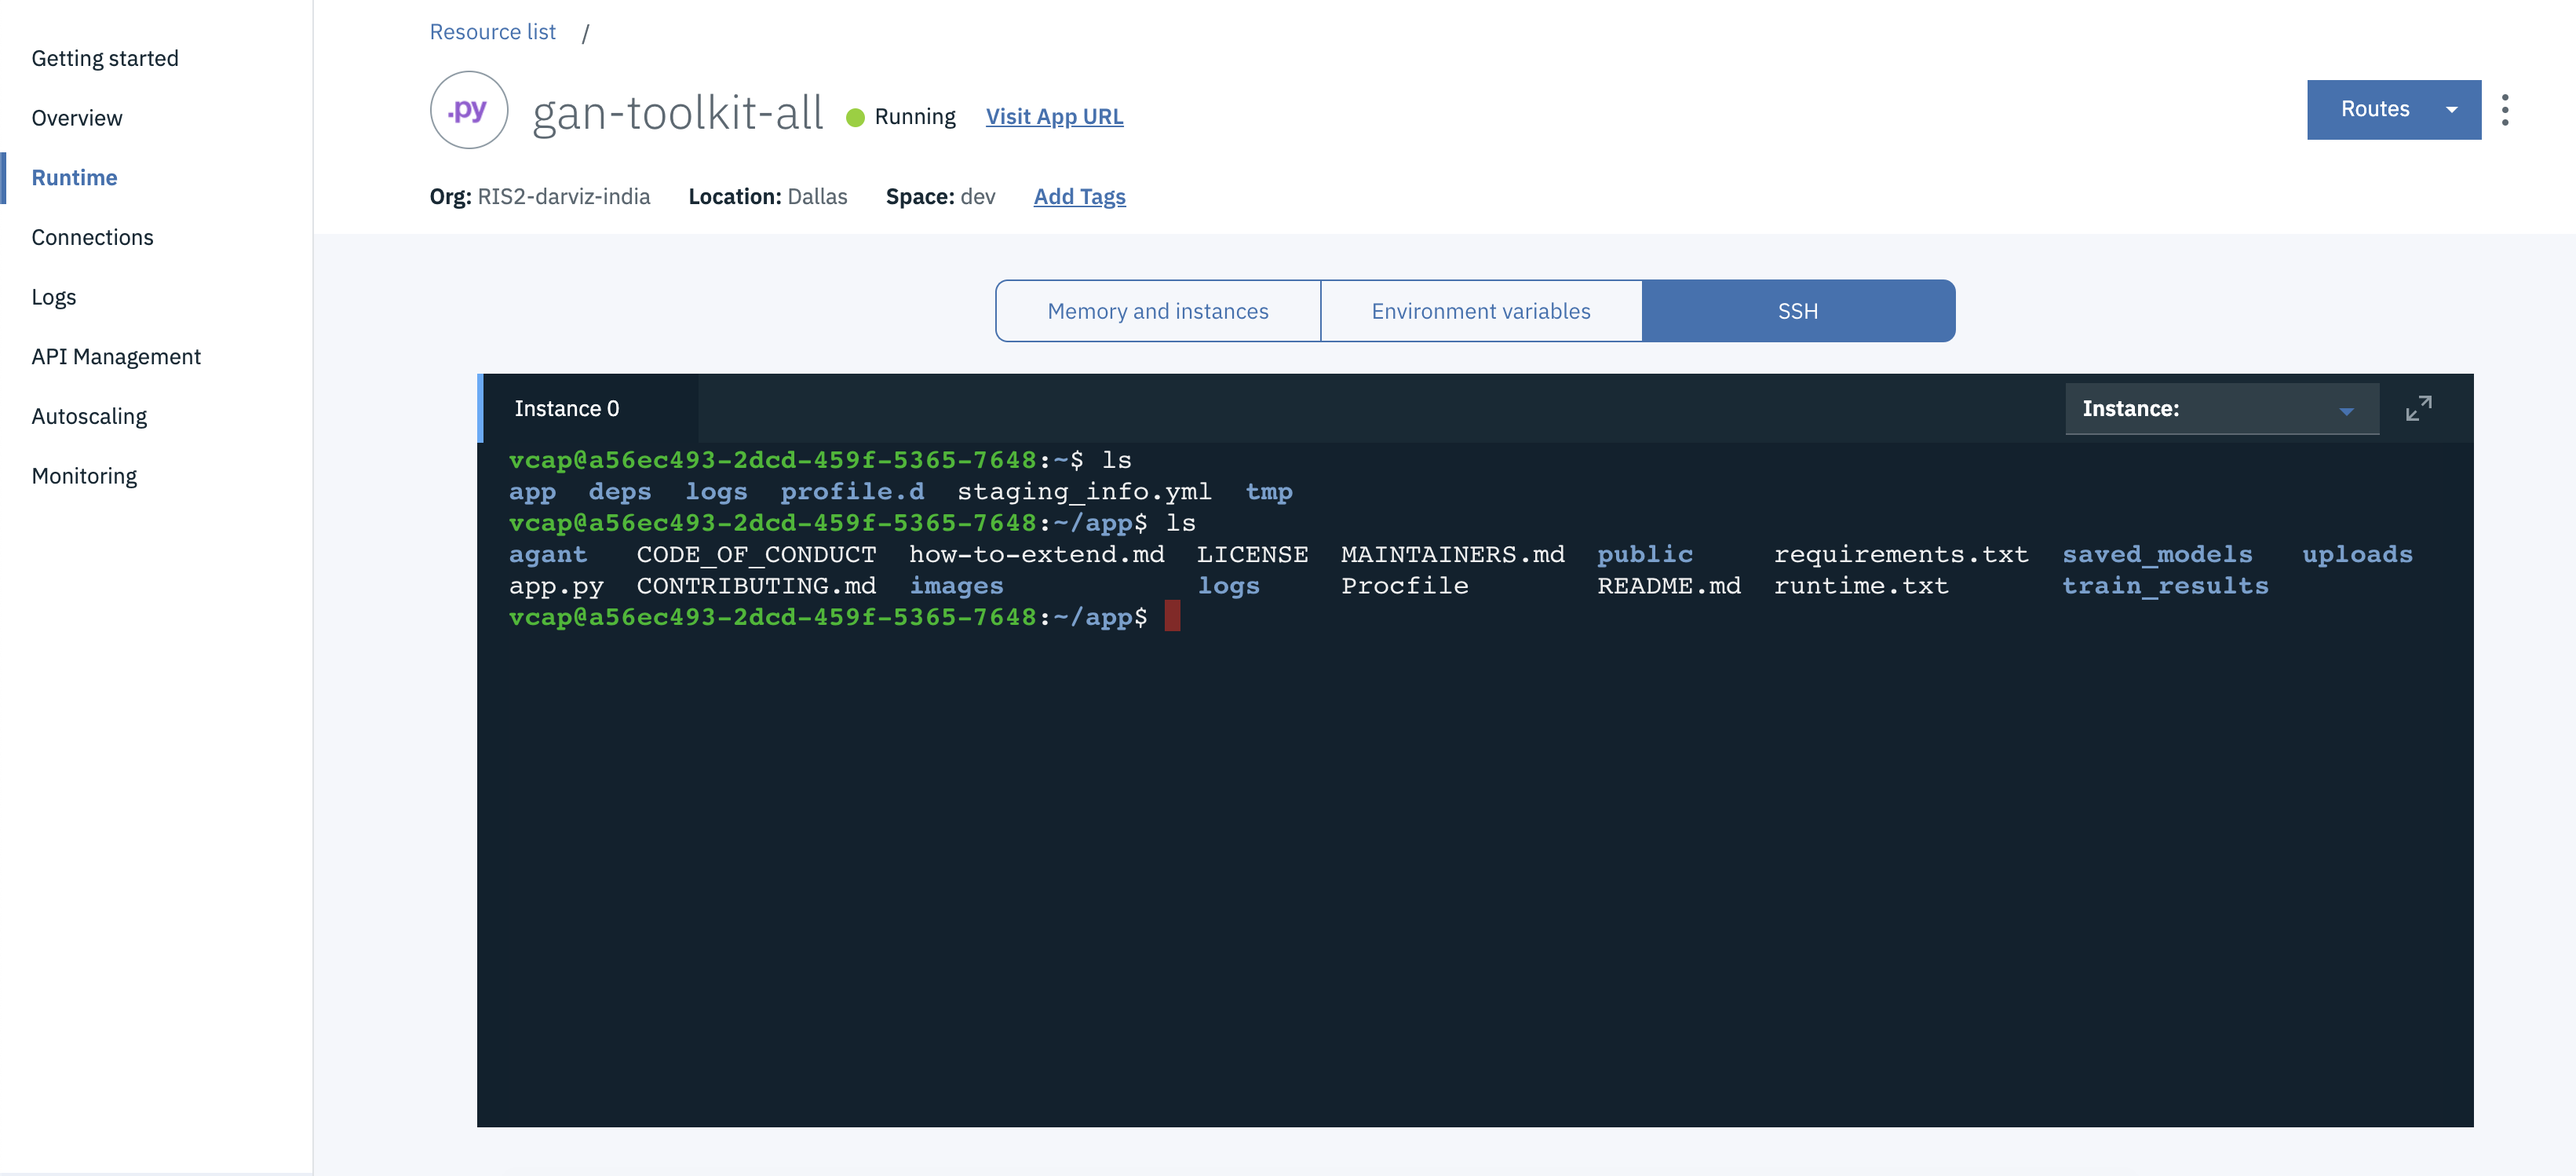
Login to IBM Cloud and open the corresponding Cloud Foundary Appliation from your dashboard. When you open the runtime on the left side pane, and connect to the runtime using SSH, you can find these folders with the outputs, as follows,
 Fig. 3: Obtain the output logs, trained model, and generated images from Python Runtime
-
(Optional) If you want to setup an anaconda environment
a. Install Anaconda from here
b. Create a conda environment
$ conda create -n gantoolkit python=3.6 anaconda
c. Activate the conda environment
$ source activate gantoolkit -
Clone the code
$ git clone https://github.com/IBM/gan-toolkit $ cd gan-toolkit -
Install all the requirements. Tested for Python 3.6.x+
$ pip install -r requirements.txt
-
Train the model using a configuration file. (Many samples are provided in the
configsfolder)$ cd agant $ python main.py --config configs/gan_gan.json -
Default input and output paths (override these paths in the config file)
logs/: training logssaved_models/: saved trained modelstrain_results/: saved all the intermediate generated imagesdatasets/: input dataset path
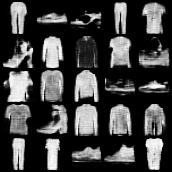
The trained GAN model generates new images that looks very similar to the input dataset, it was trained on. The new generated images are found in the disk, in the agant/train_results/ folder. The obtained results and the newly generated images look like the following:
Fig. 4: (Left) Fashion images generated using DCGAN model. (Right) Fashion images generated using customized DCGAN-generator and GAN-discriminator
- Neural Network Modeller: HowTo
- AuthorGAN: Improving GAN Reproducibility using a Modular GAN Framework
- Vanilla GAN: Generative Adversarial Learning (Goodfellow et al., 2014)
- C-GAN: Conditional Generative Adversarial Networks (Mirza et al., 2014)
- DC-GAN: Deep Convolutional Generative Adversarial Network (Radford et al., 2016)
- W-GAN: Wasserstein GAN (Arjovsky et al., 2017)
- W-GAN-GP: Improved Training of Wasserstein GANs (Goodfellow et al., 2017)
Acknowledging the contributions of our academic collaborators
- Prof. Mayank Vatsa (IIIT Delhi)
- Prof. Richa Singh (IIIT Delhi)
This code pattern is licensed under the Apache Software License, Version 2. Separate third-party code objects invoked within this code pattern are licensed by their respective providers pursuant to their own separate licenses. Contributions are subject to the Developer Certificate of Origin, Version 1.1 (DCO) and the Apache Software License, Version 2.


