The Visual Recognition service uses deep learning algorithms to analyze images for scenes, objects, text, and other subjects.
✨ Demo: https://visual-recognition-code-pattern.ng.bluemix.net/ ✨
- User sends messages to the application (running locally, in the IBM Cloud).
- The application sends the user message to IBM Watson Visual Recognition service.
- Watson Visual Recognition uses deep learning algorithms to analyze images for scenes, objects, text, and other subjects. The service can be provisioned on IBM Cloud.
- Sign up for an IBM Cloud account.
- Download the IBM Cloud CLI.
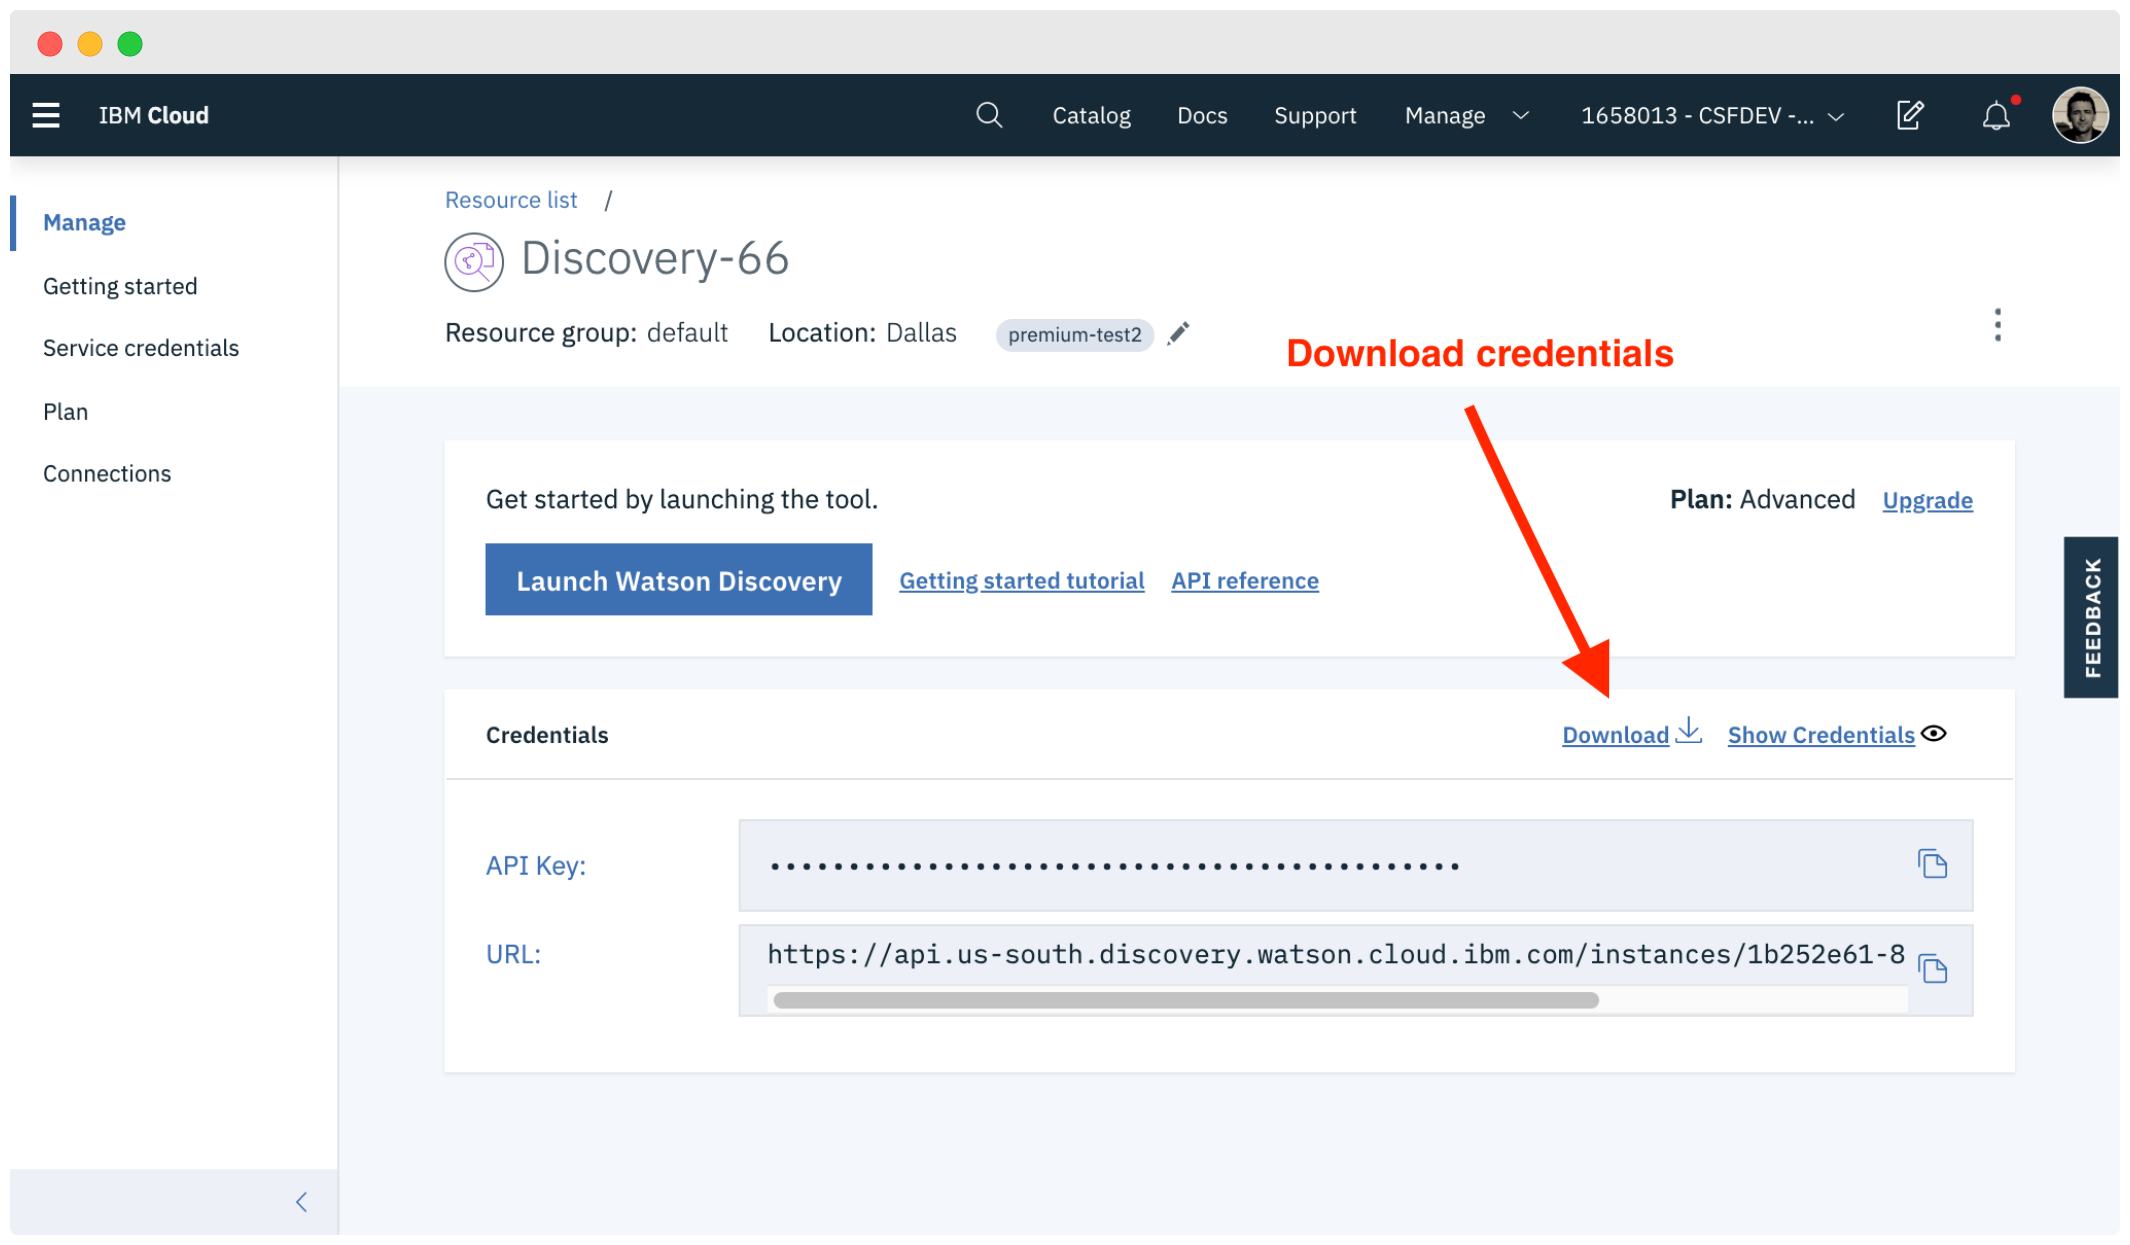
- Create an instance of the Visual Recognition service and get your credentials:
- Go to the Visual Recognition page in the IBM Cloud Catalog.
- Log in to your IBM Cloud account.
- Click Create.
- Click Show to view the service credentials.
- Copy the
apikeyvalue. - Copy the
urlvalue.
Depending on where your service instance is you may have different ways to download the credentials file.
Need more information? See the authentication wiki.
Copy the credential file to the application folder.
Public Cloud
-
In the application folder, copy the .env.example file and create a file called .env
cp .env.example .env -
Open the .env file and add the service credentials depending on your environment.
Example .env file that configures the
apikeyandurlfor a Watson Visual Recognitions service instance hosted in the US East region:WATSON_VISION_COMBINED_APIKEY=X4rbi8vwZmKpXfowaS3GAsA7vdy17Qh7km5D6EzKLHL2 WATSON_VISION_COMBINED_URL=https://gateway-wdc.watsonplatform.net/visual-recognition/api
-
Install the dependencies
npm install -
Build the application
npm run build -
Run the application
npm run dev -
View the application in a browser at
localhost:3000
Click on the button below to deploy this demo to the IBM Cloud.
-
Build the application
npm run build -
Login to IBM Cloud with the IBM Cloud CLI
ibmcloud login -
Target a Cloud Foundry organization and space.
ibmcloud target --cf -
Edit the manifest.yml file. Change the name field to something unique. For example,
- name: my-app-name. -
Deploy the application
ibmcloud app push -
View the application online at the app URL, for example: https://my-app-name.mybluemix.net
Run unit tests with:
npm run test:components
See the output for more info.
First you have to make sure your code is built:
npm run build
Then run integration tests with:
npm run test:integration
.
├── app.js                      // express routes
├── config                      // express configuration
│   ├── error-handler.js
│   ├── express.js
│   └── security.js
├── package.json
├── public                      // static resources
├── server.js                   // entry point
├── test                        // integration tests
└── src                         // react client
    ├── __test__                // unit tests
    └── index.js                // app entry point
This sample code is licensed under the MIT License.
Find more open source projects on the IBM Github Page


