- Make sure ngrok and the server aren't running
- Reset this repository
git stash
git fetch origin
git checkout main
git reset --hard origin/master
- Prepare the
.env(based ontest.env) file with the correct account secrets and the answer - Run
yarn install - Open the SendGrid Console
- Open the inbox folder/label to which you'll send the emails
- Open the web interface of your DNS provider, e.g. Namecheap
-
Check whether you set the needed DNS entries based on the setup instructions for the CNAME records and the MX record.
-
Start the server with
yarn dev:serverand discover the/helloendpoint -
Import a function from the
fspackage tosrc/server.tsimport { appendFileSync } from "fs";
and add a second endpoint, which adds a new line entry
.all("/mail", async (request, reply) => {
 appendFileSync("entries.txt", `Entry1# #100\n`);
 reply.code(201);
 reply.send();
});
If needed, you can test this request with:
###
POST http://localhost:3000/mail
Content-Type: multipart/form-data; boundary=----WebKitFormBoundary7MA4YWxkTrZu0gW

------WebKitFormBoundary7MA4YWxkTrZu0gW
Content-Disposition: form-data; name="text"

title
------WebKitFormBoundary7MA4YWxkTrZu0gW
Content-Disposition: form-data; name="text2"

title2
------WebKitFormBoundary7MA4YWxkTrZu0gW--
This request won't work out-of-the-box as the server cannot handle the content type yet. To deal with this type, you need to add a form parser for
Content-Type: multipart/form-datawith the package fastify-multipart.import fastifyMultipart from "fastify-multipart"; ... server .register(fastifyMultipart, { addToBody: true })
-
Import the SendGrid client and the datamask package and initialize the SendGrid client.
import { MailService } from "@sendgrid/mail";
import { email } from "datamask";

const sendgridClient = new MailService();

sendgridClient.setApiKey(process.env.SENDGRID_API_KEY || "");
Use these packages enhance the webhook to parse the incoming email, send a reply, and log the information in a privacy-respecting way in the console. Don't forget to replace
<YOUR DOMAIN HERE>with your authenticated domain..all("/mail", async (request, reply) => { const sgBody = request.body as EmailBody; const regExFloat = /([0-9]*[.])?[0-9]+/g; const guess = sgBody.text.match(regExFloat)[0]; const sender = JSON.parse(sgBody.envelope).from; appendFileSync("entries.txt", `${sender}# #${guess}\n`); try { await sendgridClient.send({ to: { email: sender, }, from: { email: "lottery@<YOUR DOMAIN HERE>", name: "SendGrid Demo", }, subject: `RE: ${sgBody.subject}`, html: `<h1>Thanks for your Submission!</h1> <p>We registered your guess "${guess}" based on the message you sent:</p> <p style="margin-left:10%; margin-right:10%;font-style: italic;">${sgBody.text}</p> <p>Feel free to send another email if you want to update your guess.</p> <p>The submitted data will be only be used for the demo and deleted afterward.</p>`, }); console.log(`Response has been sent to ${email(sender)}.`); reply.code(201); } catch (error) { console.error(error); reply.code(500); } reply.send(); });
-
Start
ngrokin the console to expose the webhook.ngrok http 3000 # or ngrok http -subdomain=<domain> 3000
-
Register the inbound parse URL (aka the webhook). You can find a subpage Inbound Parse in the SendGrid Settings. Click on the Add Host & URL button.
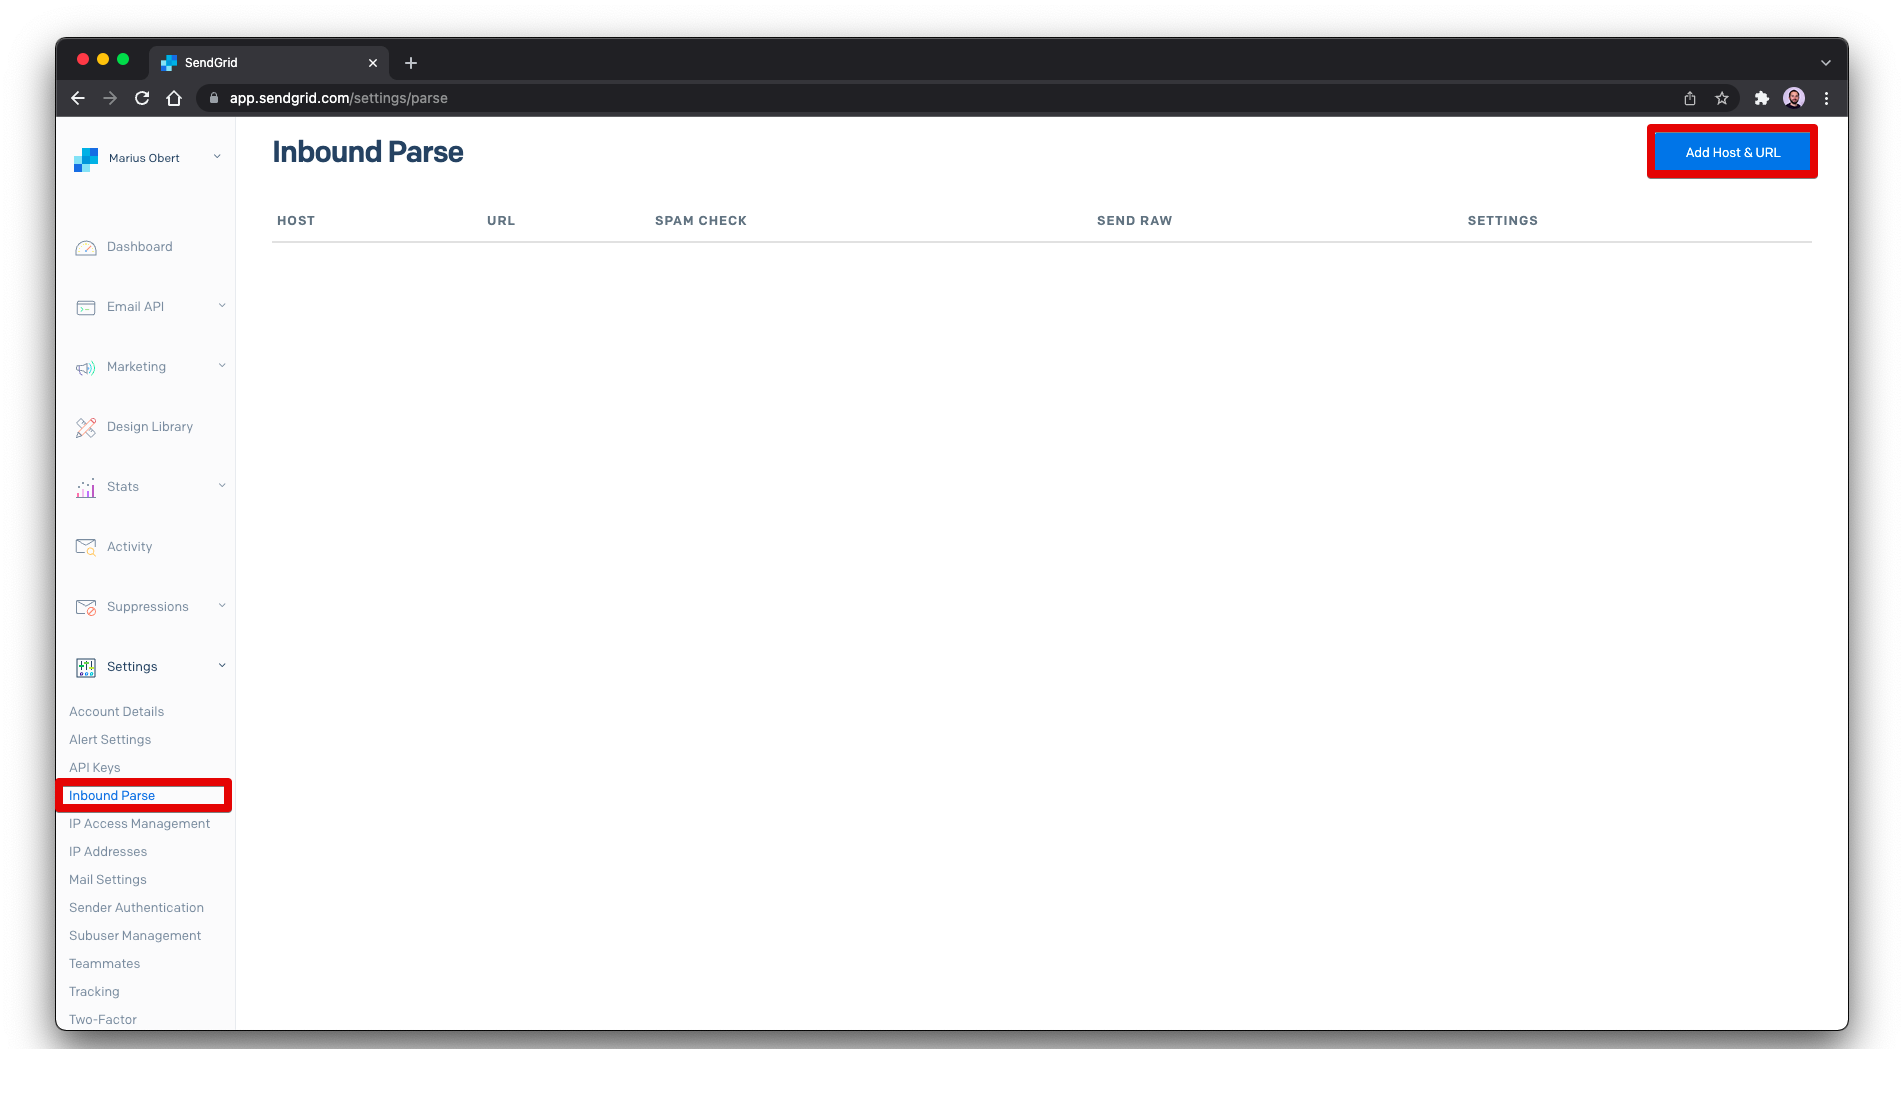
Select the domain you previously authenticated and leave the subdomain empty. Now you can enter your ngrok URL as the Destination URL and confirm with Add.
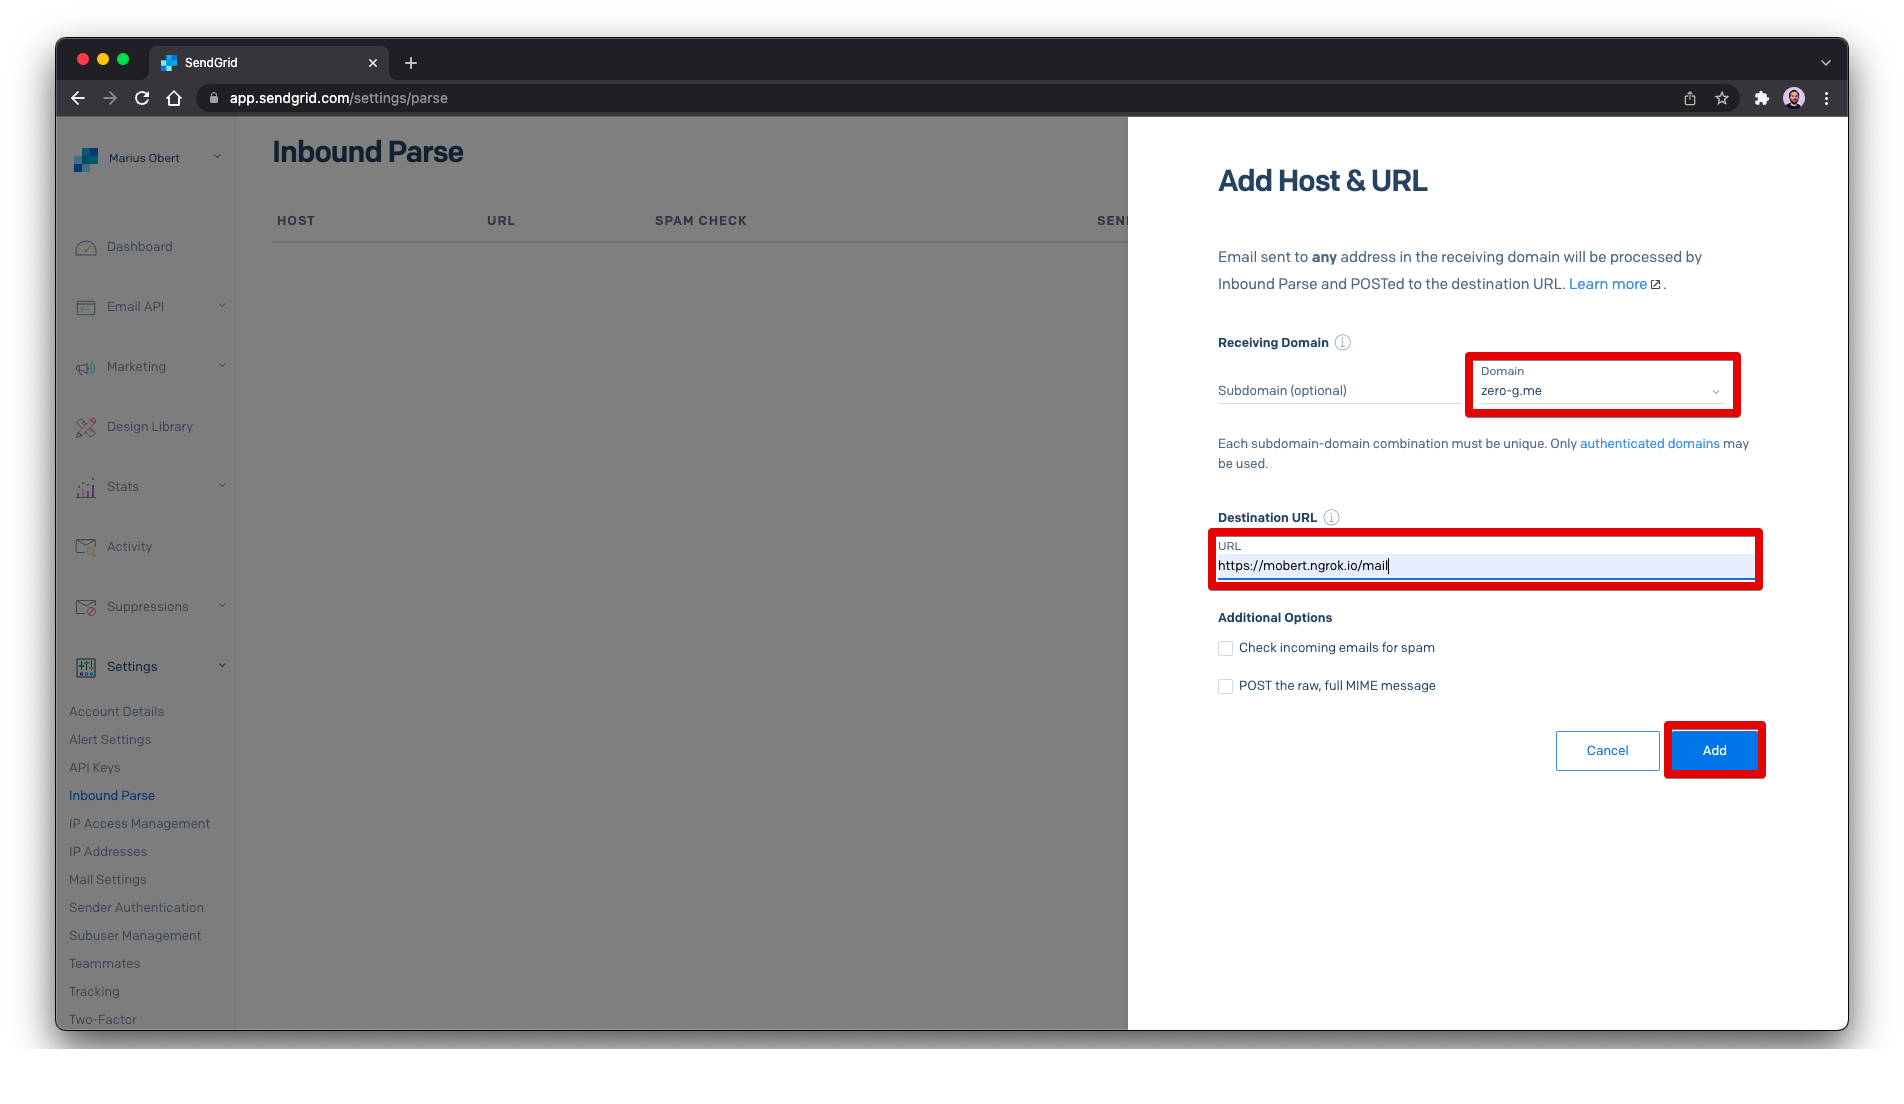 You should now see the new inbound parse in the list.
 -
Now, the server is ready to handle incoming emails. Send emails that contain a number in the message to
lottery@<YOUR DOMAIN HERE>. Note that other email addresses of the same domain will also work, but the response will be sent fromlottery@. Depending on the sending email provider, it might take a few seconds until you see the output in your console.
-
It's time to evaluate all entries and find the one with the closest estimate. For this, create a new file
findWinner.tsand import the packages you already know from the previous file.import { MailService } from "@sendgrid/mail"; import { readFileSync } from "fs"; import { email } from "datamask";
Read the solution from the
.envand all entries from the file line-by-line.const SOLUTION = +(process.env.SOLUTION || "0"); const rawEntries = readFileSync("entries.txt").toString(); const dedupedEntries: { [key: string]: Entry } = {}; rawEntries.split("\n").forEach((line) => { const emailAddress = line.split("# #")[0], estimate = +line.split("# #")[1]; if (emailAddress) { dedupedEntries[emailAddress] = { email: emailAddress, estimate: estimate, diff: Math.abs(SOLUTION - estimate), }; } }); const entries = Object.values(dedupedEntries);
-
Sort all entries based on the distance to the correct answer.
const ranking = entries
 .sort((a, b) => a.diff - b.diff)
 .map((entry, idx) => `${idx + 1}.\t${email(entry.email)}\t${entry.estimate}`)
 .join("\n");
-
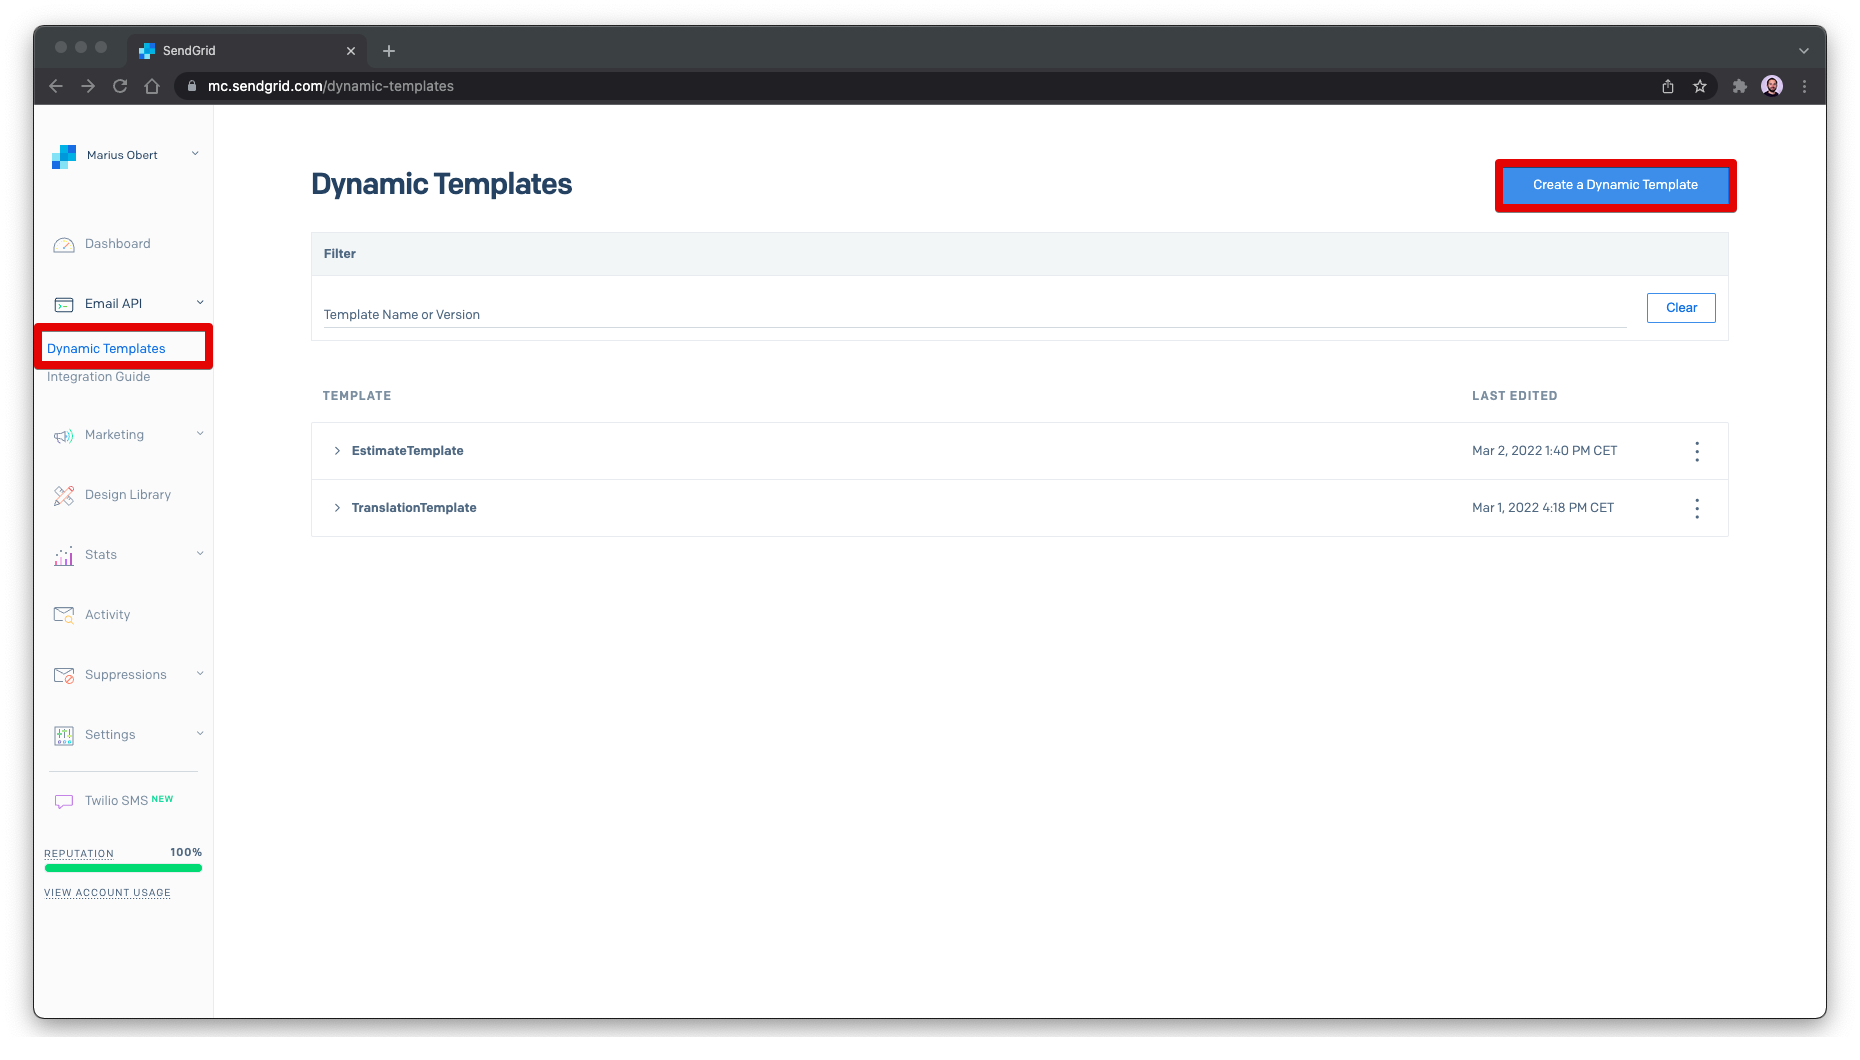
This time, we won't send a simple mail as before but use an appealing layout. The SendGrid web application can help you with its WYSIWYG editor. Select Create a Dynamic Template from the panel and provide any name.
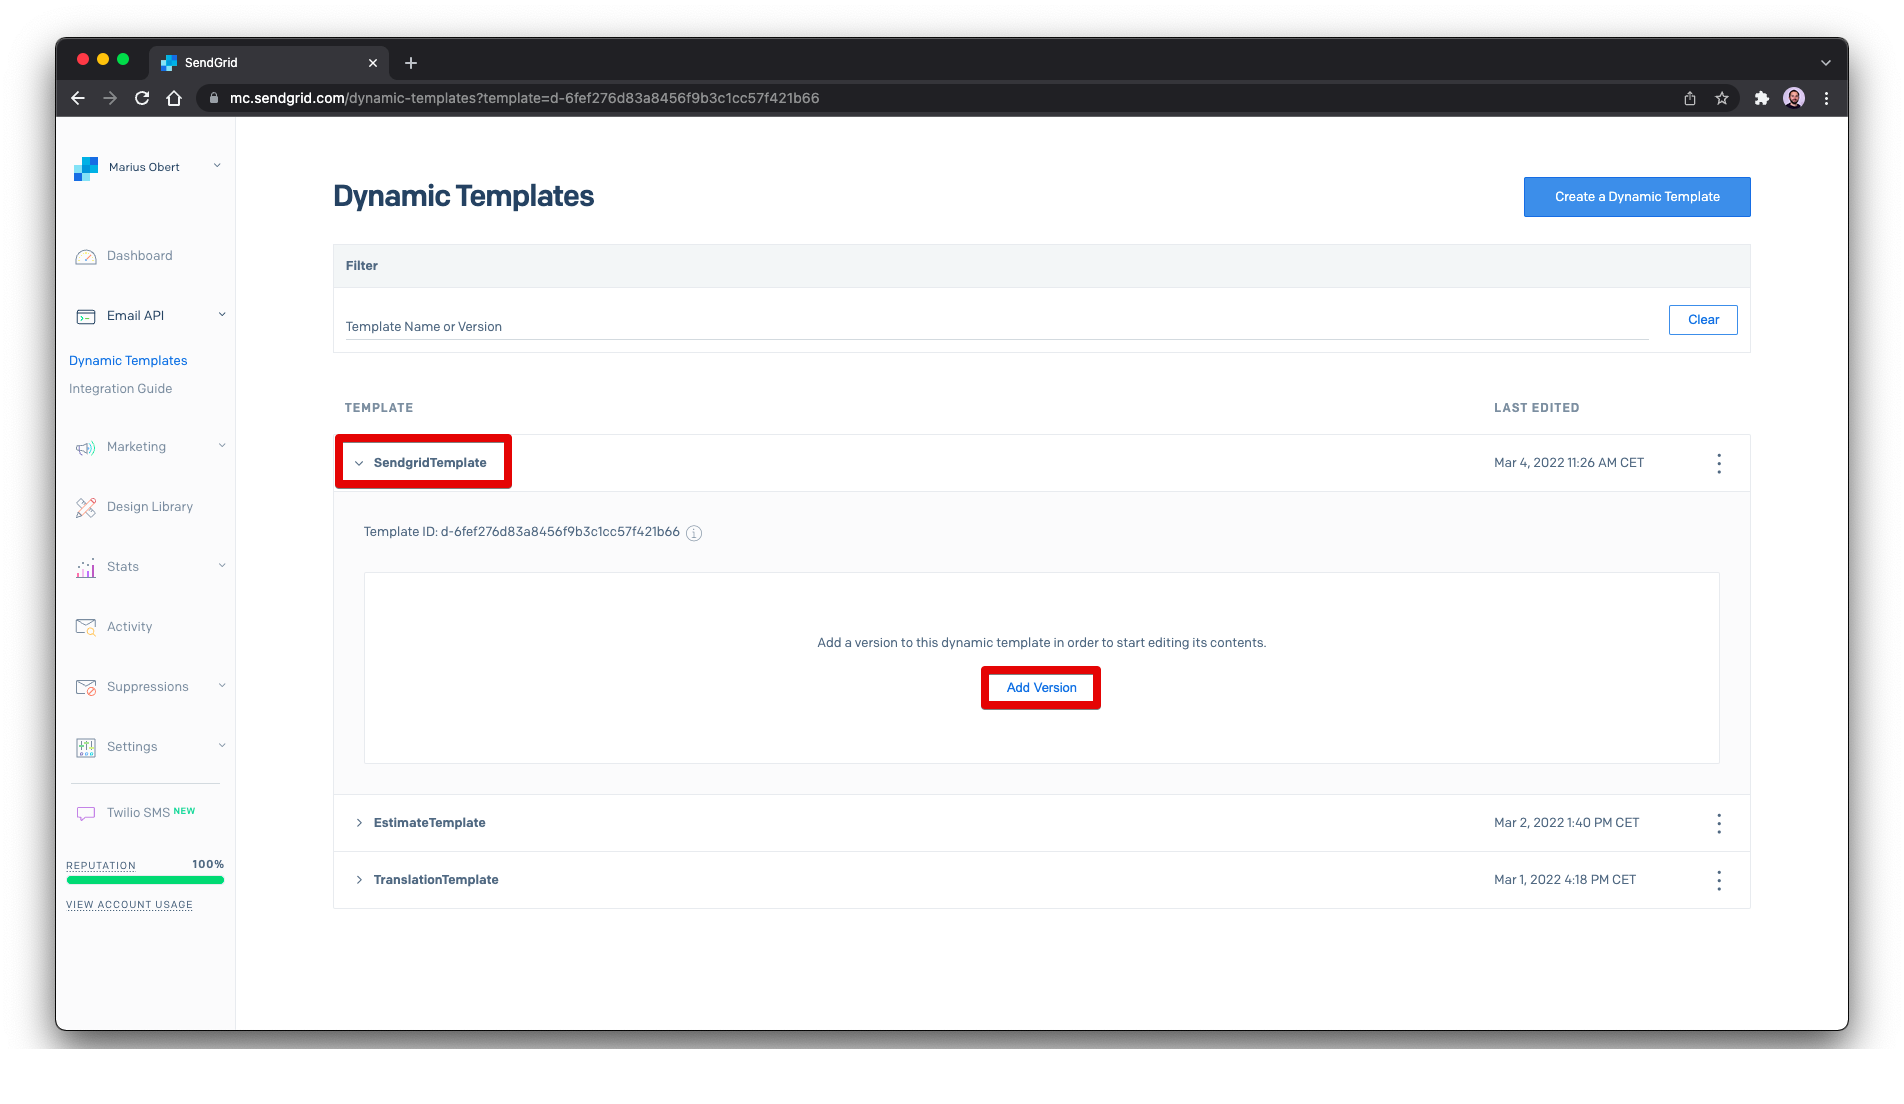
You can see the template and a template ID have been created. Use this ID in the
findWinner.tsfile before clicking Asdd Version.When prompted, select the Blank Template.
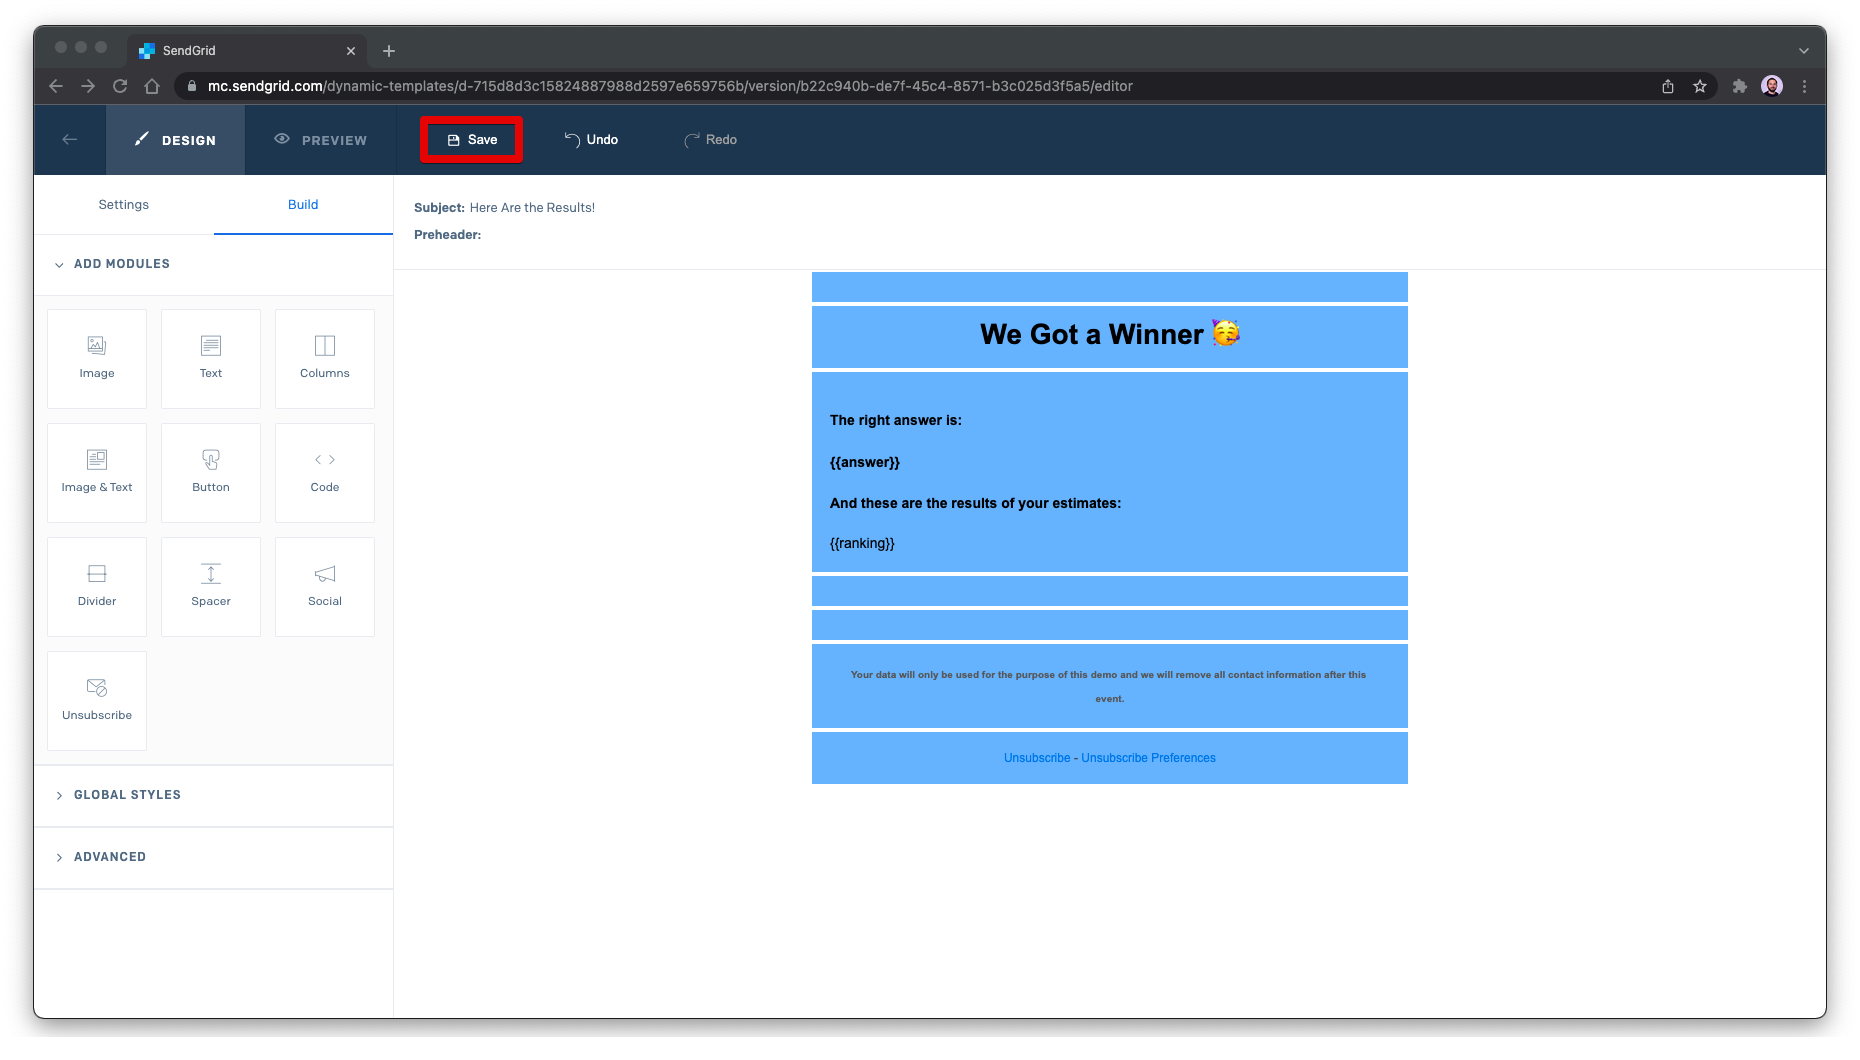
In this editor, you can design your template via drag-and-drop. Alternatively, you can use this pre-built templateDynamicTemplate.html.
-
To finish this source file, initialize the SendGrid client with the API key and send one email to each entrant containing all the estimates (while masking the original email addresses of the participants). Note that this snippet utilizes a template-id (like
d-715d8d3c15824887988d2597e659756b) that you created in the previous step.const sendgridClient = new MailService(); sendgridClient.setApiKey(process.env.SENDGRID_API_KEY || ""); entries.forEach(async (entry) => { await sendgridClient.send({ to: { email: entry.email, }, from: { email: "lottery@<YOUR DOMAIN HERE>", name: "SendGrid Demo", }, templateId: "<TEMPLATE ID>", dynamicTemplateData: { ranking, answer: SOLUTION, }, }); console.log(`Notified ${email(entry.email)}`); });
-
Run
yarn dev:findWinnerto send the email with the final results to all attendees.
