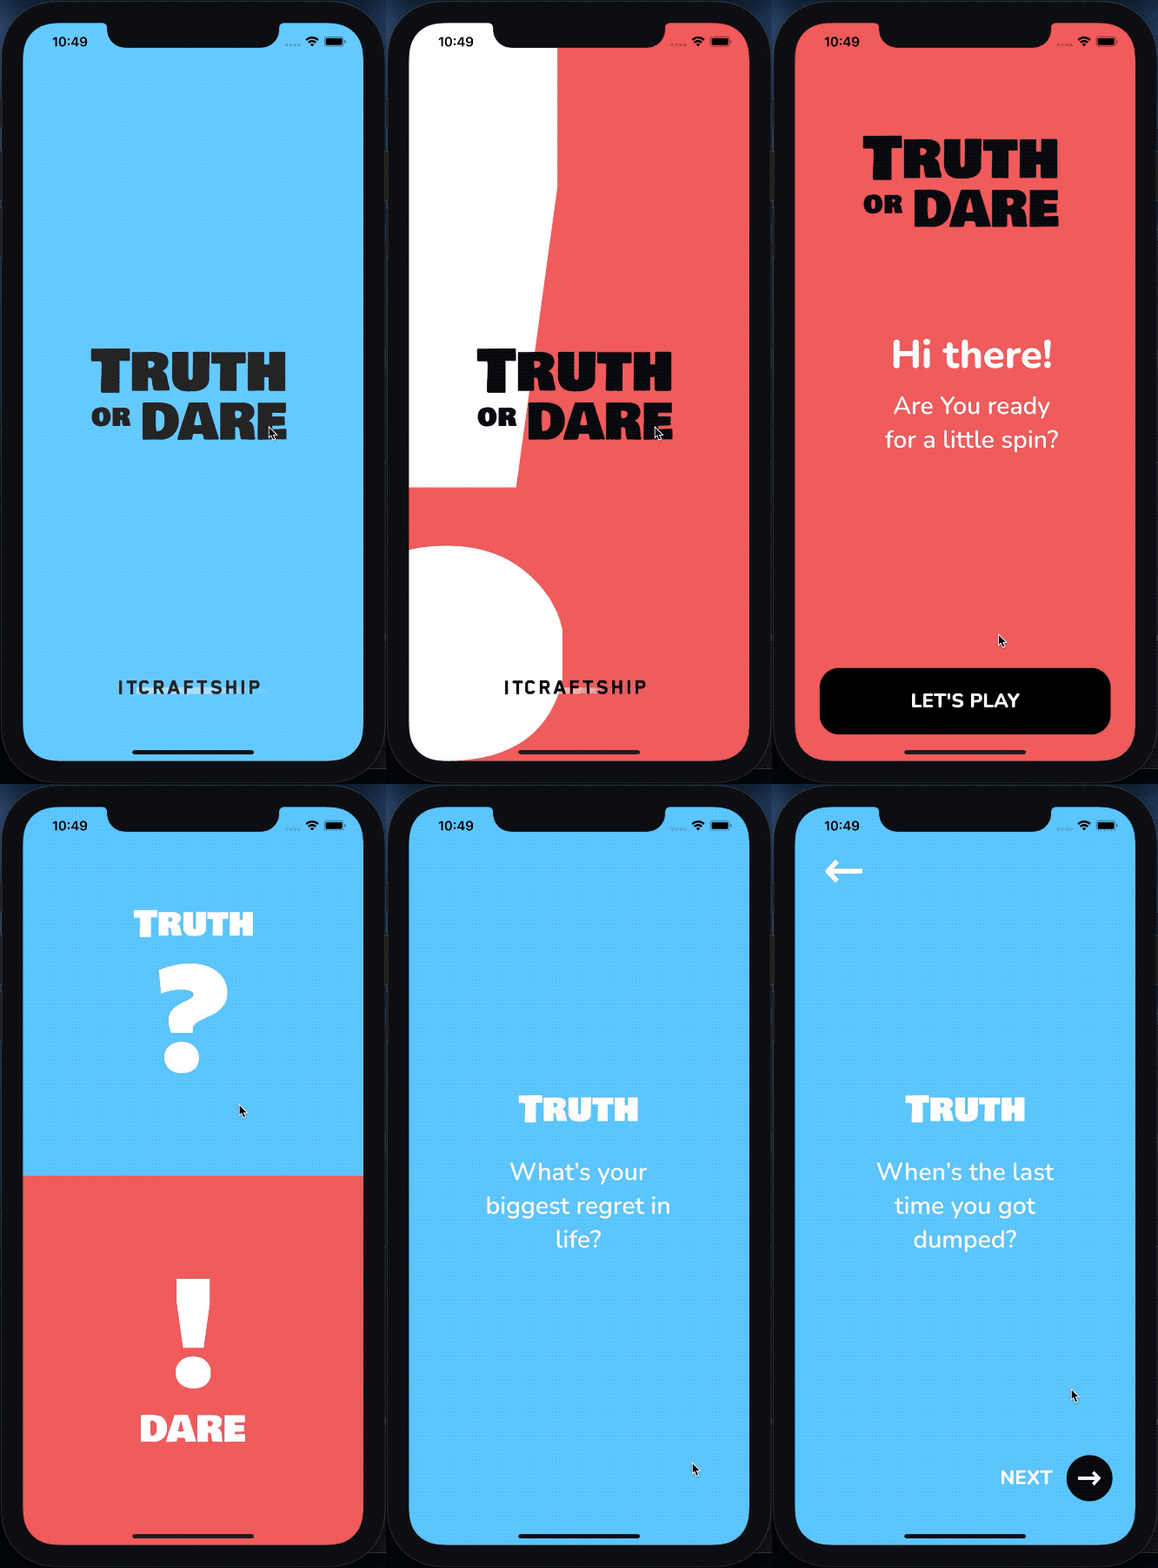
A mobile Truth or Dare game for iOS and Android application built using Flutter with CI/CD running on Codemagic.
- Install Ruby Version Manager – not required, but recommended (see below for details)
- Install flutter and dependencies, including:
- Xcode
- Cocoapods (when you chose to use RVM, then make sure to install Cocoapods again for the current ruby environment – i.e.
Ruby 2.4.1)
- Install dart
- MAC OS (assumes you have Homebrew)
brew tap dart-lang/dart
brew install dart
You'll need a ruby environment. It's recommended to use RVM.
- On a Mac you'll need to install GPG first, ex: https://gpgtools.org or better use ``
- Then install RVM by running:
gpg2 --recv-keys 409B6B1796C275462A1703113804BB82D39DC0E3 7D2BAF1CF37B13E2069D6956105BD0E739499BDB && \
curl -sSL https://get.rvm.io | bash -s stable
if you're getting a "no route to host" error instead run this:
gpg --keyserver hkp://51.38.91.189 --recv-keys 409B6B1796C275462A1703113804BB82D39DC0E3 7D2BAF1CF37B13E2069D6956105BD0E739499BDB
\curl -sSL https://get.rvm.io | bash -s stable
- If you just installed RVM, then install Ruby as well:
rvm install 2.4.1
The ruby version is specificed in .ruby-version file.
After you have Ruby installed using RVM, you can run:
bundle install
TODO: add windows instructions (contributions welcome)
You need to add the following environmental variables in your .zshrc or .bash_profile (or similar for your shell):
export TOD_APPLE_ID=[your apple id]
export TOD_APP_SPECIFIC_PASSWORD=[your app specific password for CI/CD]
export TOD_MATCH_REPO=git@github.com:your-org/your-repository.git
export TOD_MATCH_PASSPHRASE=[the password to encrypt/decrypt your match repository]
Remember to run this after setting these variables for your current terminal instance (needed only once during setup):
source ~/.zshrcFirstly create you app and bundle ID at https://developer.apple.com and use the values later on.
Replace the com.itcraftship.truth-or-dare bundle ID and Apple Team ID in all relevant places:
fastlane/Matchfilefastlane/Fastfilefastlane/Appfileios/Runner.xcodeproj/project.pbxproj
Change your Apple Team ID (team_id) in fastlane/Appfile.
On your macOS device run:
bundle exec fastlane setup_keychainThis will create a new keychain to use for code signing. The password used for the keychain is secretPass. You don't need to worry about making it secure as it will be only on your local machine.
First you need to create an SSH key for accessing your git repository with certificates for Fastlane Match to be able to clone it during the Fastlane build action. To encrypt the certificates repository you should use the value stored in TOD_MATCH_PASSPHRASE environment variable.
To create the certificates & provisioning profiles in your Apple Developer Account you'll need to run these 3 commands:
MATCH_PASSWORD=$TOD_MATCH_PASSPHRASE bundle exec fastlane match adhoc
MATCH_PASSWORD=$TOD_MATCH_PASSPHRASE bundle exec fastlane match development
MATCH_PASSWORD=$TOD_MATCH_PASSPHRASE bundle exec fastlane match appstore
When prompted for passwords/apple ID use the values that you configured in the environment above.
Now you should be all set to deliver your app to TestFlight
sh ci/build_ios_qa.sh
Visit the Google Play Console and create your new application. Make sure you opt-in for Google CodeSigning in Setup > App signing submenu item.
- Use the following command to initiate keytore and certificate generation:
keytool -genkey -v -keystore itc-release.keystore -keyalg RSA -keysize 2048 -validity 10000 -alias itc - Backup your
itc-release.keystorefile and store passwords safely. If you loose this, then there's a painful process that includes contacting Google's support (see: Create a new upload key).
You can call the keystore whatever you like instead of itc-release.keystore, but you'll have to use that new name across all other placess, .i.e.:
android/key.propertiescodemagic.yaml
Create a android/key.properties file with the keystore file name password set in the previous step:
storePassword=thePasswordFromBefore
keyPassword=thePasswordFromBefore
keyAlias=itc
storeFile=../../itc-release.keystore
As Google Play account owner follow these instructions to generate the JSON key for API upload to Google Play: https://developers.google.com/android-publisher/getting_started
Add this google_play.json file to the root of your project. This will allow uploading to the Google Play store.
Run:
sh sh ci/build_android_qa.shPlease take a look at the detailed tutorial to learn how to fork this app and set it up for release in Apple AppStore and Google Play using Fastlane and Codemagic.
Released under MIT License. See LICENSE for more info.


