Calculate HDR image using multi-exposure images.
We implemented Image Alignment using MTB, Solve Response Curve, Radiance Map and Tone Mapping.
NTUST CGLab M11015117 湯濬澤
NTUST CGLab M11015029 張立彥
我們自己的圖片  ./SourceCode/HighDynamicRange-Imaging/our_imgs
HDR 成果    ./SourceCode/HighDynamicRange-Imaging/results
執行檔  ./SourceCode/HighDynamicRange-Imaging/main.exe
Python 3.8
    opencv-python
    Pillow
    numpy
    tqdm
    exifread
    matplotlib
    ...
conda create --name VFX python=3.8
conda activate VFX
pip install -r requirements.txt
-i --input_dir INPUT_DIR
-a --align_img True / False
-p --plot True / False
-s --sample_method uniform / random
-k --key [0 ~ 1]
python main.py -i INPUT_DIR -a ALIGN_IMG_OR_NOT -s SAMPLE_METHOD
或是透過 CMD 執行 main.exe
整體架構由 main.py 作為主要程式執行的區塊,而依據不同功能切割成 hdr_utils.py、img_alignment.py、ToneMapping.py 三個檔案。
程式執行首先會透過 argparse 取出我們所需要的參數,如圖片資料夾、是否對齊圖片、採樣方式等。
def get_parser():
    parser = argparse.ArgumentParser(description='my description')
    parser.add_argument('-i', '--input_dir', default='./data/imgs', type=str, help='Folder of input images.')
    parser.add_argument('-a', '--align_img', default='True', type=str, help='Whether to align img or not.')
    parser.add_argument('-p', '--plot', default='True', type=str, help='Whether to plot result or not.')
    parser.add_argument('-s', '--sample_method', default='uniform', type=str, help='The way to sample points [uniform / random]')
    parser.add_argument('-k', '--scene_key', default='0.3', type=str, help='How light or dark the scene is. [0.0, 1.0]')
return parser接下來如有圖片對齊,則先將所有圖片做 MTB,MTB 算法是將圖片轉成灰階後,對灰階值做排序,找到中值代表的顏色後,針對那個顏色對圖片做二值化,同時針對在 Threashold +- 10 的像素產生 Mask。
以九宮格為移動方式
| -1, -1 | 0, -1 | 1, -1 |
|---|---|---|
| -1, 0 | 0, 0 | 1, 0 |
| -1, 1 | 0, 1 | 1, 1 |
將 MTB 圖片移動,對移動後的圖片做 a_img Xor b_img and mask,並取 sum(),找到 sum 最小的位置,將圖片移動。移動後,則將圖片解析度 ×2,重複以上動作直到回到圖片原始解析度大小。最終會得到圖片位移的 Offset,並依據這 Offset 做裁切。
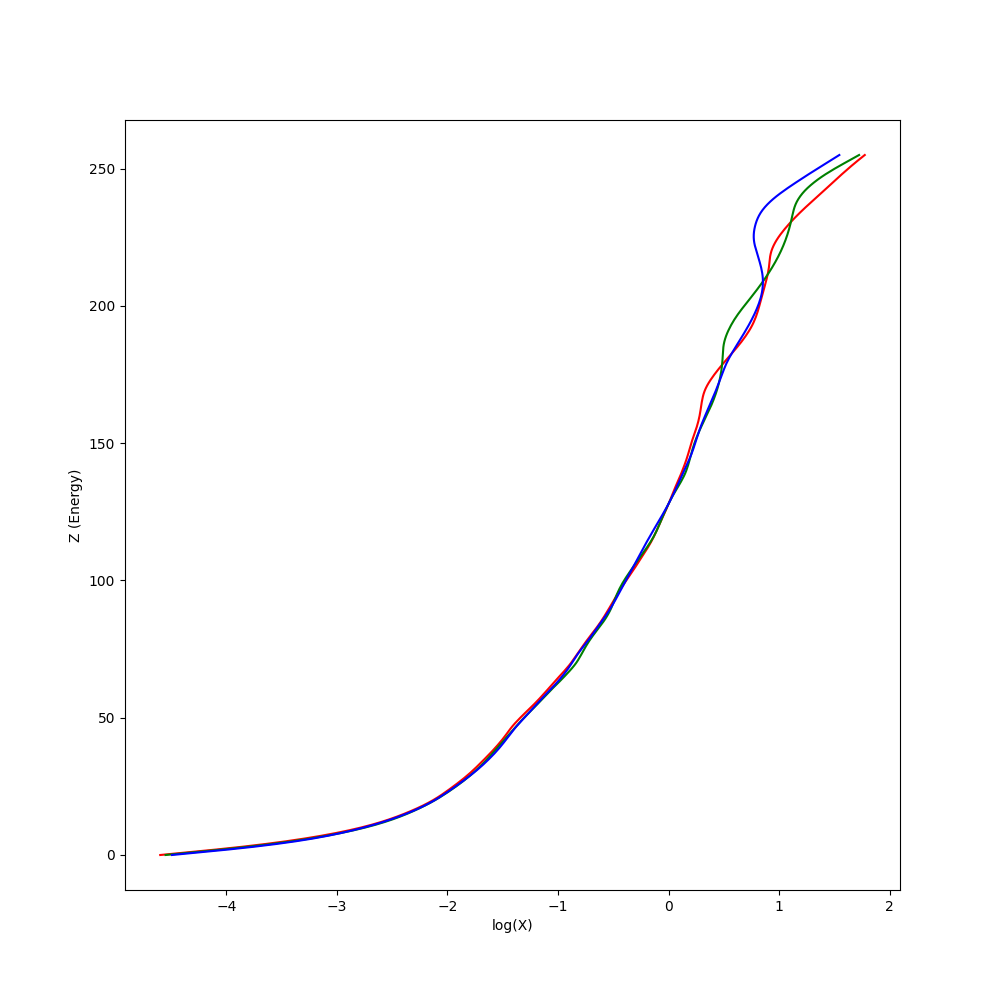
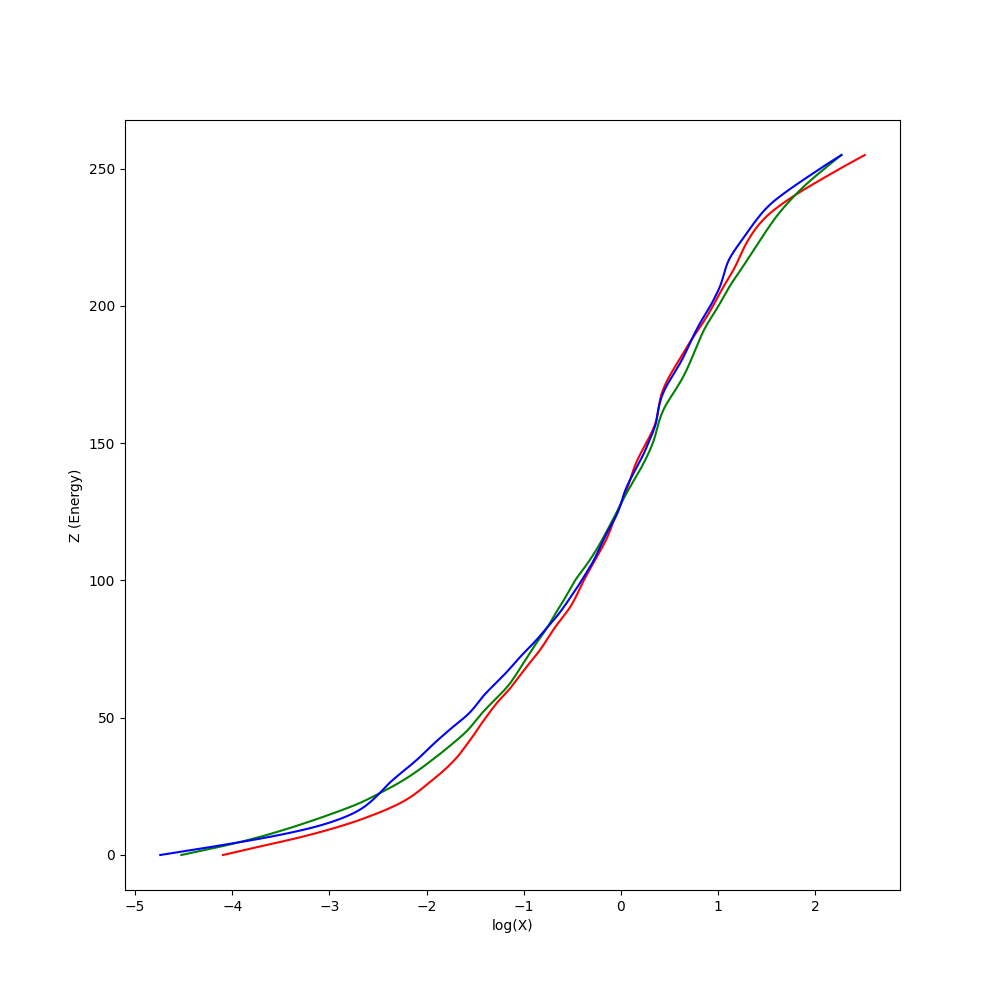
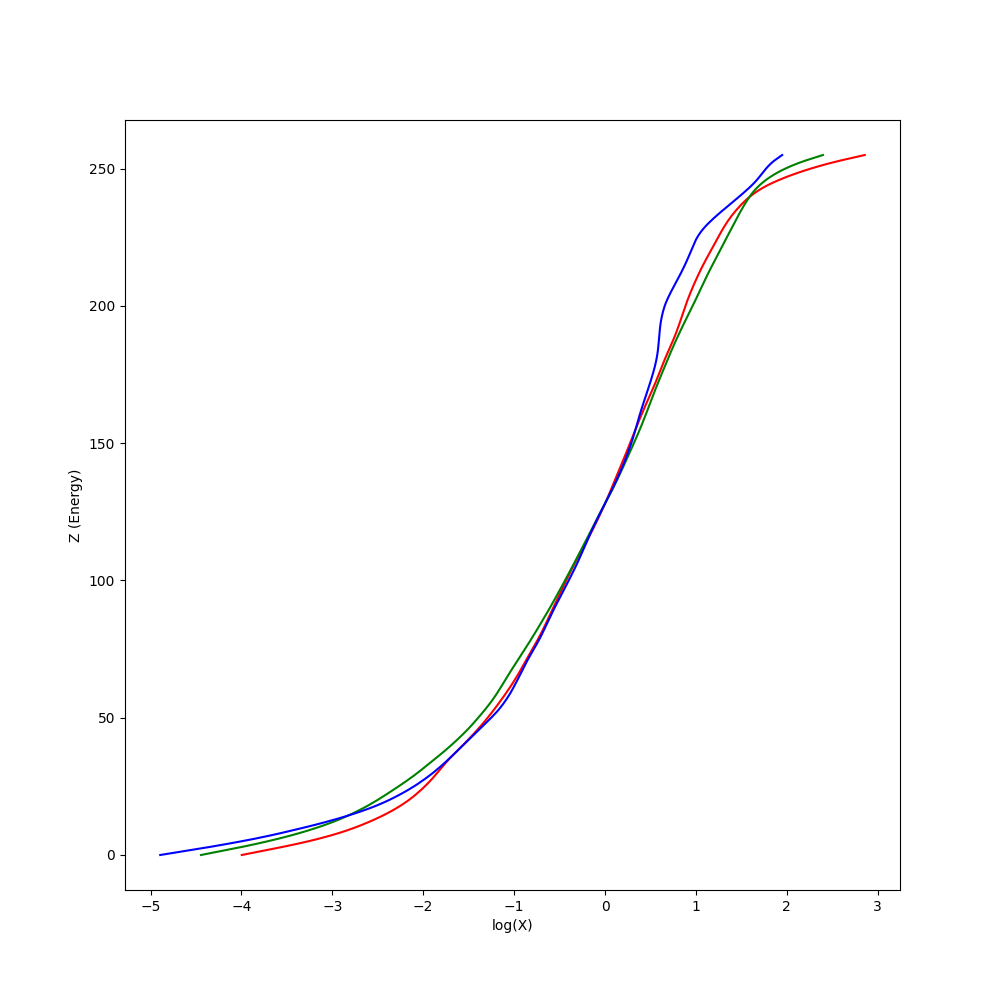
由於解 Response Curve 需要曝光時間作為參數,因此我們透過套件將圖片的 Exif 資訊讀入,可以拿到曝光時間。對其取
x = np.linalg.lstsq(A, b, rcond=None)[0]Sample 點部分有試過 Random 100 個點,以及將圖片縮到 10X10 去解,有發現縮到 10X10 的效果比較好。
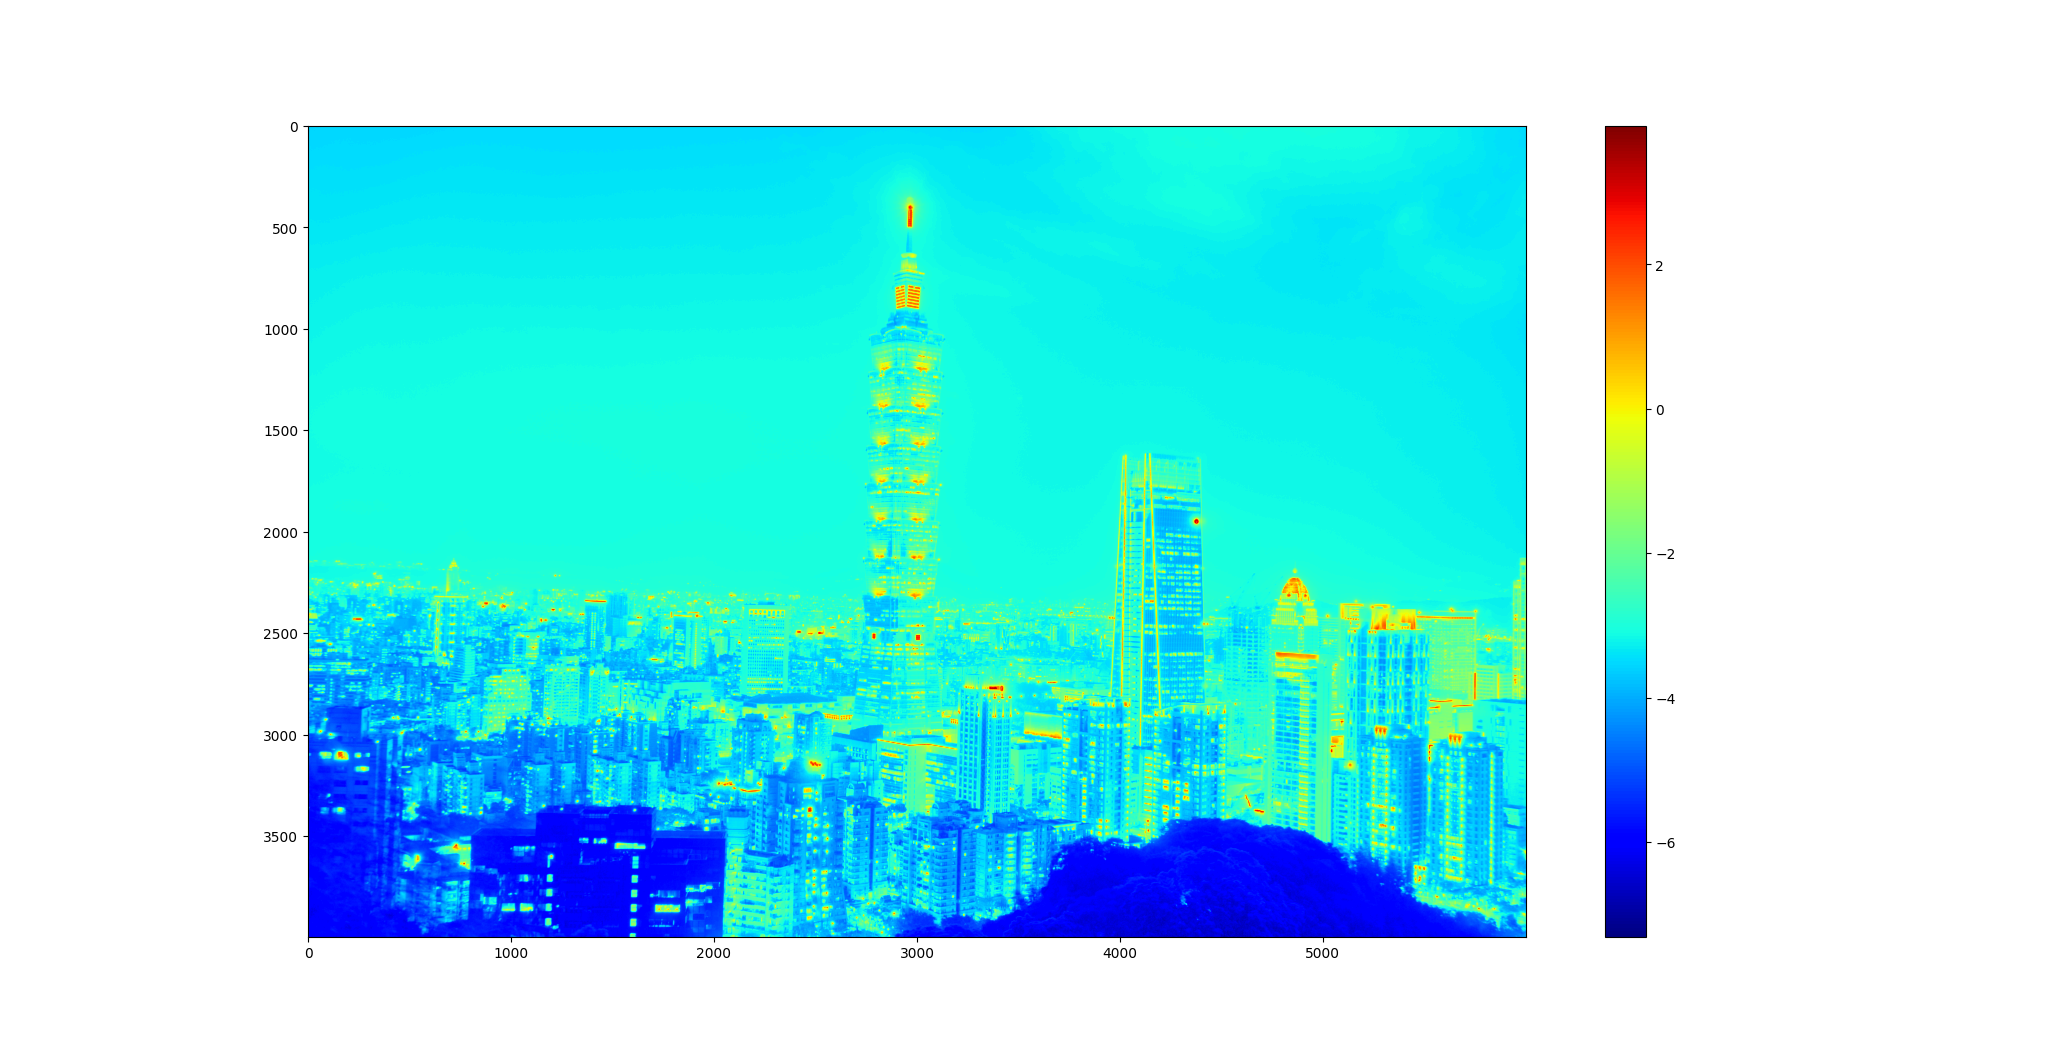
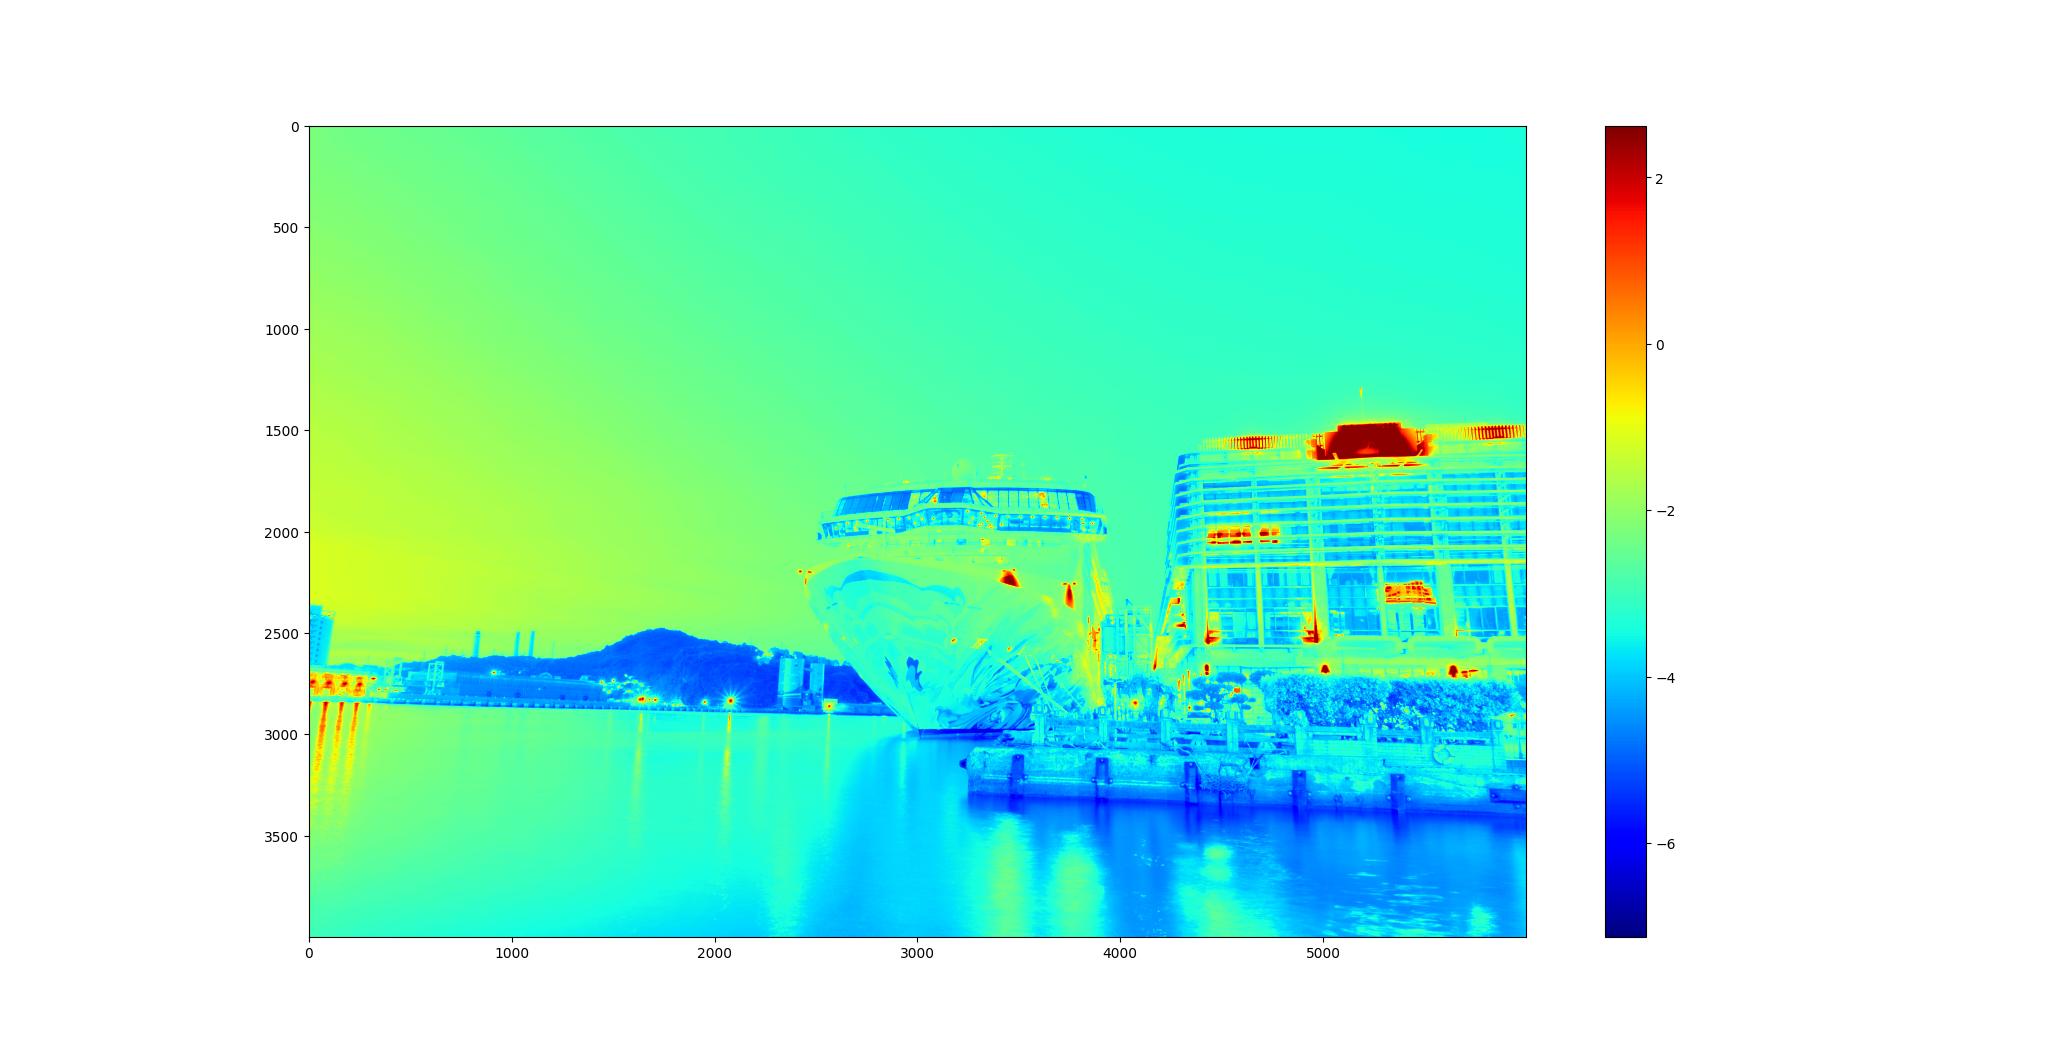
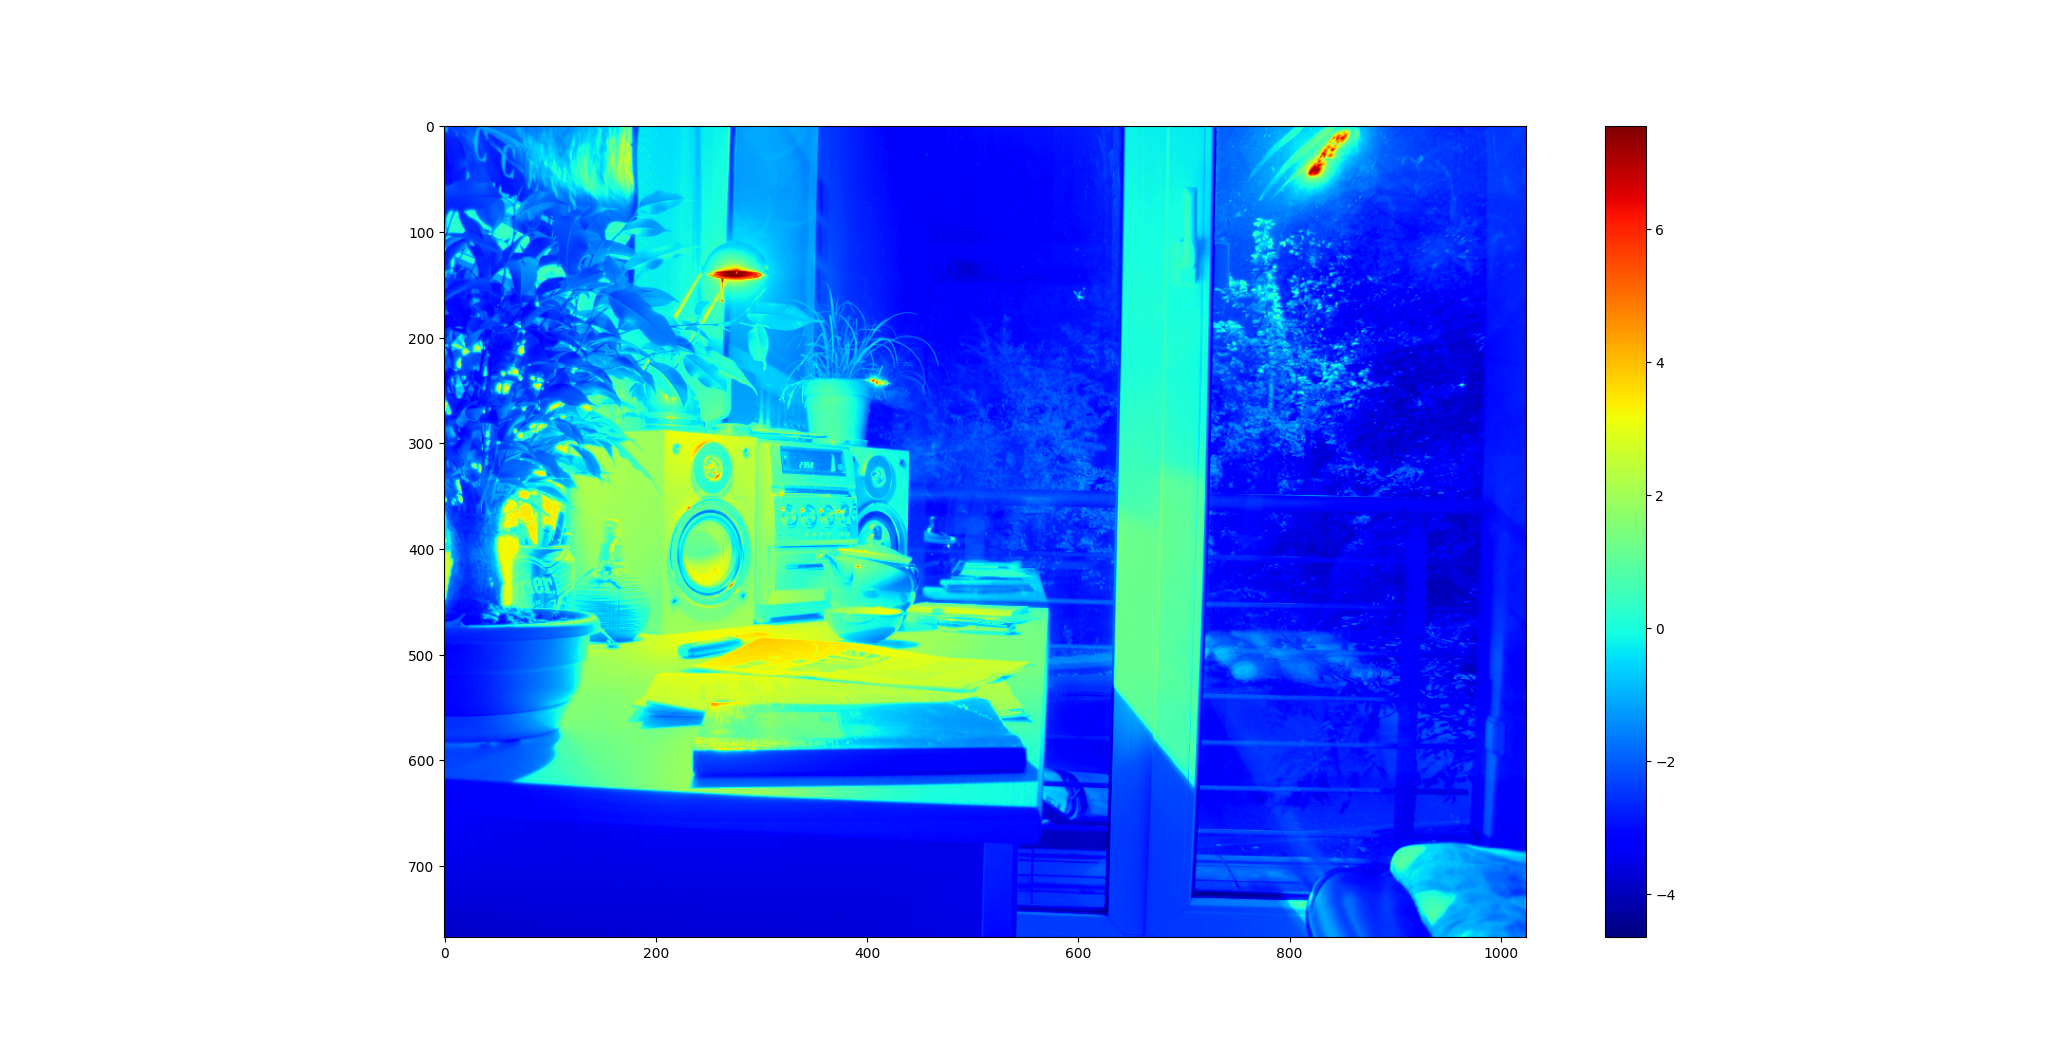
Radiance Map 做法其實不難,照著公式實做就好,這邊遇到比較麻煩的問題是運算時間太久。一張 2400 萬畫素的圖片需要處理個 40 分鐘,因此後來將程式用 numpy 改寫,速度可以快到 40 秒內。
其中 g 函式即為剛剛求得的 Response Curve。
我們使用的Tone mapping演算法是Reinhard的版本。 基本上按照公式實作Global operator的部分:
-
首先計算整個場景的平均illuminance
$ \bar{L}w = \exp\begin{pmatrix}\frac{1}{N}\sum{x,y}log(\delta + L_w(x,y))\end{pmatrix}$
-
接著根據給定的key調整整個場景的亮度
$ L_m(x,y) = \frac{a}{\bar{L}_w} L_w(x,y)$
-
計算最後的結果,並將最亮的0.1% radiance mapping到1
$ L_d(x,y) = \frac{L_m(x,y)\begin{pmatrix}1+\frac{L_m(x,y)}{L_{white}^2(x,y)}\end{pmatrix}}{1+L_m(x,y)} $
其中
$L_{white}^2(x,y)$ 表示多少的radiance以上會被mapping到1 -
最後將結果從 [0, 1] mapping到可以顯示的RGB範圍 [0, 255]
result[:, :, 0] = np.minimum(Ld * radianceMap[:, :, 0] / Lw * 255, 255)
result[:, :, 1] = np.minimum(Ld * radianceMap[:, :, 1] / Lw * 255, 255)
result[:, :, 2] = np.minimum(Ld * radianceMap[:, :, 2] / Lw * 255, 255)
這份作業運用了許多生成照片背後的原理,從中學習到了包含相機的pipeline、利用多張曝光照片估算HDR的技術,以及用來生成不同影像效果的Tonemapping演算法。
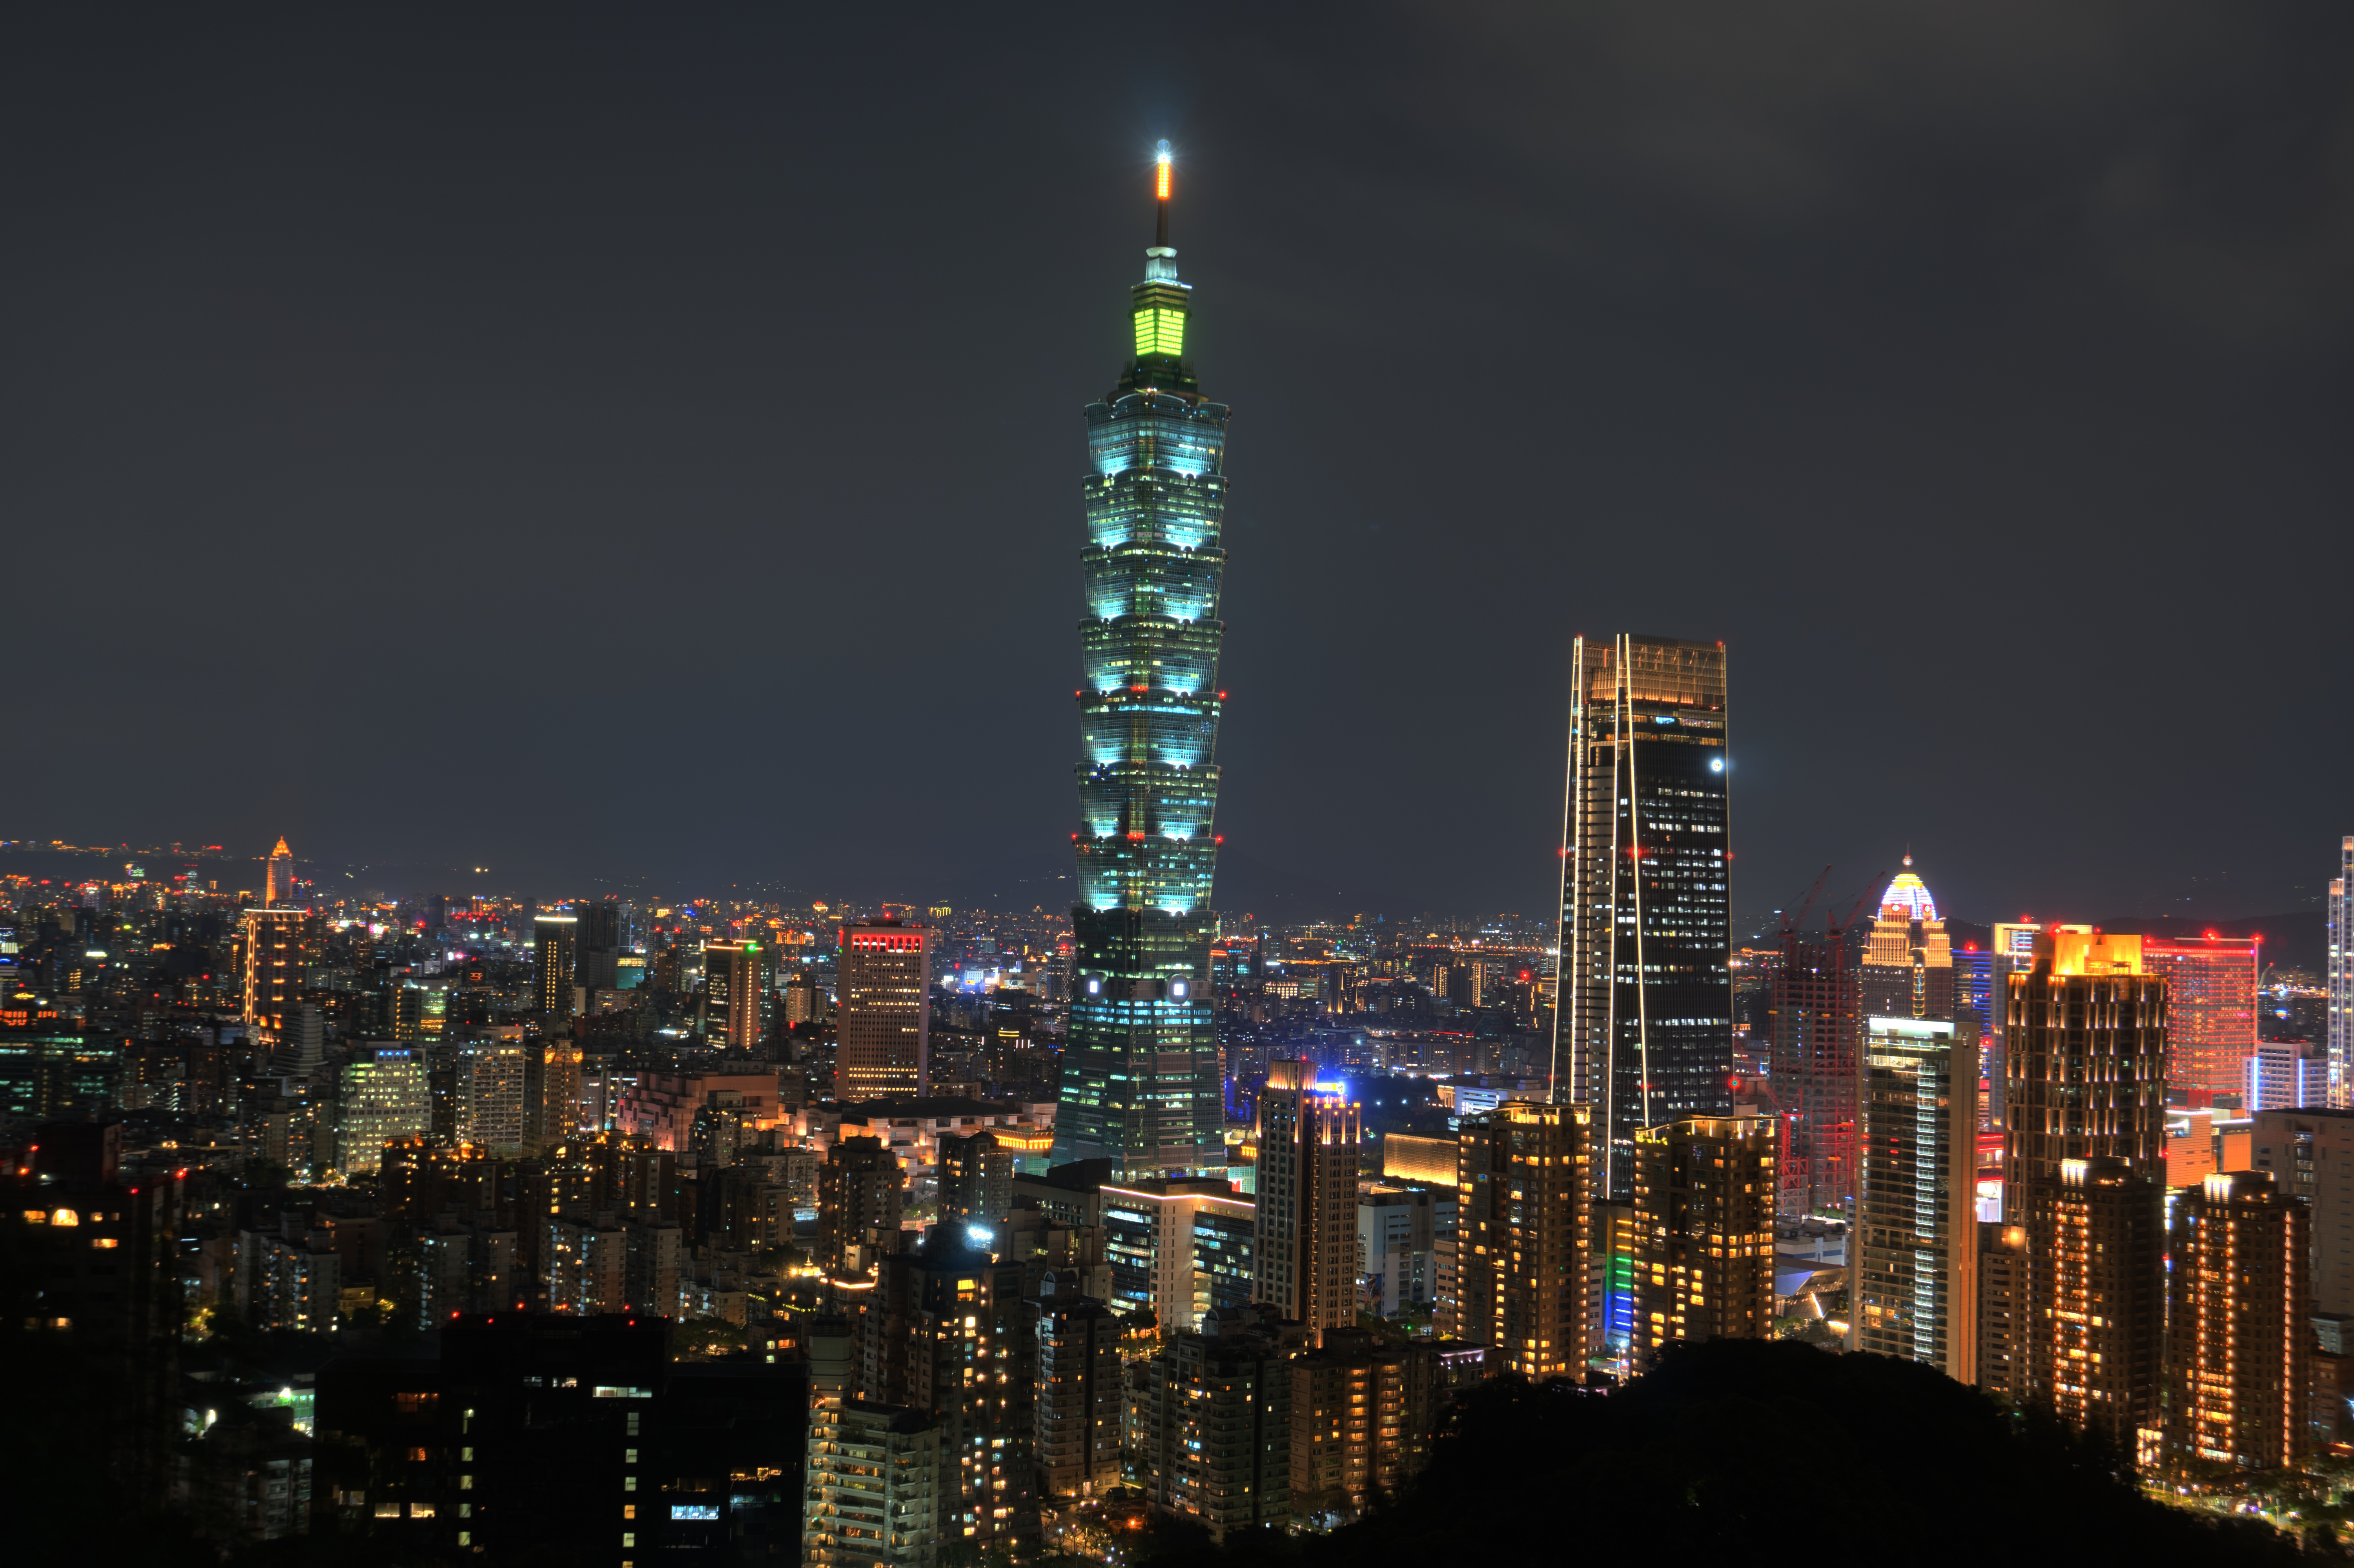
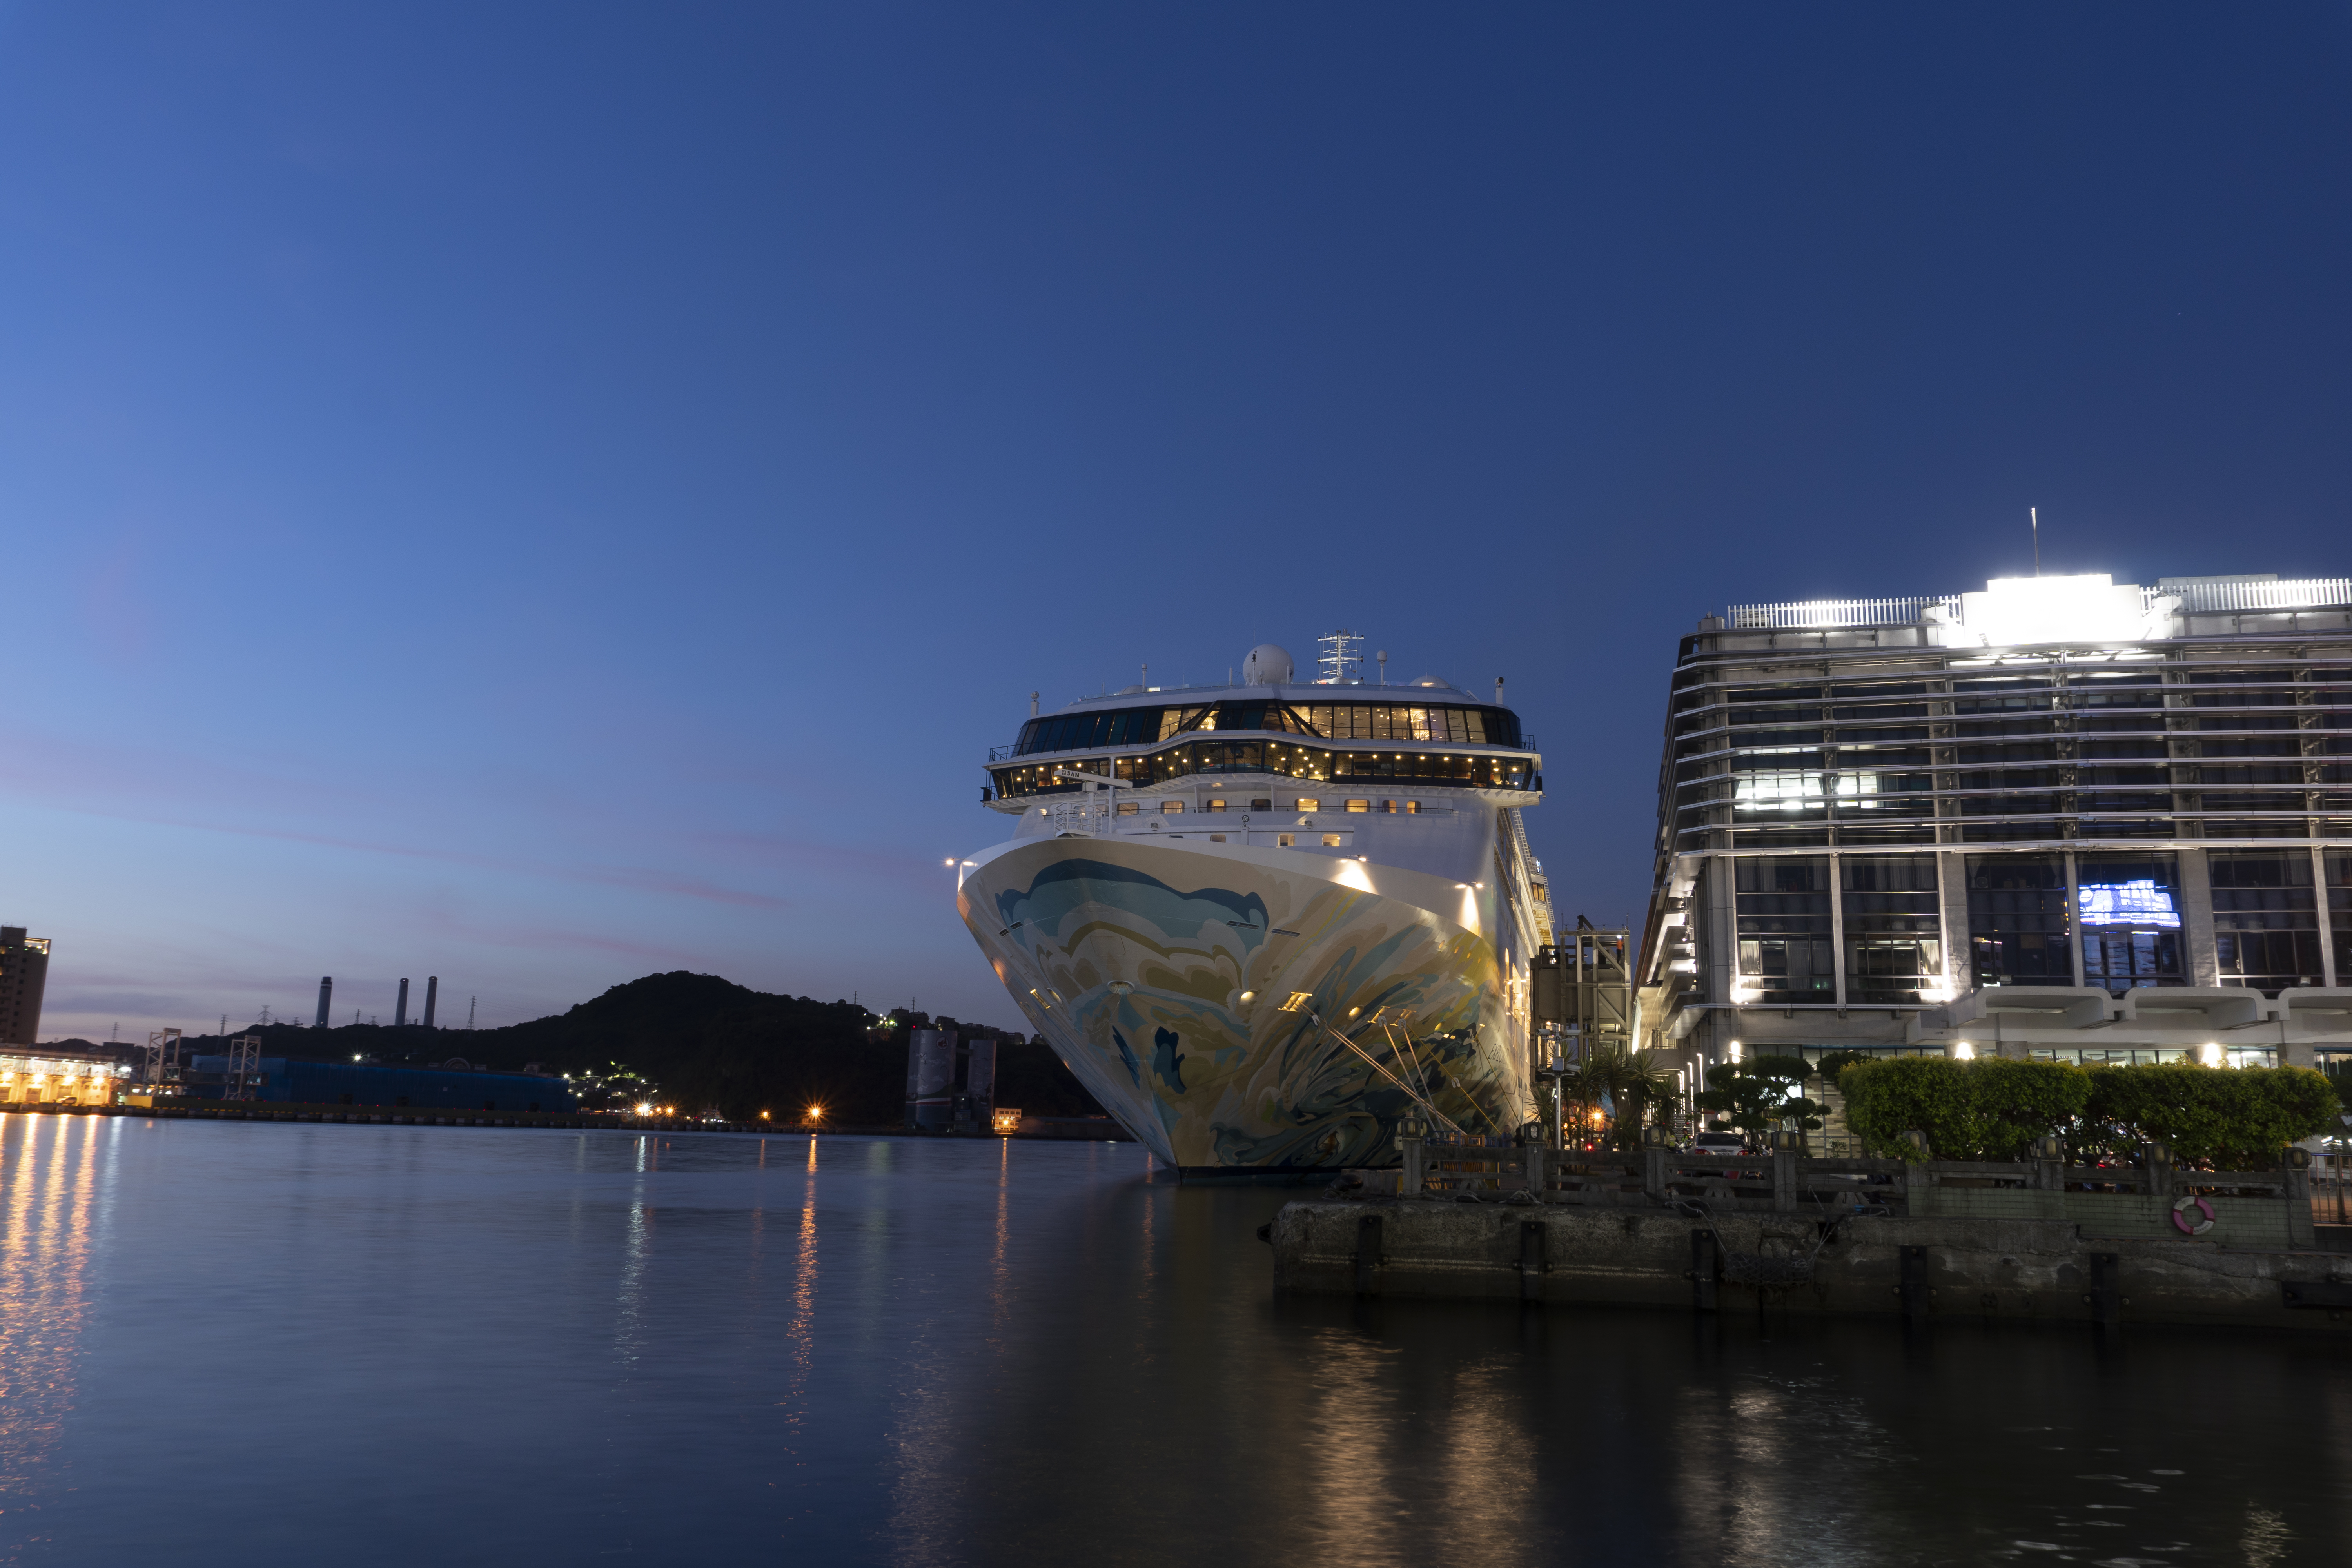
我們也實際走訪了城市,並使用實作好的程式生成了屬於自己的HDR照片,透過參數的fine tune,觀察同樣的圖片下生成的不同效果。
此外為了加速程式的運算效率,我們也研究了numpy的使用方式,避免使用多個巢狀for迴圈,因而造成計算時間過長。加速後效果也確實令人滿意。
