Download the latest release here
(~/Public/porezi)$ python3 -m venv autotax
(~/Public/porezi)$ ./autotax/bin/activate
(~/Public/porezi)$ (autotax) pip install autotax-0.0.3-py3-none-any.whl$ autotax --help
Usage: autotax [OPTIONS]
Options:
--first-name TEXT [required]
--last-name TEXT [required]
--oib TEXT [required]
--date [%Y-%m-%d|%Y-%m-%dT%H:%M:%S|%Y-%m-%d %H:%M:%S]
[required]
--town TEXT [required]
--street-name TEXT [required]
--street-number INTEGER [required]
--email-address TEXT [required]
--gsu-price-raw TEXT [required]
--gsu-amount INTEGER [required]
--install-completion [bash|zsh|fish|powershell|pwsh]
Install completion for the specified shell.
--show-completion [bash|zsh|fish|powershell|pwsh]
Show completion for the specified shell, to
copy it or customize the installation.
--help Show this message and exit.Due to the bizarre constraints by Porezna Uprava RH, it's only possible to upload the generated .xml in Windows. This tutorial shows you how to use QEMU for virtualizing windows for tax purposes.
Linux
$ # Make a directory in the Public directory (important)
$ mkdir ~/Public/porezi && pushd ~/Public/porezi
$
$ # Install the Samba file sharing protocol
$ pacman -Syu samba$ yay -Sy quickemu$ quickget windows 11 # or some other supported Windows versionNOTE: This will populate your working directory. Be careful where you run this command. It's best to be inside ~/Public/porezi directory.
To run QEMU, run:
$ quickemu --vm windows-11.confThis command outputs some stuff. Take note of this line, we'll be needing it later:
...
 - smbd:     On guest: smb://10.0.2.4/qemu
...
Just install Windows like you would on a real computer, by picking the keyboard, accepting the EULA etc.
Your default user will be Quickemu and default password quickemu.
TODO: image
By Host OS I mean your Linux OS. We'll be exposing the ~/Public directory of your host by exporting it as a network location to Windows.
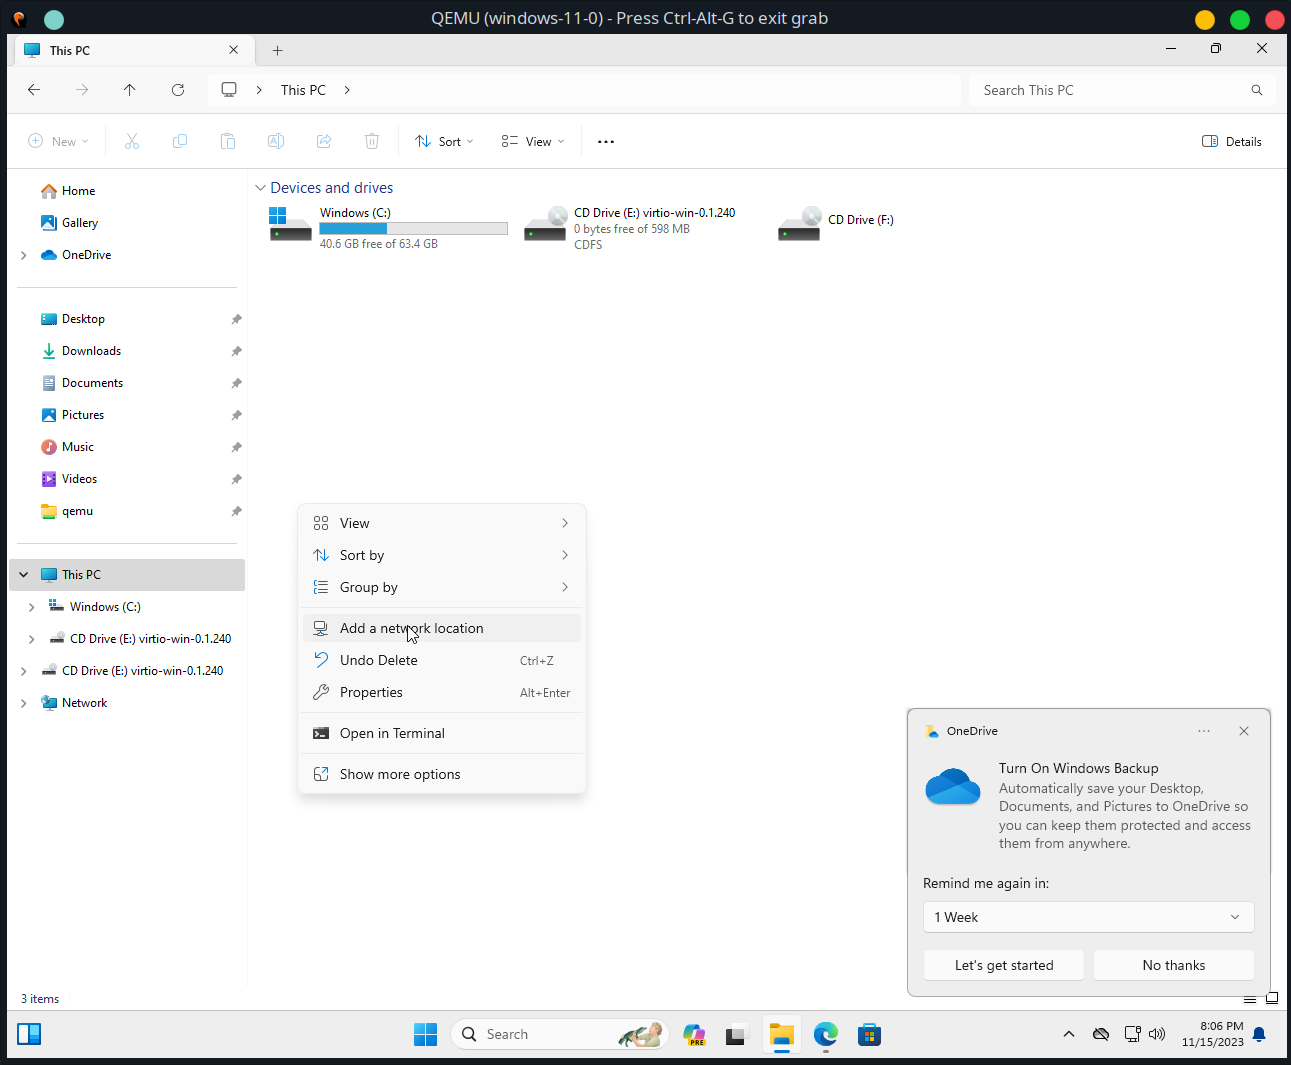
Open up Windows explorer, go to This PC and <Right Click> -> Add a network location.
Click Next
Click Next again.
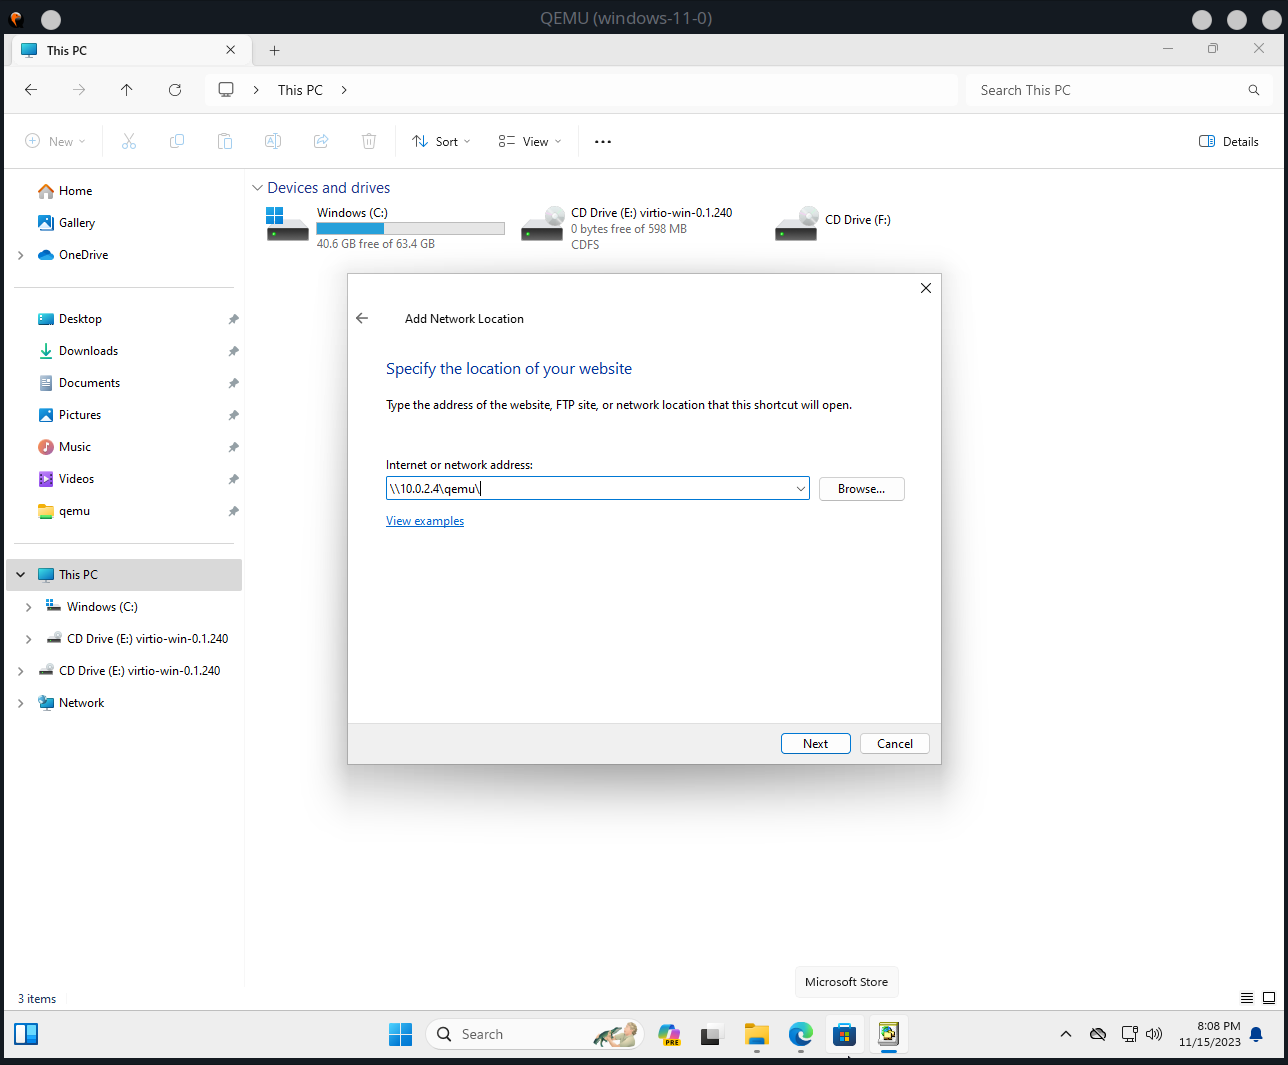
Write the IP address above, but with slashes substituted with backslashes, like this:
Press OK.
You can now visit your ~/Public/porezi folder in Windows! If you put your generated XML files here, you can upload them to e-porezna directly.
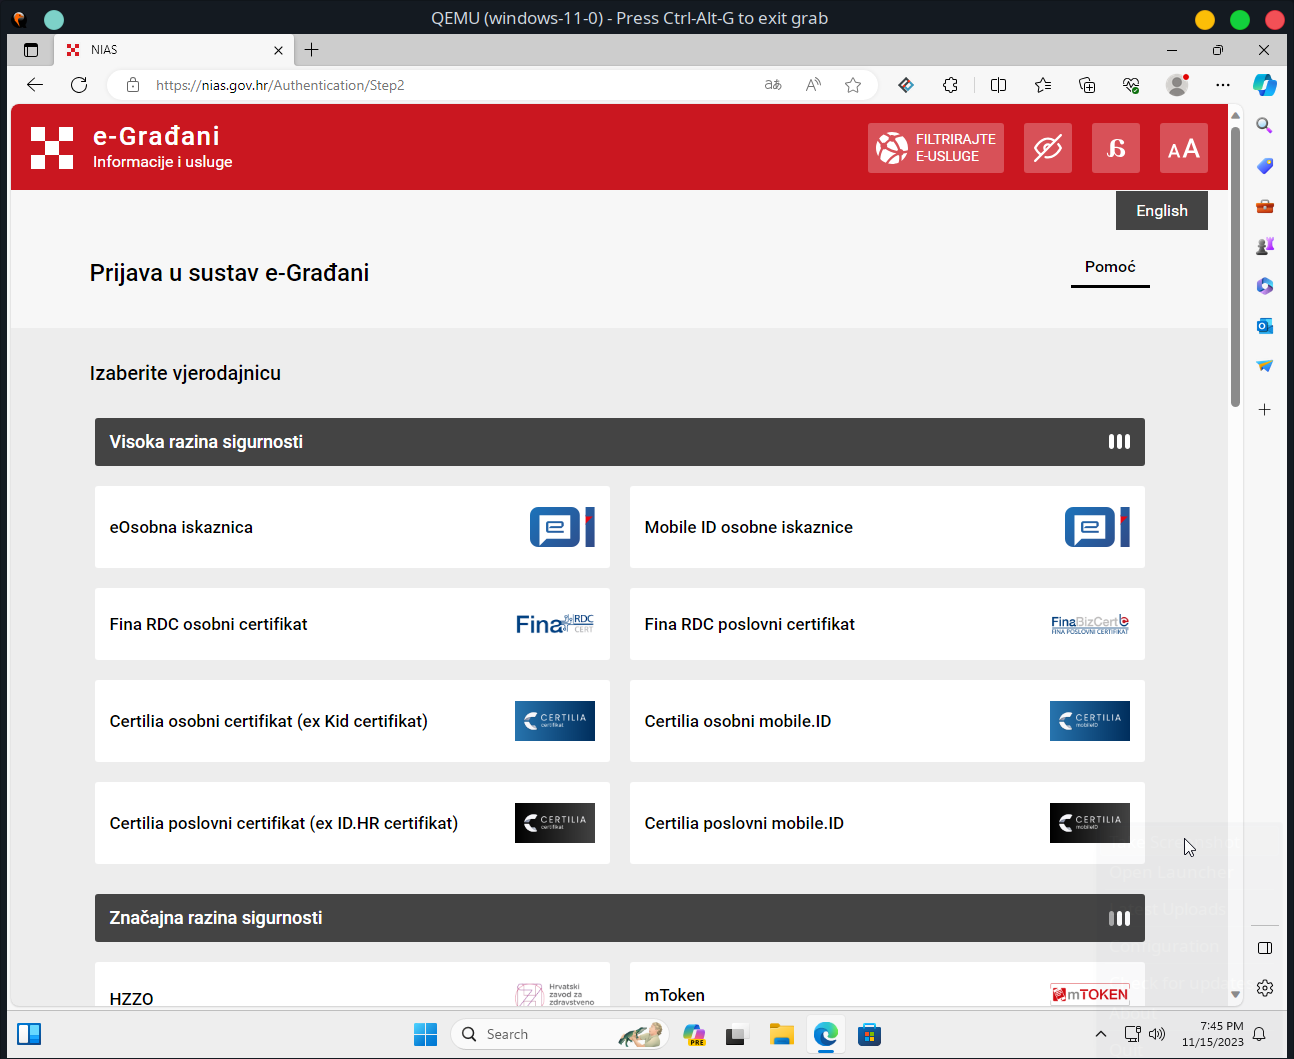
Login to https://e-porezna.porezna-uprava.hr using your favourite authentication method.
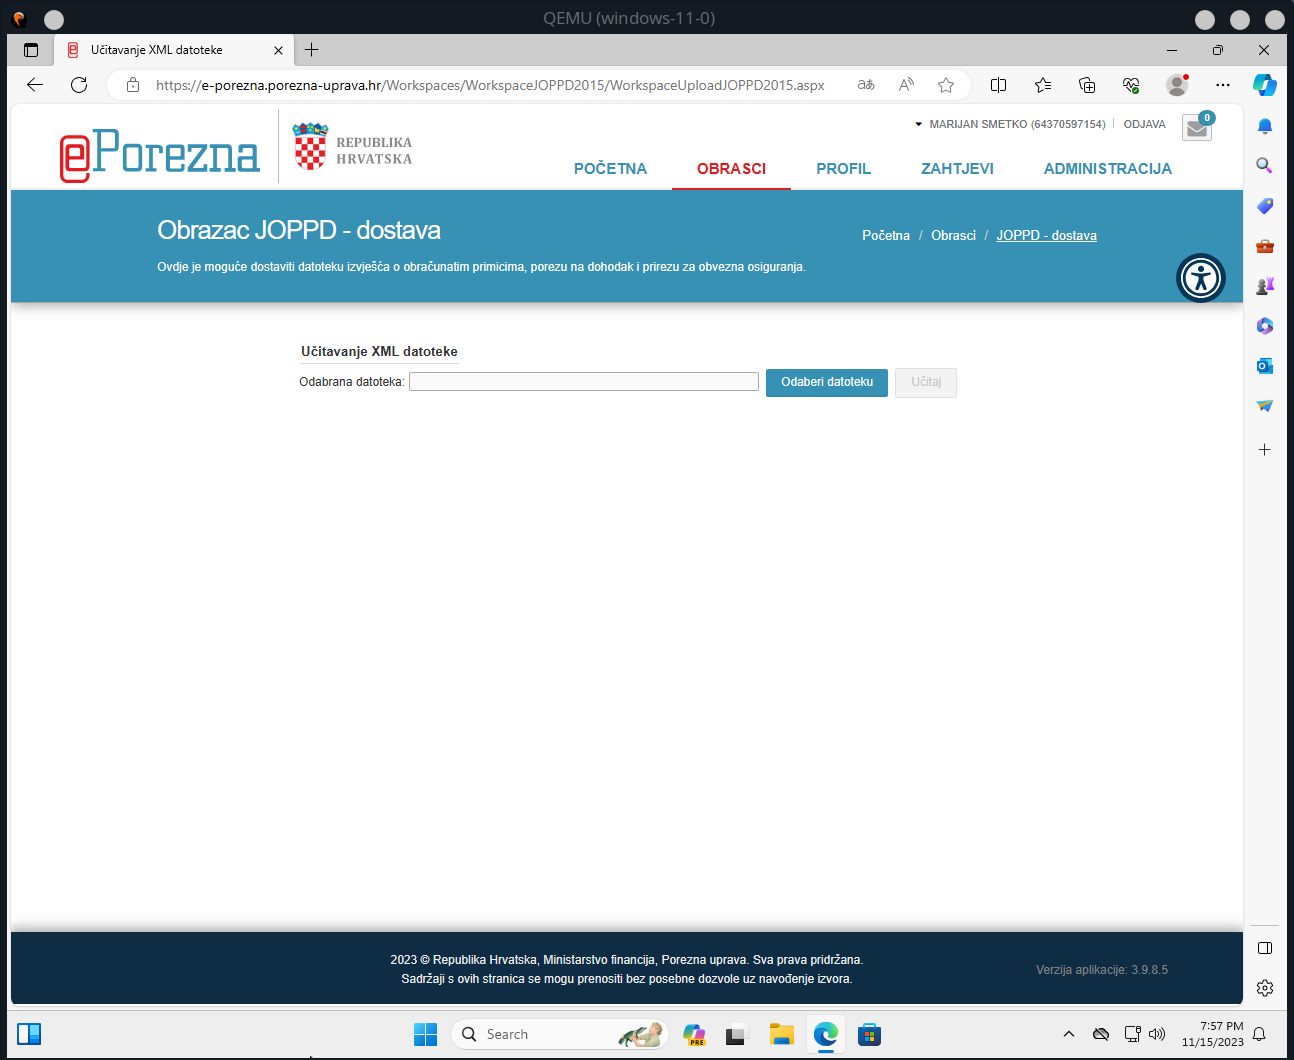
Visit Dostavi obrazac and click JOPPD -> Dostavi datoteku.
Click the button Odaberi datoteku.
The e-porezna setup should then lead you through a procedure of installing the necessary software support. Namely, there are two components, a browser add-on, and a .msi you download and install.
After the installation, you can continue by uploading the XML and finishing with your tax submission. Whether or not you actually pay is none of my concerns.


