In this article, we will create a new UI theme by copying the Basic Theme and make some changes to it.
- Create a new solution
- Copy the
.Theme.Basicproject into the solution from the Github repo - Remove the Basic Theme nuget package in the
.Webproject - Build
.Theme.Basicproject and fix errors - Reference the newly added local
.Theme.Basicproject in the.Webproject - Make some changes in
.Theme.Basicproject to see it in action
Let's get into the details step by step.
Use the new command of the ABP CLI to create a new project:
abp new MyThemeIn case if you don't have ABP CLI installed on your environment, you can install or update it using the following commands.
dotnet tool install -g Volo.Abp.Cli
dotnet tool update -g Volo.Abp.Cli
Now open the created solution in Visual Studio.
We need to apply migrations to create the database.
To apply database migrations right-click to the .DbMigrator project and select Set as StartUp Project
Hit F5 to run the application.
When the database migrations successfully completed, close the debug console window.
Now right-click to the .Web project and select Set as StartUp Project
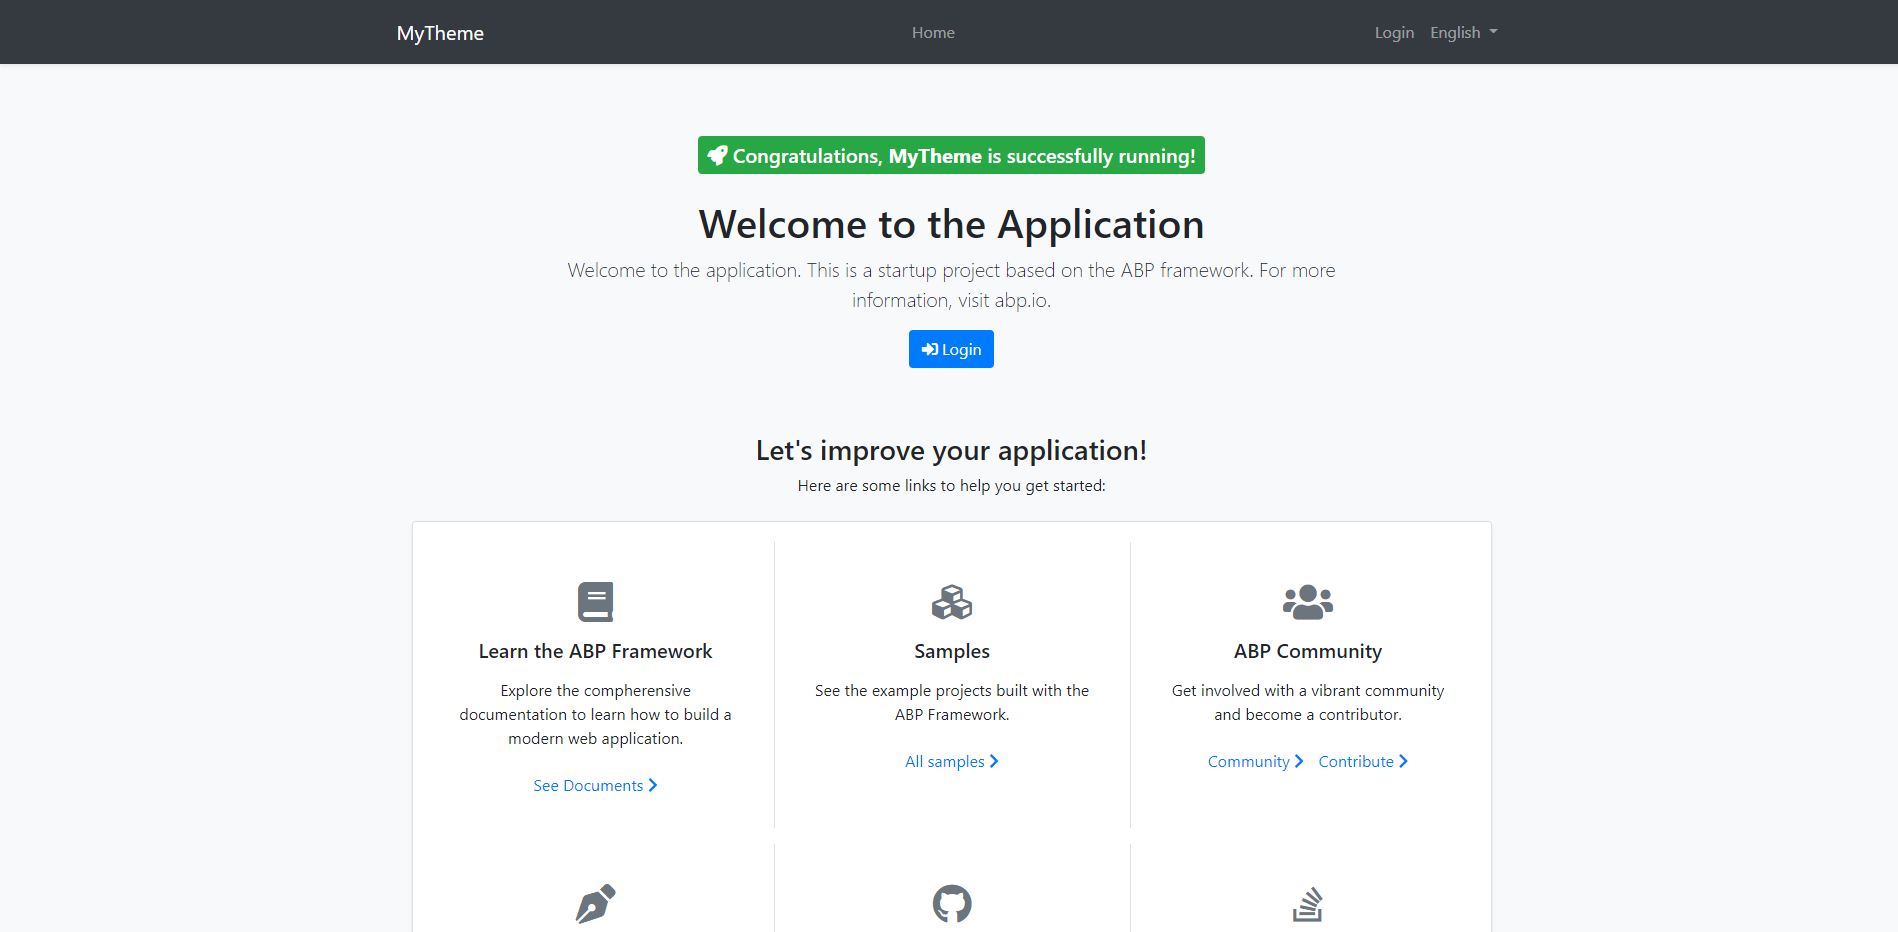
When you run the application, the index page will show up in your browser as seen below.
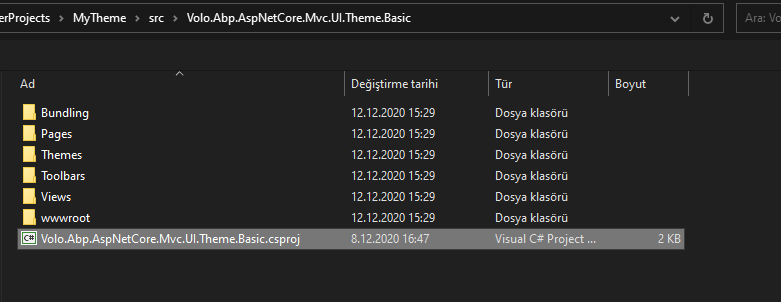
To create a new theme, copy the Basic Theme Source Code into your src folder.
Once you get a copy of the theme in your solution, right-click on the src folder and select Add > Existing Project.
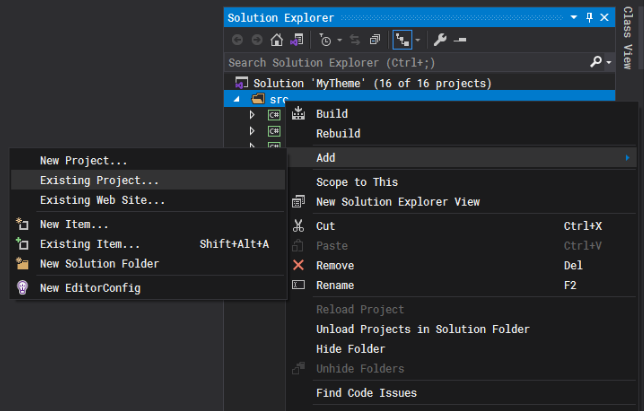
In the file dialog select the Volo.Abp.AspNetCore.Mvc.UI.Theme.Basic.csproj file and click Open button to add the project to your solution.
To remove the Volo.Abp.AspNetCore.Mvc.UI.Theme.Basic NuGet package in your .Web project right-click on your .Web project and click on Manage Nuget Packages...
Then click Uninstall.
When you build the .Theme.Basic Project you will get some errors.
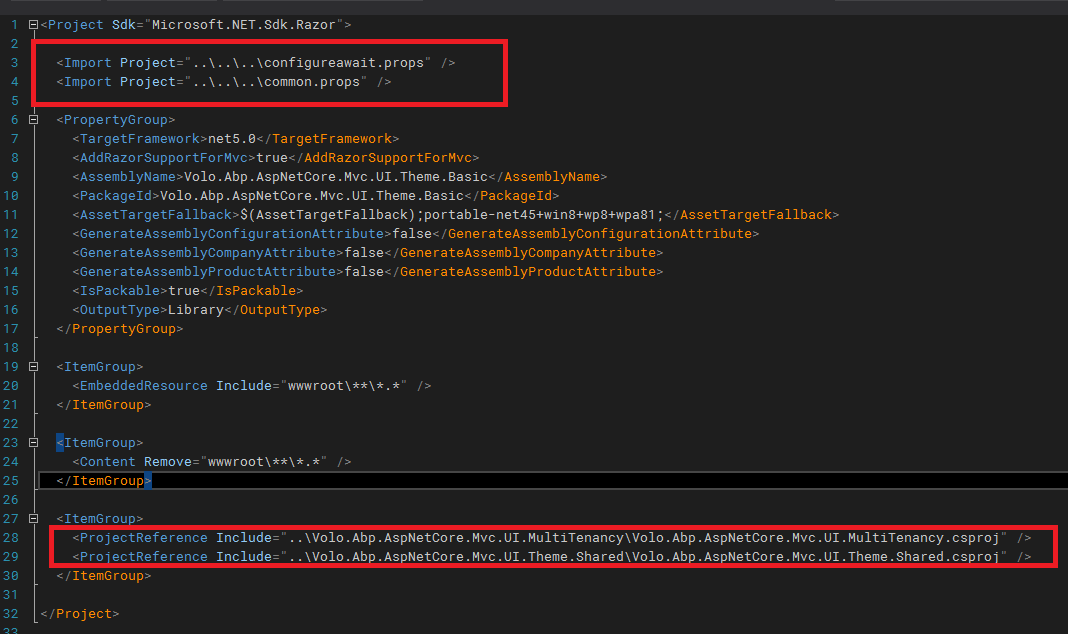
First, open the Volo.Abp.AspNetCore.Mvc.UI.Theme.Basic.csproj file and delete the 4 rows as seen in the image below
because these project references are not valid anymore.
Then, right-click on your .Theme.Basic project and click on Manage Nuget Packages...
On the Browse tab, search for Volo.Abp.AspNetCore.Mvc.UI.MultiTenancy and install it.
At the time of writing this article, this fixes the errors, but if you face other reference issues simply search for that package and install it.
Now build the .Theme.Basic Project again and see if everything is ok.
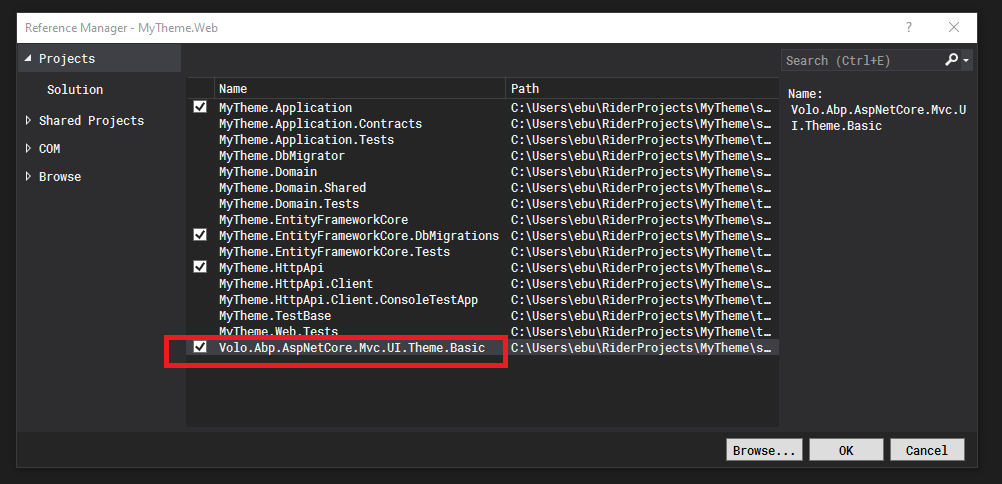
We will add a reference for the newly added .Theme.Basic project in the .Web project.
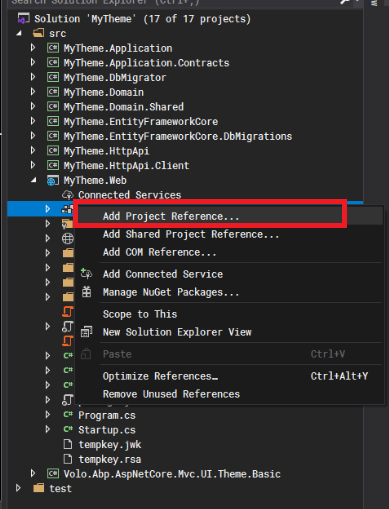
For this right-click to Dependencies on your .Web project and click on Add Project Reference
In the opened window, select .Theme.Basic project and click Ok.
Time to make some changes.
Open the layout file Application.cshtml file located at /Themes/Basic/Layouts folder in the .Theme.Basic project.
This is the default layout which is used by the main application pages.
Here we can see that the layout composed of some ViewComponents.
Let's add some text next to the branding name located at the main navbar.
To achieve this open the Default.cshtml file located at /Themes/Basic/Components/Brand folder.
And add Hi! There after @BrandingProvider.AppName, and run the .Web project.
🏆And Voila! here is the result.
Now, we have our own copy of the Basic Theme and can do whatever we want.
From now on it is up to your imagination.
You can modify the theme, add your custom css/js files, or your custom ViewComponents, etc.
Find more about adding global styles/scripts and other fundamentals about ABP theming here.
For Bundling & Minification check this document.
Get the source code on GitHub.
Enjoy and have fun!
