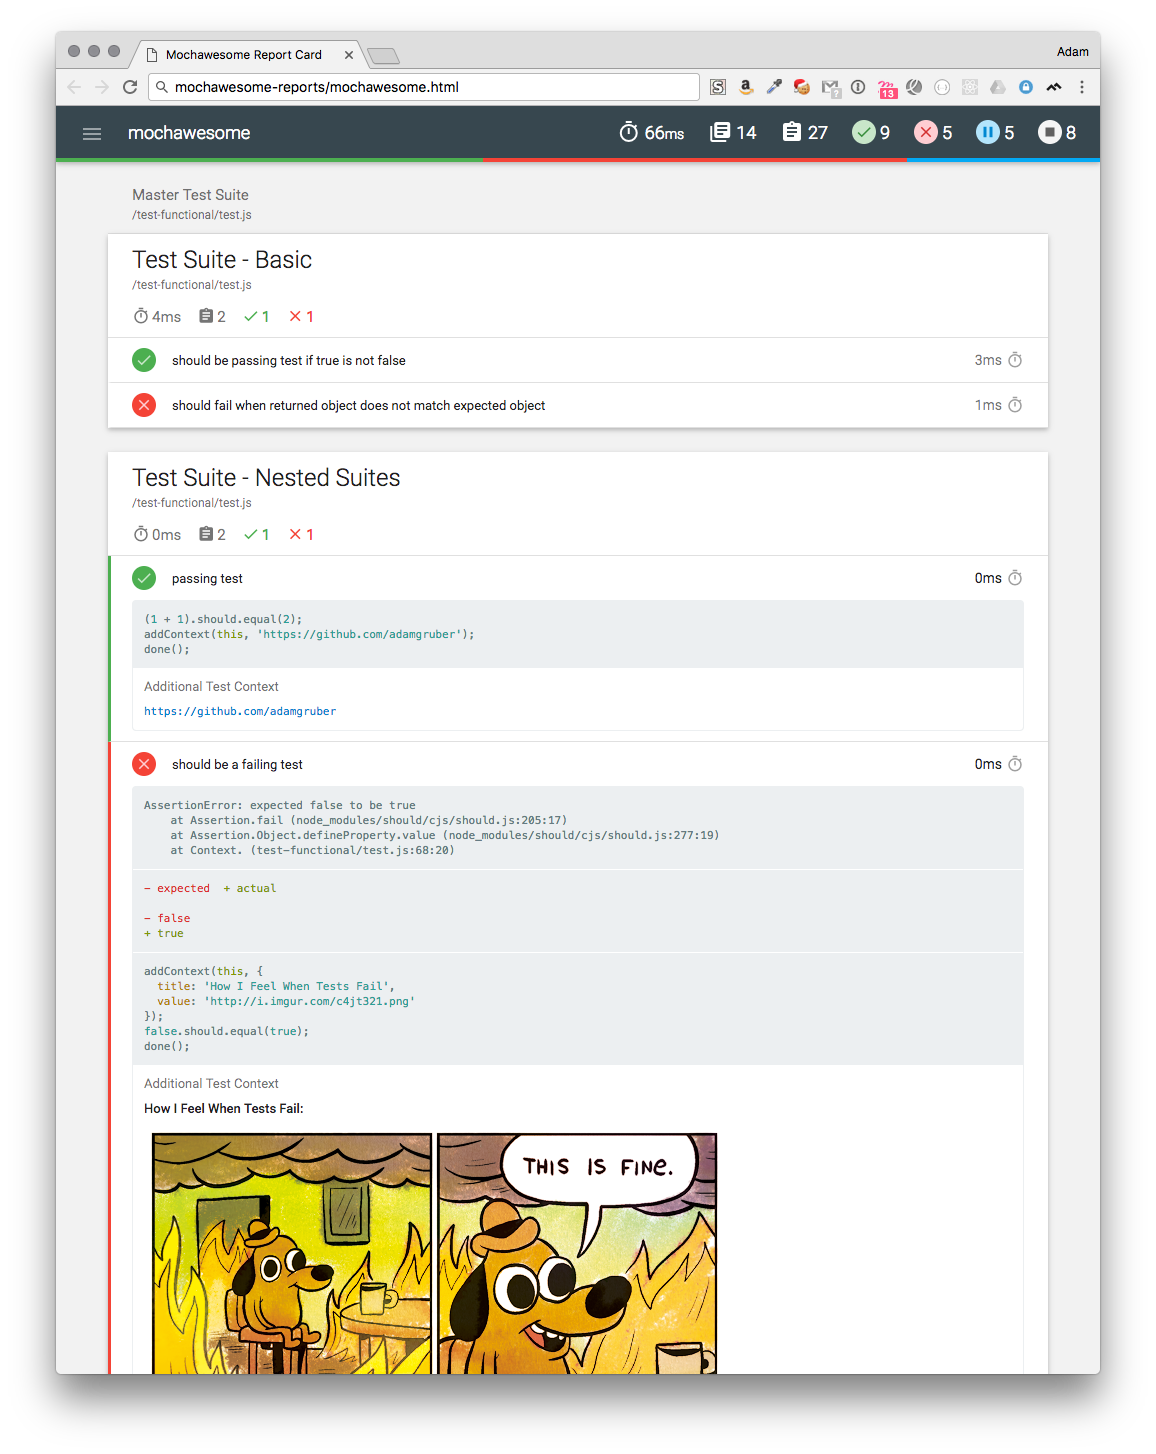
Mochawesome is a custom reporter for use with the Javascript testing framework, mocha. It runs on Node.js (>=4) and generates a full fledged HTML/CSS report that helps visualize your test suites.
##Version 2.0 is here! 🎉 With the arrival of 2.0 comes some often requested features, a code rewrite, and a complete redesign of the report.
###mochawesome-report-generator (marge) To start, the actual report generation has been moved out into its own package, mochawesome-report-generator. This will make it easier to implement changes to the report as well as allow for future integration with other test libraries.
###New Features
- Every bit of the report has been redesigned for a cleaner, more streamlined look
- Built using React and mobx
- Supports displaying additional test context including images!
- Supports displaying inline diffs for failed tests
- New options including hiding test code and/or charts
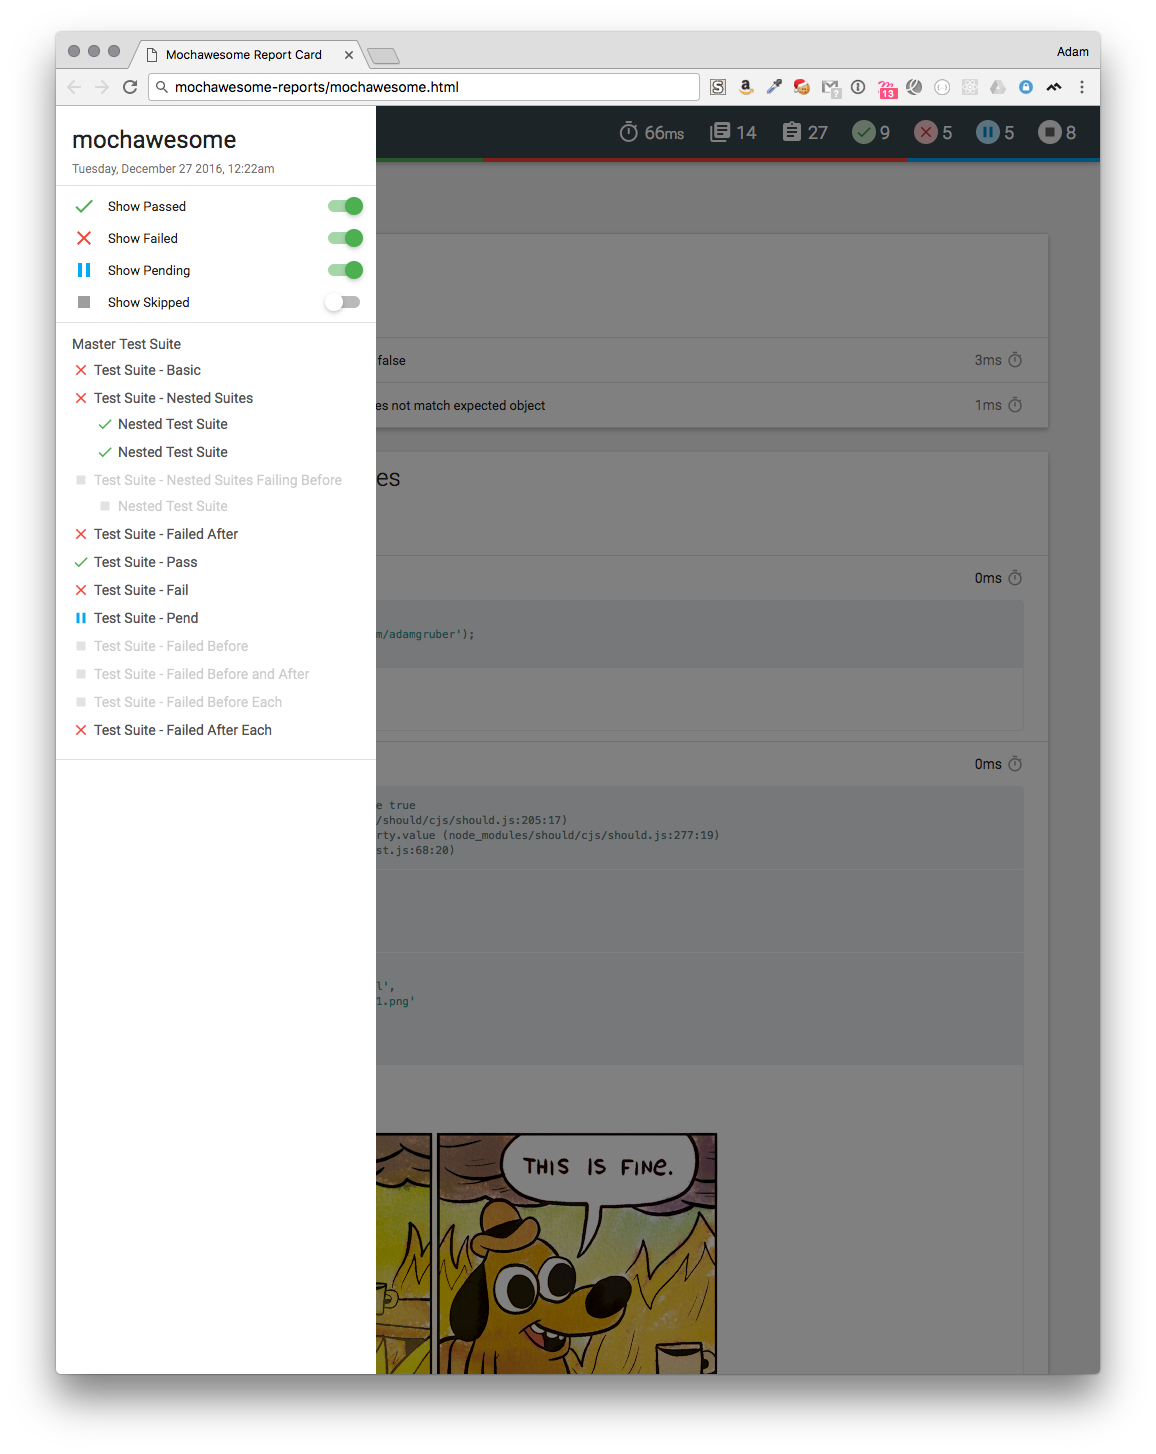
- Enhanced navigation menu with clearer filtering options
- New option to disable console messages
- Test coverage!
###Plus...
- At-a-glance stats including pass percentage
- Beautiful charts
- Supports nested
describes - Supports pending tests
- Review test code inline
- Stack trace for failed tests
- Responsive and mobile-friendly
- Saves JSON output for further processing
- Offline viewing
###Sample Report
###Browser Support The generated report has been tested to work in Chrome. It should work in any modern web browser, including IE9+. It is also fully self-contained for offline viewing.
##Usage
- Add Mochawesome to your project:
npm install --save-dev mochawesome
- Tell mocha to use the Mochawesome reporter:
mocha testfile.js --reporter mochawesome
- If using mocha programatically:
var mocha = new Mocha({
  reporter: 'mochawesome'
});
##Output Mochawesome generates the following inside your project directory:
mochawesome-report/
├── assets
│   ├── app.css
│   ├── app.js
│   ├── MaterialIcons-Regular.woff
│   ├── MaterialIcons-Regular.woff2
│   ├── roboto-light-webfont.woff
│   ├── roboto-light-webfont.woff2
│   ├── roboto-medium-webfont.woff
│   ├── roboto-medium-webfont.woff2
│   ├── roboto-regular-webfont.woff
│   └── roboto-regular-webfont.woff2
├── mochawesome.html
└── mochawesome.json
The two main files to be aware of are:
mochawesome.html - The rendered report file
mochawesome.json - The raw json output used to render the report
##Options Mochawesome supports options via environment variables or passed directly to mocha.
| Option Name | Type | Default | Description |
|---|---|---|---|
reportDir |
string | [cwd]/mochawesome-report | Path to save report |
reportFilename |
string | mochawesome | Filename of saved report (prior to version 2.0.0 this was called reportName) |
reportTitle |
string | mochawesome | Report title |
reportPageTitle |
string | mochawesome-report | Browser title |
inlineAssets |
boolean | false | Inline report assets (scripts, styles) |
enableCharts |
boolean | true | Display Suite charts |
enableTestCode |
boolean | true | Display test code |
autoOpen |
boolean | false | Open the report after running tests |
quiet |
boolean | false | Silence console messages |
Setting a custom filename will change both the report html and json files.
Options passed in will take precedence over environment variables.
####Environment variables
Options can be set via environment variable. To do this you must prefix the variable with MOCHAWESOME_ and then uppercase the variable name.
$ export MOCHAWESOME_REPORTDIR=customReportDir
$ export MOCHAWESOME_INLINEASSETS=true
$ export MOCHAWESOME_AUTOOPEN=true
####Mocha options
You can pass comma-separated options to the reporter via mocha's --reporter-options flag.
$ mocha test.js --reporter mochawesome --reporter-options reportDir=customReportDir,reportFilename=customReportFilenameOptions can be passed in programatically as well:
var mocha = new Mocha({
  reporter: 'mochawesome',
  reporterOptions: {
    reportDir: 'customReportDir',
    reportFilename: 'customReportFilename',
    enableCharts: false
  }
});
##Adding Test Context
One of the more request features has been the ability to display additional information about a test within the report. As of version 2.0.0 this is now possible with the addContext helper method. This method will add extra information to the test object that will then be displayed inside the report.
###addContext(testObj, context)
| param | type | description |
|---|---|---|
| testObj | object | The test object |
| context | string|object | The context to be added to the test |
Context as a string
Simple strings will be displayed as is. If you pass a URL, the reporter will attempt to turn it into a link. If the URL links to an image, it will be shown inline.
Context as an object
Context passed as an object must adhere to the following shape:
{
  title: 'some title' // must be a string
  value: {} // can be anything
}
####Example
When using the addContext helper, you cannot use an arrow function in your it statement because your this value will not be the test object.
const addContext = require('mochawesome/addContext');

describe('test suite', function () {
  it('should add context', function () {
    // context can be a simple string
    addContext(this, 'simple string');

    // context can be a url and the report will create a link
    addContext(this, 'http://www.url.com/pathname');

    // context can be an image url and the report will show it inline
    addContext(this, 'http://www.url.com/screenshot-maybe.jpg');

    // context can be an object with title and value properties
    addContext(this, {
      title: 'expected output',
      value: {
        a: 1,
        b: '2',
        c: 'd'
      }
    });
  })
});
##v1.x Documentation for version 1.x can be found here.


