A Git helper that integrates the INV4 protocol with the Git protocol for blockchain-based git hosting & version-contol
Make sure you already have cargo and rust installed. Then:
cargo install --git https://github.com/InvArch/INV4-Git --features crustThe binary will be installed at ~/.cargo/bin/ as git-remote-inv4
Testing requires running an IPFS node, running a local InvArch node and creating an IP Set on it.
Install the ipfs cli binary from a package manager, or follow the instructions on the IPFS documentation to get the binary installed in your system.
After you installed the IPFS cli tool, open a terminal and run the following commands:
ipfs init
ipfs daemon
Now set that terminal aside, it will run the IPFS node until you manually kill it or close the terminal.
On a new terminal, run the following:
git clone https://github.com/InvArch/InvArch-Node
cd InvArch-Node
make build
make run-solo-alice
Now that you have built the node binary and that terminal is running a collator, open a second terminal on the same location, and run another collator with the following command:
make run-solo-bobA development node will start running and should be accessible from ws://127.0.0.1:9944 (or directly in polkadot.js at https://polkadot.js.org/?rpc=ws://127.0.0.1:9944)
You can now set these terminals aside too.
You're gonna need an account for which you have the seed phrase on hand, you can create a new account for this. To send tokens to that account, follow these steps:
- Go to this page in polkadot.js: https://polkadot.js.org/apps/?rpc=ws%3A%2F%2F127.0.0.1%3A9944#/accounts
- On the tabs, hover over the accounts tab and click transfer, as shown in the image:

- Select Alice as the sender account in the first field.
- Paste your account in the second field and an arbitrary amount in the third field, 100 in the case of the example:

- Click the make transfer button and confirm the transaction.
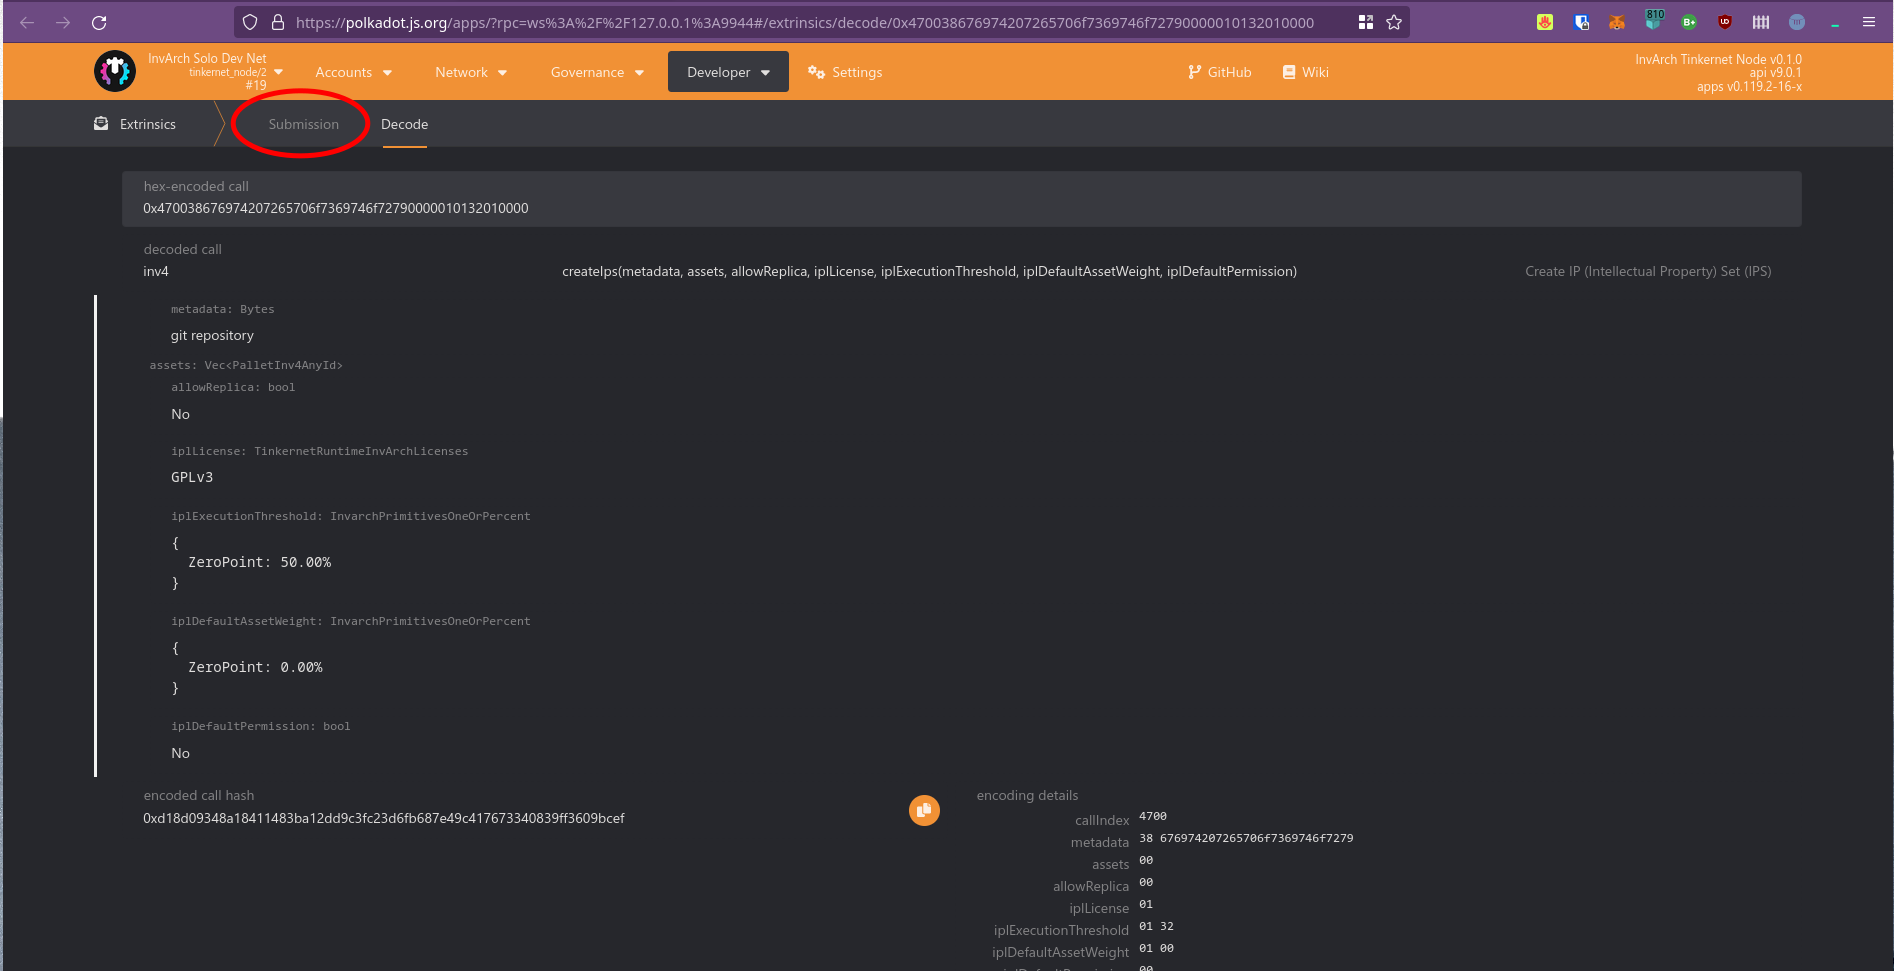
- Open the pre-made extrinsic in polkadot.js using the following URL: https://polkadot.js.org/apps/?rpc=ws%3A%2F%2F127.0.0.1%3A9944#/extrinsics/decode/0x470038676974207265706f7369746f72790000010132010000
- Go to the submission tab:

- Submit the transaction using the account that you sent tokens to.
An IP Set should have been created with the ID 0
Using a terminal, navigate to a directory where you'll create a new git repository and run the following commands (considering you're on Linux):
mkdir test-repo
cd test-repo
touch test-file
echo test > test-file
git init
git remote add origin inv4://0
git add *
git commit -m "First commit!"
This next command will send your files to the chain, it will ask for your seed phrase, just paste it in the terminal and press Enter:
git push origin masterNow you have created a new local git repository, added some files, linked to the IPS you created on-chain and pushed your local commit to the chain!
To demonstrate that it really is on-chain, go to a new directory and clone the git repo from the chain using the following command:
git clone inv4://0 clonedNow you can navigate inside this cloned repo and verify that it's the same as the one you pushed!