EiffelVis is a scalable Eiffel pipeline traffic visualization stack built on Rust & Svelte. Briefly, the Eiffel protocol is a tool which helps control multiple CI/CD Pipelines within or across multiple projects. To learn more about the Eiffel Protocol, please visit the Eiffel Community.
The Eiffel Protocol consists of multiple Eiffel Events which each have a defined purpose and structure. In a typical CI pipeline which uses the Eiffel Protocol, there can be hundreds of events which are generated over a short time period. Visualizing large amounts of data such as thousands of Eiffel Events can be difficult, and that's where EiffelVis stands out. EiffelVis is a data visualization and data manipulation tool for Eiffel Events.
These instructions are an example of how you may run EiffelVis locally.
-
Clone the repository using SSH (or HTTP)
git clone git@github.com:ItJustWorksTM/EiffelVis.git
-
After going to the root folder where the repository was cloned, install dependencies for the frontend
cd EiffelVis/frontend npm install -
Compile and run the frontend
npm run dev
-
The frontend will now be running on port
localhost:8080. If you go to this address in your browser, you should be able to view the EiffelVis client. As you will see, there are no events and there is no graph. To see events we need to set up the backend through which we will also load the graph data. -
As the client will be running in the current terminal, open a new terminal to run the backend. Go to the root directory of EiffelVis and run the commands
cd EiffelVis/backend
cargo run -- --help
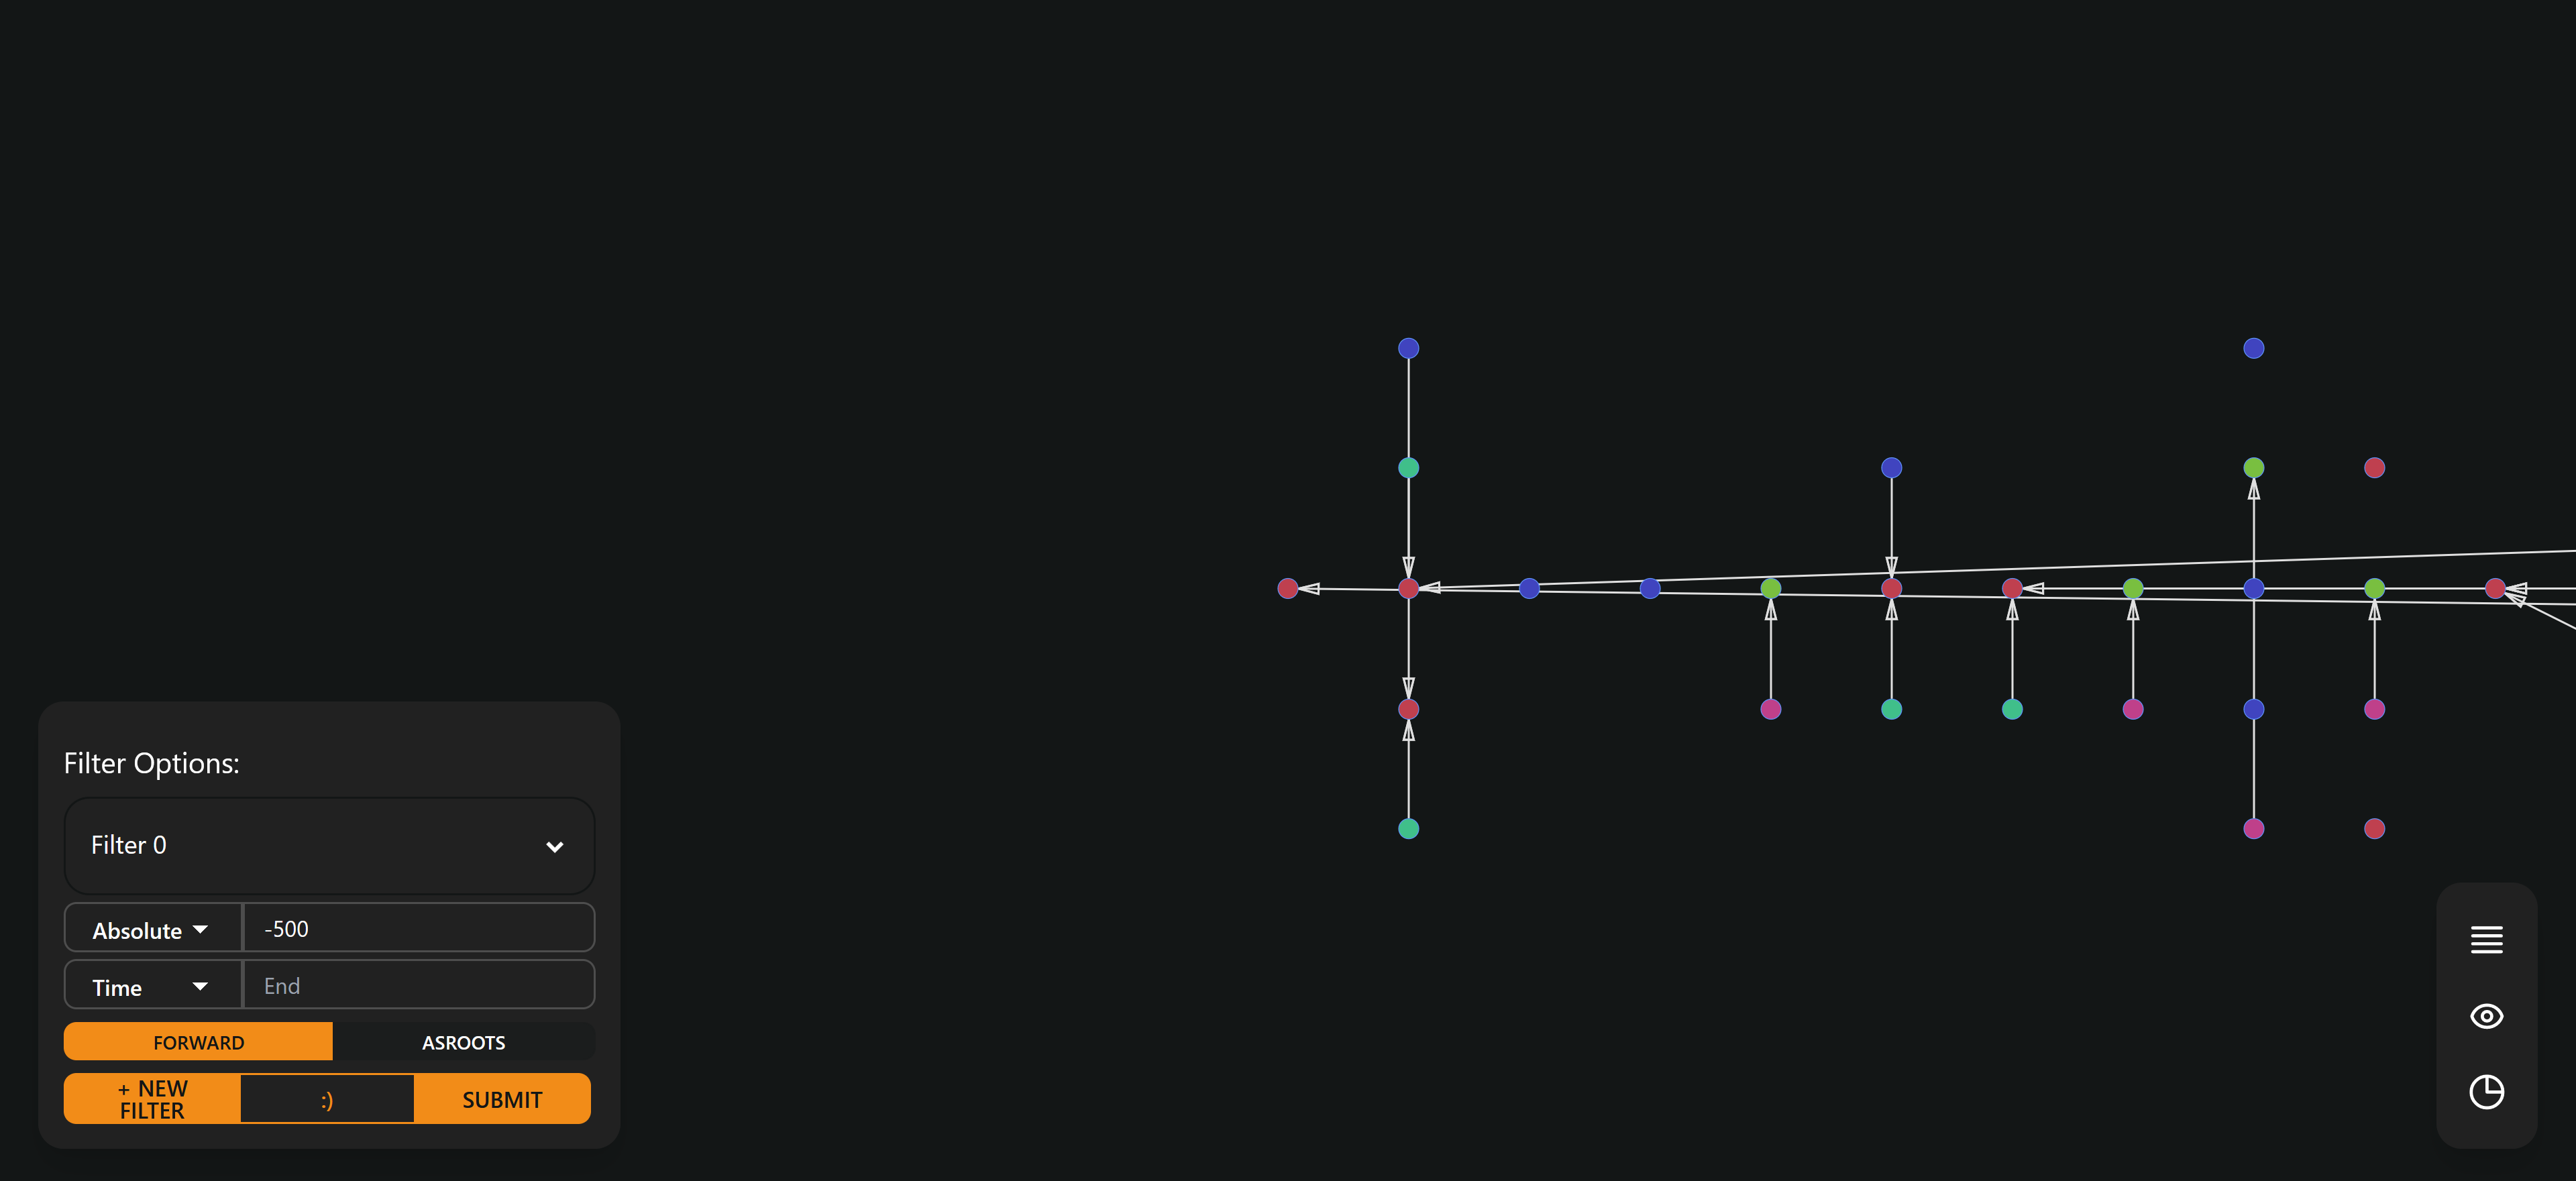
Now that the application is running in these 5 simple steps, your client should look something like this: 
Additional information that will be useful in helping you utilize EiffelVis to it's maximum potential.
For usage instructions and information regarding the client/frontend, please see the frontend guide, and for the backend, please see the backend guide.
If you would like to deploy the application please refer to the deployment guide for detailed instructions.
The contents of this repository are licensed under the Apache License 2.0.
To contribute to this repository, please see the contribution guidelines.
If you would like to read more about the algorithm used by EiffelVis, please see the algorithm concept.
Copyright © 2022, EiffelVis. EiffelVis is a product by ItJustWorks™.
- start your rabbitmq server
rabbitmq serverorbrew services start rabbitmqif you are using homebrew on mac. - If not activated, activate the management pluggin by running
rabbitmq-plugins enable rabbitmq_management - go to
http://localhost:15672to enter the rabbitMQ management page. (default credentials are username & password:guest) - go to the queue panel and create a new queue. The queue has to use the same name as the one you are going to use with the backend (default
hello) 5 go to the exchange panel and selectamq.fanoutin the list. - Click on
Bindingsand add the binding of this exchange to the queue using the same name as step 3. - go into
EiffelVis/backend/tools/event_senderand run the commandcargo run -- -r <any_routing_key>(you can also add other options, run tocargo run -- --helpfor more info) - go into
EiffelVis/backendand runcargo run - go into
EiffelVis/frontendand runnpm run dev - open your browser to
localhost:8080and you should have nodes coming and being displayed on the graph.

